Summer is upon us! Let’s celebrate with a beachy craft. First enjoy collecting shells, driftwood, sand and inspiration on your next trip to the beach. Then let’s put it all together in this cute mini diorama!
Supplies you’ll need:
- Round lid with edges. I’m using the cardboard packaging from Brie cheese.
- Pencil, scissors and a hole puncher.
- Watercolor paper and brush
- Watercolor paint – a blue green, turquoise, and brown. You can mix blue and yellow to create the blue green.
- Shells, rocks, sticks, wood (any beach treasures you’d like) and sand.
- Ribbon, fabric, or paper to line the inner and outer rims.
- Twine or ribbon (or in my case the handle from a shopping bag)
- Glue gun, craft glue, and double sided tape.
steps:
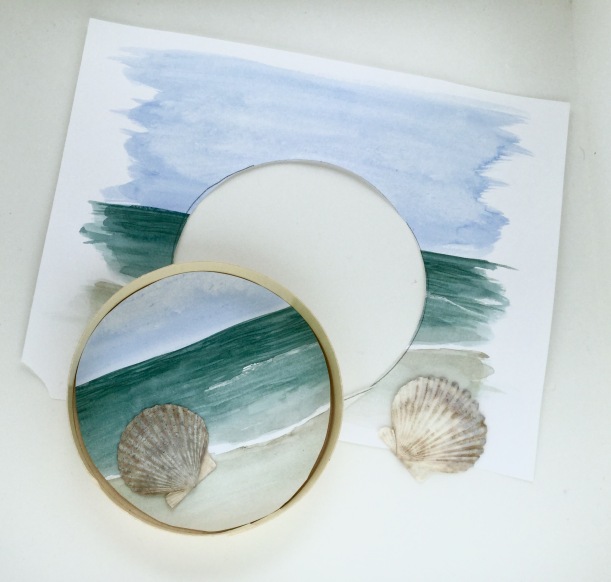
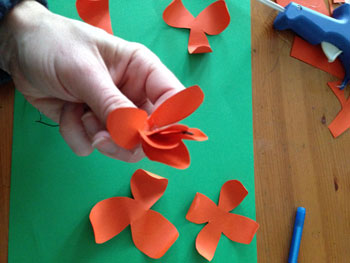
1. Trace a circle on your watercolor paper using the lid as your guide.
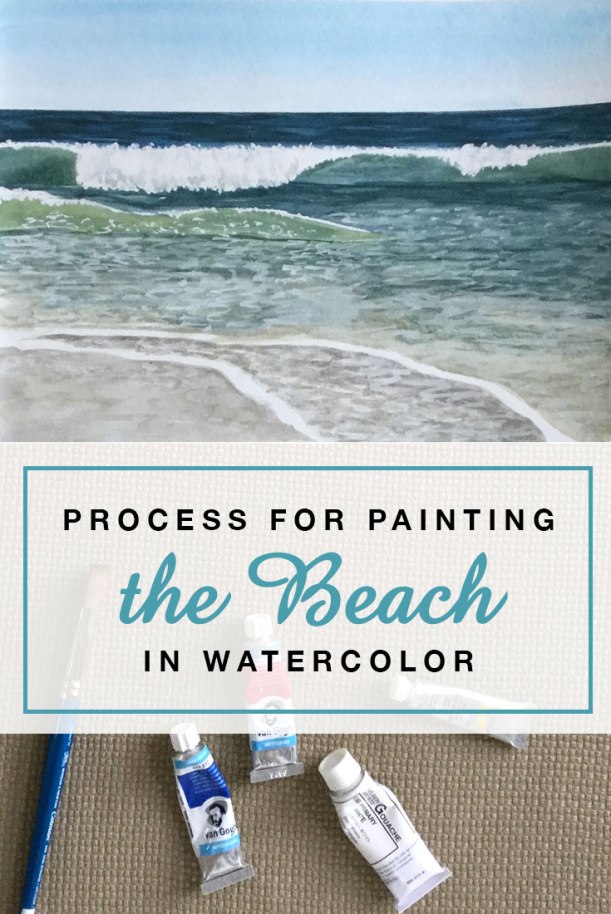
2. Paint a simple seascape overlapping your circle shape.
Seascape painting tips:
- Determine the position of the horizon and mark lightly with pencil.
- Starting at the pencil line, paint with the blue green color. (Leave some areas white for breaking waves.) Lighten the blue green by mixing it with water as you move lower, leaving the bottom 1/3 of the circle blank.
- If desired – add darker strokes to the ocean for waves.
- Paint the bottom of the circle a very light brown (brown mixed with water), leaving a thin gap between the ocean water and the sand.
- Using a light blue or turquoise, paint a fade from the top of the circle to the horizon line by adding more water to your blue as you paint.

3. After the painting dries, cut inside the circle. Adjust until the paper fits inside the lid.
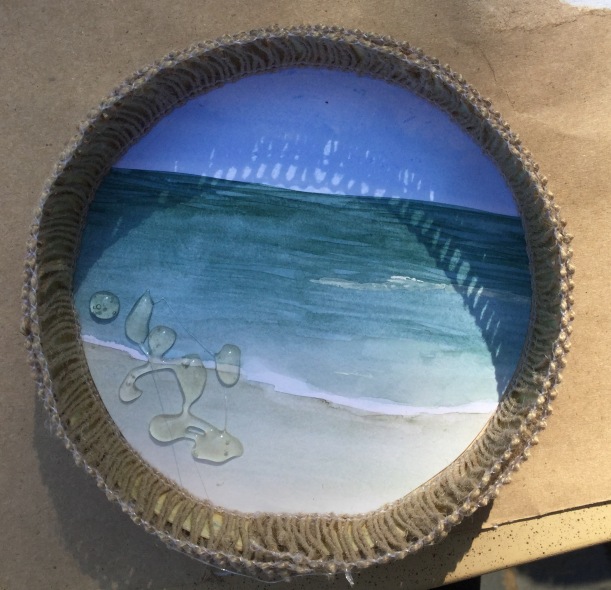
4. Tape the painting inside of the lid using double sided tape.
5. Hold up your diorama and with the horizon straight determine what the top is. Poke a hole through the top of the lid or use the hole puncher. (If you are using a plastic lid skip this step. Instead use the glue gun to glue string to the back of your lid.)
6. Glue ribbon around the inner and outer rims, putting seams at the bottom. (You can also paint your lid – I recommend acrylic paint for this.)
7. Thread twine through the hole and knot.

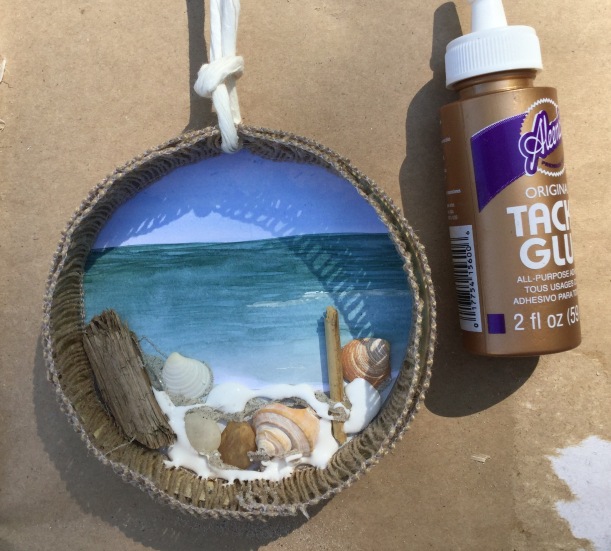
8. Use a glue gun to add all of your beach treasures. Use tacky glue to add sand. Once dry shake off excess sand.
9. Glue a shell to the knot of your ribbon.
10. Hang and admire.
I’d love to see! Tag me on Instagram @EileenMcKenna!
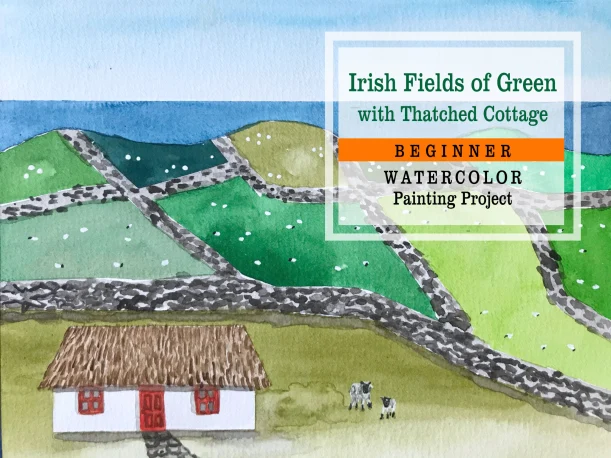
seascape painting tutorials
For in depth seascape painting tutorials visit:


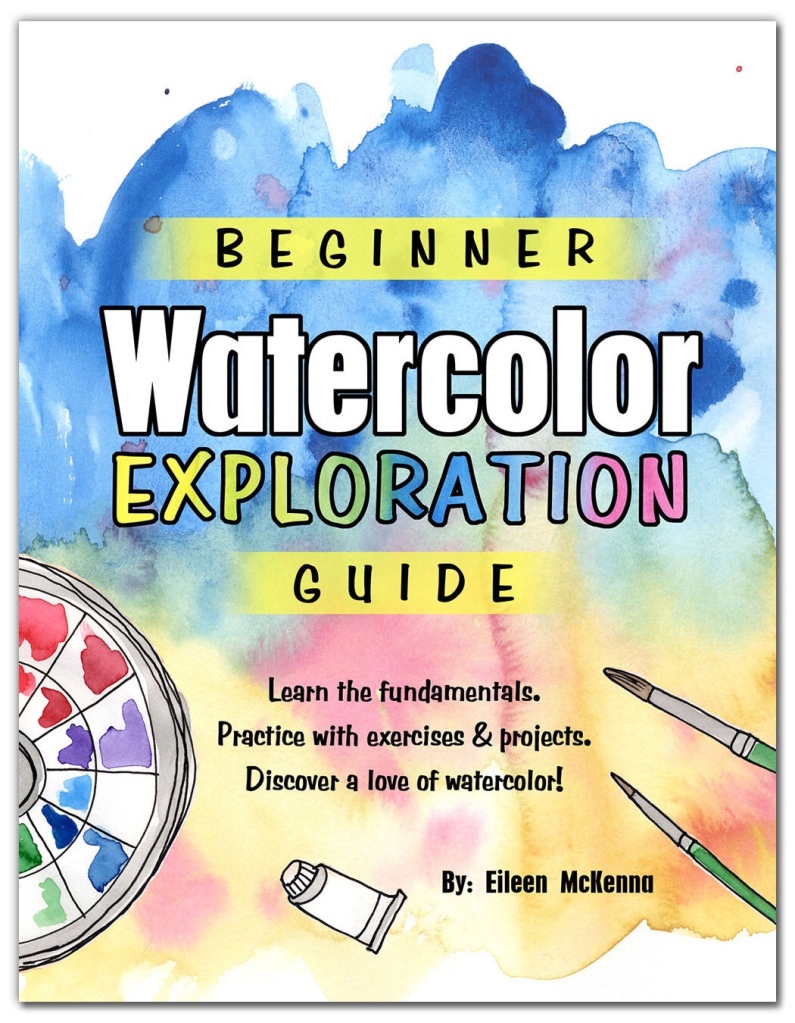
Learn watercolor with this beginner guide!
For a comprehensive guide to watercolor: