Exploring new creative things

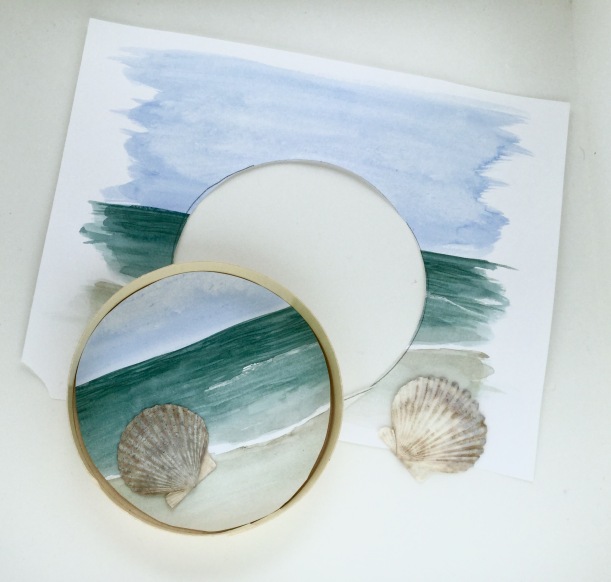
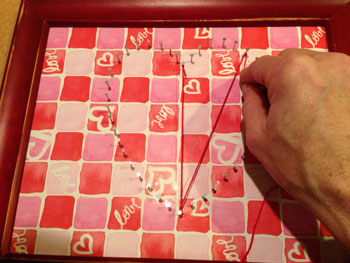
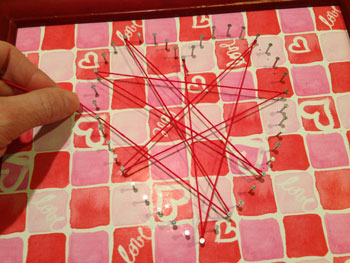
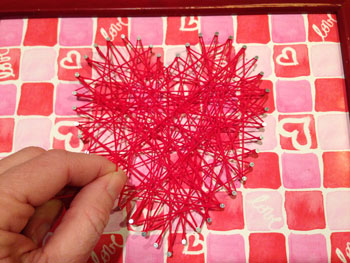
I was sewing the other day. Trying to make a few new masks. Sewing is a new thing for me. I’ve tried it here and there over the years but waited so long in between that it always felt like starting over. Now that I’ve been doing it more regularly, I’m getting the hang of it. There isn’t as much of a struggle.

As I sewed I wondered what new things – art, craft, baking, etc. – I would carry on with after quarantine is over? Based on what I see online, lots of people are trying their hand at new things – baking bread, painting, etc. or getting back to things they used to enjoy – puzzles, game night, taking walks, etc. What will we take with us into the new normal of life?

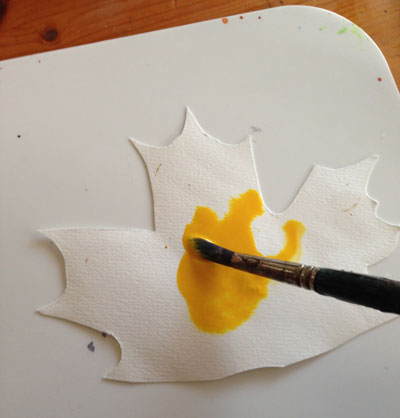
The silver lining in self quarantine is that some of us have had this time to explore things we normally don’t have time to explore. A friend of my sister’s messaged me and said she hadn’t painted in decades, but wanted to try again and asked what paint and tutorials I recommended. Often it is hard to know where to start.

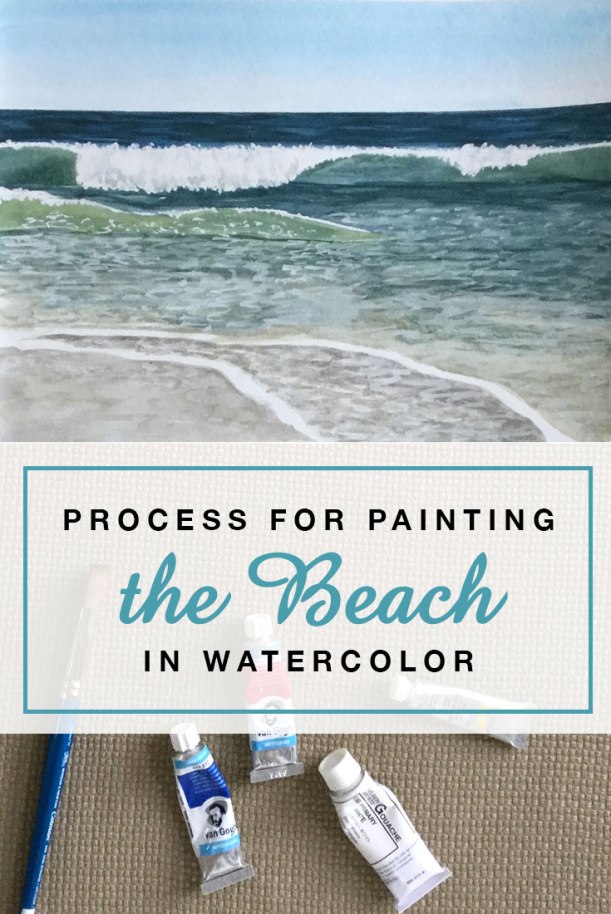
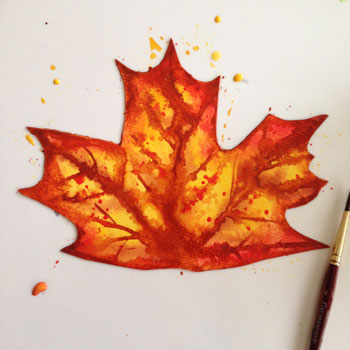
How do you know what medium to begin with? How do you find an art medium that speaks to you? I went through this myself when I started My Creative Resolution. Throughout the process of exploration painting in watercolor was what rose to the top. For you it may be something totally different. But how do you find your thing?

I’ve developed a process for you to follow, that walks you through trying things, while developing a regular practice of creativity. Fifteen minutes a day can be sufficient! We start with the basics, no fancy supplies needed, and slowly work up to trying other mediums. There is room for your interests here. After all, your exploratory journey should be based on you!

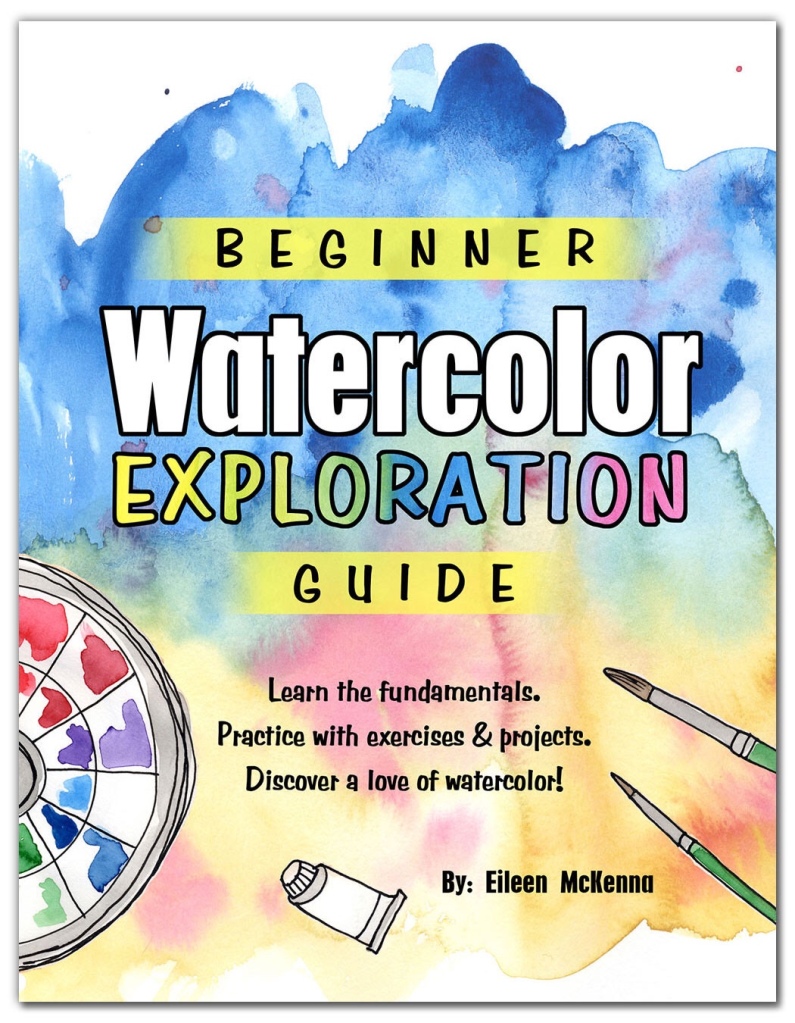
Ready to get started? Download the “Creative Exploration” ebook or order a paperback copy on Amazon today. Click here for more information. Your creative journey awaits!

Beach Diorama

Beach diorama craft with DIY steps http://wp.me/p4cmnl-15e
I got crafty today and finished the diorama that was inspired by a quick beach painting in my sketchbook and the cardboard leftover from the Brie cheese.
Beach diorama craft with DIY steps http://wp.me/p4cmnl-15e
I can draw and paint but I don’t think of myself as particularly crafty. I’m a mess with a glue gun in hand. So if I can pull this off anyone can!
You’ll need:

  • Leftover cardboard round with edges (mine is from cheese)
  • Scissors and hole puncher (if you have one)
  • Painting, photo, or patterned paper for the background
  • Shells, rocks, sticks, wood (any beach treasures you’d like) and sand
  • Ribbon, fabric, or paper to line the inner and outer rims
  • Twine or ribbon (or in my case the handle from a shopping bag)
  • Glue gun, craft glue, and double sided tape or scrap booking adhesive

Beach diorama craft with DIY steps http://wp.me/p4cmnl-15e
Steps:
1. Trace a circle on your painting using the cardboard as your guide. Cut inside the circle. Adjust until the paper fits inside the cardboard. (Set painting aside.)
2. Poke a hole through the rim or use the hole puncher. The hole will be the top of your diorama.
3. Glue ribbon around the inner and outer rims, putting seams at the bottom.
4. Thread twine through the hole and knot.
5. Tape painting to the inside of the circle. Pay attention to the “top” (the hole) when lining up the horizon of your painting. Make sure to tape down all the edges.
6. Use glue gun to add all of your beach treasures.
Beach diorama craft with DIY steps http://wp.me/p4cmnl-15eBeach diorama craft with DIY steps http://wp.me/p4cmnl-15e
7. Use glue gun to secure shell to the knot. (See image below.)
8. Add craft glue in between shells and rocks. Pour generous amount of sand on top.
Beach diorama craft with DIY steps http://wp.me/p4cmnl-15e
9. Add craft glue to bottom of the shell (on the knot) and pour sand onto glue.
Beach diorama craft with DIY steps http://wp.me/p4cmnl-15e
10. Wait until fully dry and gently shake off excess sand.
Extra – make a little sign with the name of your special beach to add to your beach diorama.
Inspired by this post? Let me know what you make! Tag me on Instagram @eileenmckenna

Have you read:
Six Ways to bring the Beach into your Home https://mycreativeresolution.com/2017/05/19/six-ways-to-brin…h-into-your-home/ Process for Painting the Beach in Watercolor

Sign up for the “My Creative Collection” Newsletter by clicking here!
The newsletter goes out every other week and is all the things that are inspiring me – artists and makers, places, crafts and art mediums, tutorials, podcasts, interesting articles, and more. My hope is to inspire you!

Try String Art! A heart shaped tutorial.

finalstringartheart
I’ve been wanting to try string art for months. When I saw my Valentine’s Day pattern printed – I knew it would make the perfect background. Have you been wanting to try string art? If so, gather these materials and read on.

  • 8″ x 10″ frame with the glass removed
  • 8″ x 10″ piece of cork board (or use an additional piece of corrugated cardboard)
  • 3 pieces of 8″ x 10″ corrugated cardboard
  • patterned paper cut to 8″ x 10″
  • red embossing thread
  • nails – I used wire nails (#18 x 3/4″), approx. 50 nails
  • hammer
  • scissors
  • spray mount or other adhesive
  1. Take the glass out of the frame and use the frame backing to cut the cork board, cardboard pieces, and patterned paper.
    cutpaper
  2. Apply adhesive to the patterned paper and secure to cork board
    spraysmooth
  3. Place paper and cork board (facedown) into the frame. Put one – three cardboard pieces behind it. If frame backing fits, use it. Otherwise use tape to secure cardboard to the back of the frame. Use enough cardboard for a tight fit. Flip frame over.
    cardboardtapepaper
  4. Cut out heart to use as template
    cuttemplate
  5. Place heart in the center of the frame and use a nail to poke holes (equally spaced) around the heart.
    poke
  6. Remove the heart and hammer nails into the holes.
    nail nails
  7. Knot one end of the embossing string to one nail. Trim loose string.
    tie
  8. Wrap string around a nail on the opposite side of the heart. I wrapped the string fully around the nail, before string the next nail.
    firstwrapstring1
  9. Continue stringing the heart by wrapping around nails on the opposite sides (randomly). String until the heart is filled in, and every nail is wrapped at least once.
    string2 string3
  10. Then, wrap around each nail in clockwise order, completing an outline of the heart.
    stringedge
  11. Display your beautiful creation!
    finalstringart

I want to see your creation! Post your work and tag me on Instagram @eileenmckenna. Use #mcrstringheart. See more of my pattern designs here.

Watercolor Leaf {A how to craft project}

This is one of my favorite Fall projects! Give it a try and share your results, either in the comments below or on Instagram – tag me: @eileenmckenna. For convenient printable instructions – visit my Etsy shop. Supplies:
  • Heavyweight watercolor paper – I used Fluid Easy Block
  • Watercolor paints (3 colors – light, medium, dark. I used yellow, orange (or red), and brown.)
  • Water
  • Paintbrushes (1 thick, 1 thin)
  • Scissors
  • Pencil and eraser
  • Leaf or photo of a leaf (for shape and inspiration)
Steps:
  1. Trace or draw leaf onto the watercolor paper
  2. Cut out the leaf shape leaf1
  3. Erase remaining pencil lines.
  4. Wet one side of the leaf shape using a paintbrush and water.
  5. Using a brush wet with yellow paint, paint the entire leaf yellow (or a light color of your choice). leaf2 leaf3
  6. With a brush, wet with orange paint, paint the edges of your leaf. The orange will bleed into the yellow – this is a good thing! leaf5
  7. Use a thinner (and not as wet) brush and paint thin brown lines onto the leaf. (Copy the veins from your real leaf or photo.) If your leaf is still wet, the lines will bleed which creates a cool texture to the leaf. leaf6
  8. Allow the leaf to dry, then add more thin brown lines. (The dryer the paper, the less the paint will bleed.) lastleaf
When I first showed my kids my painted leaf, they thought it was a real leaf! Have fun! Can’t wait to see what you make. 🙂 Ready to get started in watercolor? Check out my new guide “Beginner Watercolor Exploration” 
  • Learn the fundamentals.
  • Practice with exercises & projects.
  • Discover a love of watercolor!
Start your watercolor journey today! Learn more here.
Beginner Watercolor Exploration Guide pdf download | how to guide beginner watercolor
Would you like to: Be creative on a regular basis and experience the joy that creativity brings? Explore mediums and subjects, in search of your thing? Learn about my new book Creative Exploration: A Six Week Process for Introducing Regular Creativity into your Life by clicking here. Creative Exploration book - Easy Watercolor Leaf Tutuorial | fall crafts | #fallcrafts This post contains affiliate links to products/brands I use and recommend. I earn a small commission whenever you buy using these links, at no additional cost to you. Thank you for supporting my blog! Want a dose of creative inspiration? Sign up for my newsletter “My Creative Collection” by clicking here. Learn more about the newsletter here.