There are several types of watercolor color paint including – pans (or cakes), tubes, and liquid. Many paints are available in student and artists grades. Student grades are a more affordable option, but usually have less pigment.
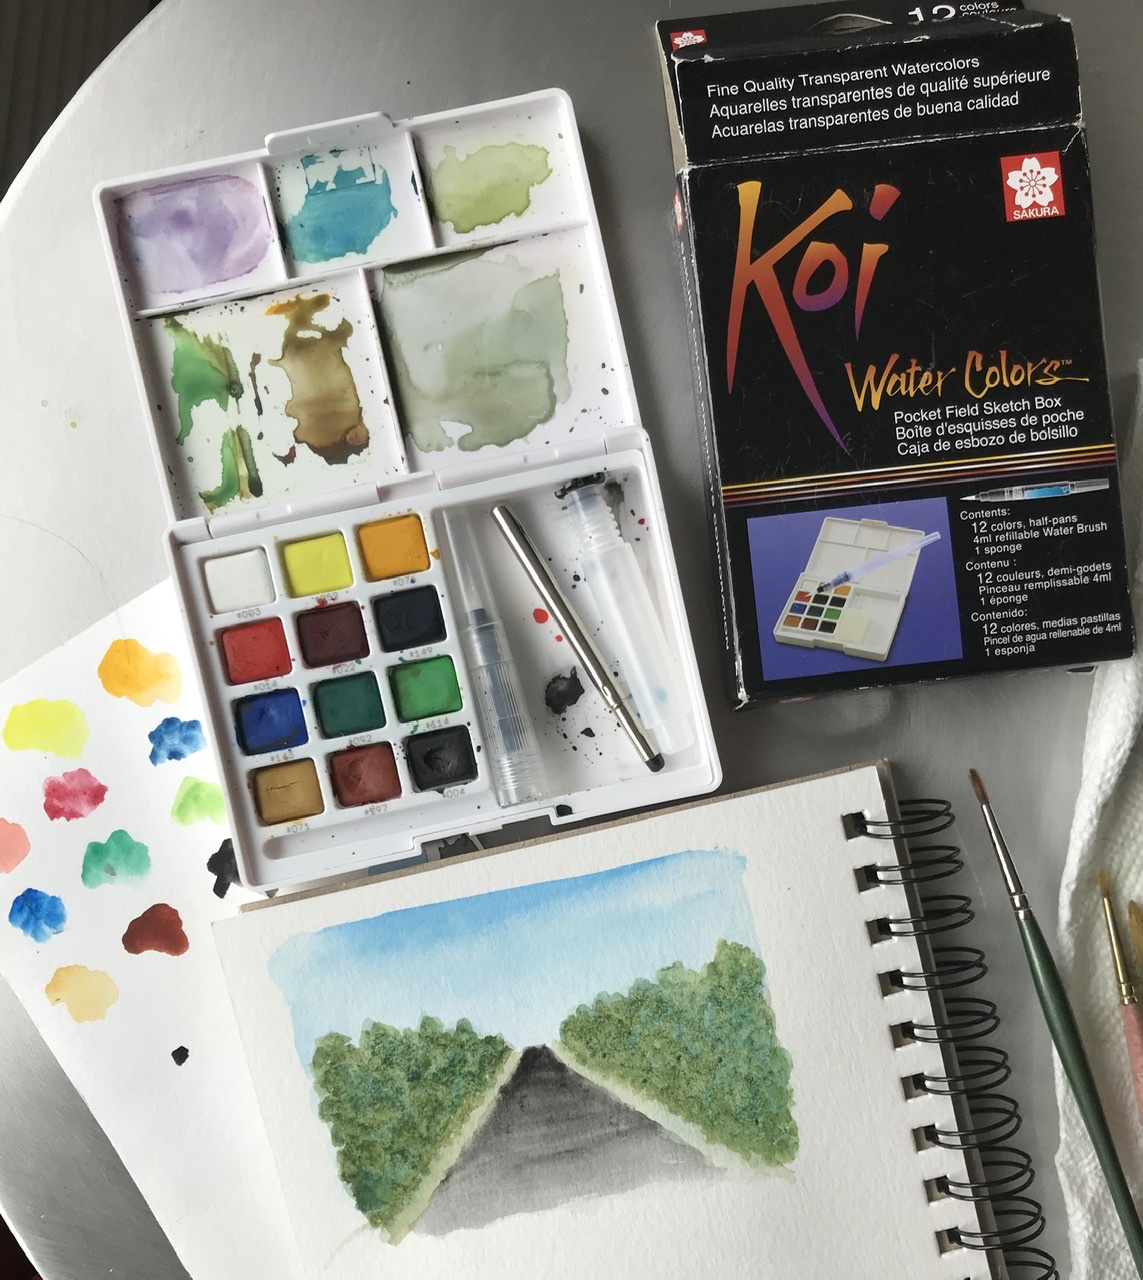
Pans (or cakes) – When I was starting out I associated watercolor pan sets with the paints I used as a child. I have since learned that the pans available today contain rich, saturated colors and are widely used by many watercolor artists. Just like my Sakura Koi travel palette!

Tubes – I started with tubes and have stuck with them. I was originally gifted a set of Van Gogh tubes. The set includes a variety of colors. It’s a great set to start out with. As I used up my Van Gogh tubes, I began replacing them with Winsor & Newton tubes. I also began adding other colors (like pink and purple) with Winsor & Newton tubes, sometimes with their student grade brand Cotman.


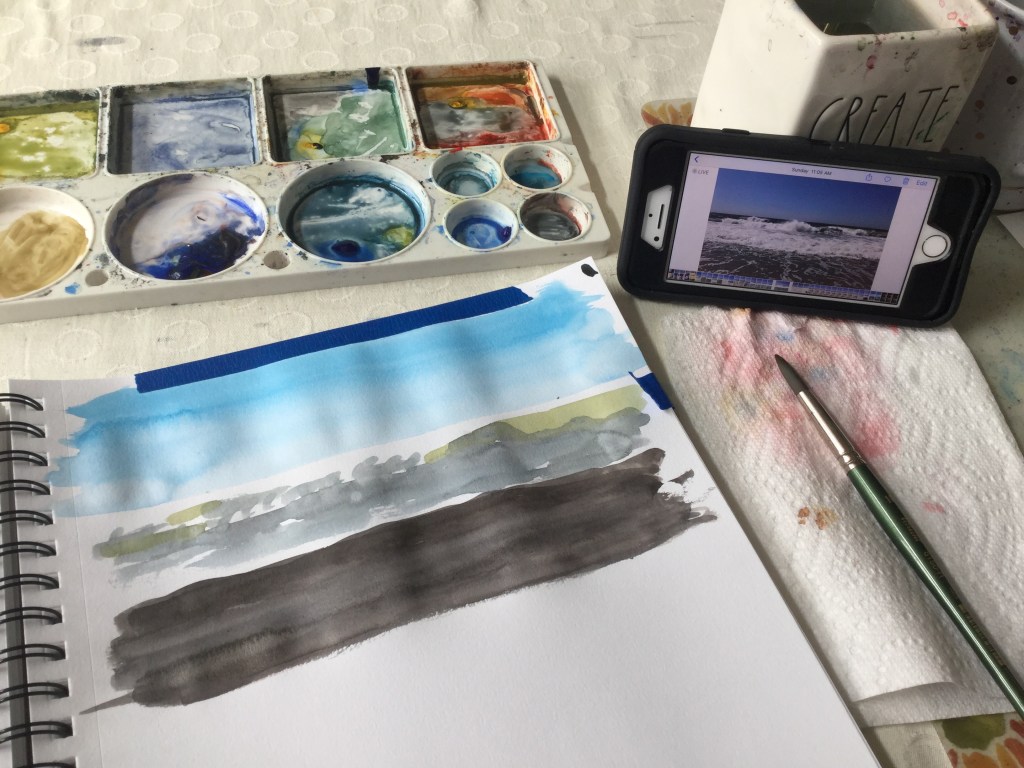
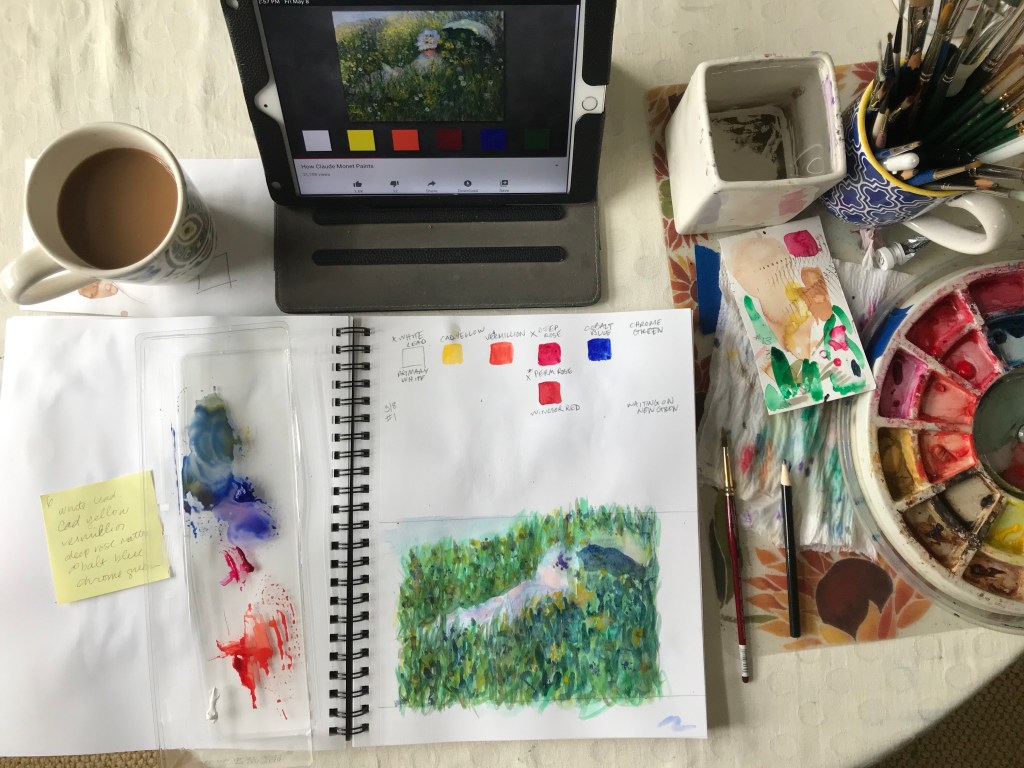
My Palette – I squeezed small amounts of most of my colors into my palette. I reactivate dried paint by mixing it with water. Sometimes I work directly from the tube and use a mixing tray or the top of a plastic egg carton to add water or mix colors. You don’t actually need tons of colors – I often create paintings from primarily just three colors – Ultramarine, Cadmium Red and Cadmium Yellow.


Liquid – Watercolor paint also comes in liquid form. Some liquid watercolors – like the ones below – have an eye dropper top. This seems like a great way to guarantee that you mix the same colors every time – just keep track of how many drops you use. My friend uses liquid watercolors and her colors are rich and vibrant.


Which type of paint you use is a personal preference. I don’t think there is a wrong answer. Pick one to try and see how you like it!
Tip – always keep a scrap piece of paper nearby to test the saturation of a color and/or your color mix before touching your painting!
Did you read these Watercolor Basic posts?
Watercolor Basics – Brushes
Watercolor Basics – Paper 5 Tips.
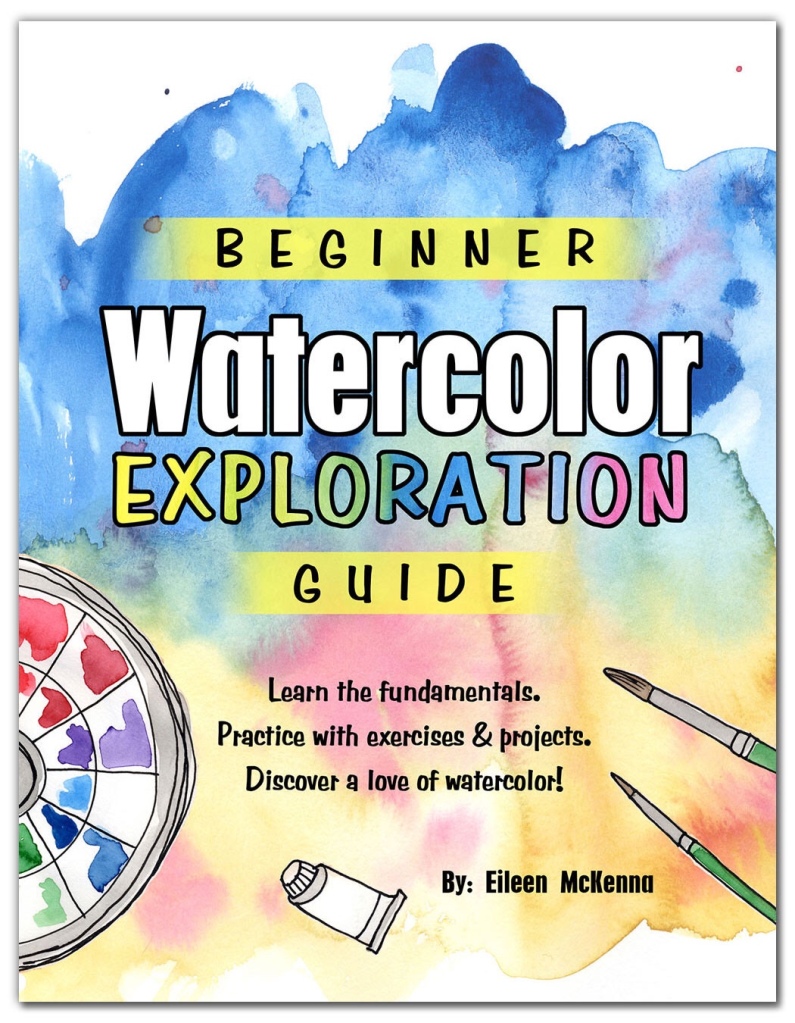
Ready to get started in watercolor? Check out “Beginner Watercolor Exploration.”
- Learn the fundamentals.
- Practice with exercises and projects.
- Discover a love of watercolor!
Start your watercolor journey today! Learn more here.
This post contains affiliate links to products/brands I use and recommend. I earn a small commission whenever you buy using these links, at no additional cost to you. Thank you for supporting my blog!