The First Few Creative Days of 2019

Coastal inspired art | watercolor seascape by Eileen McKenna
2019 is off to a good start! I’m making drawing and painting a priority and try to work in the mornings, even if it’s just for a little bit. It’s fun to sit down with no real thought as to where it will lead and let things unfold.

With painting holiday themed things throughout December, it’s been a while since I painted a seascape. Looking through my stack of unfinished projects, I found the start of a seascape and suddenly felt inspired to finish it. (Our annual New Year’s Day walk at the beach may have also inspired this. The waves were crazy!) Painting the foam was so much fun!

There are two time-lapse videos on Instagram if you want to see how I went from here:
Step one painting the ocean in watercolor

to here:  The secret is a lot of white gouache!
Painting the ocean in watercolor final

As I was looking through my supplies this week, my kneaded eraser was nowhere to be found, I had only one sheet of watercolor paper left, and my favorite sketchbook was running low! I didn’t paint today but I did head to Blick to stock up on these essentials. I usually paint using 9” x 12” or 12” x 12” watercolor paper, but felt inspired to also grab a larger pad of 12″ x 16″.

It’s funny – a few years ago my favorite size was 6” x 6” – so small! It was an accident that I went to the 12” x 12”. I ordered the wrong size, decided to give it a try, and have never looked back!


Prismacolor Kneaded Rubber ErasersCanson XL Mix Media PadsFluid Easy-Block Watercolor Paper Blocks

Want a dose of creative inspiration? Sign up for my newsletter “My Creative Collection” by clicking here. Learn more here.

This post contains affiliate links to products/brands I use and recommend. I earn a small commission whenever you buy using these links, at no additional cost to you. Thank you for supporting my blog!

the secret to painting watercolor seascapes | how to paint waves

Painting in a Winter Wonderland

Winter skating scene by Eileen McKenna
Other than a one or two days when I had the flu, I’ve painted throughout the holiday season. You can see every post on Instagram @eileenmckenna. I really enjoy this relaxing time and the holiday and winter concepts I’ve explored. Anytime I’ve worked for a week or month within a theme, I’ve been pleasantly surprised with some of my ideas. One of my main goals for 2019 is to work within themes. First up Valentine’s Day and St. Patrick’s Day.

Winter illustrations by Eileen McKenna | ice skates hat mittens

To see my daily posts follow me on Instagram @eileenmckenna.

Back to Daily Creativity

Christmas illustrations | Reindeer art | holiday clip art available for digital download on Etsy
I had forgotten how good it feels to just sit and paint, no real thought about the outcome. Feeling free to explore ideas that come to me. It’s almost meditative. I was busy with other creative projects and frankly let procrastination get in the way. But now I’m committed to creating daily. I’ve enjoyed painting holiday illustrations the past few years. It’s a fun way to celebrate the Christmas season.

I’ve made my illustrations into holiday cards available on Zazzle:
Holiday cards on Zazzle | unique Christmas cards | Christmas art

And many of the illustrations are available for download in my Etsy shop for use in your creative projects.
Holiday Art | Christmas watercolor art Digital downloads Etsy

Acrylic Painting Routines

Acrylic Painting Routines

Since I began painting in acrylic vs. my usual watercolors, I’ve developed a routine. This routine of how I set up and arrange my paint, brushes, water, etc., makes me feel as if I’m emerging from beginner status.

Setting up is more extensive than just pulling out my watercolors, but I like thinking about what I’m going to paint as I get ready. Because it is more involved, I do it less often. I find it’s most efficient to work on a few paintings at once, especially since I’m concentrating on the same subject – the ocean.

I’ve solved a question, I had way back in the early days of my blog, of whether to use an easel or not. I prefer to paint flat and like the 12” x 16” canvas size. It is a manageable size to paint on a table. I’ve learned that anything larger is too cumbersome on the table. For larger canvases, after banging them around a bit, I learned to put them on my easel. Maybe I’ll finally get comfortable using it.

Early on I struggled with the first coat on the canvas – the canvas soaks up all the paint! I read that gesso helps the paint go on more smoothly. So now I apply a coat of gesso to each canvas before painting – wait 24 hours for it to dry – and then the paint goes on easier!
Acrylic Painting Routines - priming the canvas with gesso

Painting in acrylics is very different than watercolor. With acrylics it’s easier to blend and manipulate an area of the painting when the paint in that area is wet. Right now I have five new canvases gessoed and ready to go, and I’m excited about the possibilities.

Want a dose of creative inspiration? Sign up for my newsletter “My Creative Collection” by clicking here. Learn more here.

Click here to view my collection of watercolor and acrylic seascapes.

This post contains affiliate links to products/brands I use and recommend. I earn a small commission whenever you buy using these links, at no additional cost to you. Thank you for supporting my blog!

Create Seasonal Place Cards

Thanksgiving place cards | place card template | Thanksgiving table decor centerpieces place settings
Pretty up your Thanksgiving table this year with seasonal place cards. I’ve created a word template to get you started on creating your place cards.

Steps:

  • Select a font
  • Type in your names
  • Import artwork – The Watercolor Leaf Border Art is available in my Etsy shop at www.etsy.com/shop/EileenMcKennaArt
  • Print, trim and fold

Alternative to importing artwork – follow other steps and hand paint or draw on each place card. A fun project for the kids. Let me know how your place cards come out!

Download the word (docx) place card template here.
Visit my Etsy shop to browse seasonal downloadable art!

Kick up your Creativity with Color!

Kick up your Creativity with Color! Steps to Creativity for everyone
Want to be creative but don’t know how/where to start? If you haven’t already, click here and start with these 3 steps! If you have started with the beginning 3 steps, then you’ve accomplished a lot!

  • Your eyes are open to inspiration. You take photos and make lists of things to sketch.
  • You’ve been sketching regularly in pencil. Hopefully noticing the difference between the softer B and the harder H pencils. You have a regular creative practice!
  • You don’t just draw something once – you practice drawing it several times. Take a moment to look through your sketches and see overall how much you’ve progressed!

Well done. When you are ready, move on to these steps – that are all about Color!

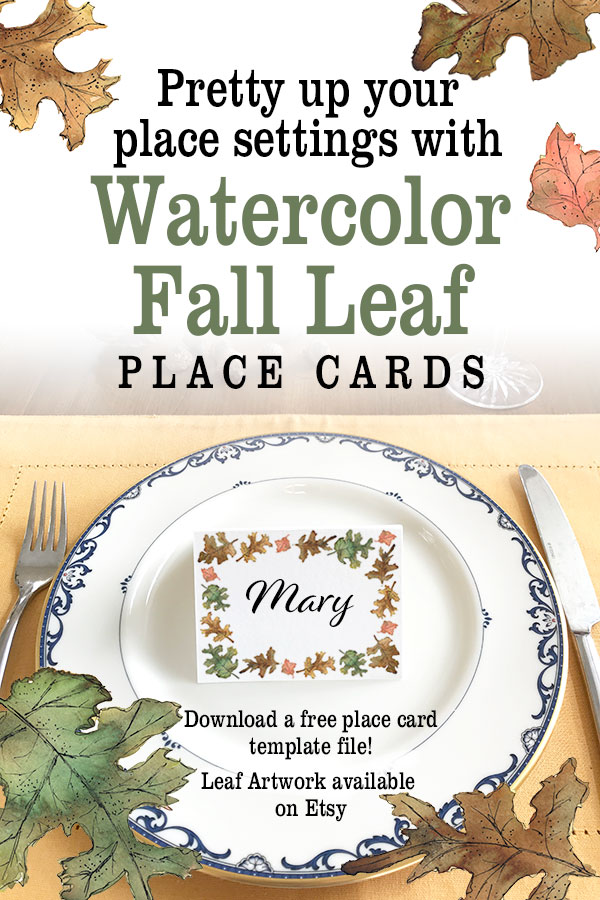
1. Colored Pencil or Watercolor? – The next logical step may seem to be colored pencils, but if you are itching to paint, and want something more fluid, I recommend watercolor. Here is where YOU decide what path your creative journey takes. This is about finding what YOU like. If you need recommendations on either see below.

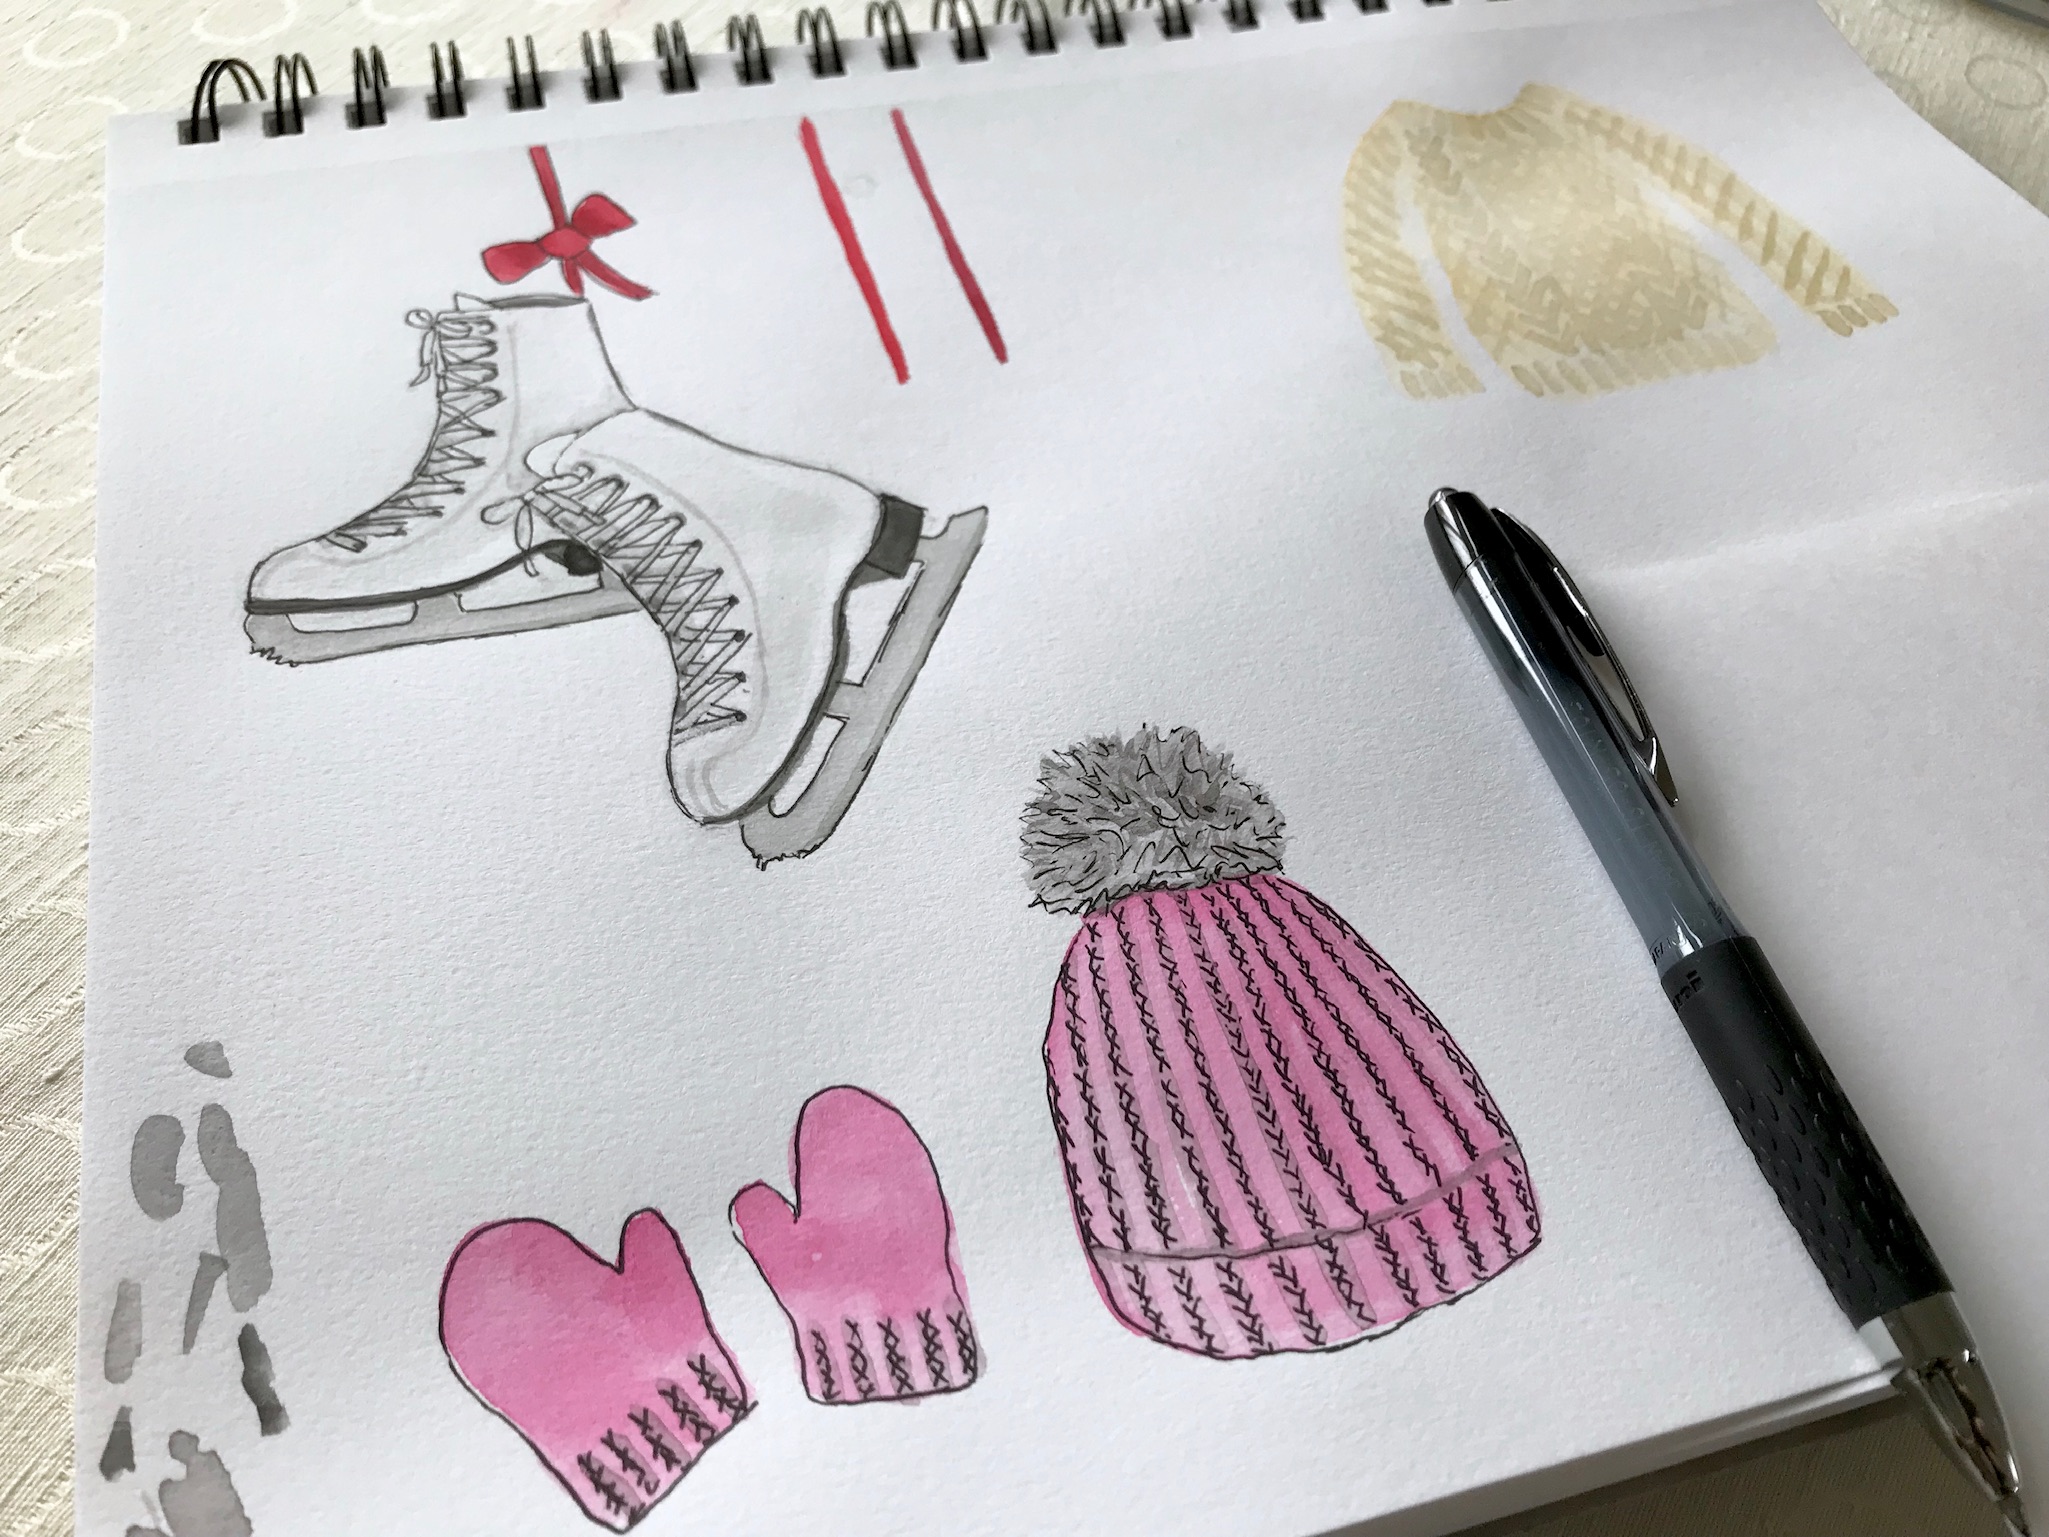
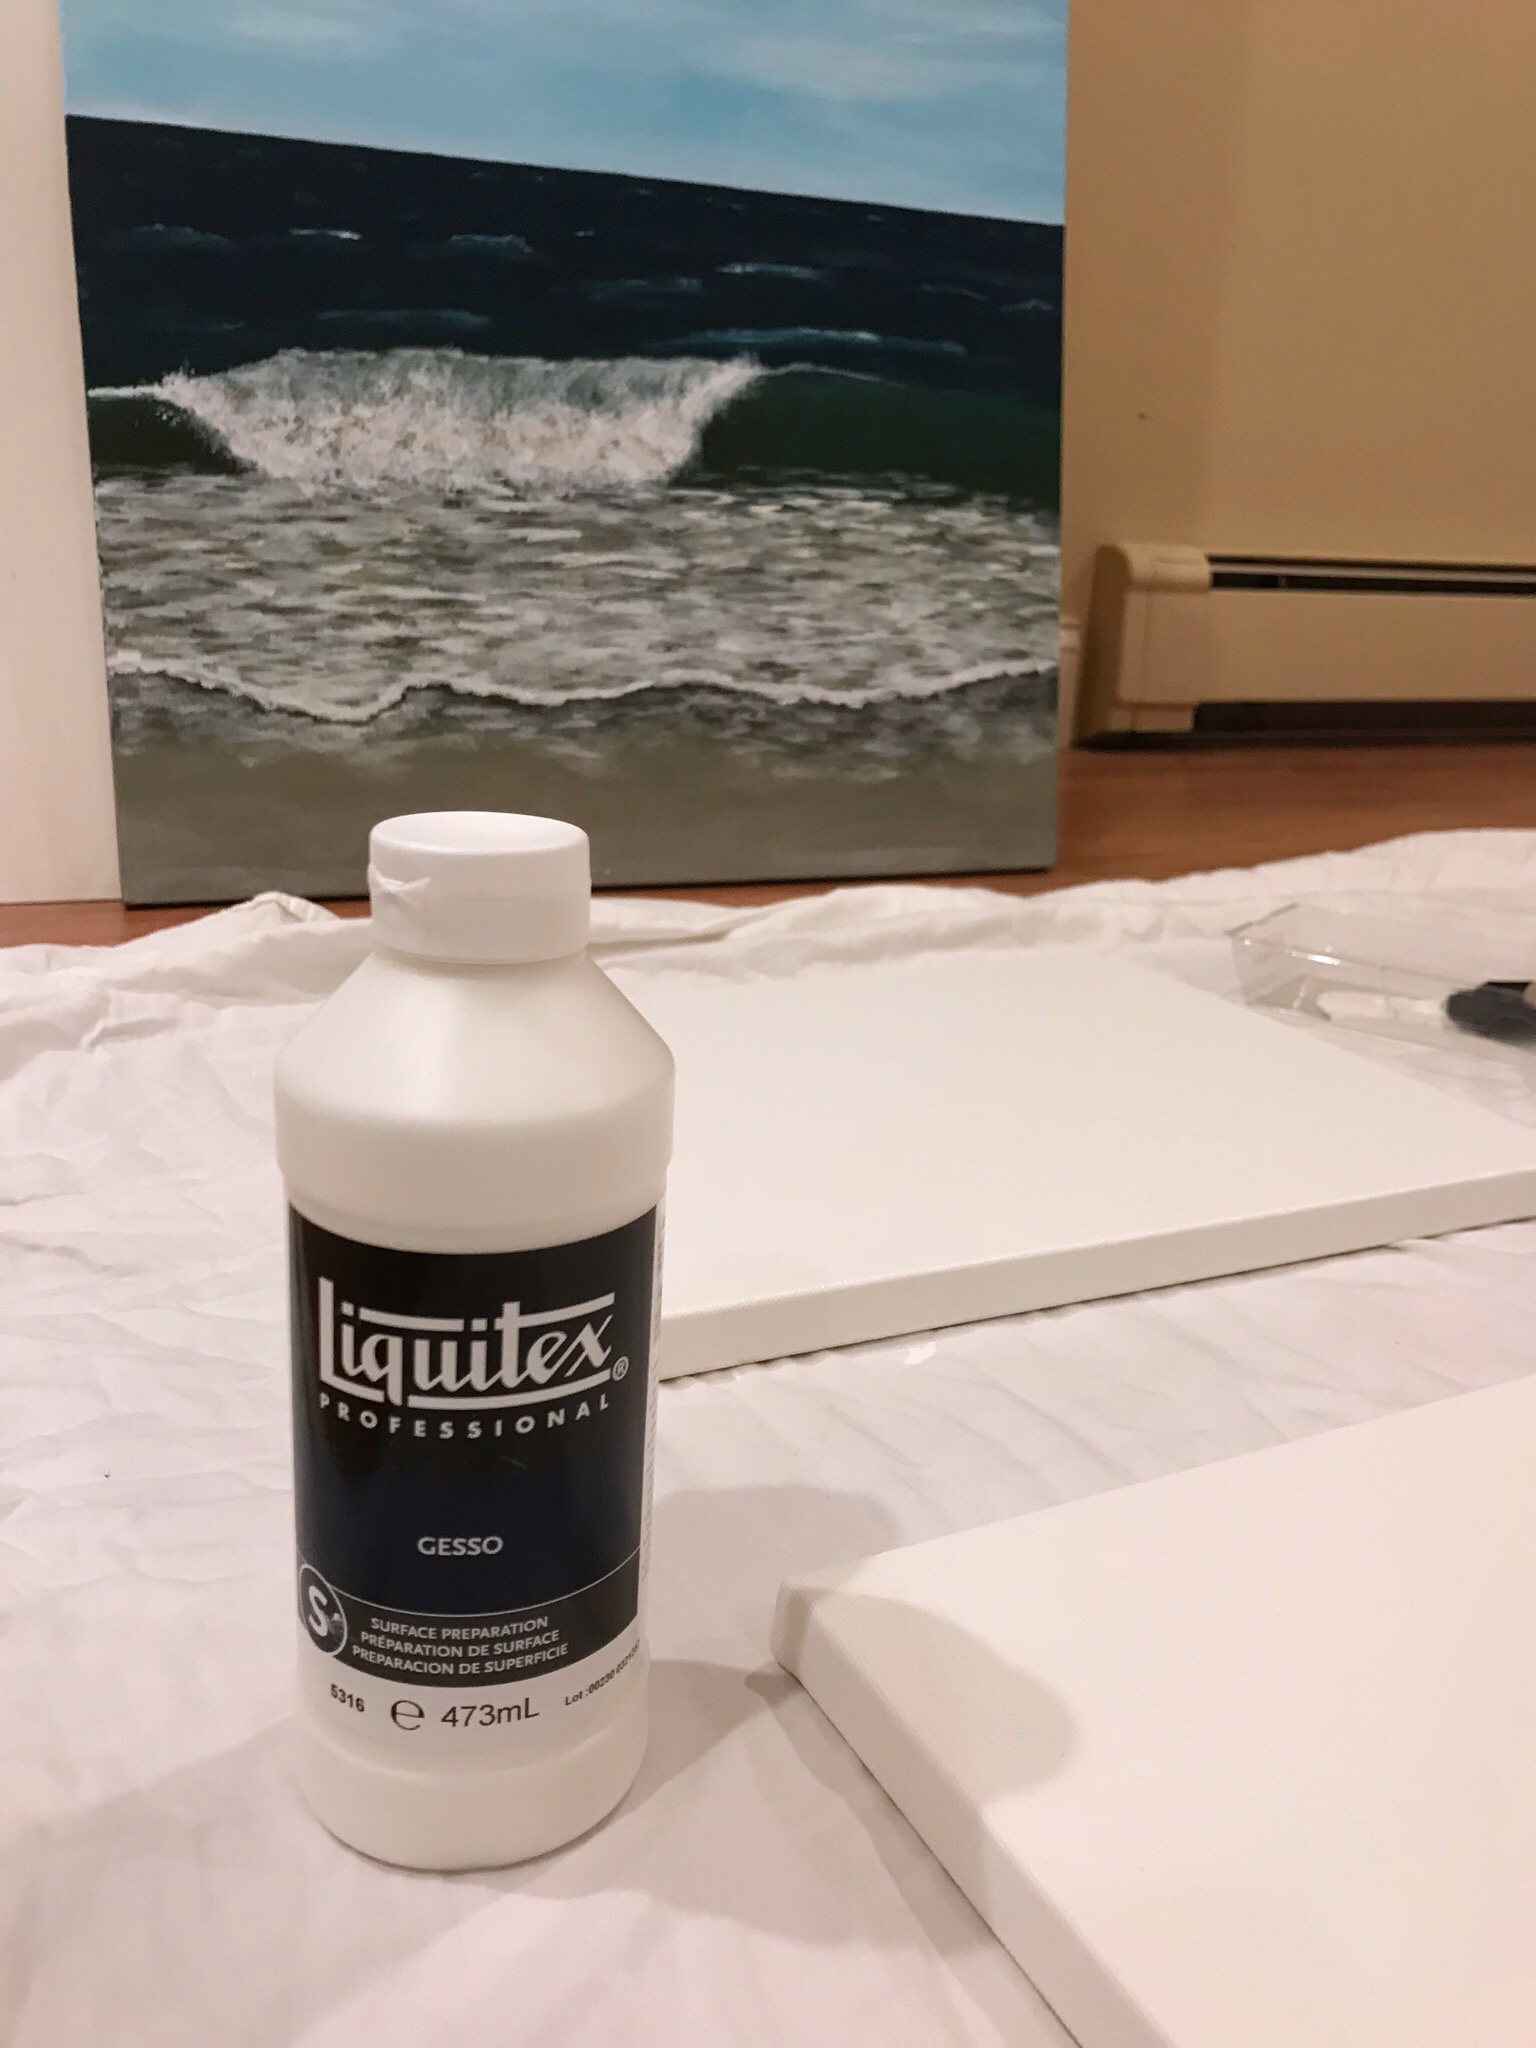
2. Start simply with your sketchbook. Continue with your creative habit of sketching regularly – but now use color! You can use regular pencil first and then add color – or start directly with color. I recommend working in your sketchbook because it’s a no pressure, play zone, where you can practice and learn. Note: if you decide to use watercolor – please look at my sketchbook recommendation below, so your pages don’t buckle.

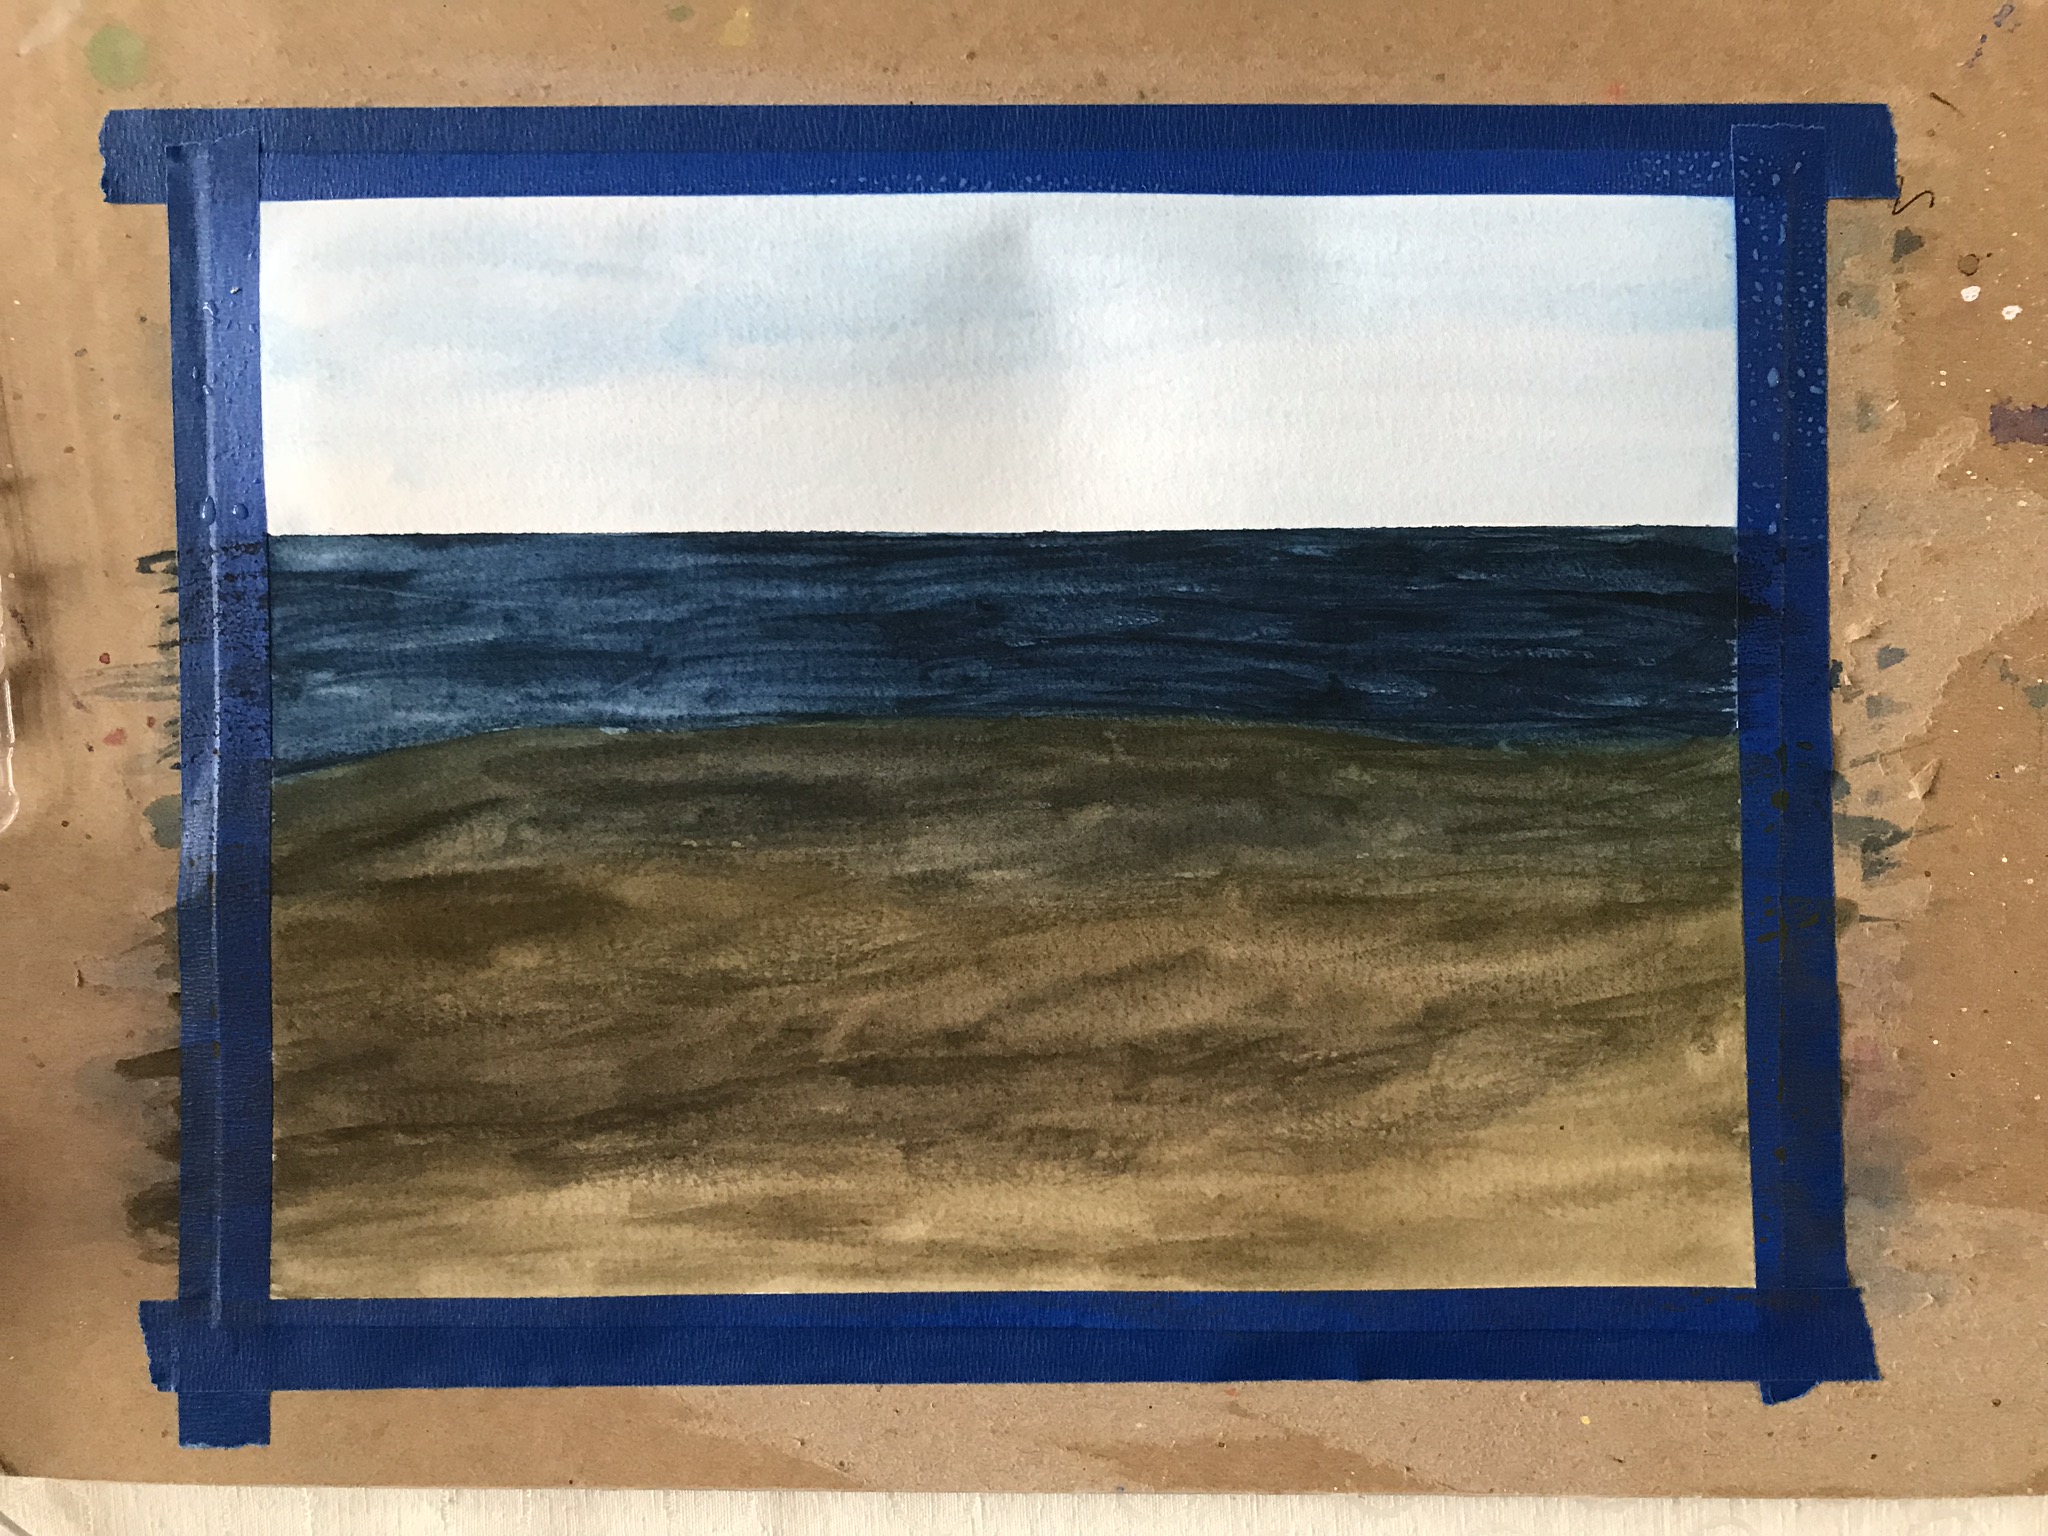
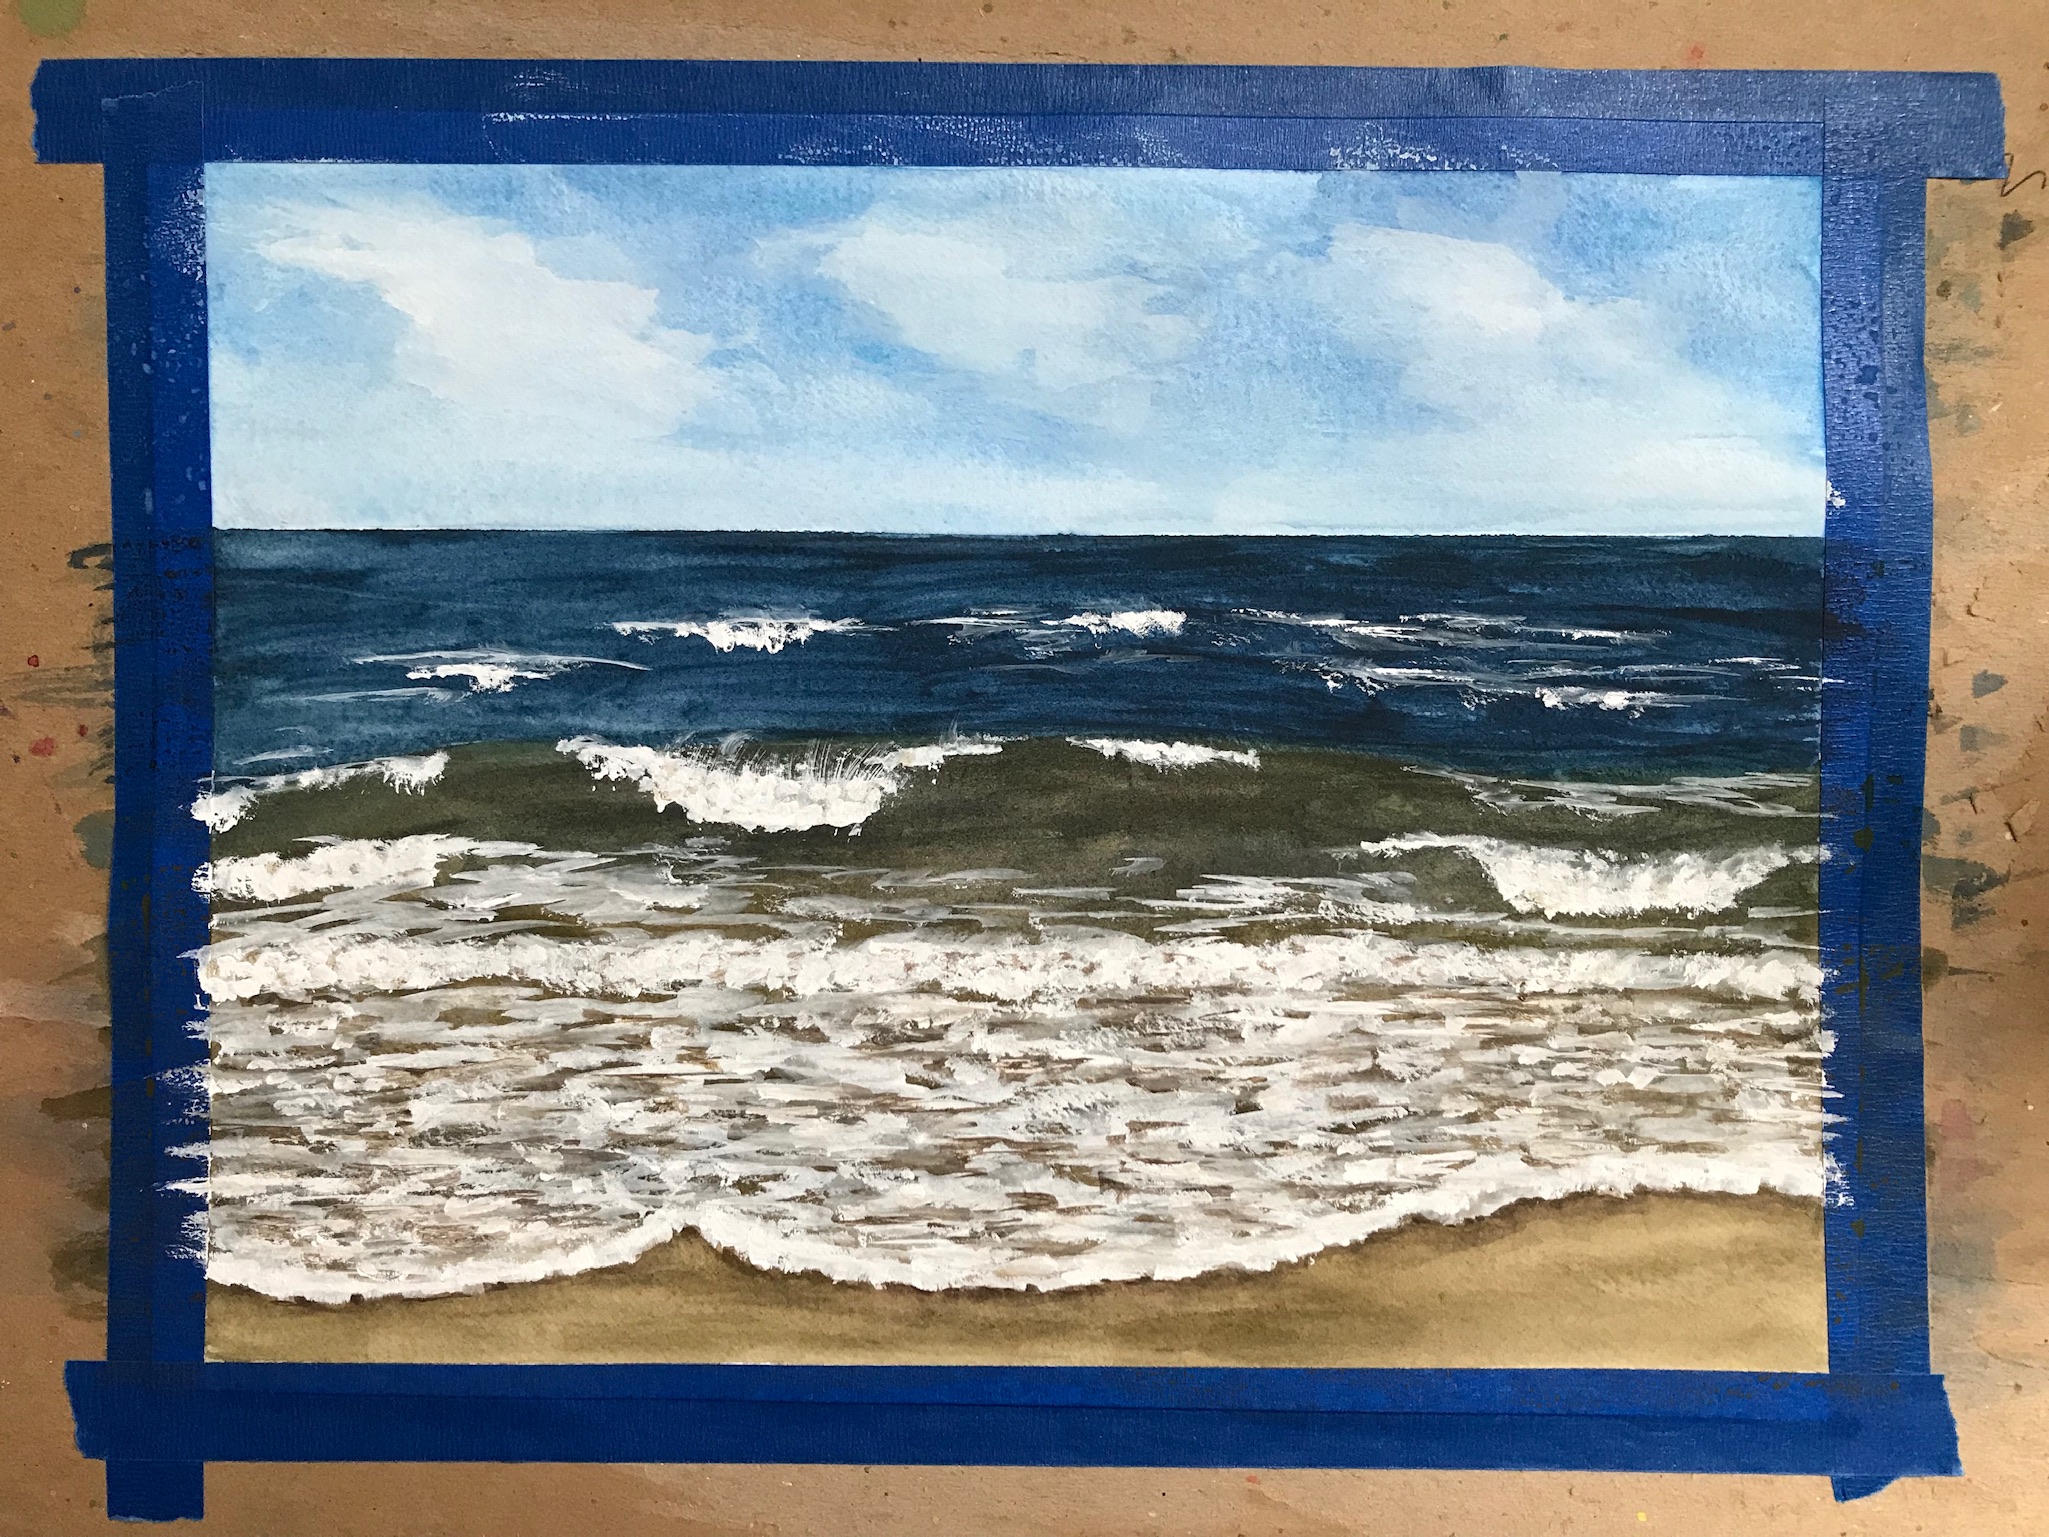
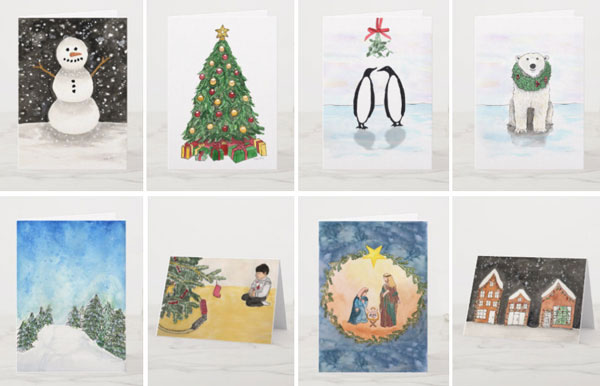
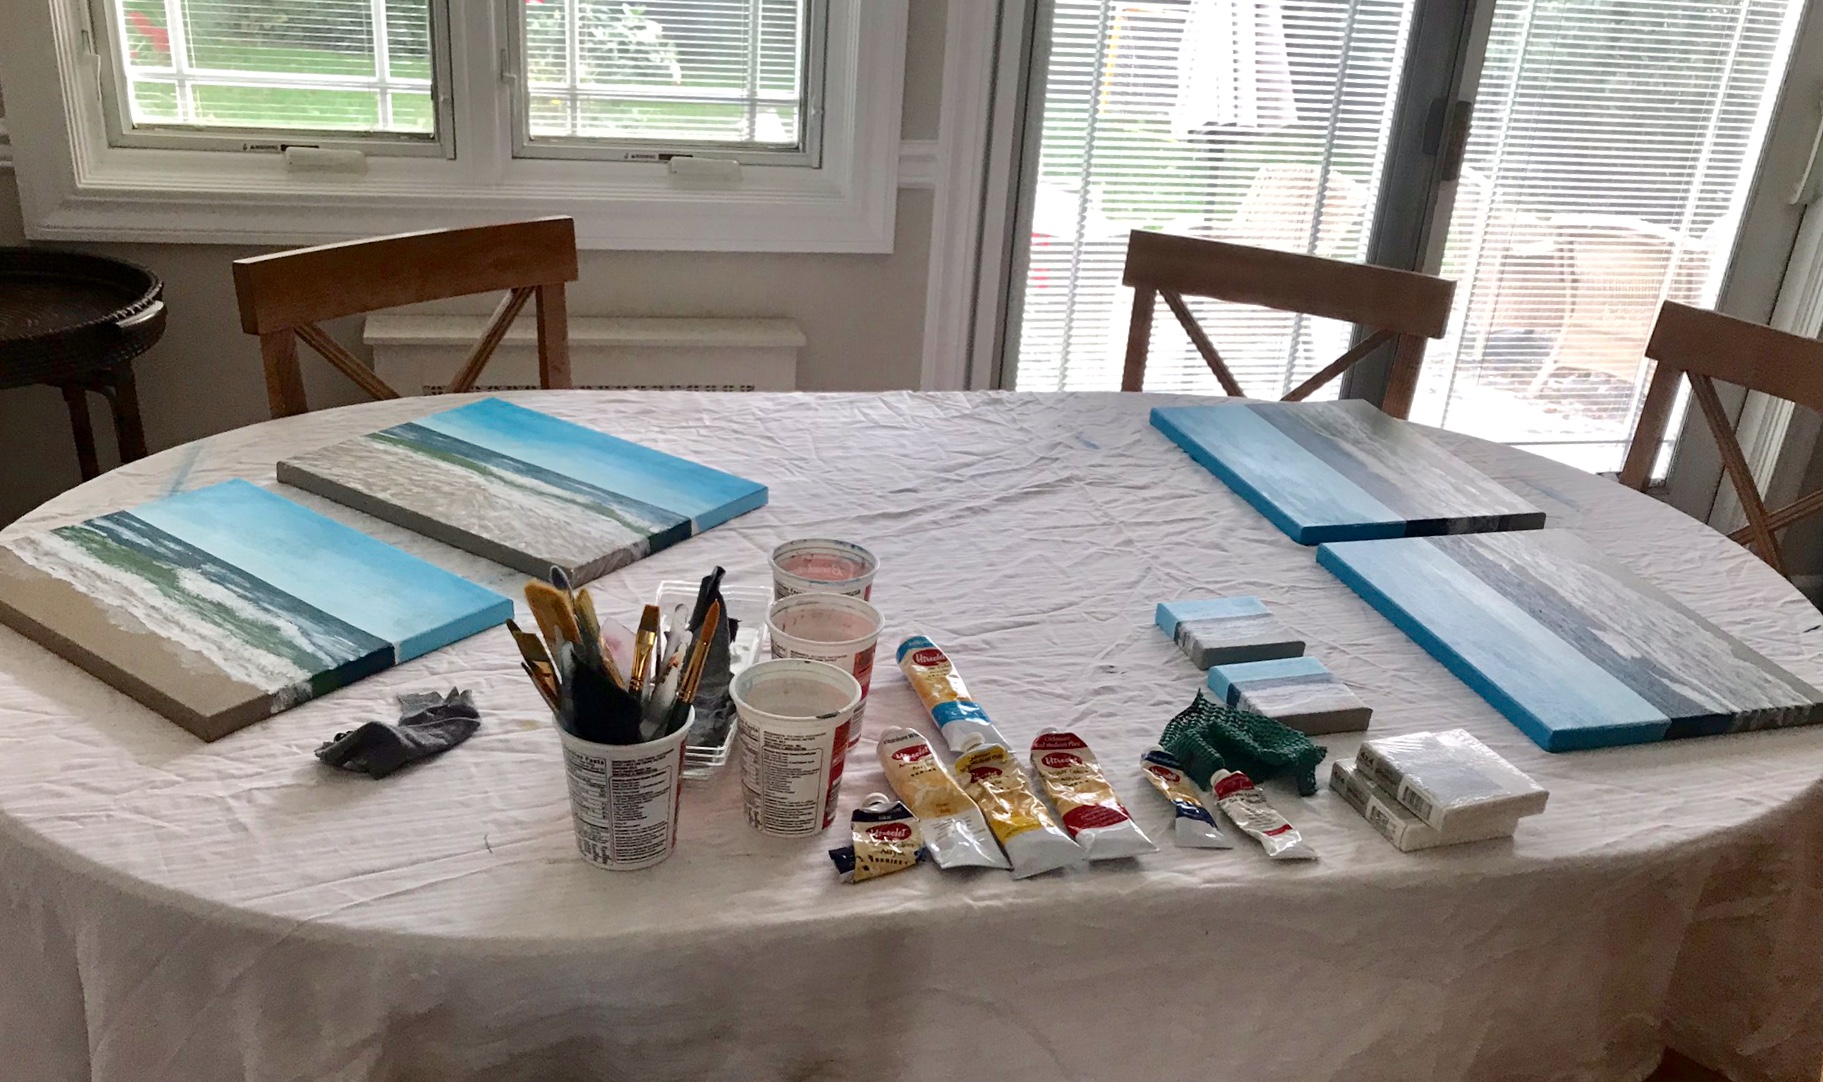
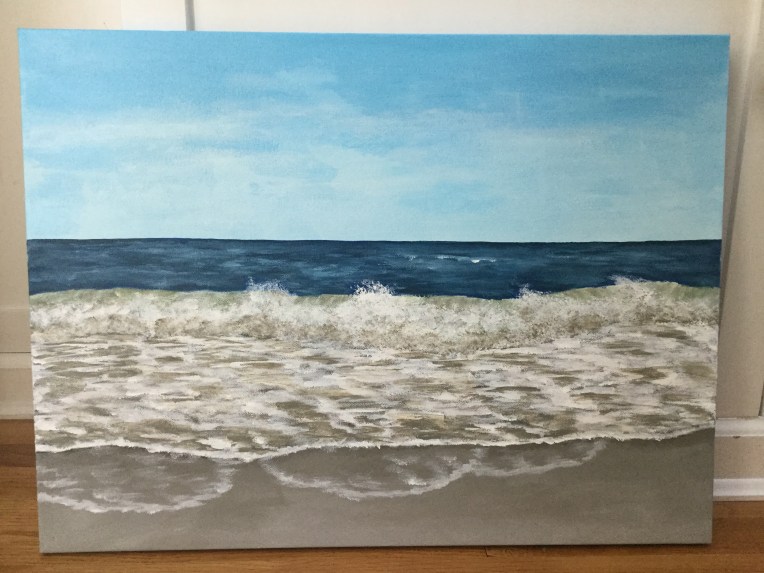
3. Beyond the sketch. After practicing in your sketchbook, it’s time for a drawing or painting that you spend more time on. After all your loose, quick sketches, you are ready. It can be a page in your sketchbook, or perhaps use a nicer paper – see recommendations below based on your choice of medium. Before you start, plan it out. Pick a reference photo, study it, and lightly plan it out in pencil.

When you are working on a drawing or painting for a longer period of time, stepping away and coming back to it with fresh eyes, helps a lot. I sometimes work with my reference photo and paper upside down – to check that things look right. Don’t expect immediate results. Don’t give up because it isn’t looking like you envision. I used to be a “quitter,” but I learned that it takes time, and the results often surprise me if I stick with it, and work through “mistakes.” In the end, any “weak” areas – are just things to work on for the next time. It’s a learning process. Good Luck!

My recommendations:

Colored PencilsPrismacolor Colored Pencils
Strathmore Bristol Vellum Pad – Smooth thicker, bright white paper – great for a colored pencil project.

Watercolor Tube Sets – I love Windsor & Newton paints and started with their affordable Cotman “student grade”
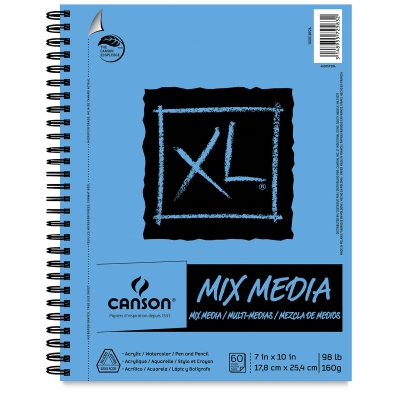
Canson Multimedia Sketchbook – I love this versatile, bright white, thicker sketchbook paper
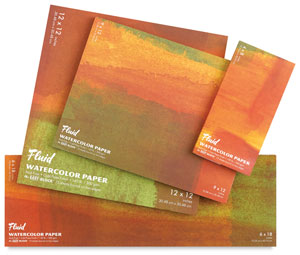
Fluid Watercolor Paper – great for a watercolor painting. Tape down the sides to a larger piece of cardboard with painter’s tape to prevent buckling!

Colored Pastels are another option. I never really got the hang of them, but my daughter loves them. She uses the Prismacolor sticks.

Want a dose of creative inspiration? Sign up for my newsletter “My Creative Collection” by clicking here. Learn more here.

Click here to view my collection of watercolor and acrylic seascapes.

This post contains affiliate links to products/brands I use and recommend. I earn a small commission whenever you buy using these links, at no additional cost to you. Thank you for supporting my blog!

Practice makes Progress

Acrylic seascape by Eileen McKenna | painting waves
Above my most recent acrylic seascape.

When I was younger and had less confidence in my artistic abilities I was hung up on talent. Nowadays I think of talent as just a starting point. It is almost irrelevant because if you work at drawing or painting, or whatever medium suits you, you will get better. I saw this in myself and in others (both online and in person). As I continue to paint my seascapes in acrylic paint (vs. my usual watercolor) I see how I have progressed. When I notice areas in a painting that need work, I try to improved them, or I think of ways to enhance these areas in the next painting. 

My first acrylic seascapes:
Transitioning from watercolor to acrylic
Click here to view my collection of watercolor and acrylic seascapes.

Acrylic Seascape Details

Acrylic seascape by Eileen McKenna

Painting Seascapes

Before beginning to work in acrylics, I practiced painting seascapes in watercolor. Although acrylics are different, I found practicing in watercolor to be very useful. I developed a process that, when I switched to acrylics, I could follow. And painting with watercolor on paper is less expensive than using up canvases.

Coastal inspired art | watercolor seascape by Eileen McKenna
Watercolor Seascape by Eileen McKenna

Process for Painting Seascapes

Here is a summary of my painting process. Keep reading for links to more in depth resources.

  1. Mix seascape colors  – I mix blues, greens, and browns from ultramarine blue, cadmium yellow, and cadmium red.
  2. Mark the horizon line. I use painter’s tape to achieve a straight horizon line.
  3. Paint the ocean water closest to the horizon darker and bluer.
  4. Paint the water in the cresting wave lighter and greener.
  5. Paint the shallow water near shore brown.
  6. Paint the sand. The sand is darkest closer to the ocean where it is wetter.
  7. Paint the crashing waves with white.
  8. Paint the foam with white and a flat brush. Horizontal lines help this area appear flat.
  9. Add shadows to the breaking wave.
  10. Paint the sky as a blue fade that is lighter closest to horizon.
Acrylic Seascape painting

Tips for Painting Acrylic Seascapes

  • Study a reference photo to identify the details that will make your seascape more realistic looking.
  • Clouds in the sky – I used an acrylic gel medium to thin out the paint and overlay colors for a more transparent look.
  • Paint lighter areas on the ocean for the sunlight
  • A dry brush can help create the spray off a crashing wave
  • Use an art sponge to make the shadows in the crashing wave look more natural.
  • Add a dark line beneath the edge of the foam to make the foam appear thicker.
Art sponge makes more natural looking shadows when painting waves

Practice painting seascapes in watercolor with these tutorials:

I share my step by step process for painting watercolor seascapes in the following tutorials. Choose the format that works best for you:

Easy Watercolor Seascape online video lesson for beginners
How to paint the ocean in watercolor and gouache | tutorial | step by step instructions | painting tips
Watercolor Seascape Painting Tutorial

For a weekly dose of creative inspiration ~ Sign up for my weekly newsletter here.

This post contains affiliate links to products/brands I use and recommend. I earn a small commission whenever you buy using these links, at no additional cost to you. Thank you for supporting my blog!

Learning Acrylics

Acrylic seascape by Eileen McKenna

In May I switched from painting in watercolor to painting acrylic seascapes. I painted ten 12” x 12” canvases – intent on getting comfortable with the different medium. It was so frustrating in the beginning, but with each painting I learned something. I’ve pulled out the acrylics again – this time with bigger canvases, and I’m reminded of what I learned so far.

What I’ve learned about acrylics:

  • A coat of gesso makes the paint go on easier
  • When your brush starts to split – you need more water
  • When your brush is drippy – that’s too much water
  • Blend the colors next to each other for a more natural look
  • Blending works best when both colors are wet
  • It is better to work when the paint on the canvas is wet and you have plenty of your colors mixed and ready
  • Add highlights by adding white paint (or lighter paint) to your brush and blending it with the wet paint on the canvas
  • To thin the paint and overlay colors use  acrylic gel medium.
  • Use little canvases (or a canvas pad) to test color mixes
  • Painting in acrylic involves more set up and prep than watercolor. And more clean up.
  • Using a sheet from a palette pad – taped to your palette – makes clean up easier!
  • It is not as easy with acrylics to make a quick fix or change
  • Using painter’s tape for a straight horizon line presents some challenges. The paint can accumulate at the tape creating an edge.

Click here to view my collection of watercolor and acrylic seascapes.

Want a dose of creative inspiration? Sign up for my newsletter “My Creative Collection” by clicking here. Learn more here.

This post contains affiliate links to products/brands I use and recommend. I earn a small commission whenever you buy using these links, at no additional cost to you. Thank you for supporting my blog!