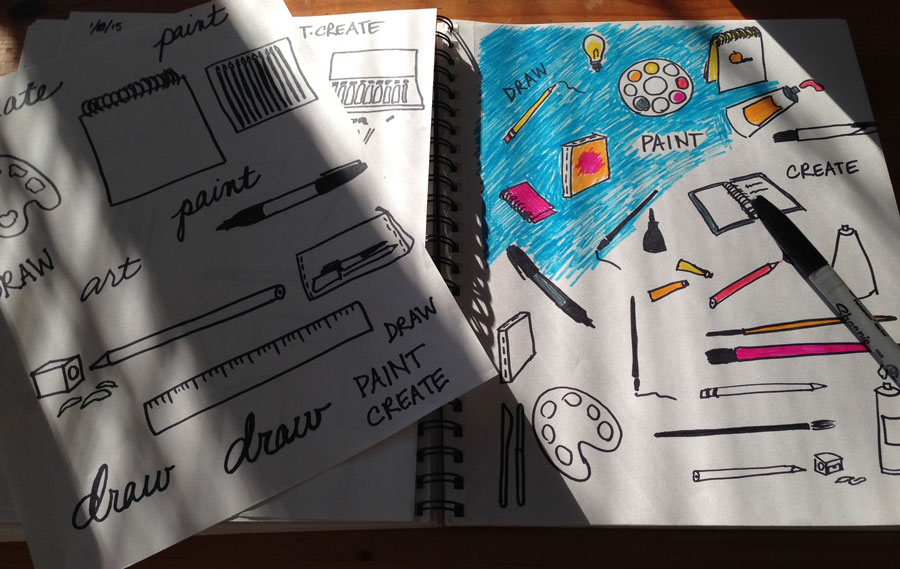
I’m still playing around with painting digitally! The original idea for this illustration was a quick sketch in a lined notebook. I intended on redrawing it more carefully, but I liked the messy one better!
Original sketch:

I scanned it and opened it in Photoshop. I’ve been using Photoshop for years as a Graphic Designer, but I’m learning and practicing great stuff with brushes that I never used before. This previous post links to an awesome video tutorial. It opened my eyes to another side of Photoshop. Before watching it, I didn’t know it could be so quick and easy to add texture.
In Photoshop, I first went to Image > Adjustments> Levels and made adjustments so the paper didn’t show and some of the blue lines disappeared. Then, following what I learned in the tutorial, I made my sketch one layer and put the “multiply” effect on it. (When you select multiply all the white stuff disappears, only the black remains and the layer underneath shows through.) Then I did all the coloring in a layer underneath it.
My color layer:
The sketch is visible on top of the color layer because “multiply” is selected:

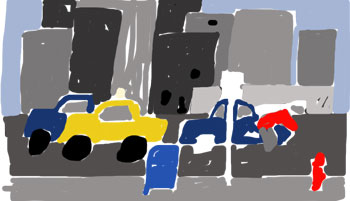
To give it character, I applied a mask to the color layer, and filled it with black. (The entire layer disappears.) I selected the Soft Oil Pastel paintbrush and painted white onto the black mask. (The white parts of a mask is what shows through.) This gives the effect you see at the top of the post.
It’s fun! Give it a try and let me know your results. 🙂