How to Draw a Leprechaun

A Fun St. Patrick’s Day Art Project

What is St. Patrick’s Day without a few leprechauns hanging around – right? The “How to Draw a Leprechaun” tutorial is fun for all ages!

Here’s what you’ll need:

  • Pencil
  • Paper
  • Eraser – I like kneaded erasers – no pink smudges!
  • Color – use colored pencils, markers, watercolor paints, whatever you like to add color to your leprechaun!
  • Pen or Thin Marker – my choice is a Uniball Signo Black Gel Pen. It goes on so smooth!
how to draw a leprechaun printable tutorial

Download the Step by Step Tutorial!

The printable tutorial is available in my Etsy shop at www.etsy.com/shop/EileenMcKennaArt.

The pdf tutorial is 3 pages and is easy to follow.

Watch the Video

I want to see your leprechaun!

Tag me on Instagram @eileenmckenna

Sign up for more seasonal art projects:

Processing…
Success! You're on the list.

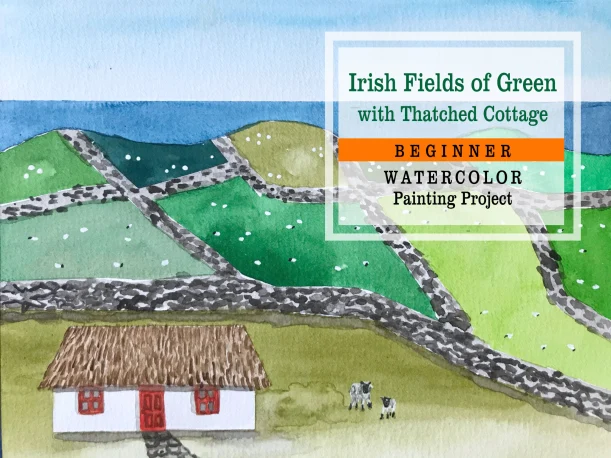
St. Patrick’s Day Painting Project for Beginners

Ireland is said to have “40 Shades of Green” and in this beginner watercolor project we’ll use as many shades as possible! Beginner friendly! Step by step tutorial with photos walks you through creating this Irish landscape.

In this tutorial you’ll learn:

  • Masking with tape
  • Painting fades
  • Painting layers
  • Painting dry on dry
  • Using gouache – more opaque than watercolor
Fields of Green Ireland Painting Tutorial

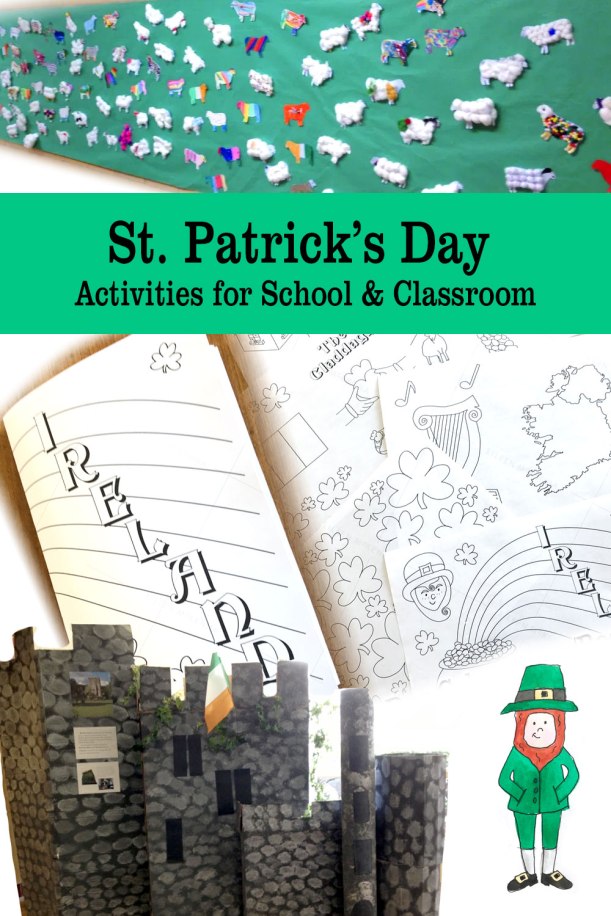
St. Patrick’s Day Paper Craft

Download this printable paper quilt kit and have fun making your own St. Patrick’s Day Quilt. The four patterned papers include sheep, leprechauns, symbols of Ireland – harp, shamrocks, and the Irish flag. Fun for all ages!

Download the St. Patrick’s Day Paper Quilt Kit in my Etsy shop here.

For more fun St. Patrick’s Day ideas read Teaching Children about Ireland.

This page contains affiliate links to products/brands I use and recommend. I earn a small commission whenever you buy using these links, at no additional cost to you. Thank you for supporting my blog!

4 Tips for Professional Looking Invitations

4 tips for professional looking invitations | Christmas holiday invites | Cookie Swap invitation
It’s not hard to make your invites more professional looking. Think about the type occasion – is it formal or casual? For children or adults? Design the invite with the vibe of the party, and these four tips in mind:

  1. Size. Don’t design your invite to be 8.5” x 11” (letter) size. Instead choose a standard invite size (so it fits in a standard size envelope.) Popular sizes are 5” x 7” and 4.25” x 5.5”. You can fit 2 invites (next to each other) on a letter size sheet when printing. Then trim to desired size.
  2. Fonts. Use two fonts. Highlight important elements on your invite with a font suitable to the vibe of the occasion. Make important information bigger. Use a simpler font for details.
  3. Artwork. Use artwork – there’s so much affordable artwork to download online on sites like Etsy. Visit my Etsy shop here. Choose border artwork, or clipart for the top of the invite, or even use artwork in the background – making sure the text is still readable. A photo of the guest of honor is also a good option especially for kid parties.
  4. Text Color. Use one or two colors. Black plus one color is a safe way to go. Select the colors from the artwork or photo.

Added details for added interest:

  • Make the paper with the text a little smaller and layer on top of a piece of interesting paper (that is the final invite size). Attach the two pieces of paper with glue or hole punch, and tie them together with a ribbon.
  • Glue an element or two – like sequins, or anything that fits your occasion’s theme.
  • Order envelopes in one of your colors.

Browse my Etsy shop for downloadable holiday art, borders, and backgrounds for your next invitation project!

Download a free editable text template file (word doc):
invitetemplate_eileenmckenna

4 tips for professional looking invitations | fall halloween holiday invites