How to Paint the Ocean with Watercolor and Gouache

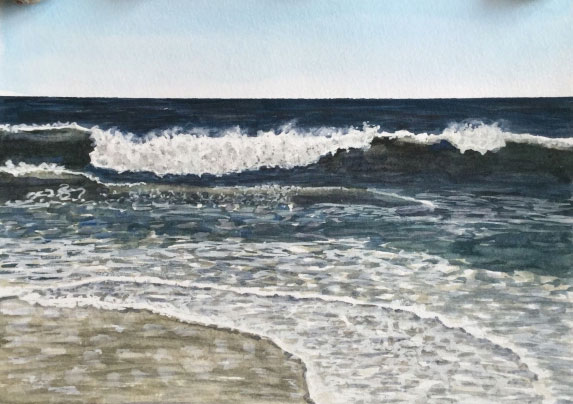
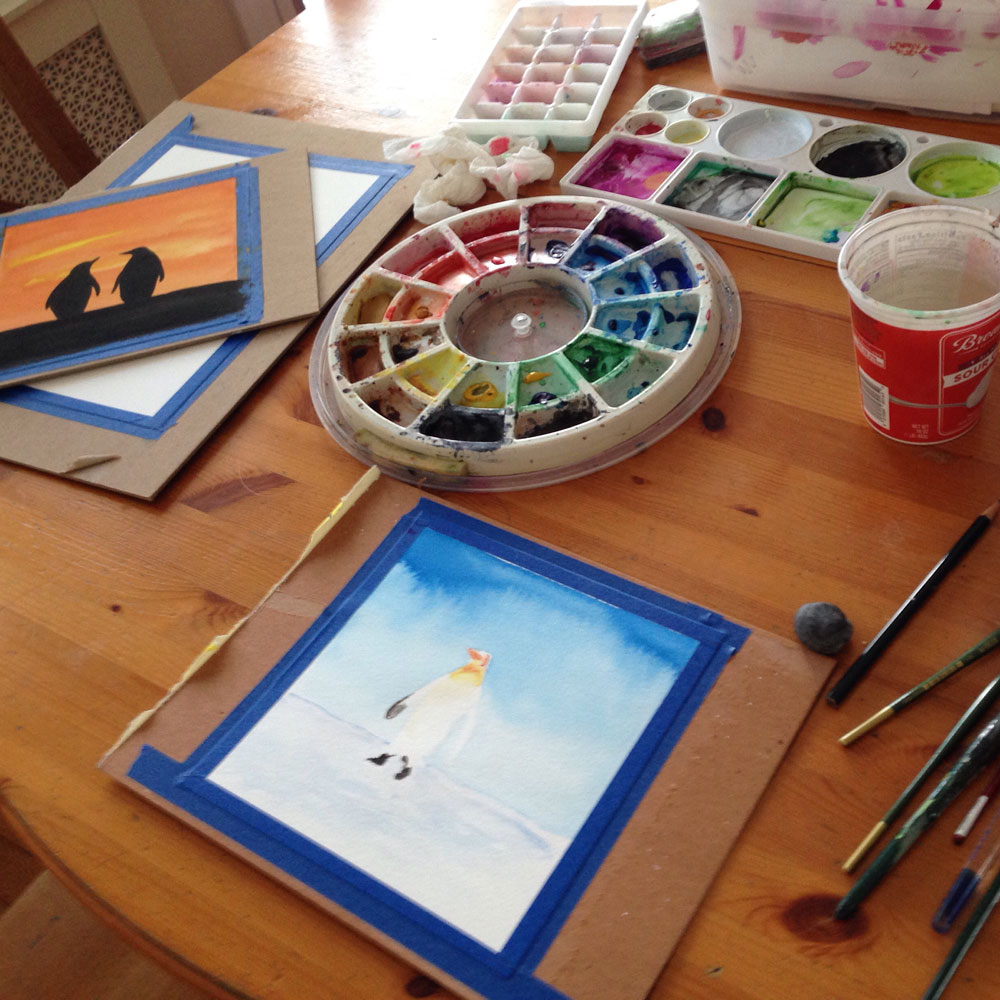
The beach has been the backdrop of my life. It’s where I was born and raised, played, worked as a lifeguard…and now enjoy summer days with my family. I spend a lot of time learning and practicing capturing the ocean in watercolor.

Printable Watercolor Seascape Tutorial
Download the full  “Waterscape Seascape Painting Tutorial,” in my Etsy shop.

How to Paint the Ocean with Watercolor and Gouache:

1. Use a reference photo. It is very important to paint from a reference photo. All the details you want to capture to make your painting look realistic are in a photo.

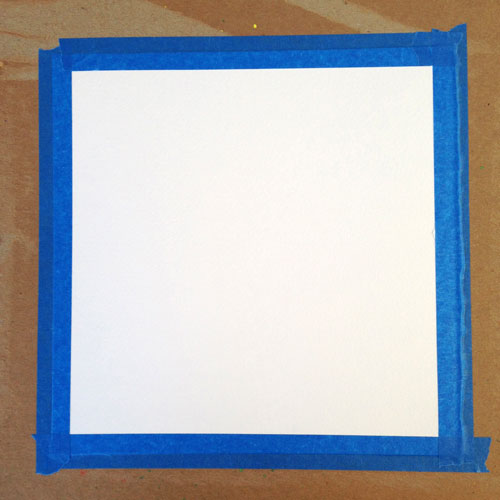
2. Tape your paper to a board. Tape your paper down to prevent it from buckling when it gets wet.

3. Tape your horizon line. To ensure a straight horizon line, use a ruler to measure and mark each side of the paper where the horizon line should be. Then tape across your paper above the pencil marks.

4. Mix your colors. I always mix my ocean colors to achieve more natural looking colors. In general from the horizon line to the sand the colors go from blue, to green, to brown.

5. Paint the first layer. Starting at the tape paint the distant ocean all the way to the dry sand, changing colors as you go. Don’t be afraid to overlap the colors.

6. Darken the first layer as needed. Add darks in the ocean for waves, etc. Refer to your reference photo. If the first layer is dark, consider lifting color with a damp brush to create highlights.

7. Paint the sky. Paint a simple fade where the color lightens as it gets closer to the horizon.

8. Paint the foam with white gouache. Gouache is more opaque than watercolor and you can paint over watercolor. I add white over the first layer of ocean colors to create the foam of the waves.

9+. Add details. Study your photo for little details – shadows in the breaking waves, etc. The details are what will make your painting more realistic looking.

Call it done! Every painting is a learning experience and information for the next painting. Call this one done and then try another one. The more you paint a subject, the better you’ll get at it.

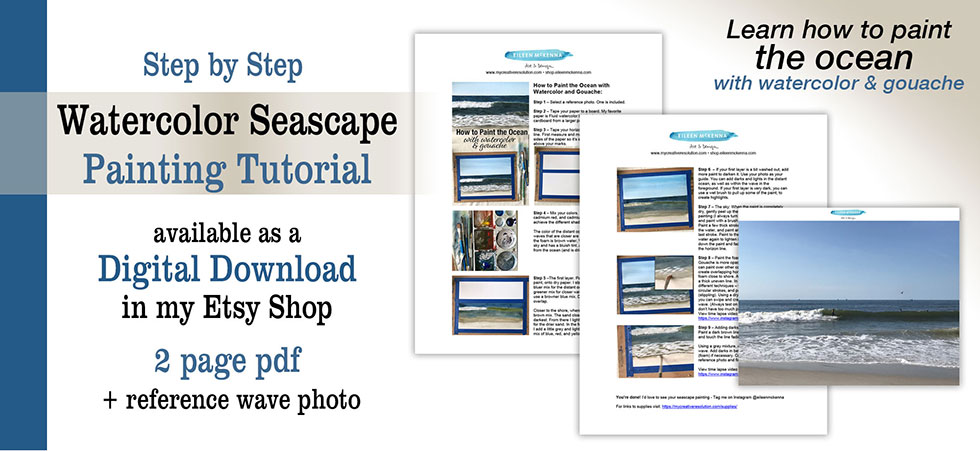
I dive deeper into the process of painting seascapes in my video lesson and pdf tutorial. Give one a try!

Seascape painting video lesson

seascape painting video lesson
Learn more about the seascape painting video lesson here.

Seascape painting printable tutorial

Watercolor Seascape Tutorial Download
Download the printable Seascape Painting Tutorial PDF in my Etsy shop.

Sign up for weekly watercolor tips & Techniques

Processing…
Success! You're on the list.
How to paint the ocean in watercolor and gouache | tutorial | step by step instructions | painting tips

This post contains affiliate links to products/brands I use and recommend. I earn a small commission whenever you buy using these links, at no additional cost to you. Thank you for supporting my blog!

Painting the Ocean with White Gouache

Easy Watercolor Seascape online video lesson for beginners

As I wrote about in my last post, I began painting the ocean in January. As is customary with watercolor, I was leaving the white of the paper bare for the white areas of my painting or I would remove paint with a damp brush or blot with a towel. This preplanning of what areas should be white at the start of the painting was proving difficult for me. And the white paper seemed too flat for the foam areas of the ocean.

So one day I opened up the white gouache…and everything changed for me. Gouache is more opaque than watercolor. You can paint over other colors even with white.

Compare the foam areas here:

To the foam here:
Watercolor beach landscape by Eileen McKenna

Eureka! I can add an underlying area of dark water, then add the white gouache on top. I can use a wet brush and blend the white with darker areas to soften it. I can add shadows on top of the white gouache and then add more gouache on that. I can “build up the layers” – which is the description of watercolor painting that always runs through my head while I work. It’s probably something my watercolor teacher once said.

A favorite foam painting – Surf Camp #1
 "A Cloudy Day at Surf Camp"

Lots of white gouache work here:
Crashing Wave by Eileen McKenna
See more of my seascape paintings here.

The small box of gouache paints I have contains cyan, magenta, yellow, white, and black. It is considered a “mixing box” – from it you can mix any colors. I think I bought it because I heard about gouache and wanted to try it. But it remained mostly unused until this year. The white is called Primary White. Since I’ve been using the white quite often it is running out. When I went to order a new tube of white – several different whites gouaches came up online – Zinc, Permanent, etc. I wondered, “What was the difference?” The comments on this online page shed a little bit of light, but mostly made me think – stick with what works. Primary white is considered good for mixing, which considering the box it came in makes sense. I don’t mix it much before using it, but I do blend it with other colors on the page as I paint. Let me know if you try painting the ocean with white gouache.

Want a dose of creative inspiration? Sign up for my newsletter “My Creative Collection” by clicking here. Learn more here.

Have you visited my online shop? Prints of my seascapes are available on watercolor paper or canvas, in many sizes including the new “mini” canvas 11″ x 14″ at shop.eileenmckenna.com. Take a peek! The perfect gift for beach lovers.

This post contains affiliate links to products/brands I use and recommend. I earn a small commission whenever you buy using these links, at no additional cost to you. Thank you for supporting my blog!

Painting the ocean with white gouache #painting #gouache #ocean #waves

Learning by painting every day

img_1848
I’m still amazed that painting every day is such a learning process. Some days of course aren’t great and/or they don’t yield great results, but other days I try things and learn so much, make so much progress – regardless of what the final result is. I guess when you create every day, you’re picking up where you left off, it’s a continuous thing. If I have a thought to try a different color for the skin or leave more white paper or whatever, I remember it the next day. When you paint only here and there – you’re practically starting over every time, instead of building on the previous day.

Over the last couple of months I’ve been very mindful of trying to capture highlights and shadows. And since I started working in the beach theme I’ve been thinking a lot about skin tones and the shadows on the skin. I was very happy with the results of the skin of the little girl. I mixed yellow ochre and permanent rose and then mixed in white gouache. The white gouache adds a creaminess that I like. For the shadows of the skin tone I mixed in a little franch ultramarine. When I can, I add the compliment of a color to achieve the shadow instead of black. I was happy with the results. 😀

11 art supplies I can’t paint without!

11artsupplies

Painting Essentials:

  1. Canson Multimedia sketchbook. Love the thicker paper in this sketchbook. I can add watercolor without the pages buckling.
  2. Fluid Cold Press watercolor paper. I especially love the square shape of this high quality thick watercolor paper!
  3. Uniball signo 207 bold gel pen. I love how smooth these pens are when I want to add ink details to my paintings.
  4. Palette with cover.
  5. Painters tape – to tape down my paper
  6. Grumbacher watercolor brush. Favorite sizes: 8, 6, 4, and 2
  7. Van Gogh watercolor paints
  8. Holbein Gouache mixing set of 5. I love adding the opaque look of gouache to my paintings!
  9. Derwent drawing pencils. Especially with figures, I like to sketch in pencil before starting a painting.
  10. Kneaded eraser. For erasing and leaving only faint lines when I begin to paint.
  11. Paper towel – I have to have a piece of paper towel to suck water off the brush when I need a drier brush. Or to blot the brush after dipping in the water. It’s a good way to check the brush is clean.

Other Essentials:

  • iPad – I do everything on my iPad – google reference photos, take photos, write posts, create digital art, look through and post on Instagram, read WordPress blogs, and more. I made the investment when my Kindle cracked and it was the best thing I did. I couldn’t live without it!
  • ZXU Stylus pen – for drawing on the ipad. I use the apps Adobe Draw and Adobe Sketch because they link up with Photoshop and Illustrator on my desktop.

Other stuff in my supply tray:

  1. Reeves watercolor pencils for adding details
  2. Tombow markers for handletter

Recycled stuff:

  1. Tray from a holiday gift “basket” to hold everything
  2. Plastic egg container for mixing colors to keep the paints in my palette “pure”
  3. Back of the watercolor paper pads – to tape down my paper so it doesn’t buckle when it gets wet
  4. Recycled container (Ricotta or sour cream) for water
  5. Cracked mug for my brushes. It was too pretty to throw away!

Easy Forest Watercolor Painting for BeginnersWatercolor Seascape Tutorial Download

This post contains affiliate links to products I use and recommend. I earn a small commission whenever you buy using these links, at no additional cost to you. Thank you for supporting my blog!

Snow

img_1334

Day 14 of the Christmas countdown. Here in NY the forecast is for a couple of bitter cold days. I would much prefer some snow! I’ve been using my gouache paints to create the night sky and the snow. It’s thicker than watercolor. See yesterday’s sky here.

Marion painted an adorable snow scene here. Check out Teri’s snowy scene on Instagram.

Draw/paint along with us. Tag adventmcr when posting.

img_1335


Starting the year off right with a painting.

penguins
It felt so good, to set up yesterday – take my paints out, tape down the paper, fill the water – just go through the process. I’ve missed it. I’ve painted only sporadically during the holiday season. Setting up is kind of a calming.

I had no idea what I wanted to paint, I just knew I wanted to get back into it. Penguins popped into my head, and orange sunset skies. I looked online for some reference photos and found a great one tagged #penguinlove. I wish I could find the photographer of the inspiration photo. It’s so awesome, I can’t really take credit for the painting. I usually try to take my own reference photos, but there aren’t any penguins here in NY!
penguin

How’s your year starting out? Have you starting on your resolution? 🙂

Painting Winter with Gouache

snowman
Over the last couple of weeks, I’ve been reaching for the gouache paints. It started somewhat unintentionally when I decided to paint a nighttime snowy sky. At first I thought, I thought I had to keep the snow areas white (paper), so I was leaving white circles as I painted the black sky. Which was tedious! I was so happy when I started to flick white gouache paint onto the black and it was much more opaque than I was expecting.

Flicking paint is one of my favorite things. 🙂
https://www.instagram.com/p/_VKyofn6fF/?taken-by=eileenmckenna

After that, I continued with this dark snowy sky in several of my paintings.houses

I started playing with gouache paints back in June. See the June posting, and learn more about gouache paints here.

A morning dedicated to painting outside :)

rainbowfeather
It’s officially Summer and the kids are home, which totally throws off my routine. As I struggle to get a new schedule together, a priority is having time to paint and draw. The other morning I dedicated to painting, and because it was so nice out, I set up on my back patio.
tableoutside

It felt great! Everyone was still asleep and the weather was beautiful. I had tons of inspiration photos from days prior – a trip to the beach, a stop at a little lake, and an amazing sunset. When I looked down at the blank piece of paper I felt totally at peace. There was no stress about what I would do, I would just let it happen. And I quickly got into a groove. I even turned a test scrap into a feather! (See first pic in the post.)

Sometimes we can be so productive, if we just give ourselves the opportunity to do so. 

blank

I’m hoping to have more mornings like this one! 🙂