
Designing an invite – especially for your own event – is so fun! Here are some easy steps to guide you through it.
1. Determine the style and aesthetic of your event. Your invite should be a reflection of the actual event. You don’t want a formal, elegant invite for a backyard BBQ. Is your event:
- Formal and elegant
- Whimsical and fun
- Geared to kids
- Sporty
- Feminine
- Other
2. Select the form of your invite:
- Single card
- Folded
- Layered paper
- Unique shape
- Other

3. Select a type of invite:
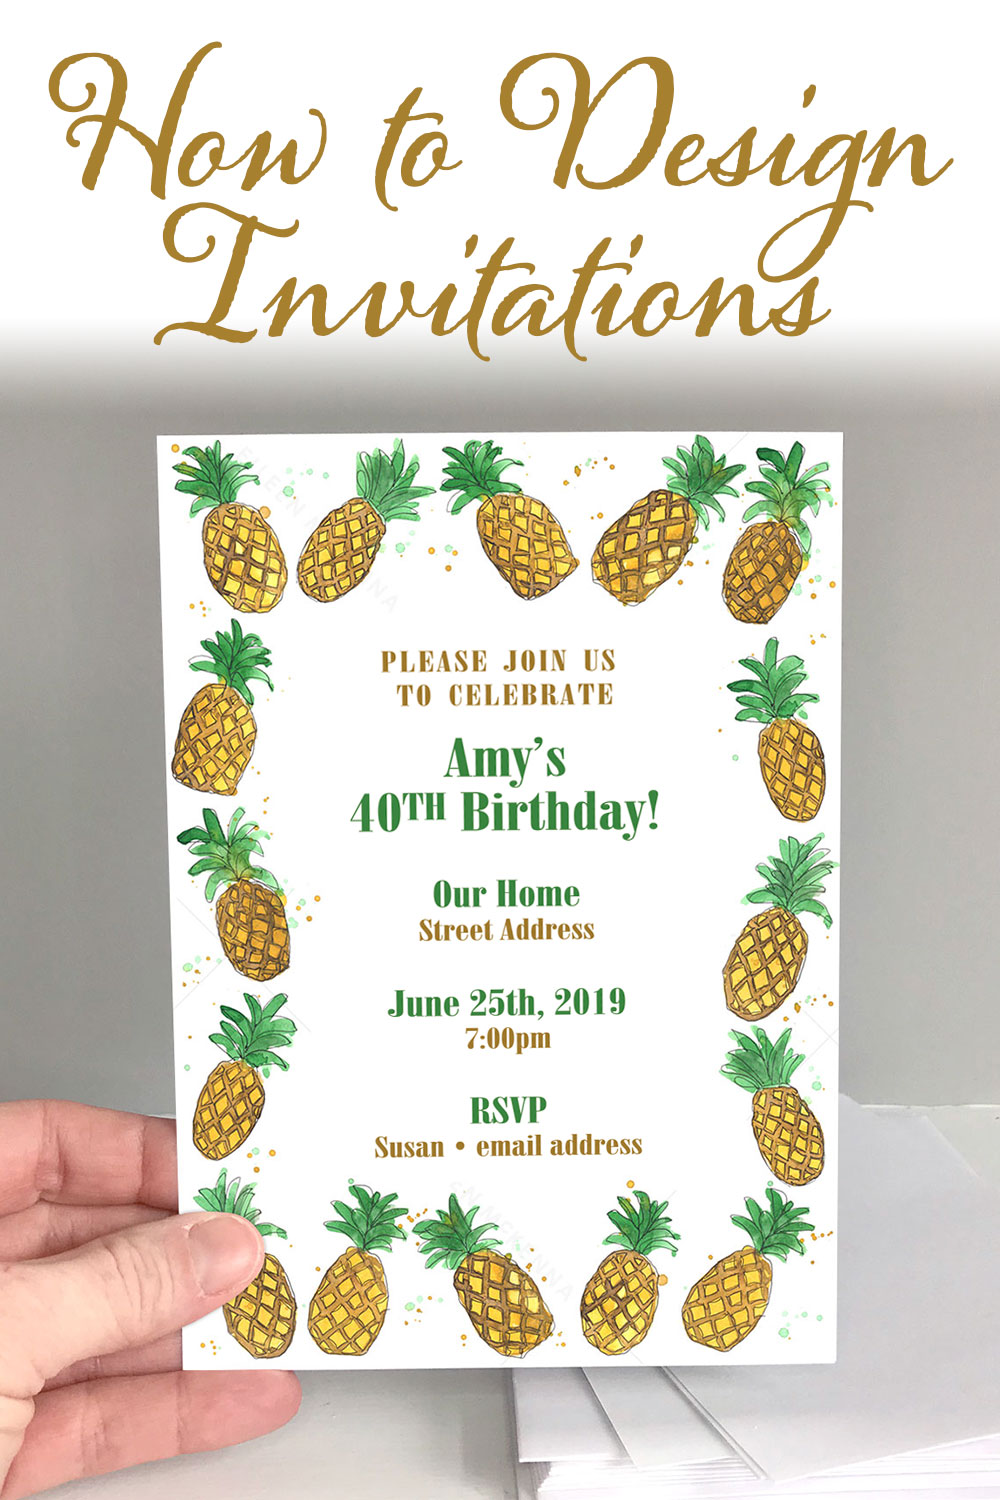
- Border art with text in the middle
- Small icon with text below
- Large art or image with text below or to one side
- ”All Art” with text in open areas
- Image in background behind the text
- Text as the art

4. Select a size. Keep in mind standard envelope sizes and postage rates. I believe square envelopes are more expensive to mail. Standard sizes:
- A7 – 5” x 7”
- A6 – 4.5” x 6.25”
- A2 – 4.25” x 5.5” (1/4 of letter size paper)
- Other
5. Select artwork that suits your theme. Digital download invitation borders and clipart are available in my Etsy shop – Click here to visit. Or use a photo of the guest of honor. Or both.
6. Collect all the key information of the event – The who, what, where, when, why, RSVP, and anything else you need to convey. Write it on scrap paper or print it out for the next step.
7. Layout. On your scrap paper divide the information into different levels of info and label it. The most important info is what the event is – Level 1. Level 2 is the date and place and Level 3 are the time and address. Use the same style to format anything within the same level. The style of the text is made up of font, text size, and color. Select colors from your chosen artwork. Use no more than two fonts that complement each other. While professional layout programs are great, Word and some free or inexpensive programs can do the job too.

8. Paper. Select a thicker card stock than basic computer paper. Select specialty paper(s) or colored paper if it suits your event’s style and works with your chosen invite form and type.
9. Optional – Add embellishments. Keep in mind some embellishments will increase the cost of postage.
- Ribbon
- Sequins or rhinestones
- Other
Whether you print at home or send you file to be printed at a copy shop, following these steps will help you achieve the perfect invites for your event! Click here to visit my Etsy Shop for downloadable invitation borders and clipart for your invitation designs.

Want a dose of creative inspiration? Sign up for my newsletter “My Creative Collection” where I feature artists and makers, and link to inspiring art, design, and craft, inspiring places, interesting books, movies, and more. It’s a collection of all the things inspiring me delivered to your inbox every two weeks. Click here to sign up.


