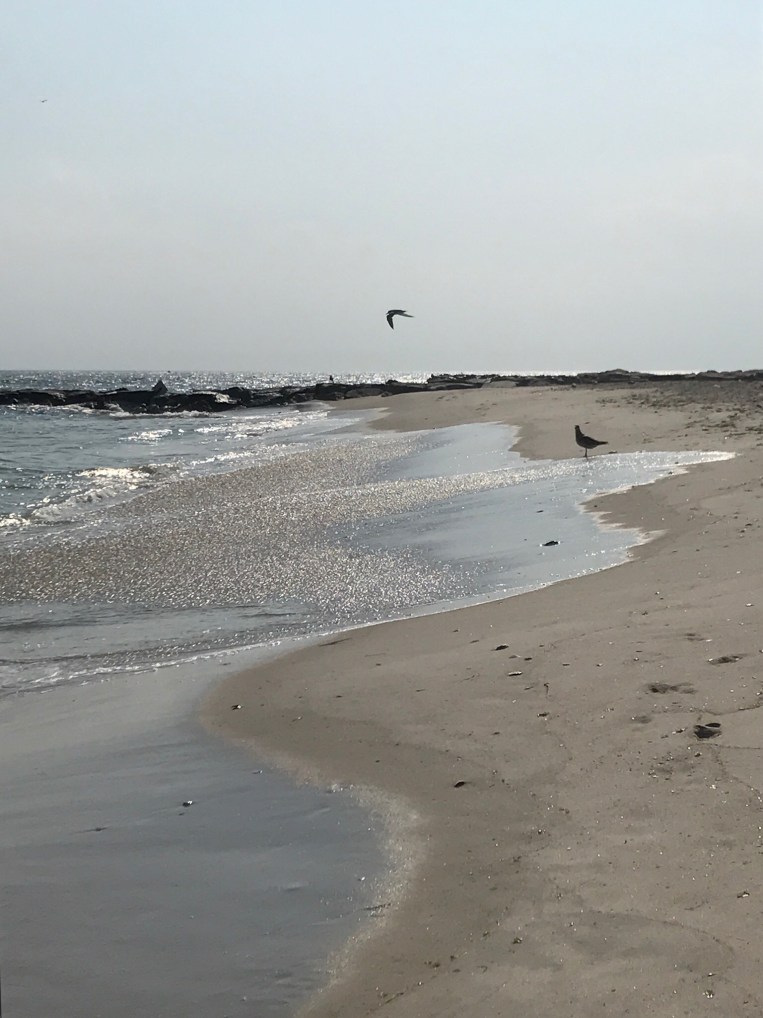
Sometimes I paint the beach and sometimes I go there and just take it all in.


sand

A pattern for July – Seashells
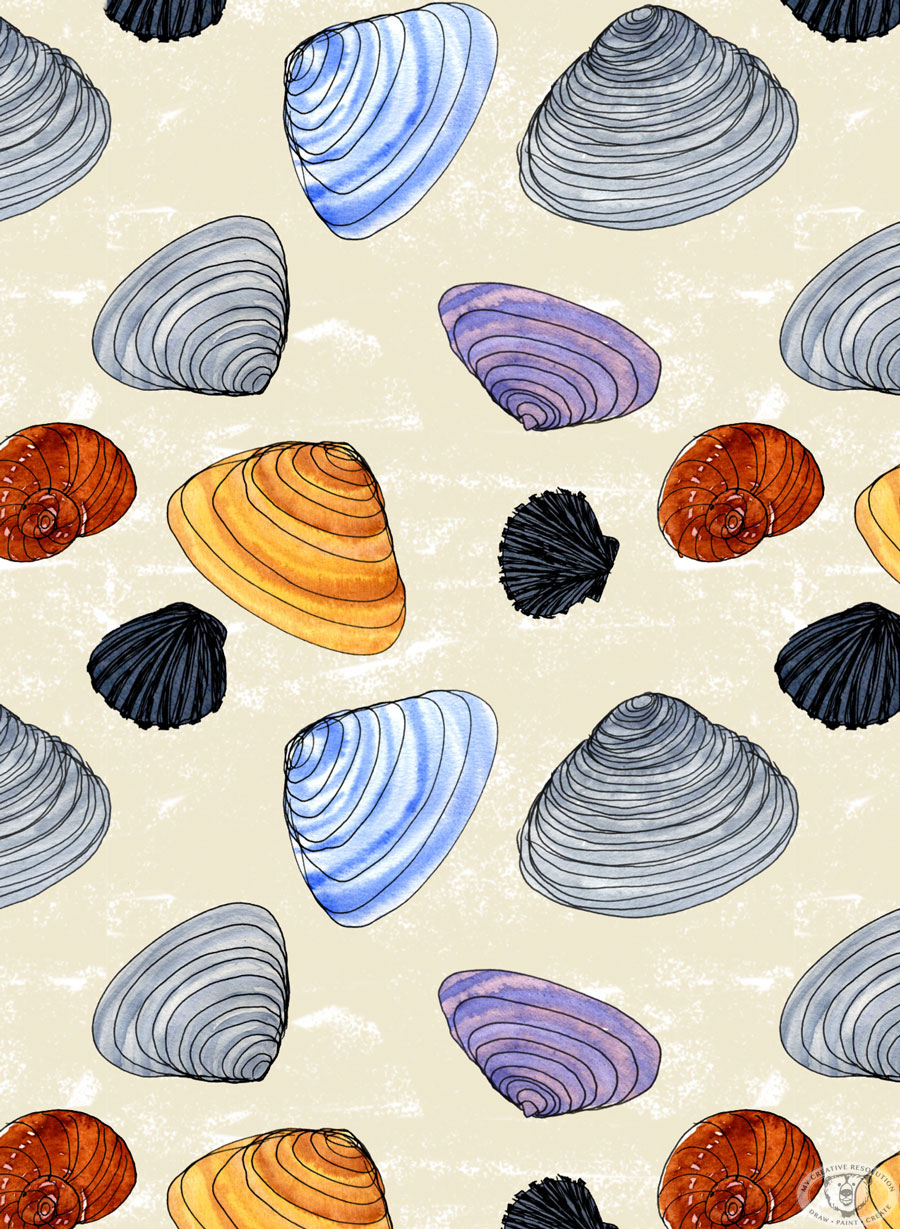
I really enjoyed creating this pattern. It brought me back to collecting shells as a kid and marveling at the patterns and colors. Oh wait, I still do that!
This pattern started with doodles in my sketchbook. I drew a lot of shells! I have jarfuls on hand for reference.

Then on watercolor paper I painted shells using different colors. I took creative liberties with this step.
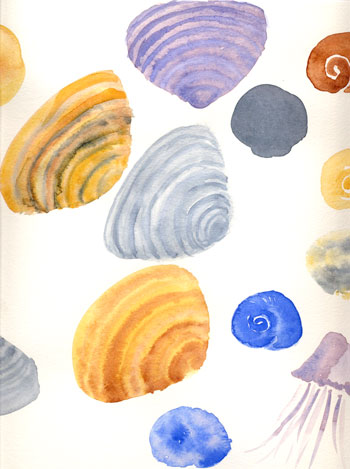
I scanned everything in, and layered the outlines and watercolors together in Photoshop. I also added a textured background. After I had my arrangement set, I repeated it to see how it worked. I had to shift things a bit when the shells overlapped.
I truly felt inspired creating this pattern. It felt very nostalgic for me. And I can’t wait to get back down to the beach to collect more shells.
Share this:

Painting the ocean
Living near the ocean, and loving it as I do, I’ve often tried to paint it. It’s not easy! There are so many shadows in the water even on the calmest days. I’ve created paintings where I’ve tried to paint each little shadow and they have looked stiff. Nothing like water. I’ve found that sometimes the quick paintings of the ocean, where I don’t over work them, end up being the most successful.
In this painting I added a little water below the blue and it pushed into the blue creating blooms that look like a wave. Happy accidents!

Share this:

Watercolor Shell

Any advice for me?… I struggled with getting the shell to pop and look 3D, as opposed to smooshed in the sand. I know some of my problems were because: I painted this from a real shell and the background was made up. I used colors in the sand that I should have used in the shell. Since I didn’t want the shell to blend in, I used brown paint and it became a dark muddy mess. I sat down to paint at several different points and the shadows were probably changing.
Why is it that “struggled” is one of the most common words I write?! lol. Oh well, you paint and you learn. 🙂 Not sure I want to attempt a redo on this one. Hoping to hear your comments!
Share this:

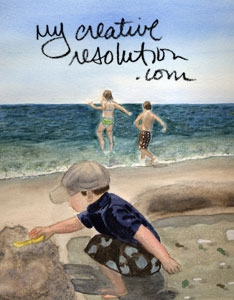
Painting a Figure (Little Girl Digging – Part 2)
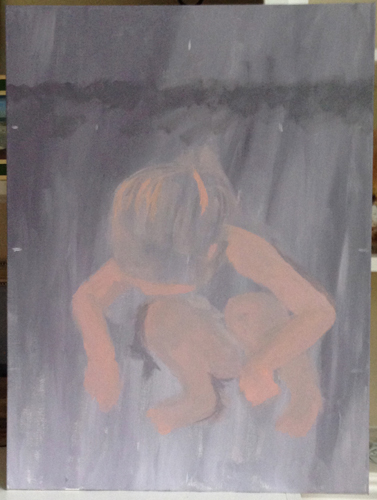
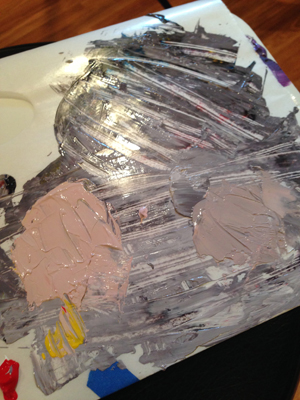
It’s hard getting back into a painting when a week or more has past! I’m so glad I made notes on how I mixed the colors and saved some of each color. It reminds me of a bread starter – not that I’ve ever used one! I added a little bit of my saved color to my new mixes to keep some continuity. I mixed a skin tone color that isn’t as subtle as before. [Not a perfect match – but at this point I’m not going to over think it. I’m focusing on getting the Little Girl’s figure right.] As I painted Little Girl’s body with the new color, she is popping out of my background (above). I tweaked her shape as I painted. See how subtle she was when I started:
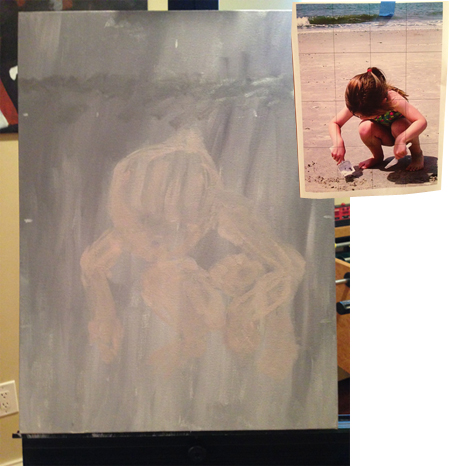
A few days later, I mixed a lighter sand color and added it to my canvas. Still focusing on Little Girl’s shape, I used the sand color to edit her shape as needed.

I’m getting there – slow and steady! lol. Read my previous post – Painting a Figure (Little Girl Digging – Part 1) and see how I started this painting.
Share this:

Painting a Figure (Little Girl Digging – Part I)
I may have bitten off more than I can chew, but I’m excited about this painting! I started by mixing a grey base color for my sand. I mixed thalo blue, cadmium red, and cad. yellow (as opposed to using black and white) because I wanted the sand to have color in it. I’ve struggled before with painting sand! I covered the entire canvas in this color, even where the ocean and little girl will be.
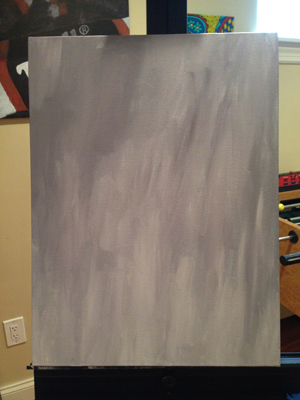
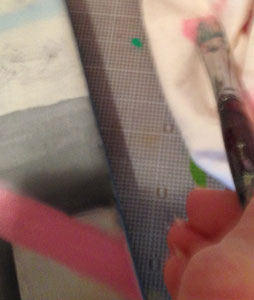
I added little ticks on my canvas to show where the grid is.
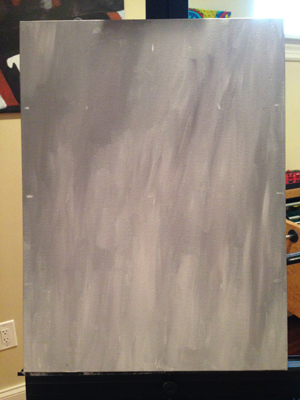
I mixed cad. red and white and added some cad. yellow to get a flesh tone, which I mixed with my base color. I wanted a color that would work as a base for the little girl, that wasn’t far off from my original (sand) base color. This way, I won’t feel intimidated to loosely sketch in the girl. Hopefully, I’ll easily be able to change any area “back” to sand if necessary.
Following the grid closely, I added in the shape of the little girl. I plan on flipping the canvas over and refining her shape (with the same color). As I start to feel confident in her shape, I’ll start adding colors that will define her and pull her out of the sand. I’m developing this process on the fly – wish me luck!
Share this:

Dedicating Time to Painting

I didn’t have much time this past week to work on any of my projects, so I decided I would dedicate Sunday to painting. I don’t often have large chunks of time to be creative, between work, family and home. I don’t think the term “starving artist” came about because there wasn’t time to food shop!
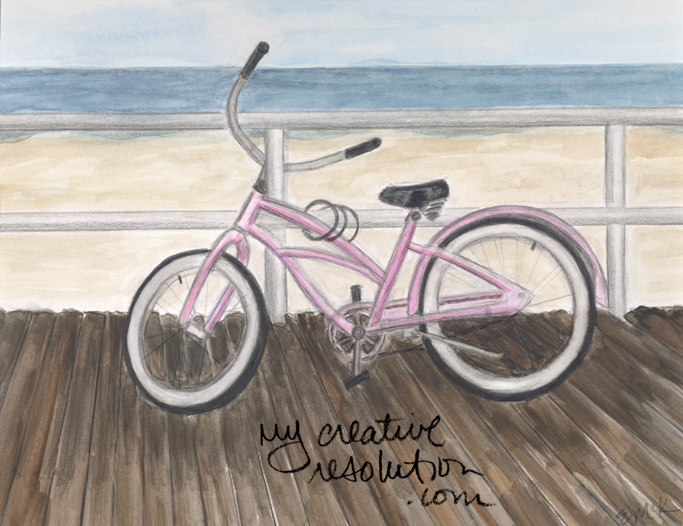
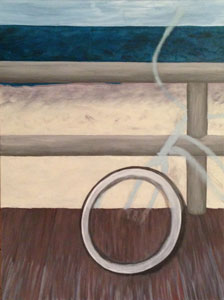
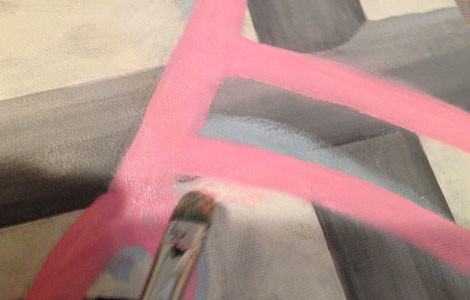
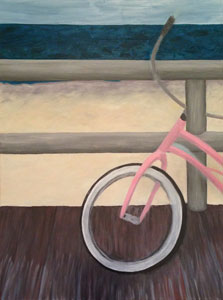
I do think stepping away from a project is a good thing, because when you come back to it you see it with a fresh eye. I was very excited about how I had “sketched” in the bicycle, until I looked at it again. I realized the tire was so small, it looked more like my banana seat bike from the ’70s than a big tire beach cruiser.

Now, I had to fix the tire, which would involve touching up the boardwalk, ugh. Most people probably start with the foreground and then add in the background. In the case of the boardwalk, I thought it would be easier to paint it first. I’d be interested in hearing how others approach their paintings!
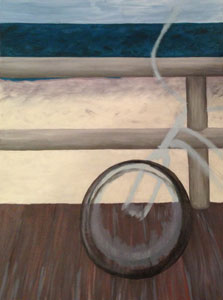
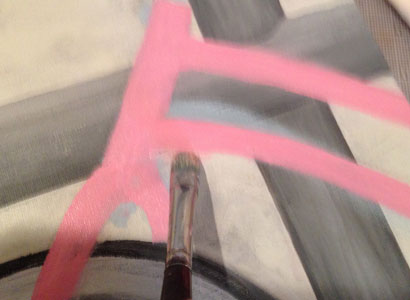
I was so happy, having so much time to paint, but after less than an hour, I needed a break! I was struggling with the shape and size of the tire. I needed to step away. An hour later, full and refreshed, I came back to the painting. I continued working on the tire, fixing the boardwalk as I went. I then added the bike frame.
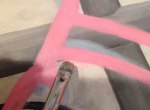
While working on the frame, I realized that freshly applied acrylic paint can be removed as easily as watercolor. With a damp brush I worked on the area I wanted to remove. When the paint transferred to the brush, I blotted the brush on a cloth and rinsed. I repeated this a few times and then used a paper towel to remove excess water.


It is always feels great, when you are struggling with something and work through it. I feel so good about where I’ve gotten so far.
Share this:

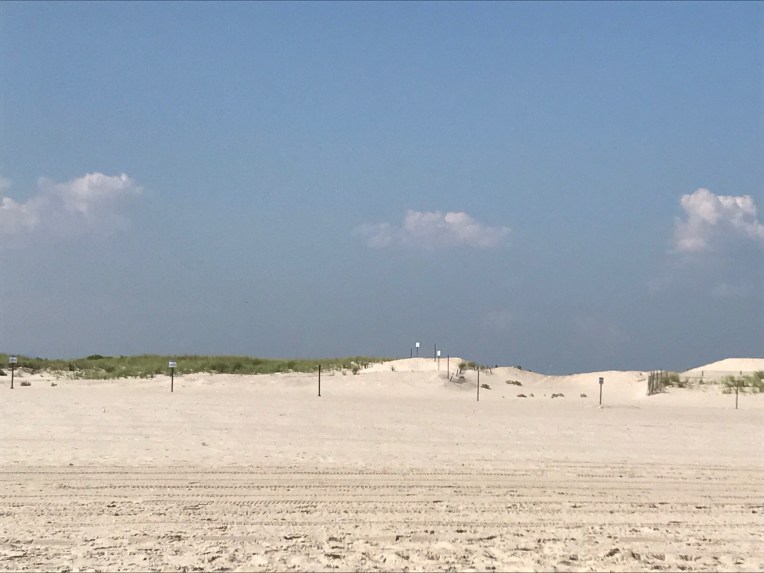
Painting Sand

What color is sand? This is something I’ve been trying to figure out, since I first started painting the beach. I’ve had some successes and some failures. I’ve sat at the beach and wondered, what color is that? I think the challenge is, that sand is different colors, even on the same beach. The dry sand furthest from the ocean is one color. As you get closer to the water, and the sand gets wetter, it changes color. Even the individual grains of sand are different colors. The sun also plays a role in the changing appearance of the sand.
In my last post, I detailed how I mixed the color of the sand (maybe in too much detail!). I wanted to keep track of the process I used, in case it was successful. Sometimes I’m not even sure if I like a color, until the paint has dried. In this painting I think the overall color is good, but I may need to tone down the yellow.

Here are some other acrylic attempts at sand. The first one is awful. The second one is an okay attempt at wet sand. I did it in a class and have no idea how I mixed it. The third one is okay, but again I don’t even know what color it is. Note to self: keep track of the colors you use!

I think I’ve been a bit more successful in watercolor, probably because I’ve had more practice. The sand in the first painting is too purple, although I like the texture of it. The second is okay. In the third painting, I am really proud of how I captured the color of the wet sand. It is one of my favorite paintings.