A visit to the beach

img_1780

We visited the beach on New Year’s Day. It was the perfect way to kick off my January “painting the beach” project. This is the beach I grew up just a few blocks from. Having the beach as our “backyard” was a special thing that instilled in me a love for the beach and the ocean. It’s no wonder it’s often the subject of my paintings.

img_1776 img_1777 img_1779

It was a sunny but chilly day.

A Sunset and Gouache Paints

watercolorsunset
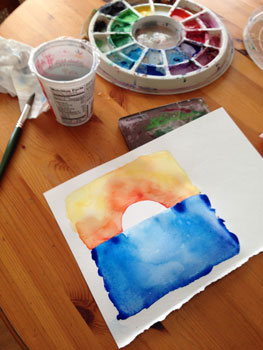
I’ve wanted to try gouache paints for a long time. Since reading about Illustrators who used them, and having no idea what they were. [Gouache paints are opaque watercolors.*] Two months ago I bought a little box of paints to try, but still hadn’t opened them! The other day on a whim, I decided to give them a try.
gouache

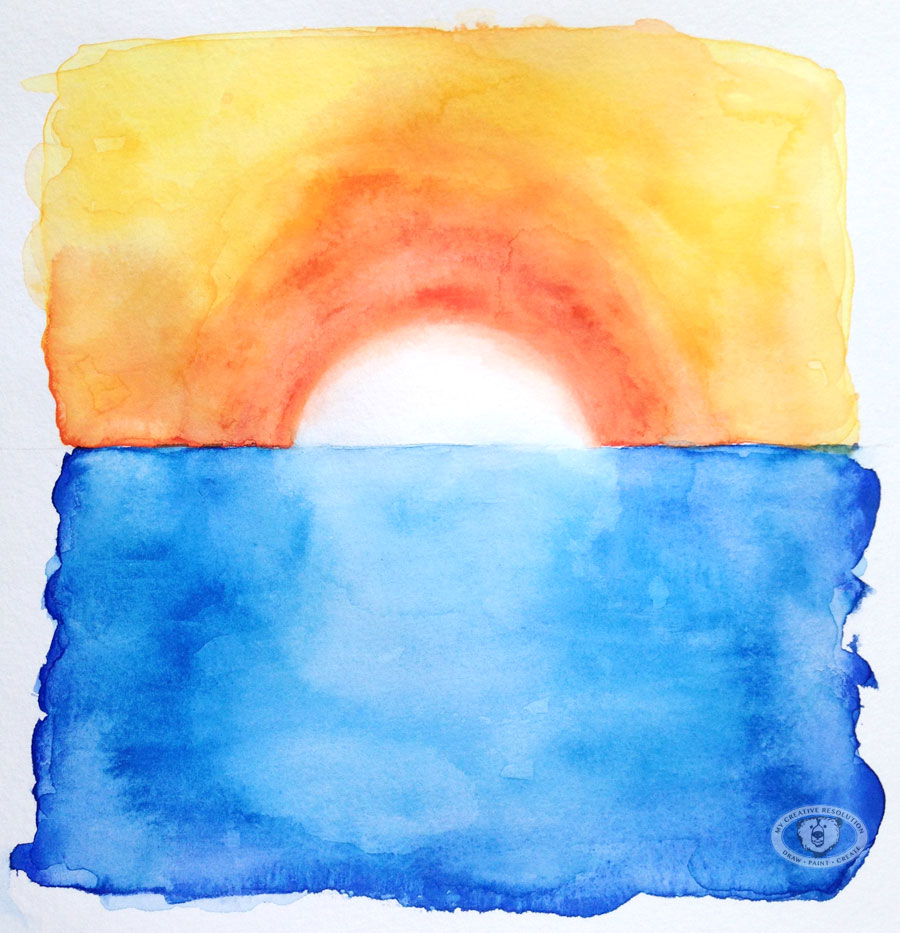
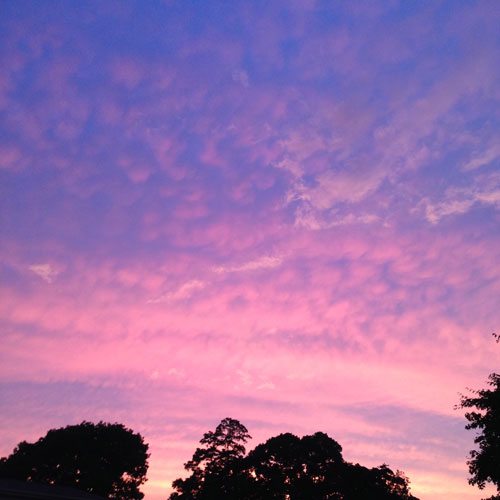
I’d heard gouache were like watercolor, but thicker, and can create more saturated colors. I was inspired by the sunset after a storm recently (see the photo below), so it seemed the perfect time to try them out.
sunsetphoto

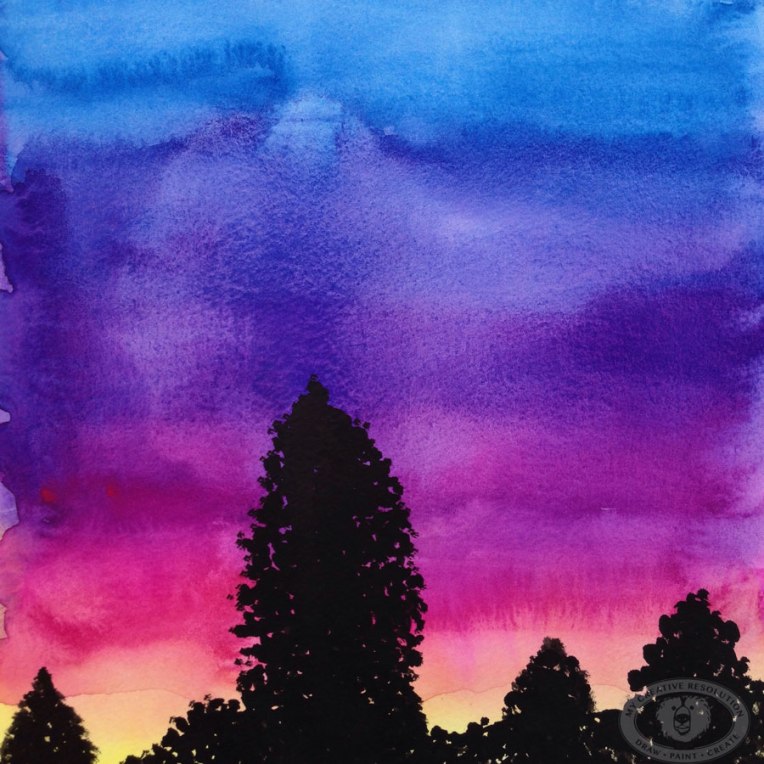
I’m not sure I needed to, but I used “India Ink” for the trees. I wanted as dark a black as I could get. In retrospect, I should have at least tested the gouache black to see if it could achieve this. I love the richness of the colors the gouache paints gave me!

Gouache description, courtesy of Blick:
Gouache is an opaque watercolor paint. Whereas transparent watercolors allow you to see the “white” of the paper below the paint, gouache can be applied in solid colors. This allows an artist to paint in layers from dark to light.
Gouache dries to a matte finish, which makes it easy to scan or reproduce electronically, since there is no glossy shine. Designer’s Gouache traditionally offers colors blended from a number of pigments, but some lines of Artist’s Gouache offer single-pigment colors. Student Gouache will have working characteristics similar to Designer’s Gouache, but with lower pigment concentration, less expensive formulas, and a smaller range of colors.

Creating fades (Gradations) with Watercolor

sunsetfinal
I’m looking forward to the warm days of Spring and Summer. The weather this weekend was a combination of extreme cold (4 degrees), followed by snow and rain. I’ve had enough! I tried to stay busy, which included painting. 🙂 First I painted some blobs, with the intention of adding ink and turning them into feathers.

3feathers1 3feathers2 3feathers3 3feathersf

Then I painted the sunset above. I was inspired by a watercolor heart I created a few weeks ago, where I blurred the edges of the heart so there was a soft edge. To blur the edges I let the paint mostly dry. With a wet brush, I pulled up some of the color at the edge of the shape. Then I soften the edge into the white area to create a fade.
featheredheart

I wanted the sun to have the same soft effect as the heart and I wanted to keep the sunset simple. I painted the sky part first and let it dry before painting the bottom. I didn’t want the bottom bleeding into the sky! In addition to softening the edge of the sun, I added water (to the water) to soften the blooms.* (This word was on the tip of my tongue, but I couldn’t remember what they are called. Thank you to this link for the definition below.)

*Blooms or blossoms – are cauliflower looking marks created when extra moisture creeps back into a damp or partially dry area of a painted. As the excess water levels out it will “push” the tiny pigments of paint to the outside edge of the watermark. A back run can totally ruin a smooth flat area of a painting, unless you add the excess water intentionally. (also known as back runs, back wash, and water blossoms)

sunset1 sunset2

I’m not sure what my next project will be, but that’s part of the fun, right?

Easy steps to paint a sunset sky and a tree in acrylic paints

Easy steps to paint a sunset sky with a tree in acrylics

Start your creative journey with:
Creative Exploration book -
Creative Exploration: A Six Week Process for Introducing Regular Creativity into your Life
– Develop a regular practice of creating, explore mediums and subjects in search of your thing, and experience the joy that creativity brings. Creativity is for EVERYONE! Talent is just a starting point.

Easy steps to paint a sunset sky and a tree in acrylic paints:

Select the colors you want in your background. I used six colors (see the list below). They can be straight from the tube or you can mix them.

Paint each area of color onto your canvas. I used foam brushes for the background.

sunrise3 sunrise

Next, blend the areas where the colors meet so there is a softer transition from color to color. You may have to add more paint during this step.

Allow the background to dry.

Add the trunk of the tree and then begin adding the branches. Look at a tree. Notice that the branches get thinner as they get further from the trunk, and branches are not straight lines. Using thinner brushes helps with the thinner branches.

newsunrise1

Add more branches until you achieve your desired effect.

newsunrise2

Colors I used:

I’d love to see your sunset painting!

ONLINE LEARNING
easy watercolor online lesson for beginners fun project Easy Watercolor Seascape online video lesson for beginners

This posts contains affiliate links to products I recommend. I earn a small commission whenever you buy using these links, at no additional cost to you. Thank you for supporting my blog!

Easy steps to paint a sunset sky and a tree in acrylic paints