Day 1 of the countdown to Christmas. Here is the creative prompt list if you’d like to join in. All mediums are welcome! Use hashtag #adventmcr when posting. Marion of “by Marion” posted her day one drawing here. Thanks Marion!

Day 1 of the countdown to Christmas. Here is the creative prompt list if you’d like to join in. All mediums are welcome! Use hashtag #adventmcr when posting. Marion of “by Marion” posted her day one drawing here. Thanks Marion!


For the most part, I like to keep my art hand drawn or painted. The exception is when I’m working on designing a repeating pattern. But sometimes, my 20 years of experience with Photoshop, comes in handy with my artwork.
I painted this tree a couple of weeks ago and thought, “It really needs a boy playing in the leaves.”

Separately in my sketchbook I created a couple of version of the boy, based on my youngest son.

I scanned both, opened them in Photoshop, and started playing around. The possibilities are endless!
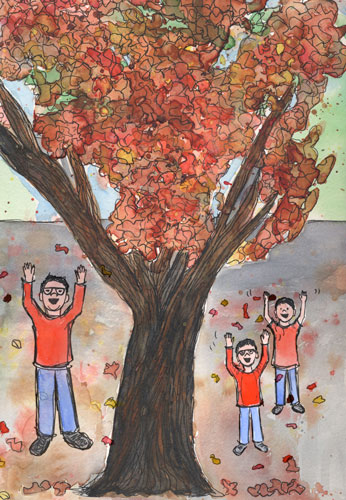
I choose one boy and added a shadow so he wouldn’t seem so “floaty.” I also added some extra leaves in an area that looked weird.
I don’t normally use Photoshop with my artwork because the original goal of “my creative resolution” was to develop my drawing and painting skills. But it is nice to have the tools to use, when the need arises!


My last post was about “Coming up with Ideas.” A few of you commented that you have no shortage of ideas. This makes sense as Maya Angelou famously said,
“You can’t use up creativity. The more you use, the more you have.”
The “ideas” post was from the early days of my creative resolution. While reading through my old posts, I realized that focusing and finishing were recurring themes. Previously I wasn’t successful with my creative projects because I was always starting and stopping, and never finishing. Which left me feeling discouraged.
I started this creative journey in 2014, by finishing several old projects and doing several projects that I had always wanted to try. Accomplishing these things made me feel good, and so I kept going, with new projects.
I’ve come a long way since then. I try to draw or paint every day. I always shy away from the word “daily” because I’m more likely to paint and draw a lot for a day or two. Do nothing for a day or two, and then get back to it again.
I keep a notebook of “to do” lists and project ideas. I check off things as I go, and look back to see if I forgot anything. I’ll keep an old idea on the list for a while. Of course, I don’t get to everything, but it feels amazing to accomplish something that’s been on my list for months. The percentage of unfinished projects is much, much lower than it was before MCR.
Recently I wanted to be creative, but didn’t know where to start. I literally felt anxious. I sat down and wrote out all the ideas buzzing in my head. When I was done, I felt like I could breath again. Just writing the ideas down, cleared my head, and helped me prioritize. And then I started to create. 🙂

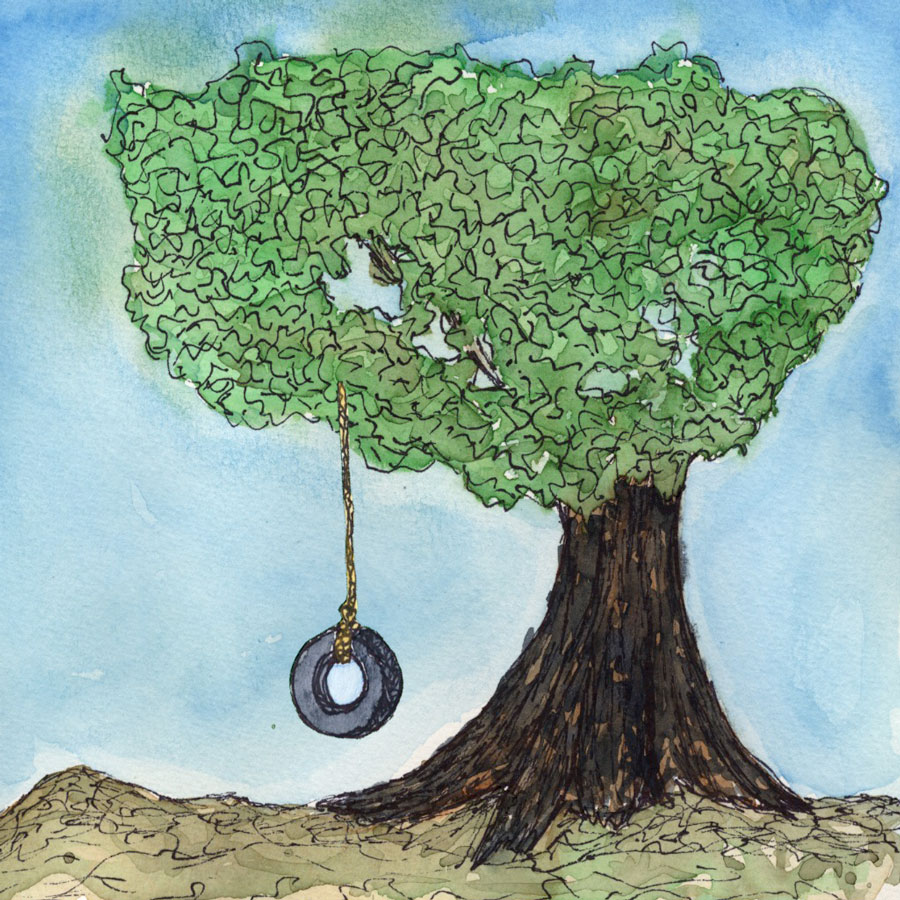
Click here to see the swinging tire swing! I’ve been wanting to create an animation for a while now. I see a lot of them on Instagram. But everytime I come up with a concept – it’s way too complicated. Especially since I wasn’t sure how to go about it, how to animate my illustration – video? animated gif? an app? which app?
The other day on a whim, I painted a tree and thought it could use something else. A quote? A tire swing! I realized I could start simple. My stop motion animation would be of the tire swinging. The background doesn’t change. The tire swing would be the only moving component, so I drew it separately.
But how to make it work? I figured it out using the process of elimation – video too shaky, one app wouldn’t allow me to upload my own pics, animated gifs don’t play on Instagram (I don’t think ), another app left a huge watermark across my animation, etc.
I was ready to give up! I decided to try one more thing and try iMovie on my Mac – which I don’t know well. At first it didn’t seem like it would work. How do I upload my pics? But after some modifications, finally success! My tire swing was swinging! 🙂
A simple thing, but it feels like a milestone. I made my illustration move! Haven’t seen it yet? Click here! I’m already thinking of the next animation. Stay tuned!


I’ve wanted to try gouache paints for a long time. Since reading about Illustrators who used them, and having no idea what they were. [Gouache paints are opaque watercolors.*] Two months ago I bought a little box of paints to try, but still hadn’t opened them! The other day on a whim, I decided to give them a try.

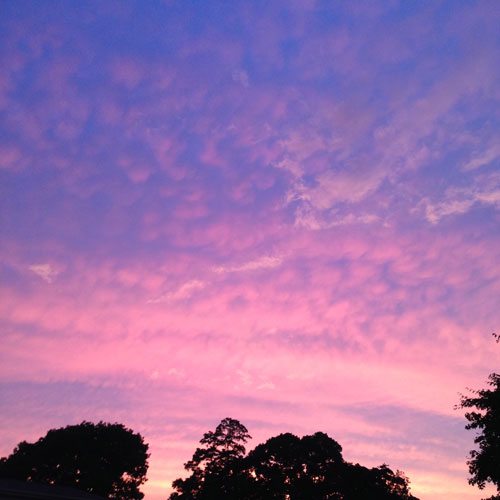
I’d heard gouache were like watercolor, but thicker, and can create more saturated colors. I was inspired by the sunset after a storm recently (see the photo below), so it seemed the perfect time to try them out.
I’m not sure I needed to, but I used “India Ink” for the trees. I wanted as dark a black as I could get. In retrospect, I should have at least tested the gouache black to see if it could achieve this. I love the richness of the colors the gouache paints gave me!
Gouache description, courtesy of Blick:
Gouache is an opaque watercolor paint. Whereas transparent watercolors allow you to see the “white” of the paper below the paint, gouache can be applied in solid colors. This allows an artist to paint in layers from dark to light.
Gouache dries to a matte finish, which makes it easy to scan or reproduce electronically, since there is no glossy shine. Designer’s Gouache traditionally offers colors blended from a number of pigments, but some lines of Artist’s Gouache offer single-pigment colors. Student Gouache will have working characteristics similar to Designer’s Gouache, but with lower pigment concentration, less expensive formulas, and a smaller range of colors.


The leaves are spectacular this time of year! It’s hard to even come close to nature’s beauty, but I gave it a try.
My Steps:

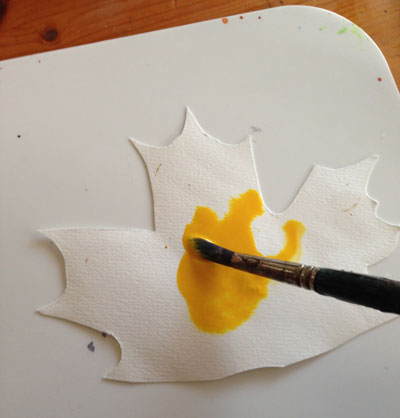


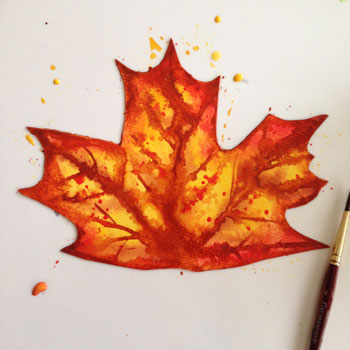

I told you I was into trees! Trees and leaves! For this piece I started painting, very wet, with watercolor. After the painting dried (a little) I went back and added more color and some leaf shapes. When that was completely dry, I started drawing, in ink, the shapes of the leaves and the lines of the bark. Then, I added more color.
I love the style of this. It is so fun to doodle in ink. You kind of go into a trance where you are half paying attention. Sometimes it takes a little bit, but eventually I find my groove. I find it helpful to add the ink while I’m watching TV!
There were a couple of parts of this piece that were bugging me, so I did a little retouching in Photoshop. I don’t normally do this. I’m a Graphic Designer and spend a lot of time using Photoshop. I prefer to keep my art “handmade,” but I loved this piece and had to fix those nagging issues.
My steps:
I need to start clamping down my paper to a board or taping it. My paper buckles and the paint puddles.

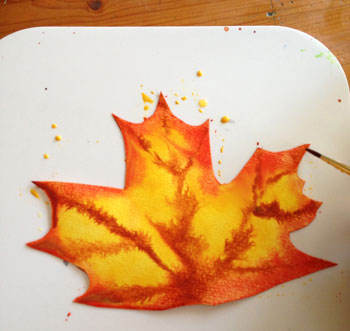
Here’s where I added more color and the hint of leaf shapes:

Before computer retouching. I’ve added details in ink and more color:
See more trees, trees and leaves!


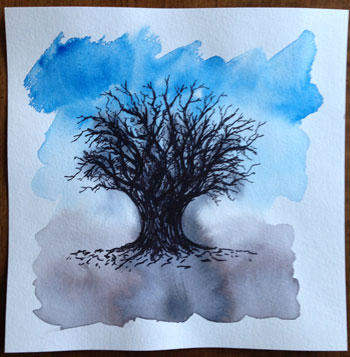
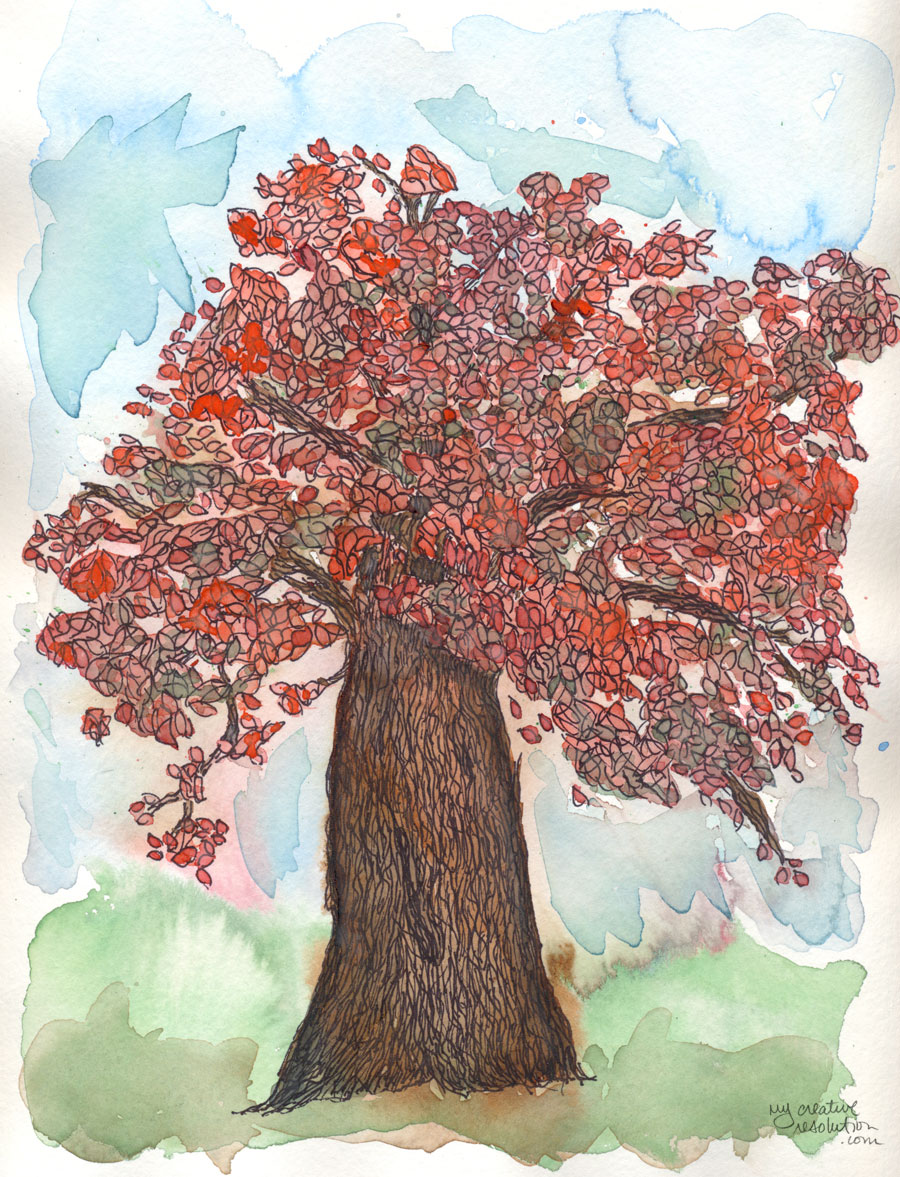
I am inspired by trees lately. It makes sense since it’s Fall. For this piece I started out painting with watercolor. It was just the idea of a tree. Then I added the ink. My tree looked a little too squat, so I made the branches longer. Then, I went back in and added more color and the splatters. I like working square. I think it adds something.