Christmas Paper Quilt Making Kit – a fun Christmas craft

Looking for a fun Christmas project? This Christmas Paper Quilt Making Kit is printable! After ordering, simply download the files, and cut the patterned paper into squares (trim marks are provided). Then get started designing your Christmas Quilt.

Many variations are possible! Your quilt design depends on where you place the patterned squares on the key.

To order and download the Quilt Kit visit: https://www.etsy.com/listing/917211903/christmas-craft-paper-quilt-making-kit

Draw Paint Craft 15 Minutes a Day

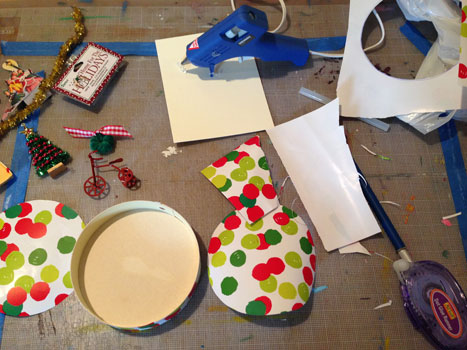
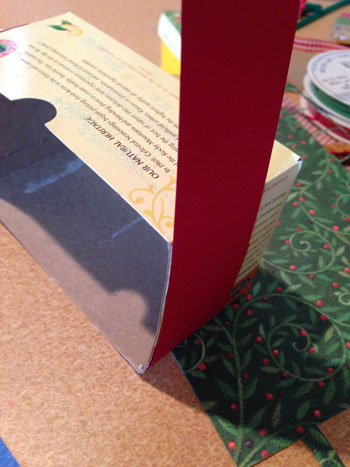
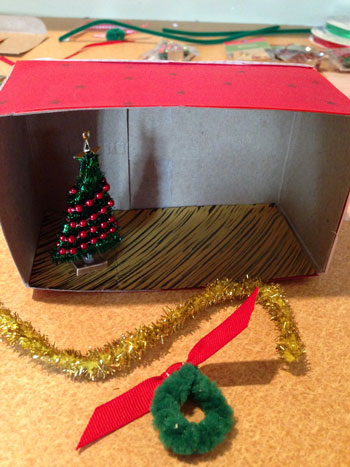
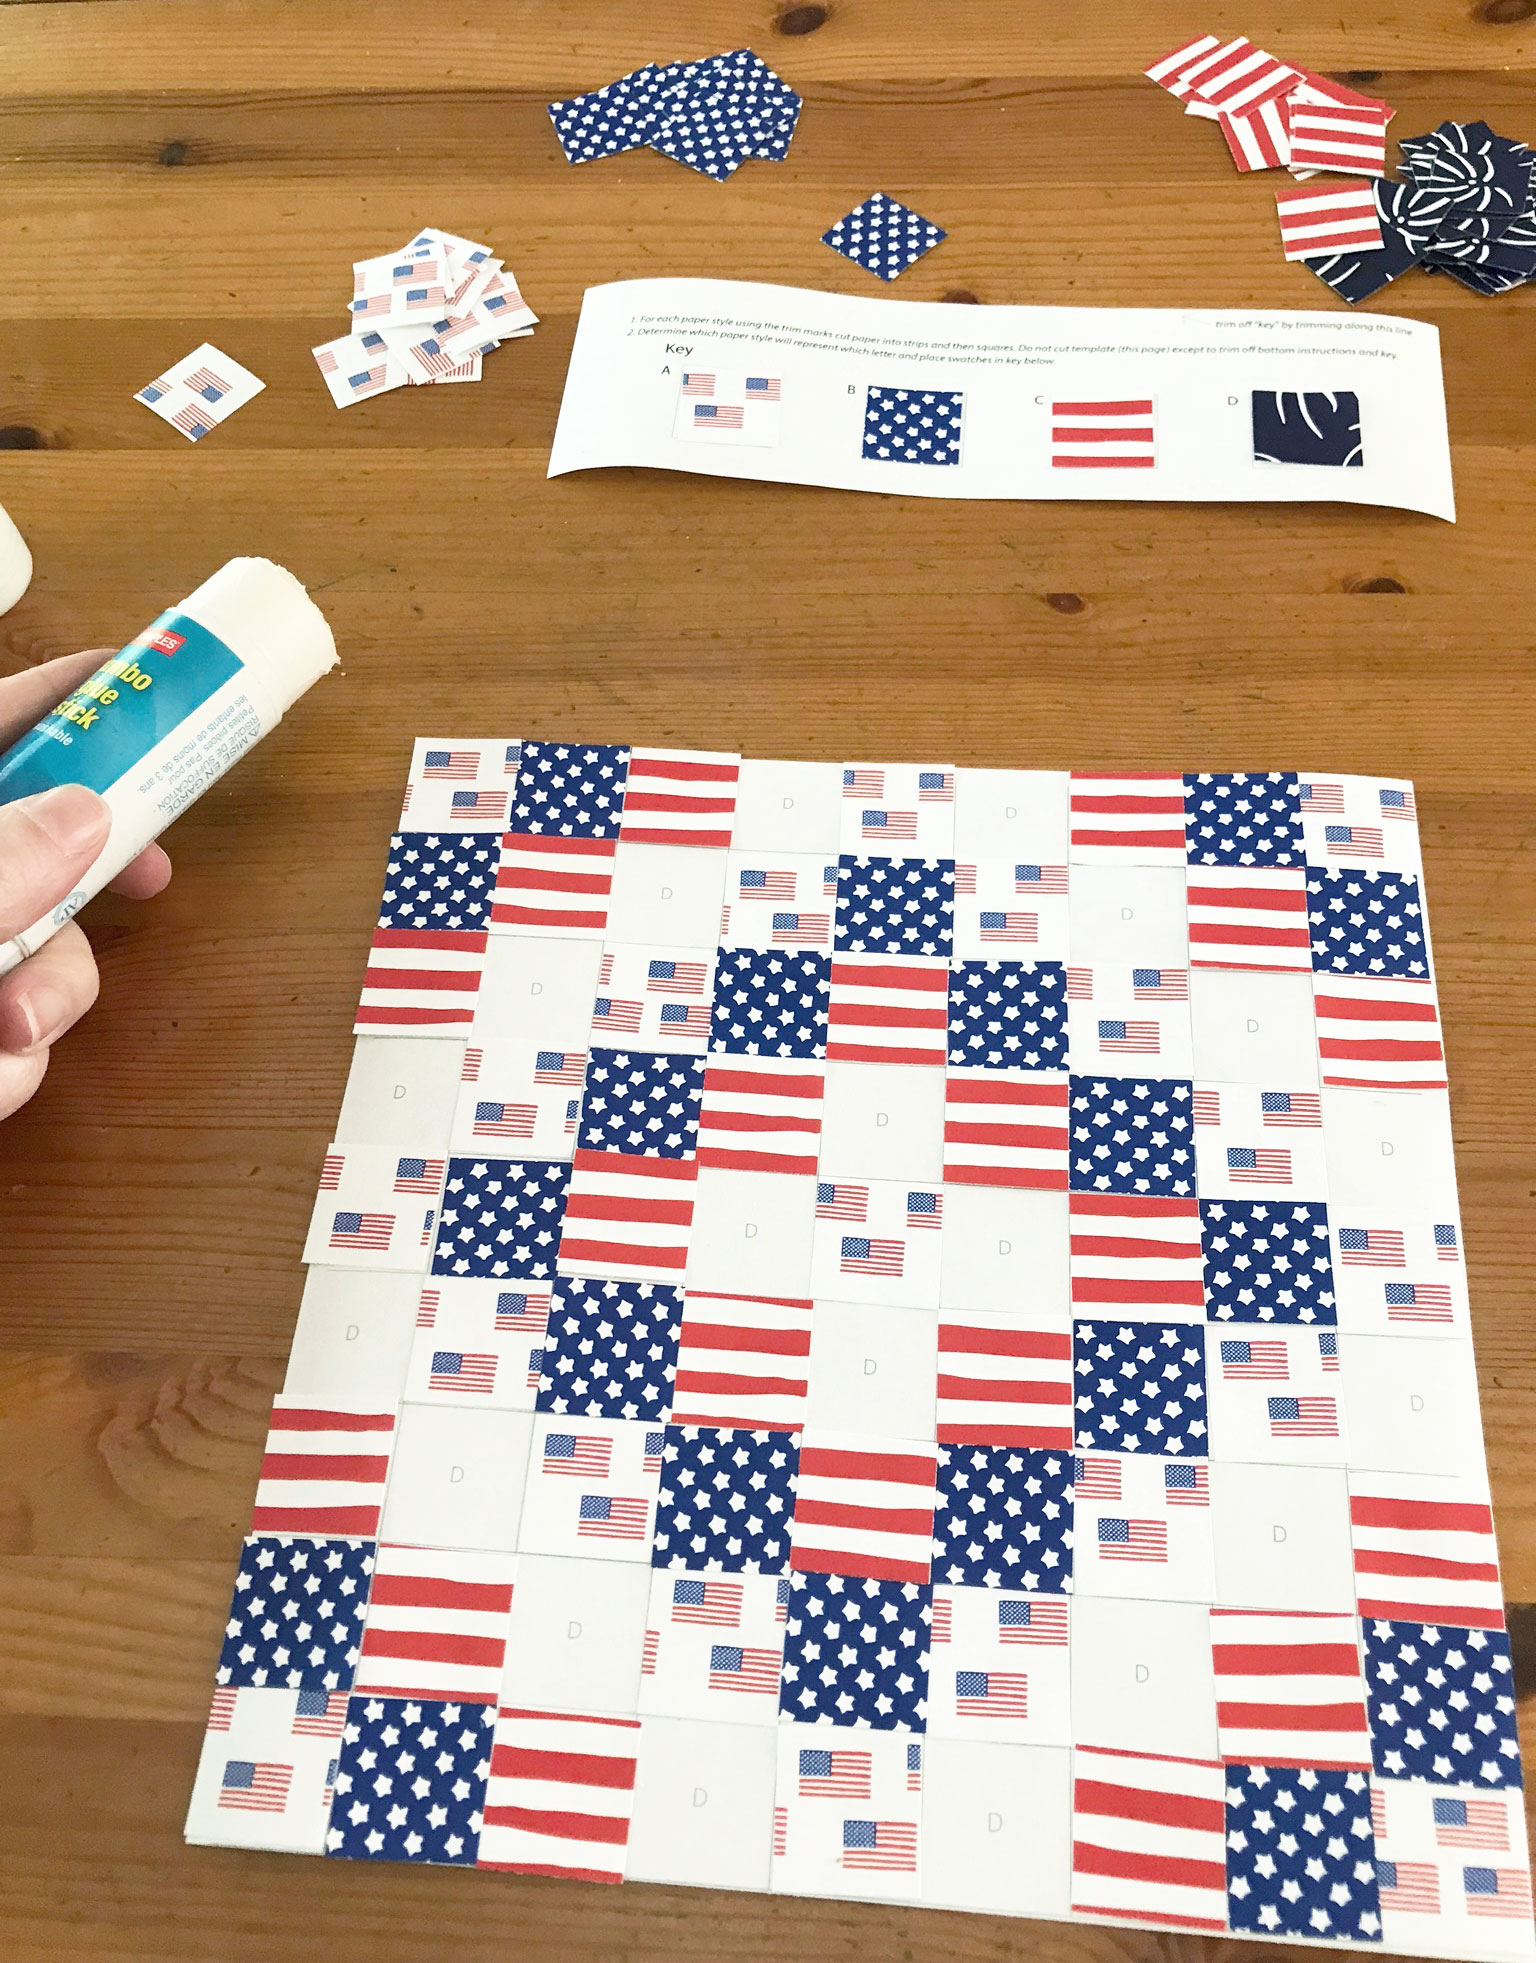
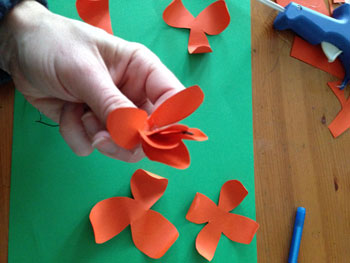
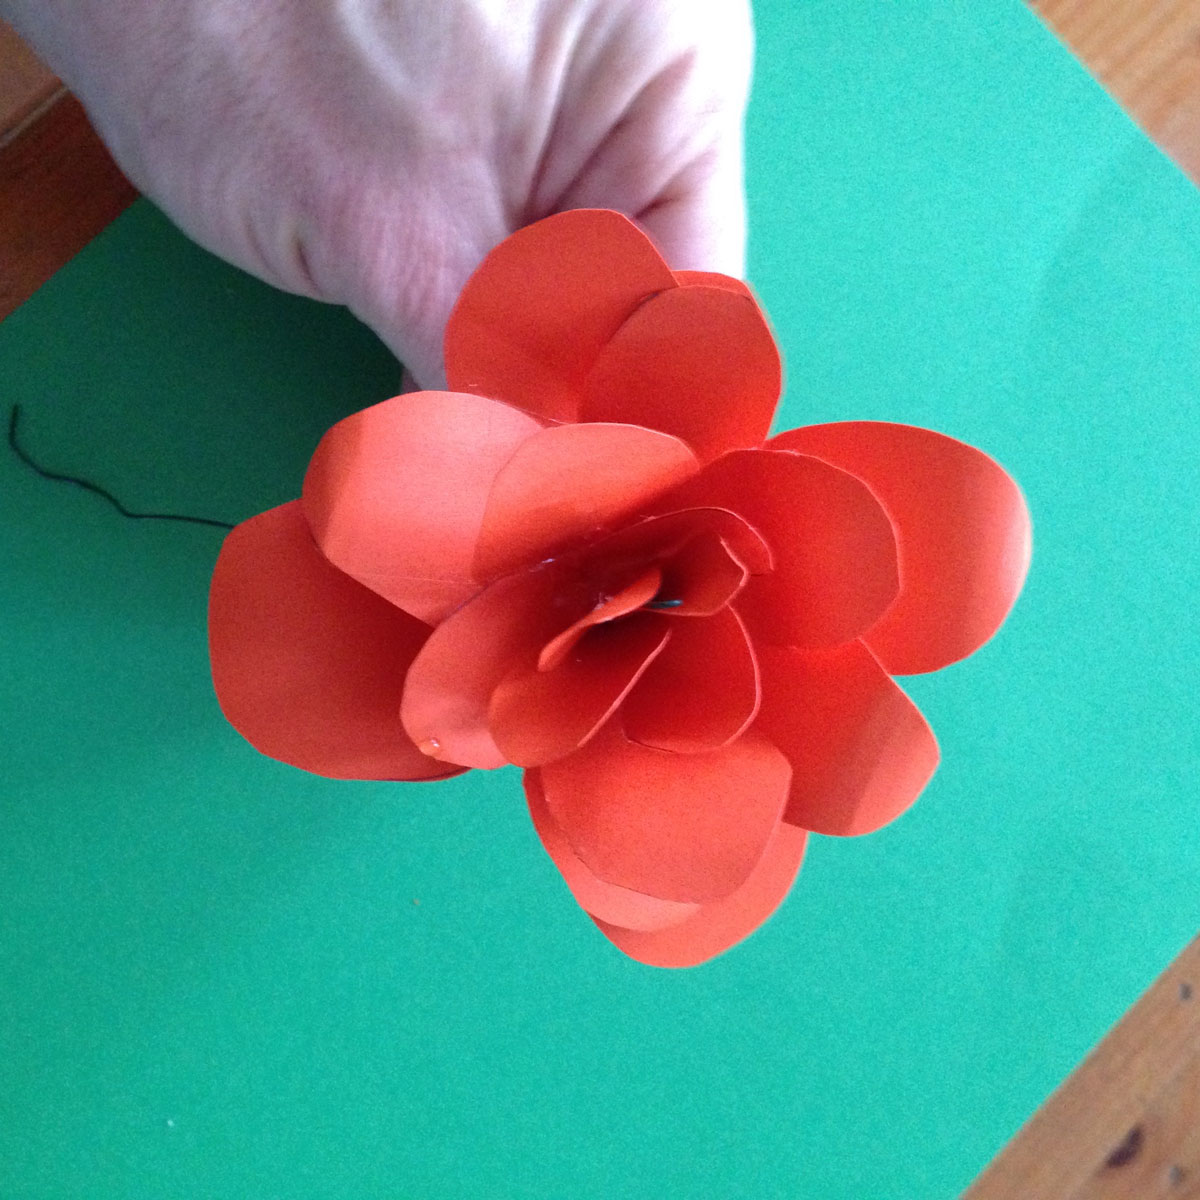
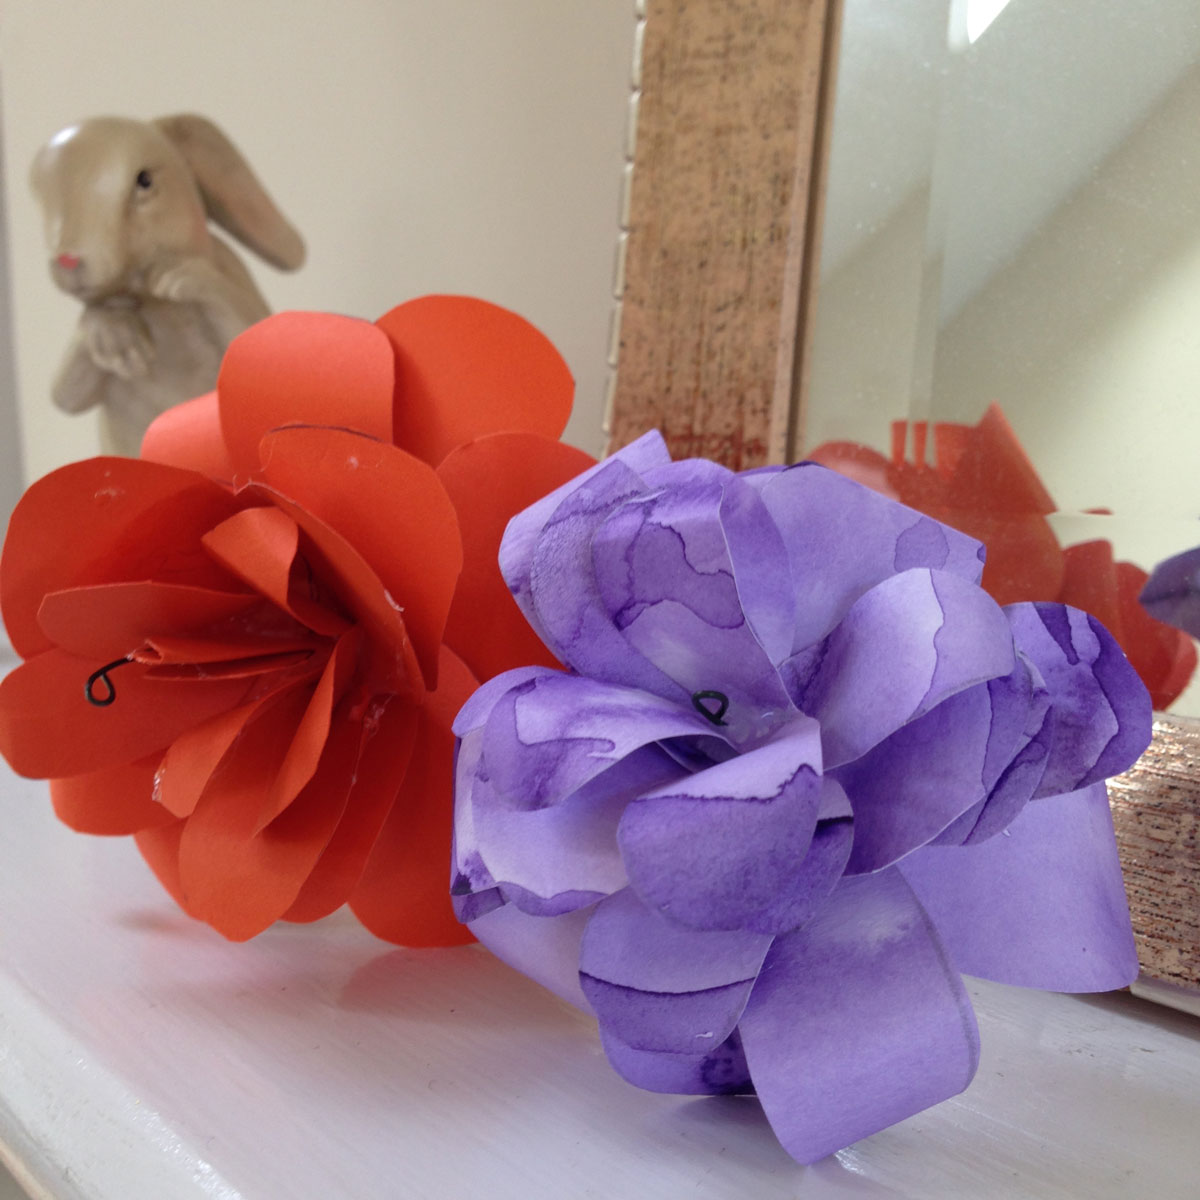
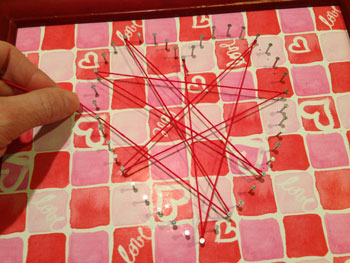
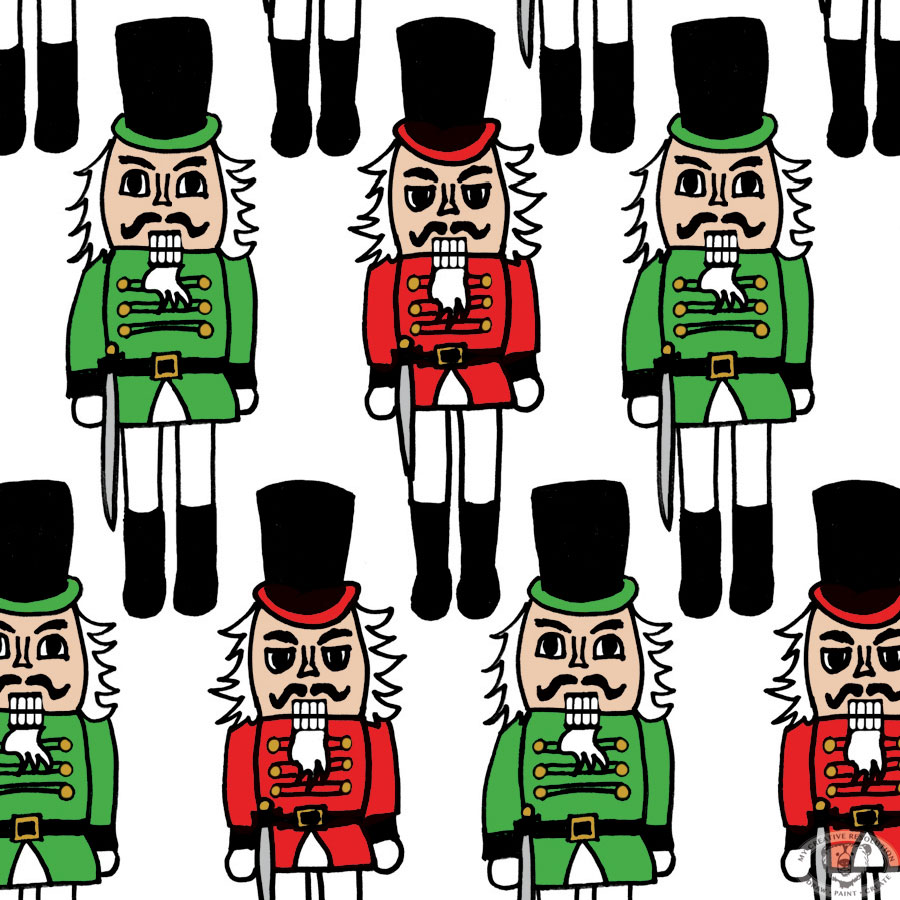
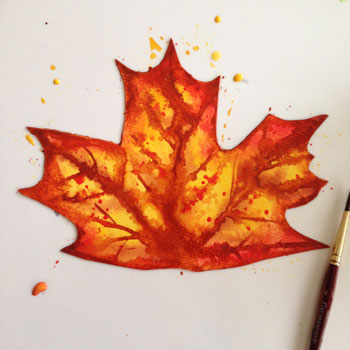
The path to regular creativity is to simply draw, paint, craft, or whatever interests you, for 15 minutes almost every day. If you schedule the time, and plan for it – even if you are busy – you should be able to manage 15 minutes of creative time most days.

These brief creative periods reinforce your creative priorities, and allow you to get in the creative mindset – which will lead to more creativity, and longer creative session when time allows.

Carving out 15 minutes of creative time says, “This is important to me.” And it is calming and meditative. As you work creative ideas and plans may form – write down your ideas!

Regular creativity opens you up to inspiration, even during other parts of your day.

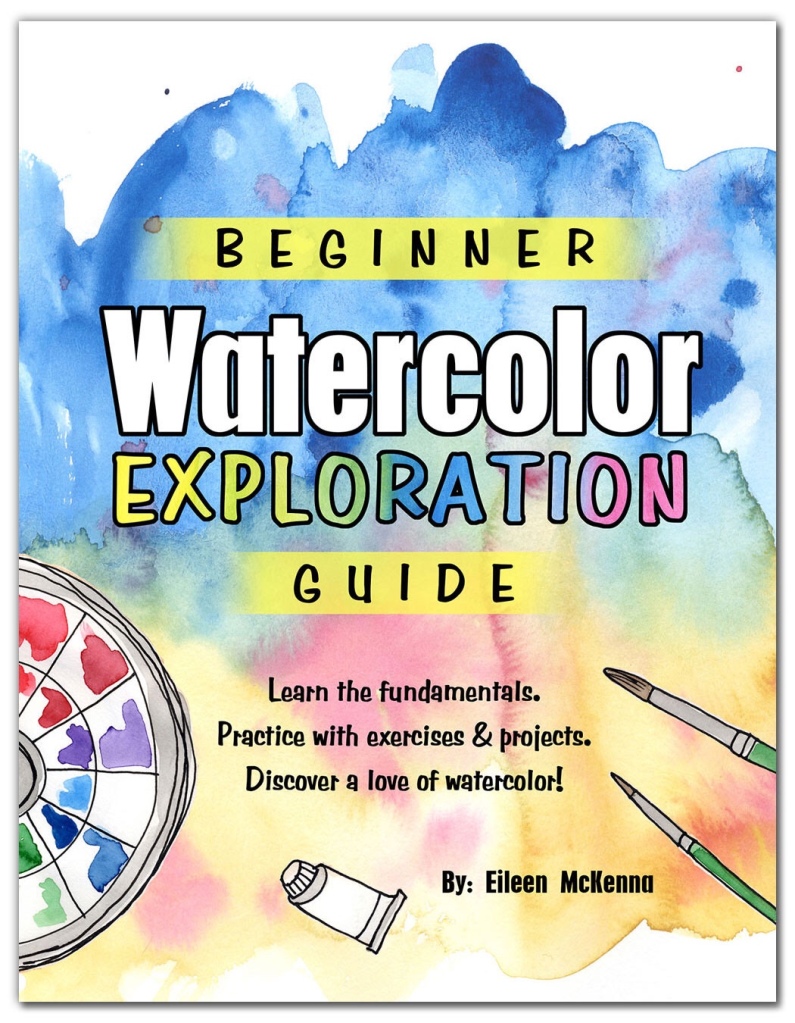
Want to explore creativity? My new ebook takes you step by step through the process for introducing regular creativity into your life, finding inspiration, and exploring mediums.

Learn more about Creative Exploration: A Six Week Process for Introducing Regular Creativity into your Life by clicking here.

Creative Exploration book -

This post contains affiliate links to products/brands I use and recommend. I earn a small commission whenever you buy using these links, at no additional cost to you. Thank you for supporting my blog!

Draw Paint Craft 15 Minutes a Day the path to regular creativity

Patriotic Paper Quilt activity for kids and adults

Patriotic Paper Quilt craft activity for kids and adults for Memorial Day July 4th Labor Day
You know when you have an idea and you’re like, “This is such a great idea.” But then you don’t get it done in time? Well last March I had the idea to create a paper quilt printable kit. The idea was based on a paper quilt I created back in the early days of my blog. I designed the paper quilt to look St. Patrick’s Day-ish, with shades of green and shamrocks. Every year before St. Patrick’s Day this post is popular. A paper quilt is a fun project, especially for non-sewers like me!

This year I thought wouldn’t it be fun if I designed four patterned papers, created a template, and instructions and added this digital paper quilt kit to my Etsy shop. Unfortunately St. Patrick’s Day came and went. Then I thought, “How about an Easter quilt?” Then Easter passed. “How about a Spring paper quilt?” I think you get the idea here.

I completed enough of the work with creating the template, etc. that I couldn’t let the idea die. Plus, I really think it’s a fun project for kids and adults, especially for kids with the component of matching the correct pattern with the correct letter on the template. And it looks good! A fun project that can be used for decoration or as a background in scrapbooking or matting a photo. I really believe in the idea.

With Memorial Day here, followed by July 4th, and then Labor Day, I thought, “How about a Patriotic Paper Quilt Kit?” Yes! And guess what? It’s ready! I hope you and your family will give it a try! Download it now in my Etsy shop.

4th of July | Independence Day kids craft activitycreative newsletter featuring artists crafts tutorials books shows and more | creative inspiration


Paper Roses with a link to a fabulous tutorial!

orangerose purplerose
I have long admired paper flowers. I think I first noticed them in Mollie Makes, a UK craft magazine. I love Mollie Makes, even though I don’t sew, knit, or crochet. I love the look and feel of it. I’m inspired by the crafts, and love reading about other creatives. It’s crafty, with a hip vibe.
Screen Shot 2016-02-27 at 11.41.44 AM

The first paper flower tutorial I tried didn’t work so well. I have to admit, I’m not the best at following directions, so it wasn’t surprising. the flower didn’t stay together, it just unraveled.

The other day I saw a post on Instagram from @liagriffith – who is amazing – and decided to check her site for tutorials. I did a watered down version of Lia’s rose tutorial. (I hand drew simpler versions of the petals, just to try it out.) I wasn’t disappointed! Using wire, you add a section of petals at a time, securing it with a dab of glue – from a glue gun.
paperflowers1paperflowers2paperflowers3

I was so proud of my rose, I did another, and another, and then tried one with paper I painted with purple watercolors. The bright flowers are really giving life to my Easter mantle!
flowersonmantle

Try String Art! A heart shaped tutorial.

finalstringartheart
I’ve been wanting to try string art for months. When I saw my Valentine’s Day pattern printed – I knew it would make the perfect background. Have you been wanting to try string art? If so, gather these materials and read on.

  • 8″ x 10″ frame with the glass removed
  • 8″ x 10″ piece of cork board (or use an additional piece of corrugated cardboard)
  • 3 pieces of 8″ x 10″ corrugated cardboard
  • patterned paper cut to 8″ x 10″
  • red embossing thread
  • nails – I used wire nails (#18 x 3/4″), approx. 50 nails
  • hammer
  • scissors
  • spray mount or other adhesive
  1. Take the glass out of the frame and use the frame backing to cut the cork board, cardboard pieces, and patterned paper.
    cutpaper
  2. Apply adhesive to the patterned paper and secure to cork board
    spraysmooth
  3. Place paper and cork board (facedown) into the frame. Put one – three cardboard pieces behind it. If frame backing fits, use it. Otherwise use tape to secure cardboard to the back of the frame. Use enough cardboard for a tight fit. Flip frame over.
    cardboardtapepaper
  4. Cut out heart to use as template
    cuttemplate
  5. Place heart in the center of the frame and use a nail to poke holes (equally spaced) around the heart.
    poke
  6. Remove the heart and hammer nails into the holes.
    nail nails
  7. Knot one end of the embossing string to one nail. Trim loose string.
    tie
  8. Wrap string around a nail on the opposite side of the heart. I wrapped the string fully around the nail, before string the next nail.
    firstwrapstring1
  9. Continue stringing the heart by wrapping around nails on the opposite sides (randomly). String until the heart is filled in, and every nail is wrapped at least once.
    string2 string3
  10. Then, wrap around each nail in clockwise order, completing an outline of the heart.
    stringedge
  11. Display your beautiful creation!
    finalstringart

I want to see your creation! Post your work and tag me on Instagram @eileenmckenna. Use #mcrstringheart. See more of my pattern designs here.

Nutcracker Pattern – and it’s available as fabric and gift wrap on Spoonflower!

nutcrackersrepeating
I’m so excited to announce that this Nutcracker pattern is available on Spoonflower and can be ordered as fabric or gift wrap! I just received some Nutcracker fabric and I’m excited to make something with it for the holidays!


You all know how passionate I’ve been about surface design this year! I’ve been wanting to take the next step, and see these patterns in action. And make them available to anyone else who is interested in them. I plan on adding some of the past year’s pattern designs to my Spoonflower shop too. If there is a particular one you are interested in, please let me know (links below).

This Nutcracker pattern is my “November” design. I know it’s jumping ahead of Thanksgiving, but I couldn’t help myself! I’ve already uploaded another holiday design and am waiting to see it printed. I’ll share with you, once I have it in my hands!

My surface designs this year:
January – August
September (includes a tutorial on making a repeating pattern)
October

Watercolor Leaf {A how to craft project}

This is one of my favorite Fall projects! Give it a try and share your results, either in the comments below or on Instagram – tag me: @eileenmckenna. For convenient printable instructions – visit my Etsy shop. Supplies:
  • Heavyweight watercolor paper – I used Fluid Easy Block
  • Watercolor paints (3 colors – light, medium, dark. I used yellow, orange (or red), and brown.)
  • Water
  • Paintbrushes (1 thick, 1 thin)
  • Scissors
  • Pencil and eraser
  • Leaf or photo of a leaf (for shape and inspiration)
Steps:
  1. Trace or draw leaf onto the watercolor paper
  2. Cut out the leaf shape leaf1
  3. Erase remaining pencil lines.
  4. Wet one side of the leaf shape using a paintbrush and water.
  5. Using a brush wet with yellow paint, paint the entire leaf yellow (or a light color of your choice). leaf2 leaf3
  6. With a brush, wet with orange paint, paint the edges of your leaf. The orange will bleed into the yellow – this is a good thing! leaf5
  7. Use a thinner (and not as wet) brush and paint thin brown lines onto the leaf. (Copy the veins from your real leaf or photo.) If your leaf is still wet, the lines will bleed which creates a cool texture to the leaf. leaf6
  8. Allow the leaf to dry, then add more thin brown lines. (The dryer the paper, the less the paint will bleed.) lastleaf
When I first showed my kids my painted leaf, they thought it was a real leaf! Have fun! Can’t wait to see what you make. 🙂 Ready to get started in watercolor? Check out my new guide “Beginner Watercolor Exploration” 
  • Learn the fundamentals.
  • Practice with exercises & projects.
  • Discover a love of watercolor!
Start your watercolor journey today! Learn more here.
Beginner Watercolor Exploration Guide pdf download | how to guide beginner watercolor
Would you like to: Be creative on a regular basis and experience the joy that creativity brings? Explore mediums and subjects, in search of your thing? Learn about my new book Creative Exploration: A Six Week Process for Introducing Regular Creativity into your Life by clicking here. Creative Exploration book - Easy Watercolor Leaf Tutuorial | fall crafts | #fallcrafts This post contains affiliate links to products/brands I use and recommend. I earn a small commission whenever you buy using these links, at no additional cost to you. Thank you for supporting my blog! Want a dose of creative inspiration? Sign up for my newsletter “My Creative Collection” by clicking here. Learn more about the newsletter here.

Merry [day after] Christmas!

dioramafinal
I was feeling guilty that I never finished a Christmas diorama, as I promised you. Posting one today or tomorrow seemed too late. But, as I cleaned up all the scraps of wrapping paper, boxes, and ribbons, I realized today is the perfect day to finish a Christmas diorama and use some of those leftovers. The rush of shopping, baking, and wrapping is over. Today is a lazy day – the perfect day to work on a project and those leftovers had inspired me. In my last diorama post, I went over all the problems I was having with my diorama. The main thing I realized was that I was thinking too literally. This time I didn’t fuss about a realistic floor – I just created and I’m so happy with the results! I hope you had a very Merry Christmas!

wrapping

Christmas Diorama – in progress

diorama1
I haven’t forgotten about my Christmas diorama project. I’m learning that (like anything worth doing) it isn’t a quick, easy thing.

I’m using a tea box and realizing I need to cover every side – inside and out.
diorama2a

Unfortunately the craft tape thingy isn’t strong enough and is showing through the vellum. I’m also realizing that all the corners need to be tight or it looks sloppy. Or I need to trim all the corners and edges in garland. And my watercolor background and sides buckled a bit and aren’t flat.
diorama2c

I started with a “floor” that I tried to mimic real wood. Then I realized the carolers were outside, so I created a cobble stone look.
diorama2b

I think the depth of my box is too large for the pieces I have. I need to add more elements to it or cut the box.

I often think very literally. I created a sky and cobble stone floor for the carolers. Maybe I should try to change my thinking and use Christmas patterns for the inside sides or background.
diorama3

It’s a work in progress. I’m hoping to have a finished diorama to show you by Christmas Eve!