Beach Diorama

Beach diorama craft with DIY steps http://wp.me/p4cmnl-15e
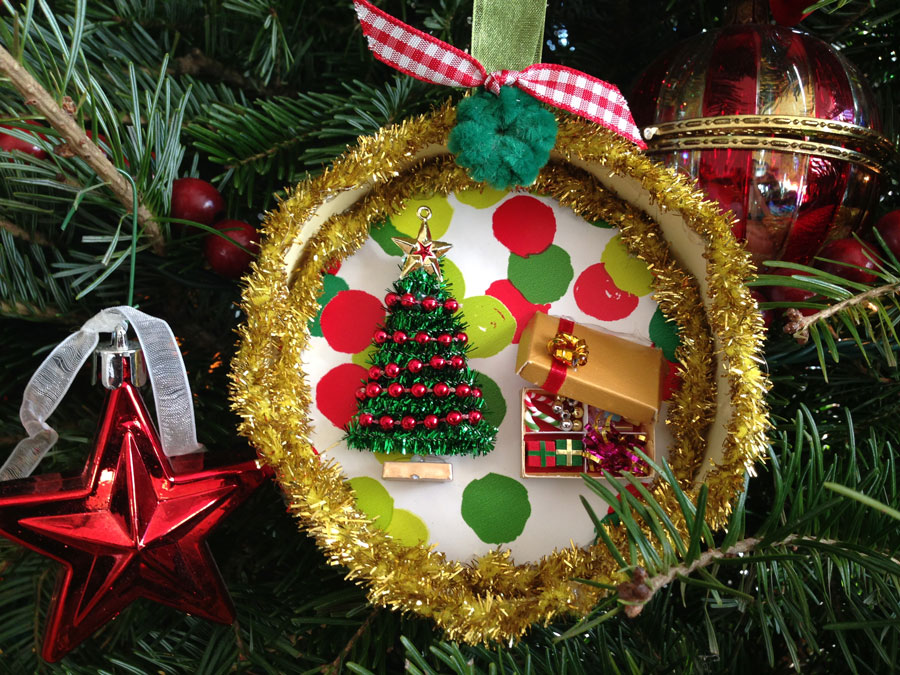
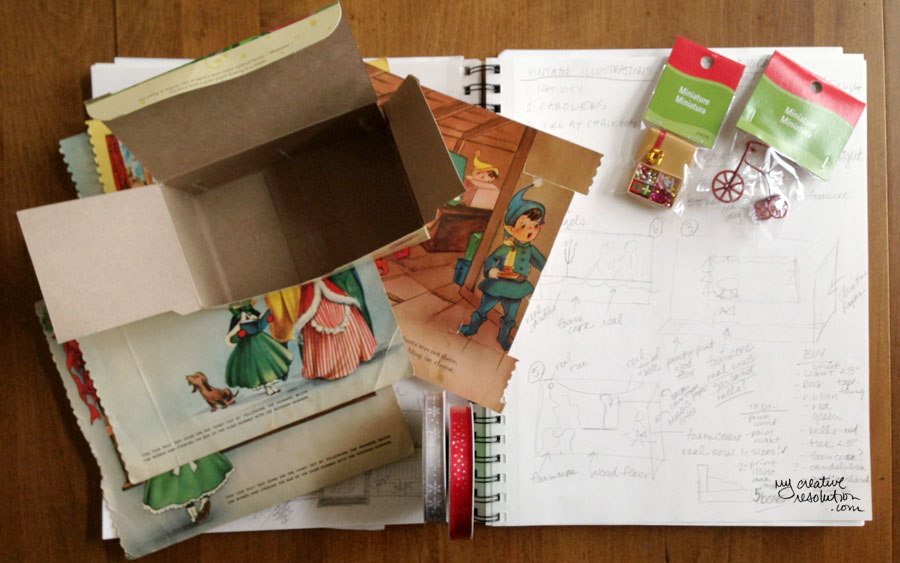
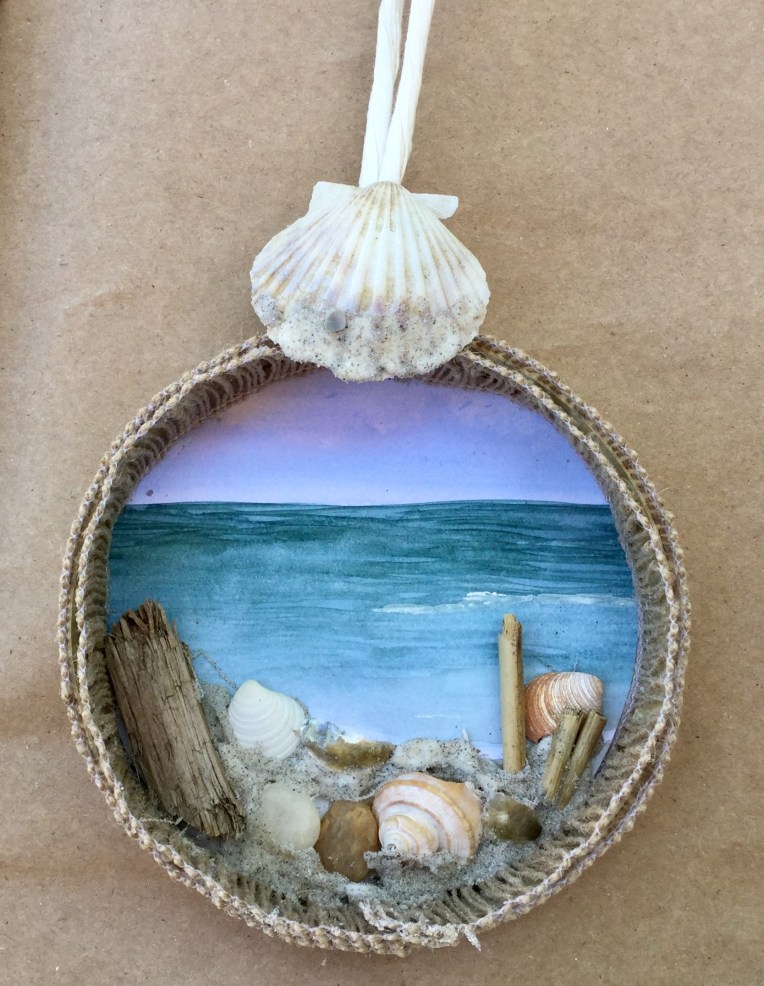
I got crafty today and finished the diorama that was inspired by a quick beach painting in my sketchbook and the cardboard leftover from the Brie cheese.
Beach diorama craft with DIY steps http://wp.me/p4cmnl-15e
I can draw and paint but I don’t think of myself as particularly crafty. I’m a mess with a glue gun in hand. So if I can pull this off anyone can!
You’ll need:

  • Leftover cardboard round with edges (mine is from cheese)
  • Scissors and hole puncher (if you have one)
  • Painting, photo, or patterned paper for the background
  • Shells, rocks, sticks, wood (any beach treasures you’d like) and sand
  • Ribbon, fabric, or paper to line the inner and outer rims
  • Twine or ribbon (or in my case the handle from a shopping bag)
  • Glue gun, craft glue, and double sided tape or scrap booking adhesive

Beach diorama craft with DIY steps http://wp.me/p4cmnl-15e
Steps:
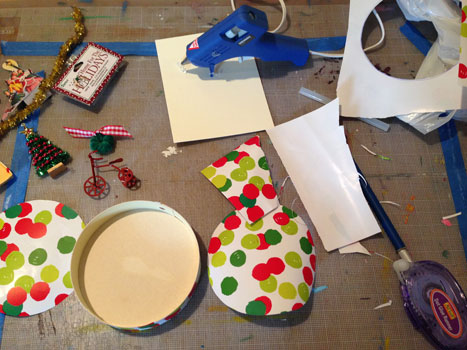
1. Trace a circle on your painting using the cardboard as your guide. Cut inside the circle. Adjust until the paper fits inside the cardboard. (Set painting aside.)
2. Poke a hole through the rim or use the hole puncher. The hole will be the top of your diorama.
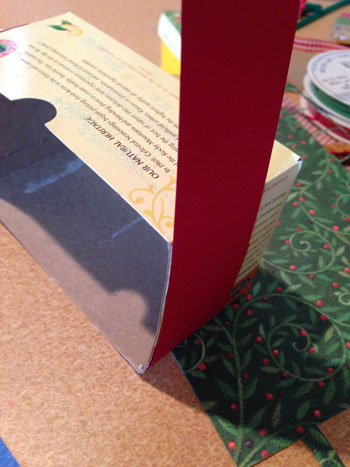
3. Glue ribbon around the inner and outer rims, putting seams at the bottom.
4. Thread twine through the hole and knot.
5. Tape painting to the inside of the circle. Pay attention to the “top” (the hole) when lining up the horizon of your painting. Make sure to tape down all the edges.
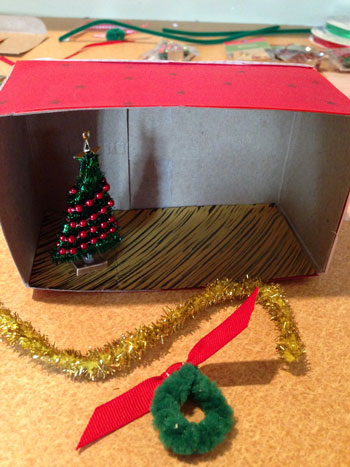
6. Use glue gun to add all of your beach treasures.
Beach diorama craft with DIY steps http://wp.me/p4cmnl-15eBeach diorama craft with DIY steps http://wp.me/p4cmnl-15e
7. Use glue gun to secure shell to the knot. (See image below.)
8. Add craft glue in between shells and rocks. Pour generous amount of sand on top.
Beach diorama craft with DIY steps http://wp.me/p4cmnl-15e
9. Add craft glue to bottom of the shell (on the knot) and pour sand onto glue.
Beach diorama craft with DIY steps http://wp.me/p4cmnl-15e
10. Wait until fully dry and gently shake off excess sand.
Extra – make a little sign with the name of your special beach to add to your beach diorama.
Inspired by this post? Let me know what you make! Tag me on Instagram @eileenmckenna

Have you read:
Six Ways to bring the Beach into your Home https://mycreativeresolution.com/2017/05/19/six-ways-to-brin…h-into-your-home/ Process for Painting the Beach in Watercolor

Sign up for the “My Creative Collection” Newsletter by clicking here!
The newsletter goes out every other week and is all the things that are inspiring me – artists and makers, places, crafts and art mediums, tutorials, podcasts, interesting articles, and more. My hope is to inspire you!

Merry [day after] Christmas!

dioramafinal
I was feeling guilty that I never finished a Christmas diorama, as I promised you. Posting one today or tomorrow seemed too late. But, as I cleaned up all the scraps of wrapping paper, boxes, and ribbons, I realized today is the perfect day to finish a Christmas diorama and use some of those leftovers. The rush of shopping, baking, and wrapping is over. Today is a lazy day – the perfect day to work on a project and those leftovers had inspired me. In my last diorama post, I went over all the problems I was having with my diorama. The main thing I realized was that I was thinking too literally. This time I didn’t fuss about a realistic floor – I just created and I’m so happy with the results! I hope you had a very Merry Christmas!

wrapping

Christmas Diorama – in progress

diorama1
I haven’t forgotten about my Christmas diorama project. I’m learning that (like anything worth doing) it isn’t a quick, easy thing.

I’m using a tea box and realizing I need to cover every side – inside and out.
diorama2a

Unfortunately the craft tape thingy isn’t strong enough and is showing through the vellum. I’m also realizing that all the corners need to be tight or it looks sloppy. Or I need to trim all the corners and edges in garland. And my watercolor background and sides buckled a bit and aren’t flat.
diorama2c

I started with a “floor” that I tried to mimic real wood. Then I realized the carolers were outside, so I created a cobble stone look.
diorama2b

I think the depth of my box is too large for the pieces I have. I need to add more elements to it or cut the box.

I often think very literally. I created a sky and cobble stone floor for the carolers. Maybe I should try to change my thinking and use Christmas patterns for the inside sides or background.
diorama3

It’s a work in progress. I’m hoping to have a finished diorama to show you by Christmas Eve!


Dioramas – the planning stage

christmasdiorama1
I’ve wanted to work on a diorama for awhile now. I haven’t worked on one since the kids made shoebox sized ones for school. Even then it wasn’t my project and they wouldn’t let me take over! I’ve been pinning Christmas diorama projects on my board like crazy lately. When I remembered the illustrations in my dad’s old Christmas music book, I thought they would be perfect! I could plan my dioramas around them. Imagine – vintage illustrations, right at my fingertips. How lucky and out of character. We are not the family that ends up on Antique Roadshow! We didn’t even have an attic!

I looked through each illustration and figured out how I could create a diorama around it. Then I wrote a list of all the things I need. I measured my box to know the sizes. I want the dioramas to have one 2D element (where the illustration is brought forward from the background) and one 3D element – a miniature tree for example. I’ve planned on five dioramas, but we’ll see! I’m an ambitious planner.