Recently I wrote about how you should take some time to observe a reference photo before painting. I have to constantly remind myself of my own advice because I want to jump in and start painting. I want to get to the fun part!
1. observe your subject
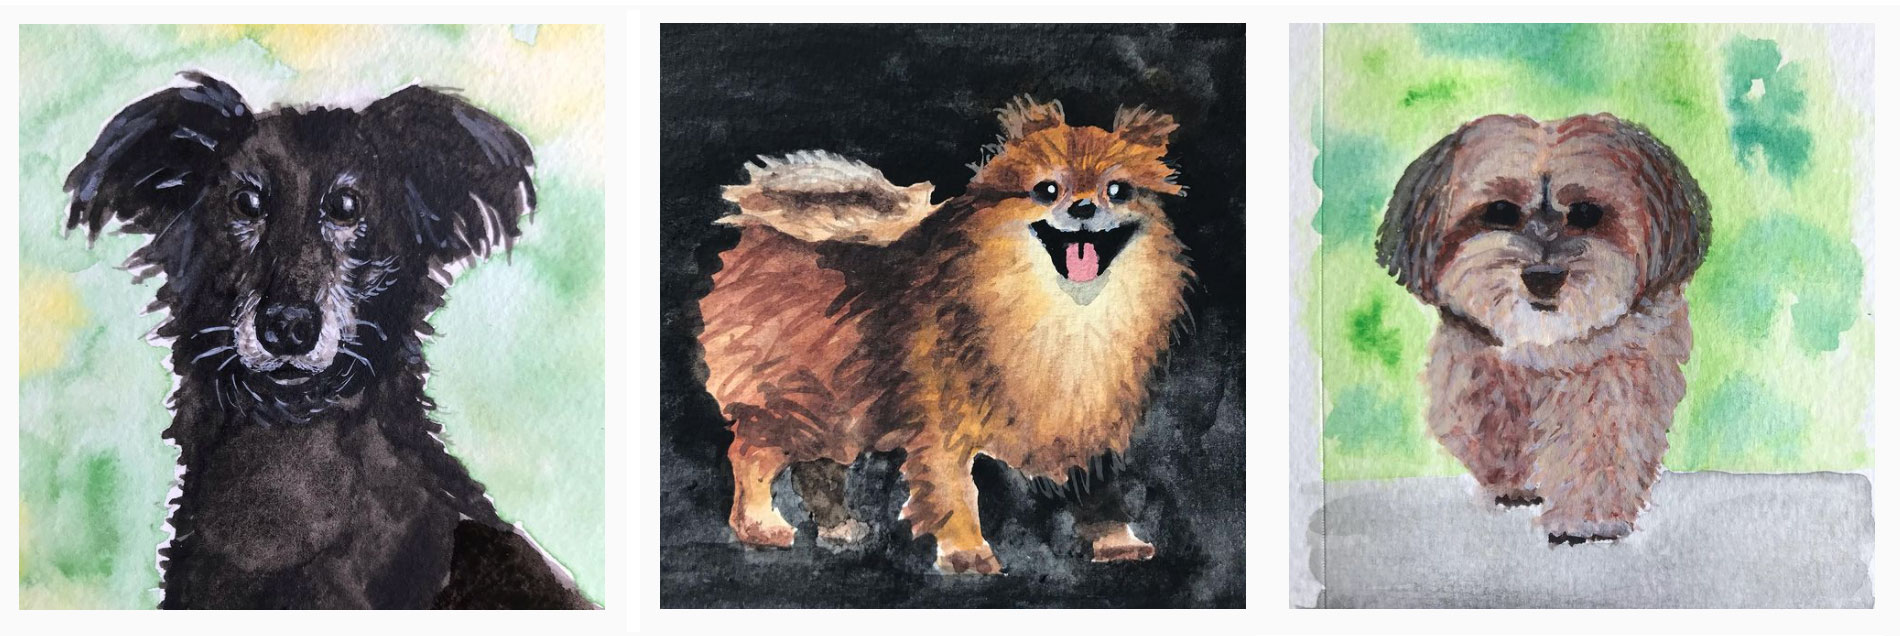
After painting a few dog portraits, the part 2 to this advice occurred to me:
2. Do a “study”
What is a “study”? Essentially a study is a practice painting, drawing, or sketch. You have most likely seen studies done by the Masters before they painted their final masterpieces.
For weekly watercolor tips & Tricks sign up for my newsletter:
The masters did studies

(Photo: The Art Institute of Chicago Public Domain)
George Seurat spent two years on site sketching, before painting A Sunday Afternoon On The Island Of La Grande Jatte. He created approximately 60 sketches. “This approach enabled Seurat to capture the color, light, and movement of the scene before him.”
The benefit of doing a study
Sketching or painting helps you see the subject more closely. As I painted the dog portraits I noticed more about the dogs as I painted. When I paint or draw my eyes travel back and forth from my painting to the reference photo and back again.
This is something I try to instill in the kids at the art center where I teach:
Everything you need to know about the subject is in the photo. If you want to realistically draw or paint it, keep looking at the photo and your artwork.
Eileen McKenna
Another way of seeing
I find it useful to occasionally flip both the reference photo and my paper to see things differently. Looking at things this way is supposed to trigger the other side of your brain. This theory was written about in the popular book Drawing on the Right Side of the Brain.
I notice that when I look at things upside down it is easier to see the individual elements of something. For example a face upside down allows me to focus on the elements more than the whole face.
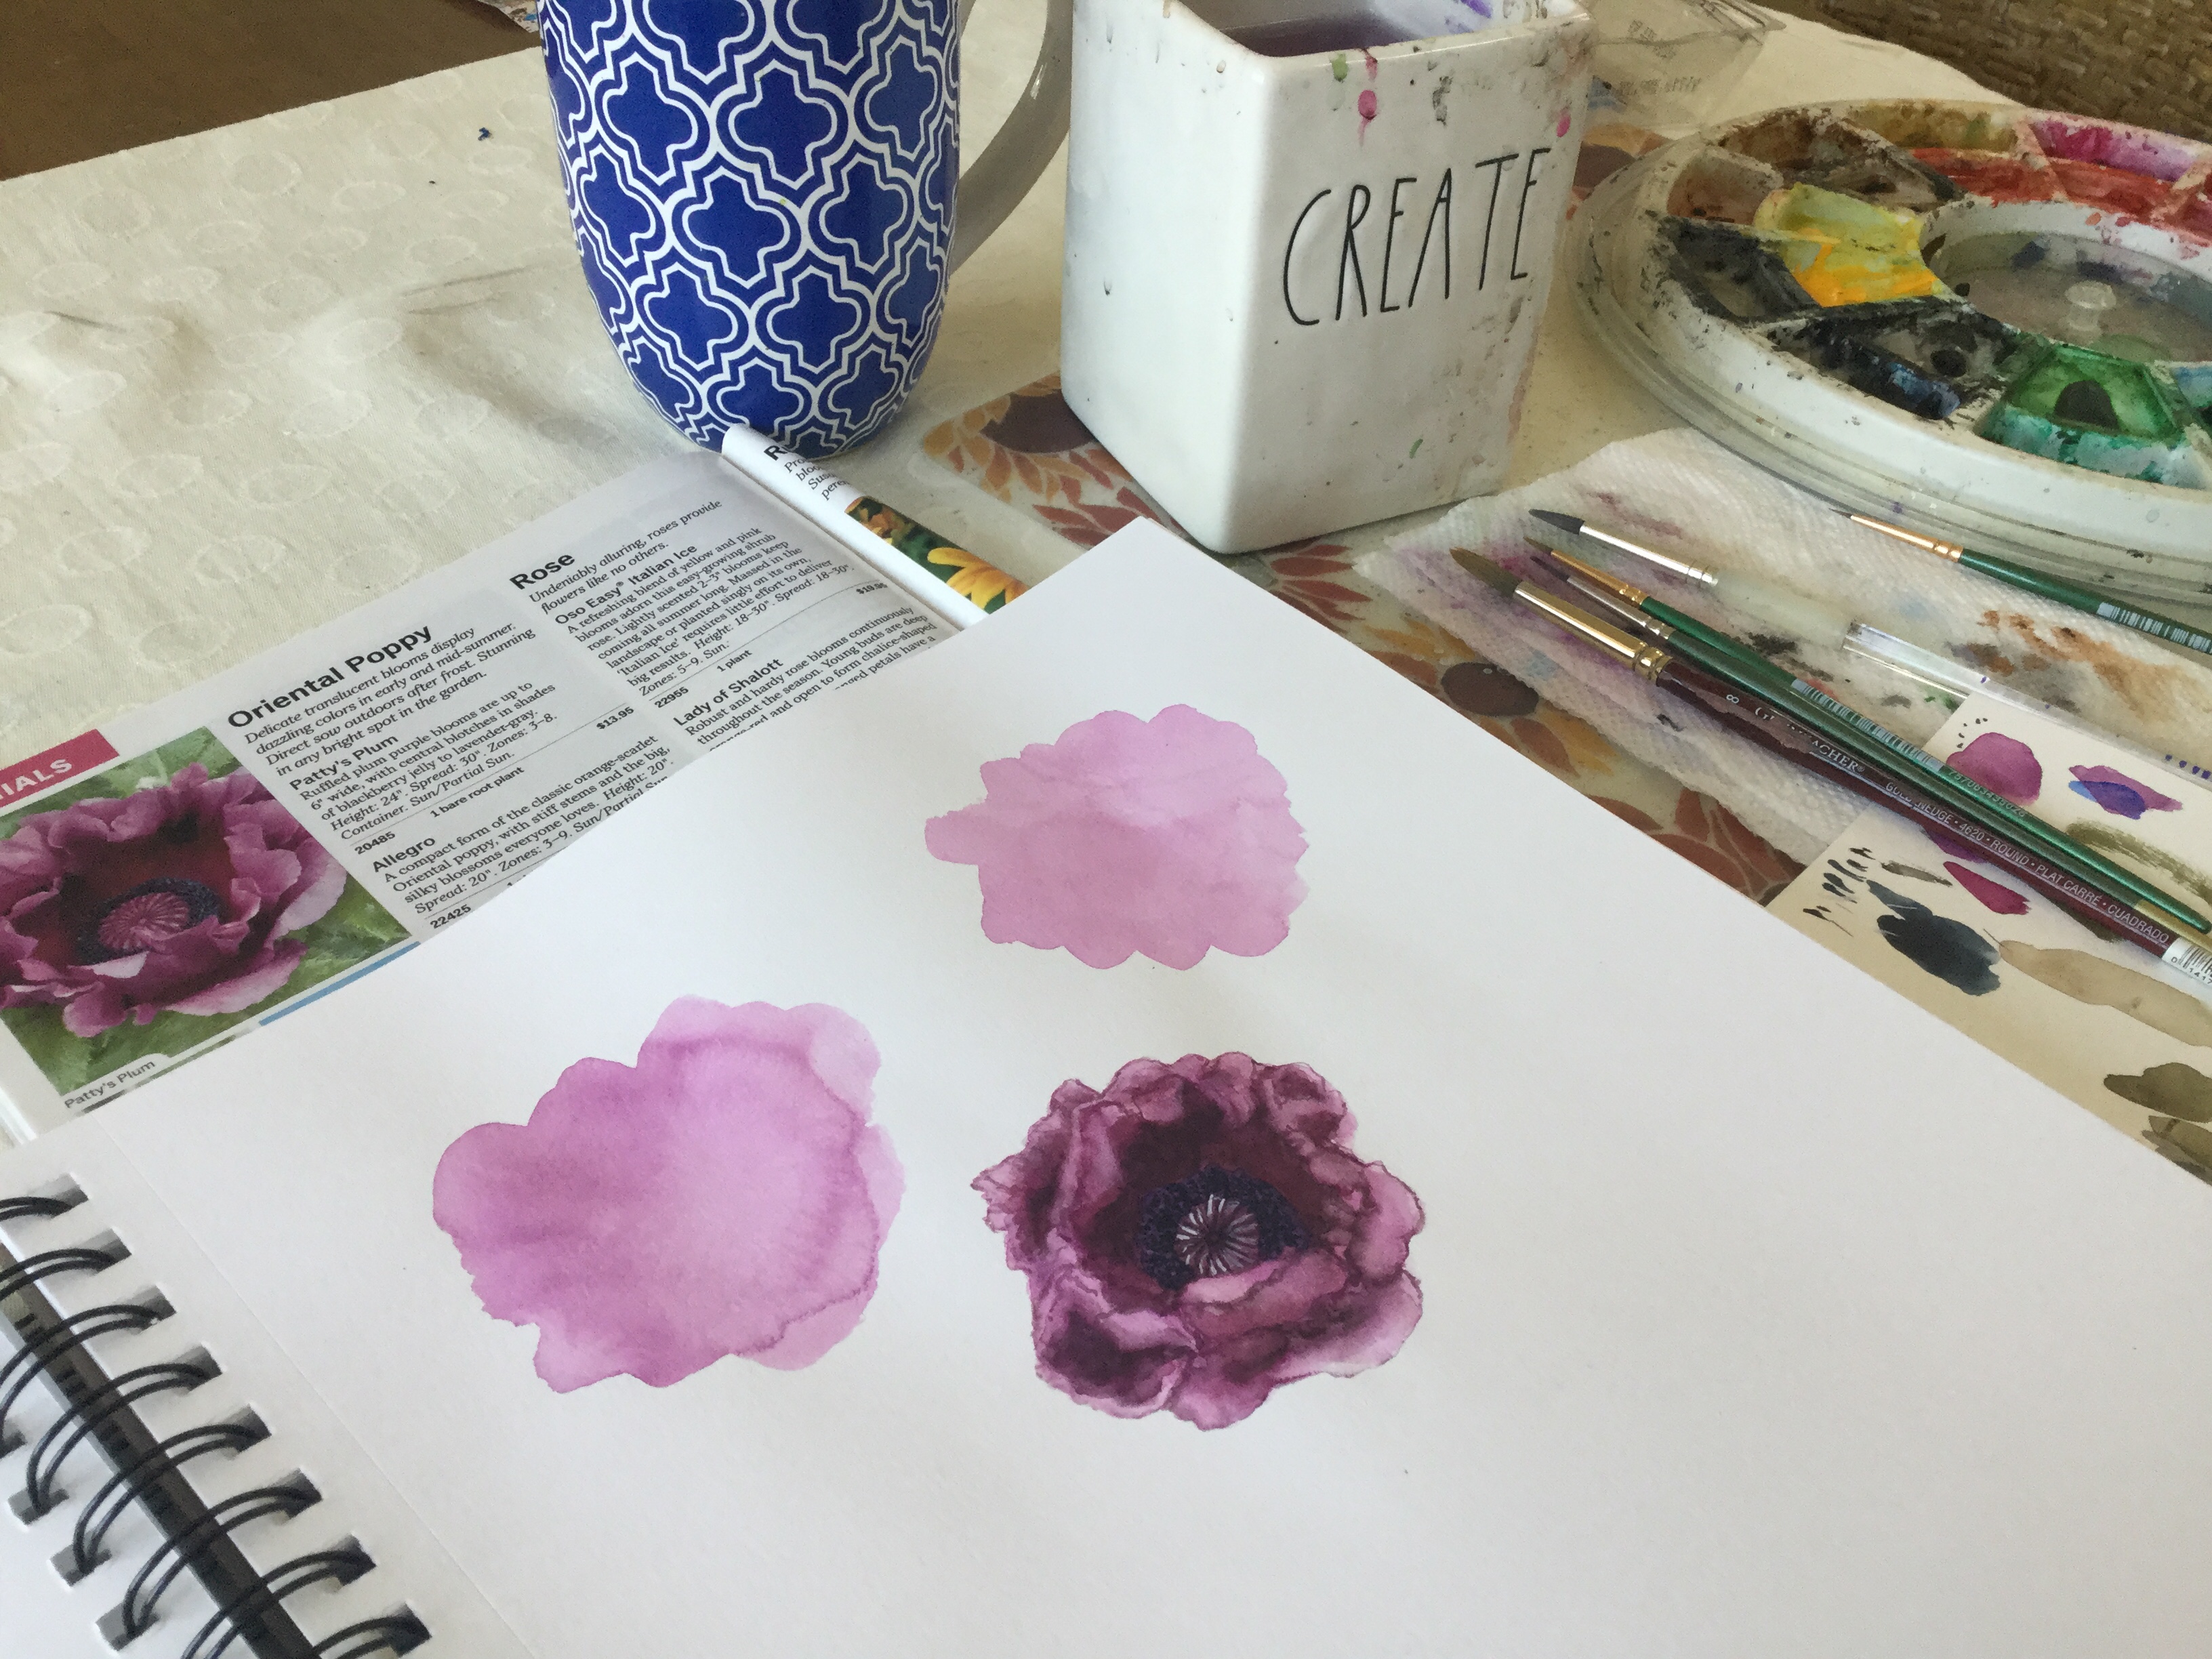
painting Stella
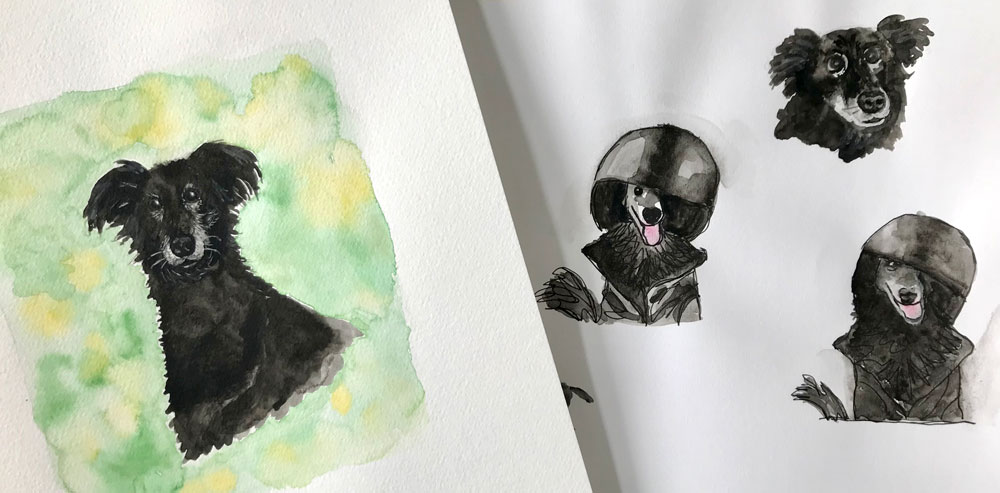
When I painted Stella, I looked through many photos and selected a few photos to practice with. I wanted to “see” what characteristics were unique to her. As I painted I felt I was getting to know her. These practice paintings helped me get a more realistic final painting.
For weekly watercolor tips & Tricks sign up for my newsletter:
Read “PAINTING TIPS FOR BEGINNERS”

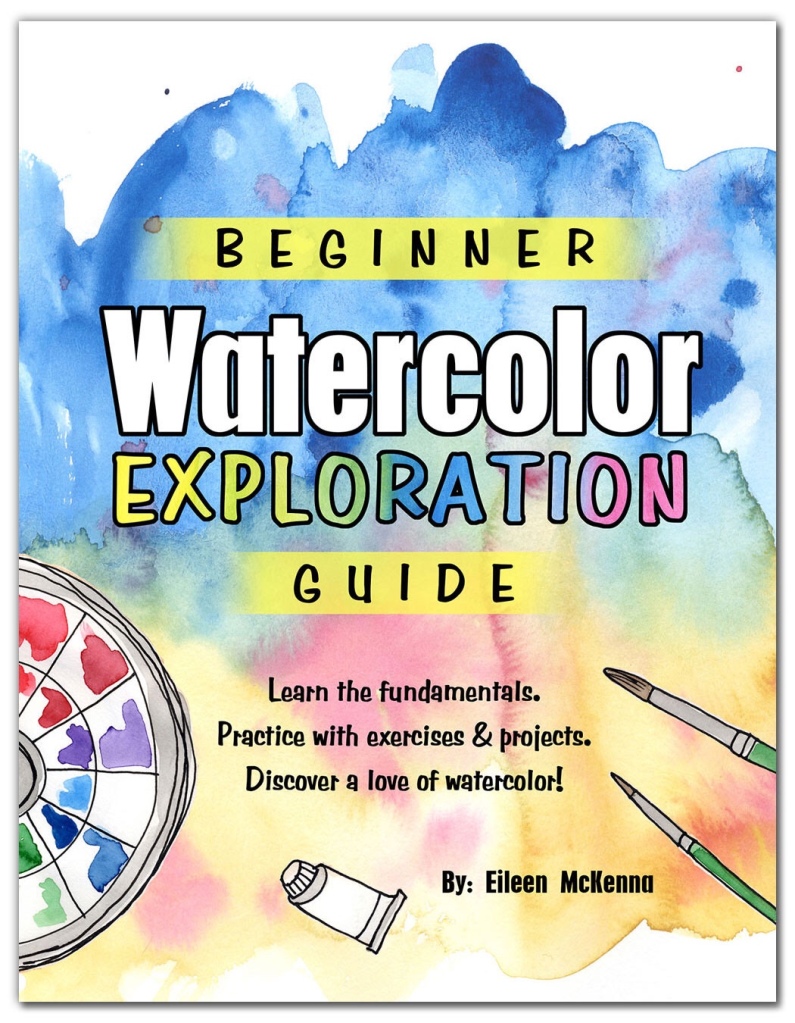
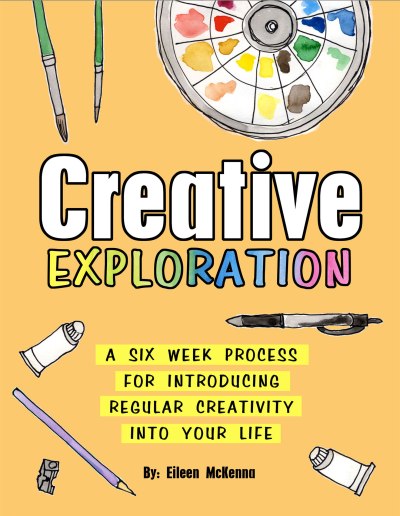
Ready to get started in watercolor?
Try my “Beginner Watercolor Exploration Guide” where I walk you through the fundamentals of watercolor with exercises and projects. Learn by doing. Discover a love of watercolor today –> Learn more here!

This post contains affiliate links to products/brands I use and recommend. I earn a small commission whenever you buy using these links, at no additional cost to you. Thank you for supporting my blog!