Halloween Illustrations with hidden pictures

halloween4
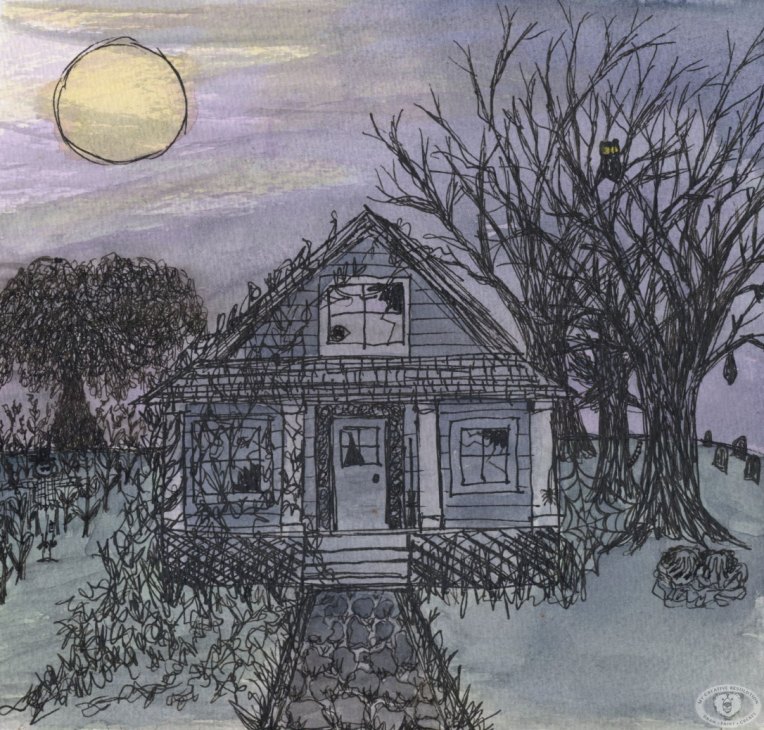
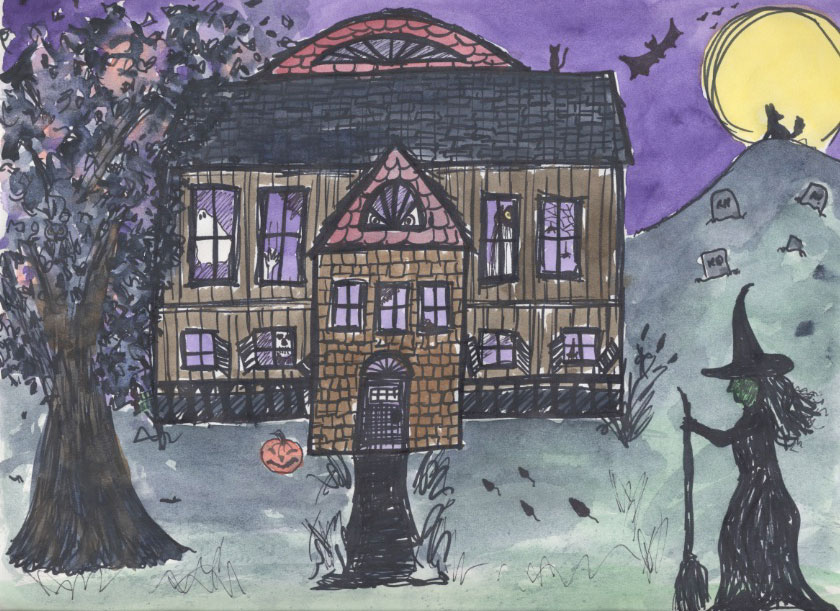
Try to find the hidden pictures:
scarecrow, witch’s hat, broomstick, bat, owl, eyeball, spider, hands, tail, and a face (profile).

Last year I doodled a few Halloween scenes in my sketchbook. In one of them, I hid a few things. This year I’ve been inspired to do more of these. The illustration above is only 8″ x 8.” So hiding things was a bit of a challenge. It’s hard to draw details that small!

I think a better way to do this, is to create an illustration. Then, create the items to be hidden, separately, and a bit larger. And put it all together in Photoshop. I’m working on a second haunted house illustration now, so I’ll give it a try.

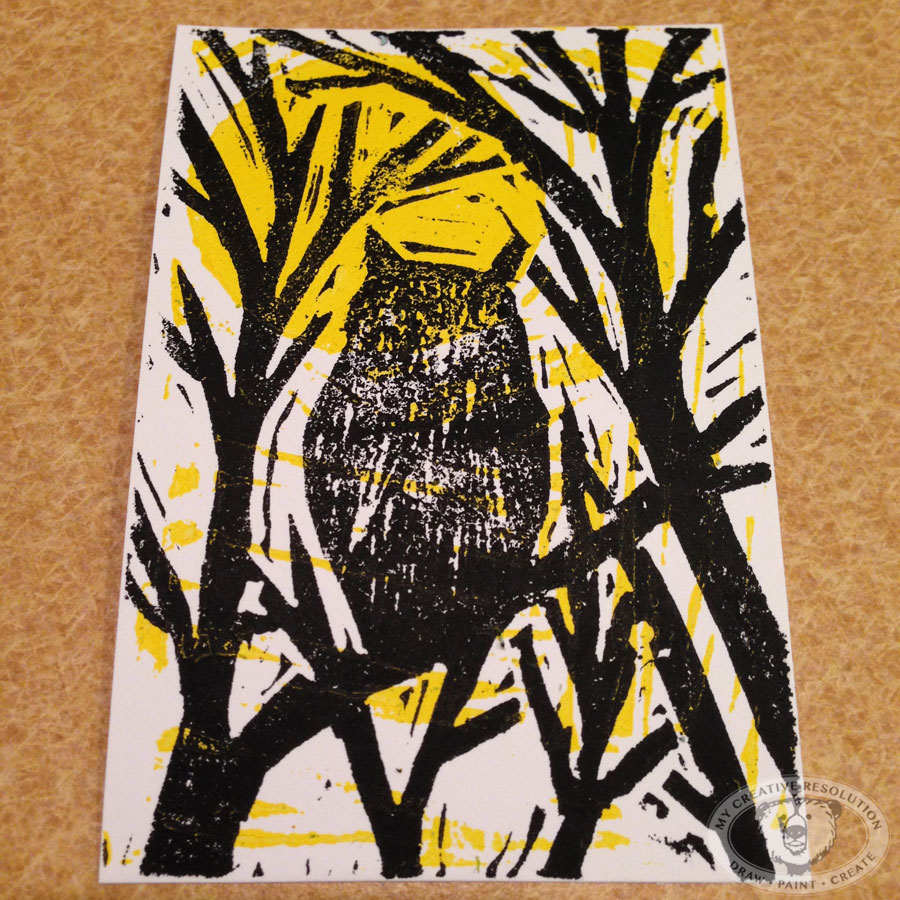
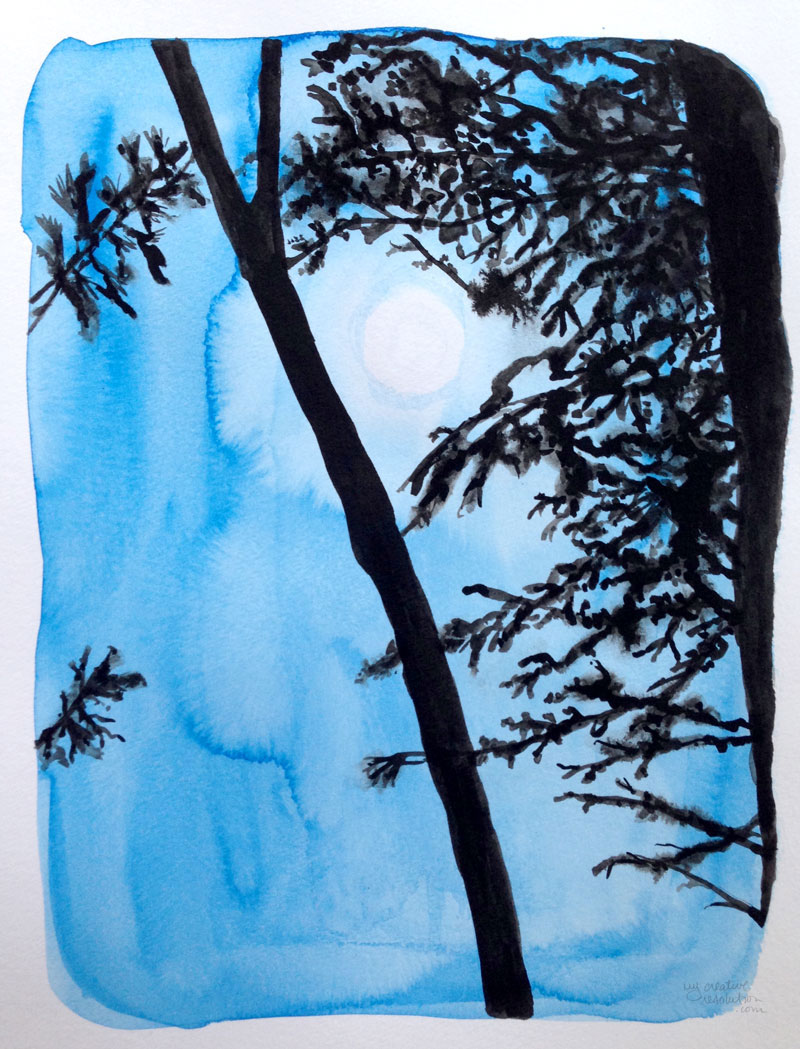
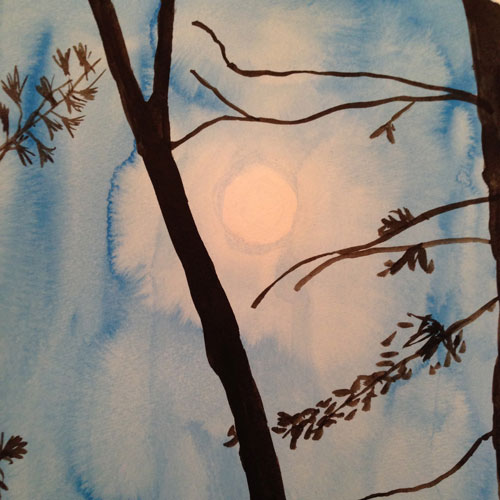
Last year’s Halloween sketches:

halloween3halloween2halloween1spookyforest

It’s interesting to look back on last year’s illustrations. I’m noticing that the thicker marker conveys a more playful feel.

Did you have trouble finding any of the items? 🙂

My First Linocut!

finallinocut
Finally I sat down and carved my first linocut. It’s amazing – when you make a date with yourself and commit, you follow through. I had been putting it off, sketching ideas for the design, until I realized the design didn’t really matter – it was about trying out the tools and learning the process.

Linocut Tools:

I sketched an idea I had in pencil, directly onto the “Speedyball Speedy-Cut Easy” block. It took me a few minutes to figure out how to attach the carving blade to the handle, but I got it. I was surprised at how easy it was to carve. I carved around the trees first. For the owl I used a thinner blade to add texture (to show the feathers). I messed up with the beak when I momentarily spaced on what I was supposed to carve off – the negative space. But again, this is a learning process.

I used the back of the block, because I wanted two colors. I transferred the eye shapes over to the back with tracing paper – although they mostly fell within the moon. These fine details didn’t really print in the end. And I did it wrong – it should have been the mirror image of the eyes and moon. Imagine my surprise when the moon ended up on the left instead of the right. There were other mistakes: I should have wiped the carving before printing. I didn’t carve deep enough, but this led to a happy accident because I liked the texture it added and the yellow through the print. I can’t wait to do another one!

Here are my steps:

This slideshow requires JavaScript.

You’ll need:


I see the moon…

finalmoon
I finished my moon painting! I was working from a photo I snapped last week. Once I sat down and painted the background – I was sucked in. For the next few days, whenever I had a minute I pulled it out.

After the background dried, I softened the edge of the moon, to give it a glow. When the background was dry I started adding the tree branches. I decided to work with India Ink instead of the Payne’s Grey watercolor, because it is a richer black and less opaque. (It’s the test on the left.)
moonpic moonstart ink moonink

I wasn’t happy with how the branches were turning out. They seemed too stiff. So I wet all the areas where I wanted the branches to be, and added the ink. At first, it was a bit out of control (too much ink on my brush), but I got the hang of it. I guided the ink along to create the branches. I was happy with the results. The branches were much more natural looking.

wetbranches


It only takes a few minutes to start a painting…

moonstart
…that will pull me back to it all week. For weeks I’ve been posting about what I’ve accomplished, my plans for 2015, my new banner, etc., BUT I haven’t been painting!!!

I was more than ready for the kids to clear out and go to school after the holiday break. In fact, I was so ready, I decided to get a headstart. Last night, I pulled out my paints and painted the background for this moon painting.

I’m working from a photo I snapped the other night, when I spotted the moon peeking through the trees. It’s fun when you see something that inspires you, take a photo, and follow through and paint it. It feels like you own the entire creative process – as opposed to using a reference photo that someone else took.
moonpic

I just started adding the trees. Stay tuned!
moonink