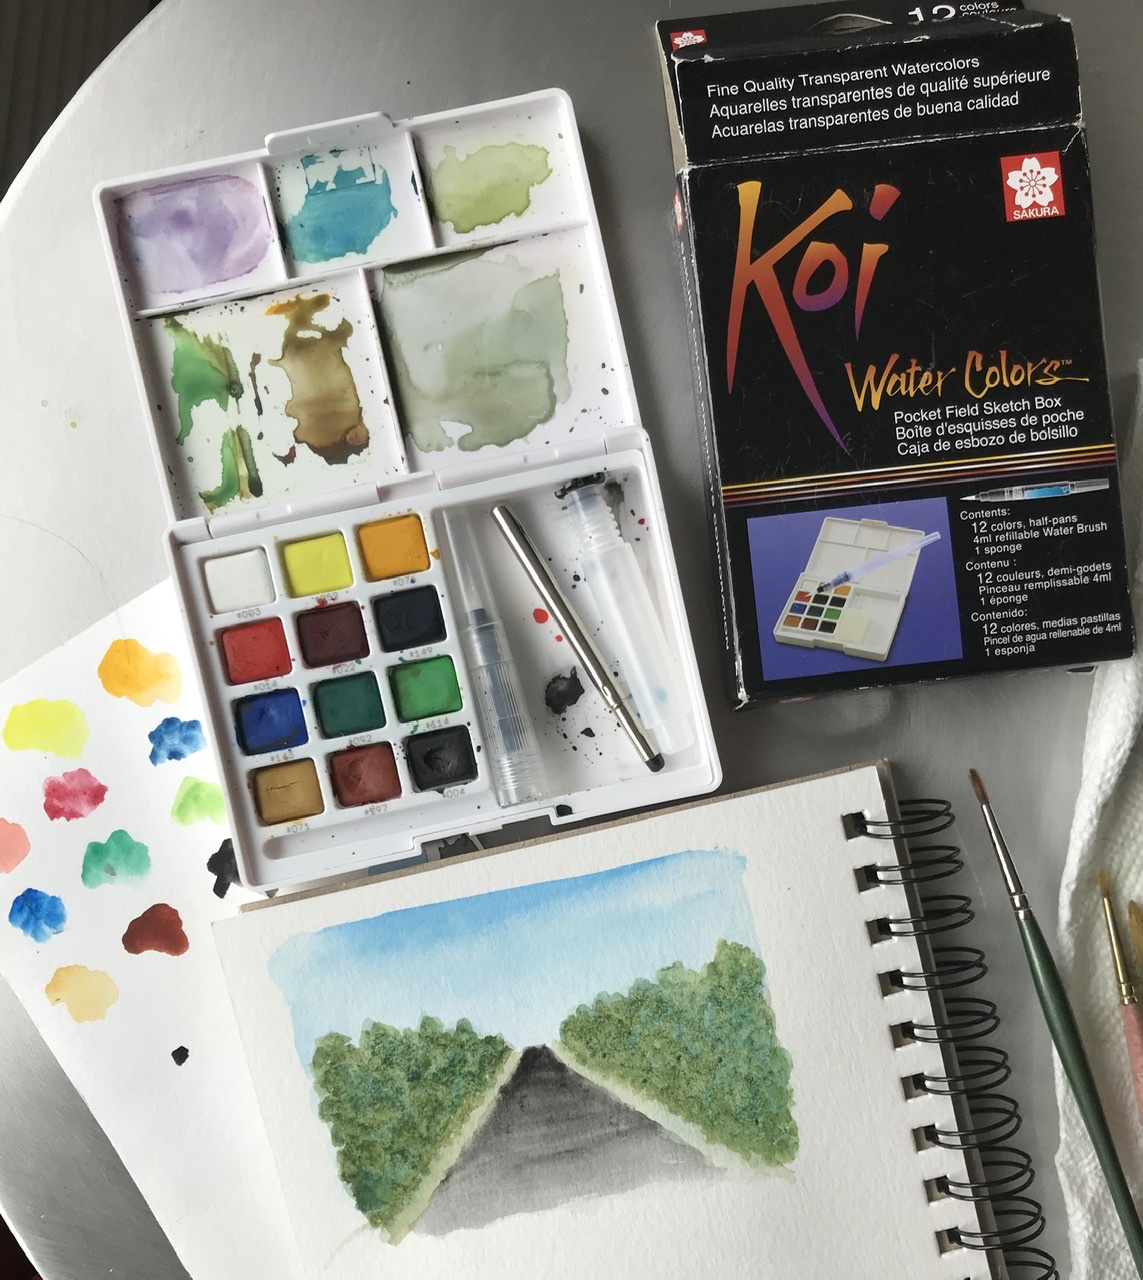
Whenever I travel I bring my watercolors with me. I have a compact travel set that is the perfect amount of colors. Painting while on vacation is a great way to experience a place. I take photos while I’m out with my family and paint during downtime at the hotel. You notice so much more when you are painting something. I’ve painted in NY, South Carolina, Tennessee, Georgia, and even France.
I work in a small Canson sketchbook with nice thick watercolor paper and paint small scenes and illustrations. This time I brought a few brushes – older ones because sometimes they get bent in my bag. I’d like to get a brush holder like this one.
Another fun thing to do is visit the local art store. I’m eyeing one up around the corner from where we are staying.
Painting during vacationreaffirms my regular creative practice. It’s common before vacation to be busy and not have time. Painting during a trip gets me back in the groove.
This post contains affiliate links to products/brands I use and recommend. I earn a small commission whenever you buy using these links, at no additional cost to you. Thank you for supporting my blog!
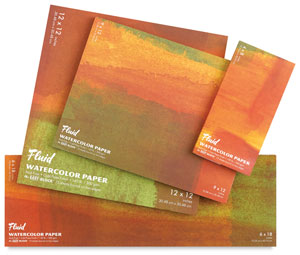
It’s Back to School time, so I thought it would be a great time to go back to basics, Watercolor Basics. Let’s talk about paper. When I first started out in watercolor I was using the wrong paper. Watercolor paper is specially designed for watercolor paint – it has texture, absorbs the paint, and can withstand a good amount of “working” at your painting before the paper starts to break down.
I resisted at first because I wanted a very white paper. I was using a paper that had a coating on it and the coating was preventing the paper from absorbing the paint. Eventually I found watercolor papers that were the cool white I wanted. Once I made the switch I realized what a difference the paper actually makes.
I now use cold pressed paper. What does that mean? According to watercoloraffair.com,
“In a nutshell, the terms “hot press” and “cold press” refer to the paper’s surface finish or texture. Cold pressed paper has a slightly bumpy, textured surface. But hot pressed paper has a smooth surface finish. You will also hear artists talking about the tooth of the paper.”
Before I paint, I trim my paper to 9″ x 11″. This creates a painting that fits nicely in mats and frames for 8″ x 10″ artwork. Before I started trimming the paper my paintings were too long for the mats and too much wasn’t visible in a standard mat. I use this mat set for 8″ x 10″ artwork. It includes the mat, backing board, and a clear bag to protect your matted artwork.
Always tape down your paper to a board using painter’s tape. I use the cardboard back of old art pads. The cardboard needs to be larger than your paper.I use a painter’s tape like this one. I prefer tape that is less than an inch wide. The reason for taping down your paper is that water and paint causes paper to buckle. Taping your paper to a board helps keep the paper flat.
It is important to use the correct side of the paper. The side facing up when you take a sheet off the pad. If you have trouble keeping track – make a small pencil x mark on the back side of the paper.
Even though the paper is made for watercolor — Don’t rub your brush too hard or the paper will start to come apart. This can also happen when you overwork a section of your painting.
This post contains affiliate links to products/brands I use and recommend. I earn a small commission whenever you buy using these links, at no additional cost to you. Thank you for supporting my blog!
Over a decade ago as a young mom, I took a drawing class followed by a watercolor class. A few years later, I got serious about creating everyday and started my blog. I set out to explore every medium in search of my thing. The early days of my blog involved pencil sketches and working with acrylics. Then one day I decided to add color to my sketchbook and pulled out my watercolors. BAM! It hit me – I loved watercolor! I never put them away again.
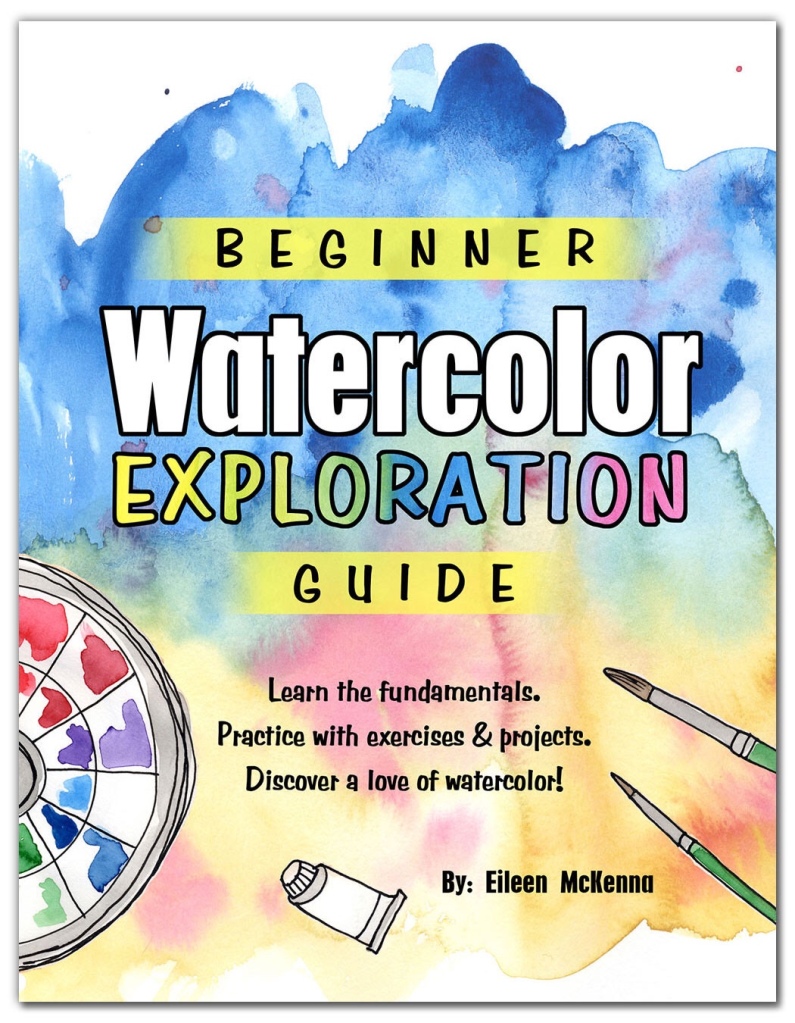
Over the last few years I have developed watercolor painting projects and other learning resources in PDF and video form. Today I’m super excited to announce my new guide called“Beginner Watercolor Exploration.”
I started painting in watercolor about twelve years ago when I enrolled in a class. A few years later – during the early days of my blog – I gave myself the freedom to explore everything and anything. I came back to watercolor to make working in my sketchbook more fun, and remembered how much I loved it. Watercolor has been a focus of mine ever since. Here are the most impactful things I’ve learned.
Embrace the magic. When I showed my teacher my first watercolor painting she said, “No, no, no, you’re drawing.” I was quite proud of my painting and didn’t understand what she meant. But as my familiarity with watercolor grew, I began to understand. Allow watercolor to do its thing. Colors bleed into one another creating interesting effects. It’s magical!
Go with the flow. Give up control. Some people say they don’t like watercolor. I think it’s because you don’t have as much control as with other mediums. Colors will bleed into one another whether you want them to or not. But over time you will better be able to predict what will happen – how the paint will react. You have more control then you think. Embracing the fluidity creates beautiful effects.
It’s not (quite) permanent. A damp brush can “erase” watercolor. This is more effective when the paint is still wet. A wet brush can also soften edges. You can “work” at a painting to turn it into your desired outcome.
Paper matters. Always use watercolor or multimedia paper. Other papers are not made for watercolor and will wrinkle and tear, especially the more you “work” your painting. Tape your paper to cardboard if you are painting to the edges, to prevent buckling.
It’s all about the layers. Add more and more detail with each “layer” using a finer and drier brush as you go. Allow drying time between each layer. A watercolor painting is like a camera coming into focus. It’s starts out blurry – the first layer. With each layer the painting comes more and more into “focus.”
Use super thin brushes for fine lines. Years ago I began using a black gel pen for thin lines. I really liked this illustrative effect and used it for years, but unfortunately unlike watercolor every pen line is permanent. You can’t erase and adjust. Just this year, I saw on Instagram an artist using super thin brushes. I’ve been using them ever since.
A simple paper towel is one of your most important tools. How wet your brush is (with water and/or paint) is an important factor in how your brush stroke will react to the paint on your page. To control how wet your brush is, blot it on a paper towel to absorb excess water. I do this constantly as I paint.
Test what’s on your brush before painting. Use scrap paper to test color mixes and saturations. I test what is on my brush often to see how watery or dark a color is, before I touch my painting.
Mix your shadows instead of using black. Mix a color with its complement to desaturate it – make it less bright – or to create darker values. Complementary colors are those across the color wheel from each other. I keep a color wheel with my paints. There’s a printable color wheel in my Etsy shop – click here.
Preserve your brushes. Don’t leave your brushes sitting in water. Lay them flat to dry. Use an old beat up brush to mix colors or to mix water to dried up paint.
Repurpose. The top of a plastic egg carton makes a great mixing tray.
Try white gouache.White gouache (more opaque than watercolor) was a game changer for me. Instead of using frisket to keep areas white, I use white gouache at the end of a painting to “add the white back in.” (Frisket is like a glue that keeps paint off the areas you apply it to. You peel it up when you are finished painting.)
This guide is for you! Learn the fundamentals. Practice with exercises & projects. Discover a love of watercolor! Learn more here.
This post contains affiliate links to products and brands I use and recommend. I earn a small commission whenever you buy using these links, at no additional cost to you. Thank you for supporting my blog!
watercolor wisdom – 12 tips from 12 years of painting
I need a project to motivate and inspire me. Something to break up the routine and dull-drums of the week. Without a project I’m bored.
For me, a project doesn’t need to come from someone else. I’m just as motivated by my own projects and challenges. A deadline certainly helps, even if it’s self imposed.
Right now I’m embracing the freedom to work on anything now that my “Let’s Paint Paris in Watercolor” project has wrapped up. But I also need something to get me excited to create and to hold me accountable.
I took a trip down memory lane to review some of my bigger projects:
This Blog – when I started it and it was new, it was so motivating! I finished so many projects just because I wanted to post the final product. “Finishing” was a skill I had to learn.
Month Long Challenges – I participated in several, back to back challeges – InkTober, a month of World Watercolor Group’s prompts (food), and my own Countdown to Christmas. These focused months led to me dedicating myself to…
Painting Watercolor Seascapes – Originally a month long project it lasted well beyond that (a year?, 2 years?), and is still a focus of mine. I’ve just launched an watercolor seascape painting online lesson to share all I’ve learned.
Acrylic Seascapes – I dedicated a month to exploring seascapes in acrylics. I learned so much and progressed so much. I’m dying to get back to acrylics!
The 100 Day Challenge – I participated in the 100 Day Challenge and focused on illustrated map making, something I was curious about for years. The project was great, but map making was a side interest that took over and 100 days was way too long. I didn’t make it to the end.
“Let’s Paint Paris in Watercolor” – After our trip to Paris, I was so excited to paint what inspired me. I decided to invite others along via a paid email series. The program included four weekly emails with watercolor tips, a Paris theme, specific prompts with details and links to learn more, reference photos, and videos of my process painting each prompts. Turning the idea to paint Paris into a shared experience pushed me and motivated me so much! I dove much deeper into the theme than I would have if I painted alone. But I almost bit off more than I could chew – painting and filming and editing five videos a week was a lot even without the technical issues I experienced. But, I learned so much.
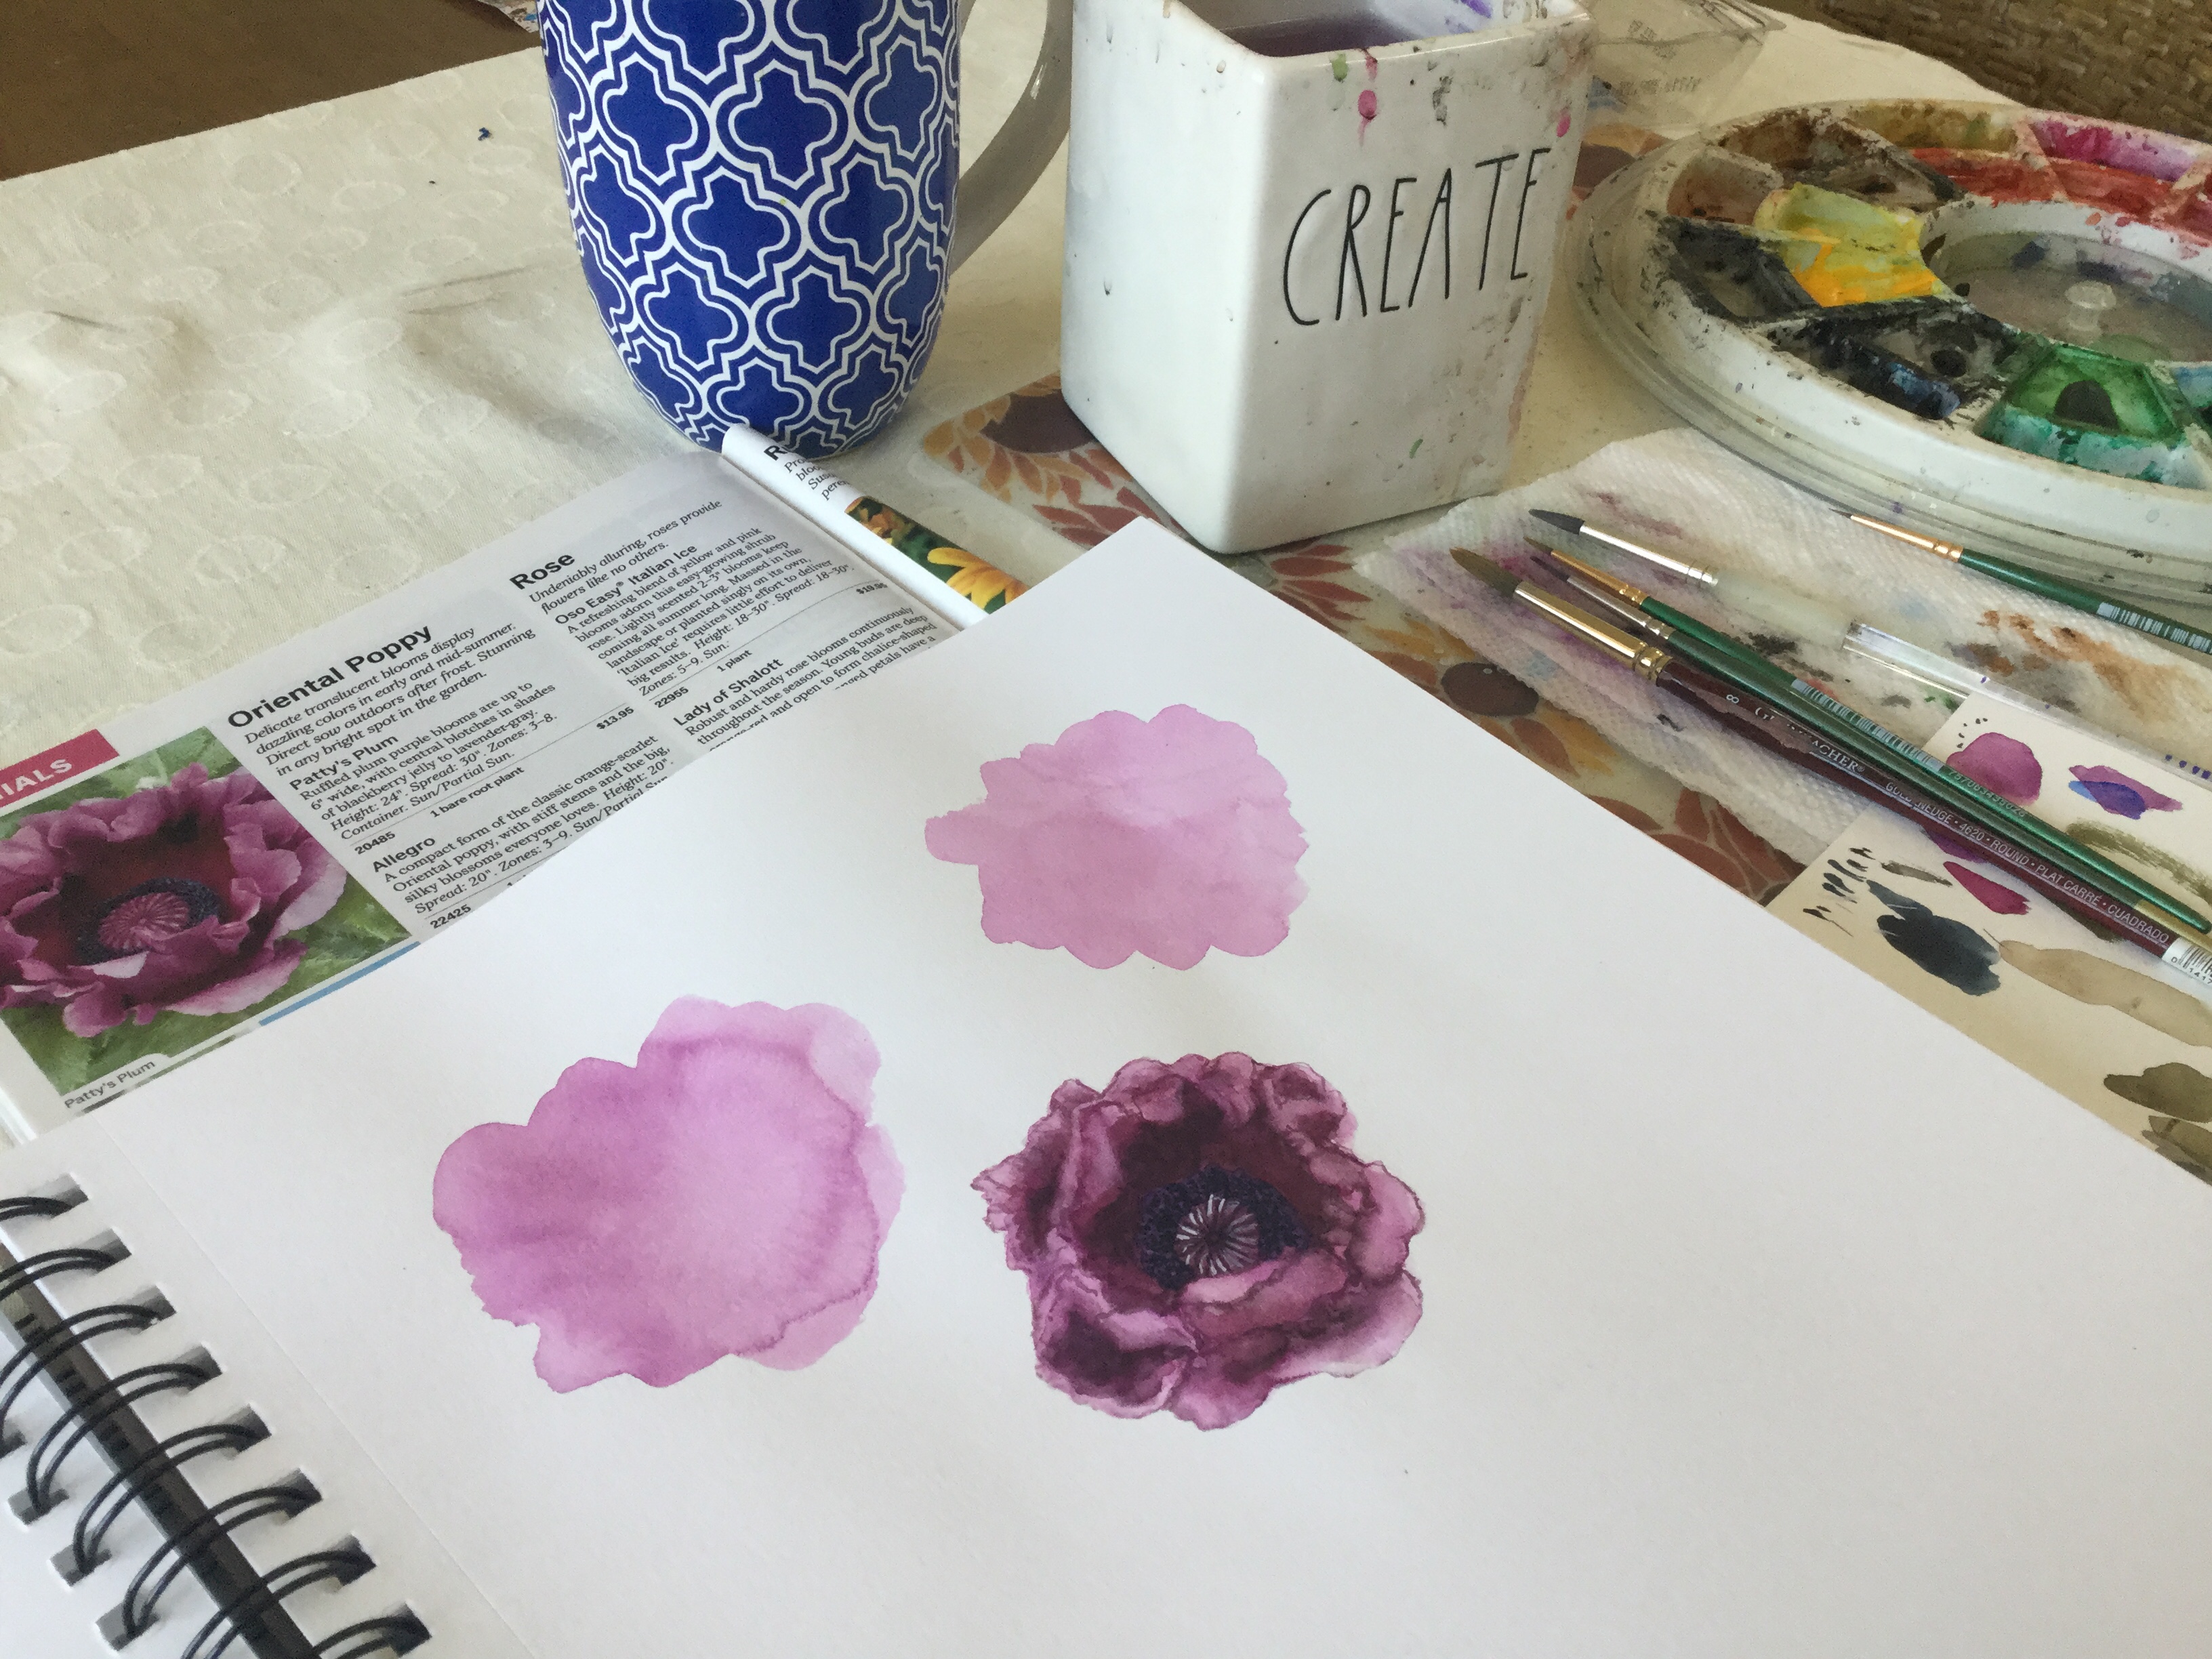
A project is great because it gets you excited and forces you to focus, but it’s important to remember that saying yes to one thing is essentially saying no to other things. I want to be intentional about picking my next project. In the meantime, I’m painting poppies. 🙂
Recently I was talking to a friend who paints in acrylics. When I said I painted in watercolor she said, “You must be very patient.” I was so surprised by her comment, because actually I’m not patient at all!
As I teach and share more and more of my watercolor process I continually come back to layers. Watercolor painting is all about building up the layers. Paint the first layer wet and loose. Let it dry. Work drier and with thinner brushes with each added layer. As you add the layers, it’s like focusing a lens on a subject. Your painting gets more and more “in focus” as you add layers/finer details.
I’ve been teaching a kids painting class, primarily acrylics. Occasionally we paint in watercolor. What I notice with the kids is they paint one layer and declare the painting done. They are reluctant to wait for it to dry and then add to it.
Maybe I’m more patient than I give myself credit for. I look at each painting like a challenge. The first layer is a blob – the ugly stage. Can I work at it and turn it into something?
It’s hard to commit to a daily painting challenge but every time I do, and stick with it, I’m always happy with the results. The first few times I did my Christmas countdown (daily watercolor illustrations counting down to Christmas) I followed prompts. Last year and this year, I’ve allowed myself the freedom to paint whatever fits into the Christmas/winter/holiday theme. I love the flexibility to explore.
The first few days of a daily challenge can feel a little awkward, or stiff. But after that you open up to the inspiration around you. Flipping through a skiing catalog I saw a Telluride ad that I thought would be so cool to paint. It was totally outside of the normal thing I would do. I enjoyed the process and was pleased with the results. The thing I get most excited about are the ideas. Last year I painted a girl with a record player in front of a tinsel covered tree – me as a kid, playing a favorite gift.
Daily painting or drawing is hard, especially during the busy holiday season. But the break from the busyness and the interesting creative process of coming up with new ideas is so worth it!
The path to regular creativity is to simply draw, paint, craft, or whatever interests you, for 15 minutes almost every day. If you schedule the time, and plan for it – even if you are busy – you should be able to manage 15 minutes of creative time most days.
These brief creative periods reinforce your creative priorities, and allow you to get in the creative mindset – which will lead to more creativity, and longer creative session when time allows.
Carving out 15 minutes of creative time says, “This is important to me.” And it is calming and meditative. As you work creative ideas and plans may form – write down your ideas!
Regular creativity opens you up to inspiration, even during other parts of your day.
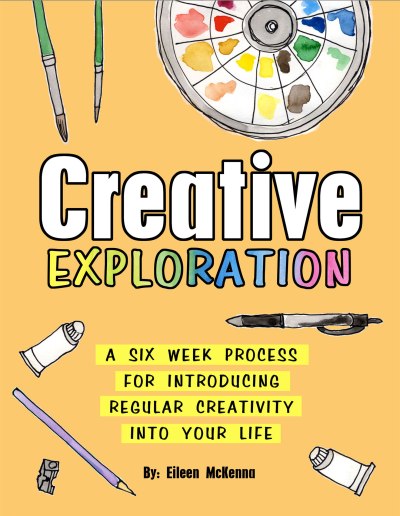
Want to explore creativity? My new ebook takes you step by step through the process for introducing regular creativity into your life, finding inspiration, and exploring mediums.
This post contains affiliate links to products/brands I use and recommend. I earn a small commission whenever you buy using these links, at no additional cost to you. Thank you for supporting my blog!
2019 is off to a good start! I’m making drawing and painting a priority and try to work in the mornings, even if it’s just for a little bit. It’s fun to sit down with no real thought as to where it will lead and let things unfold.
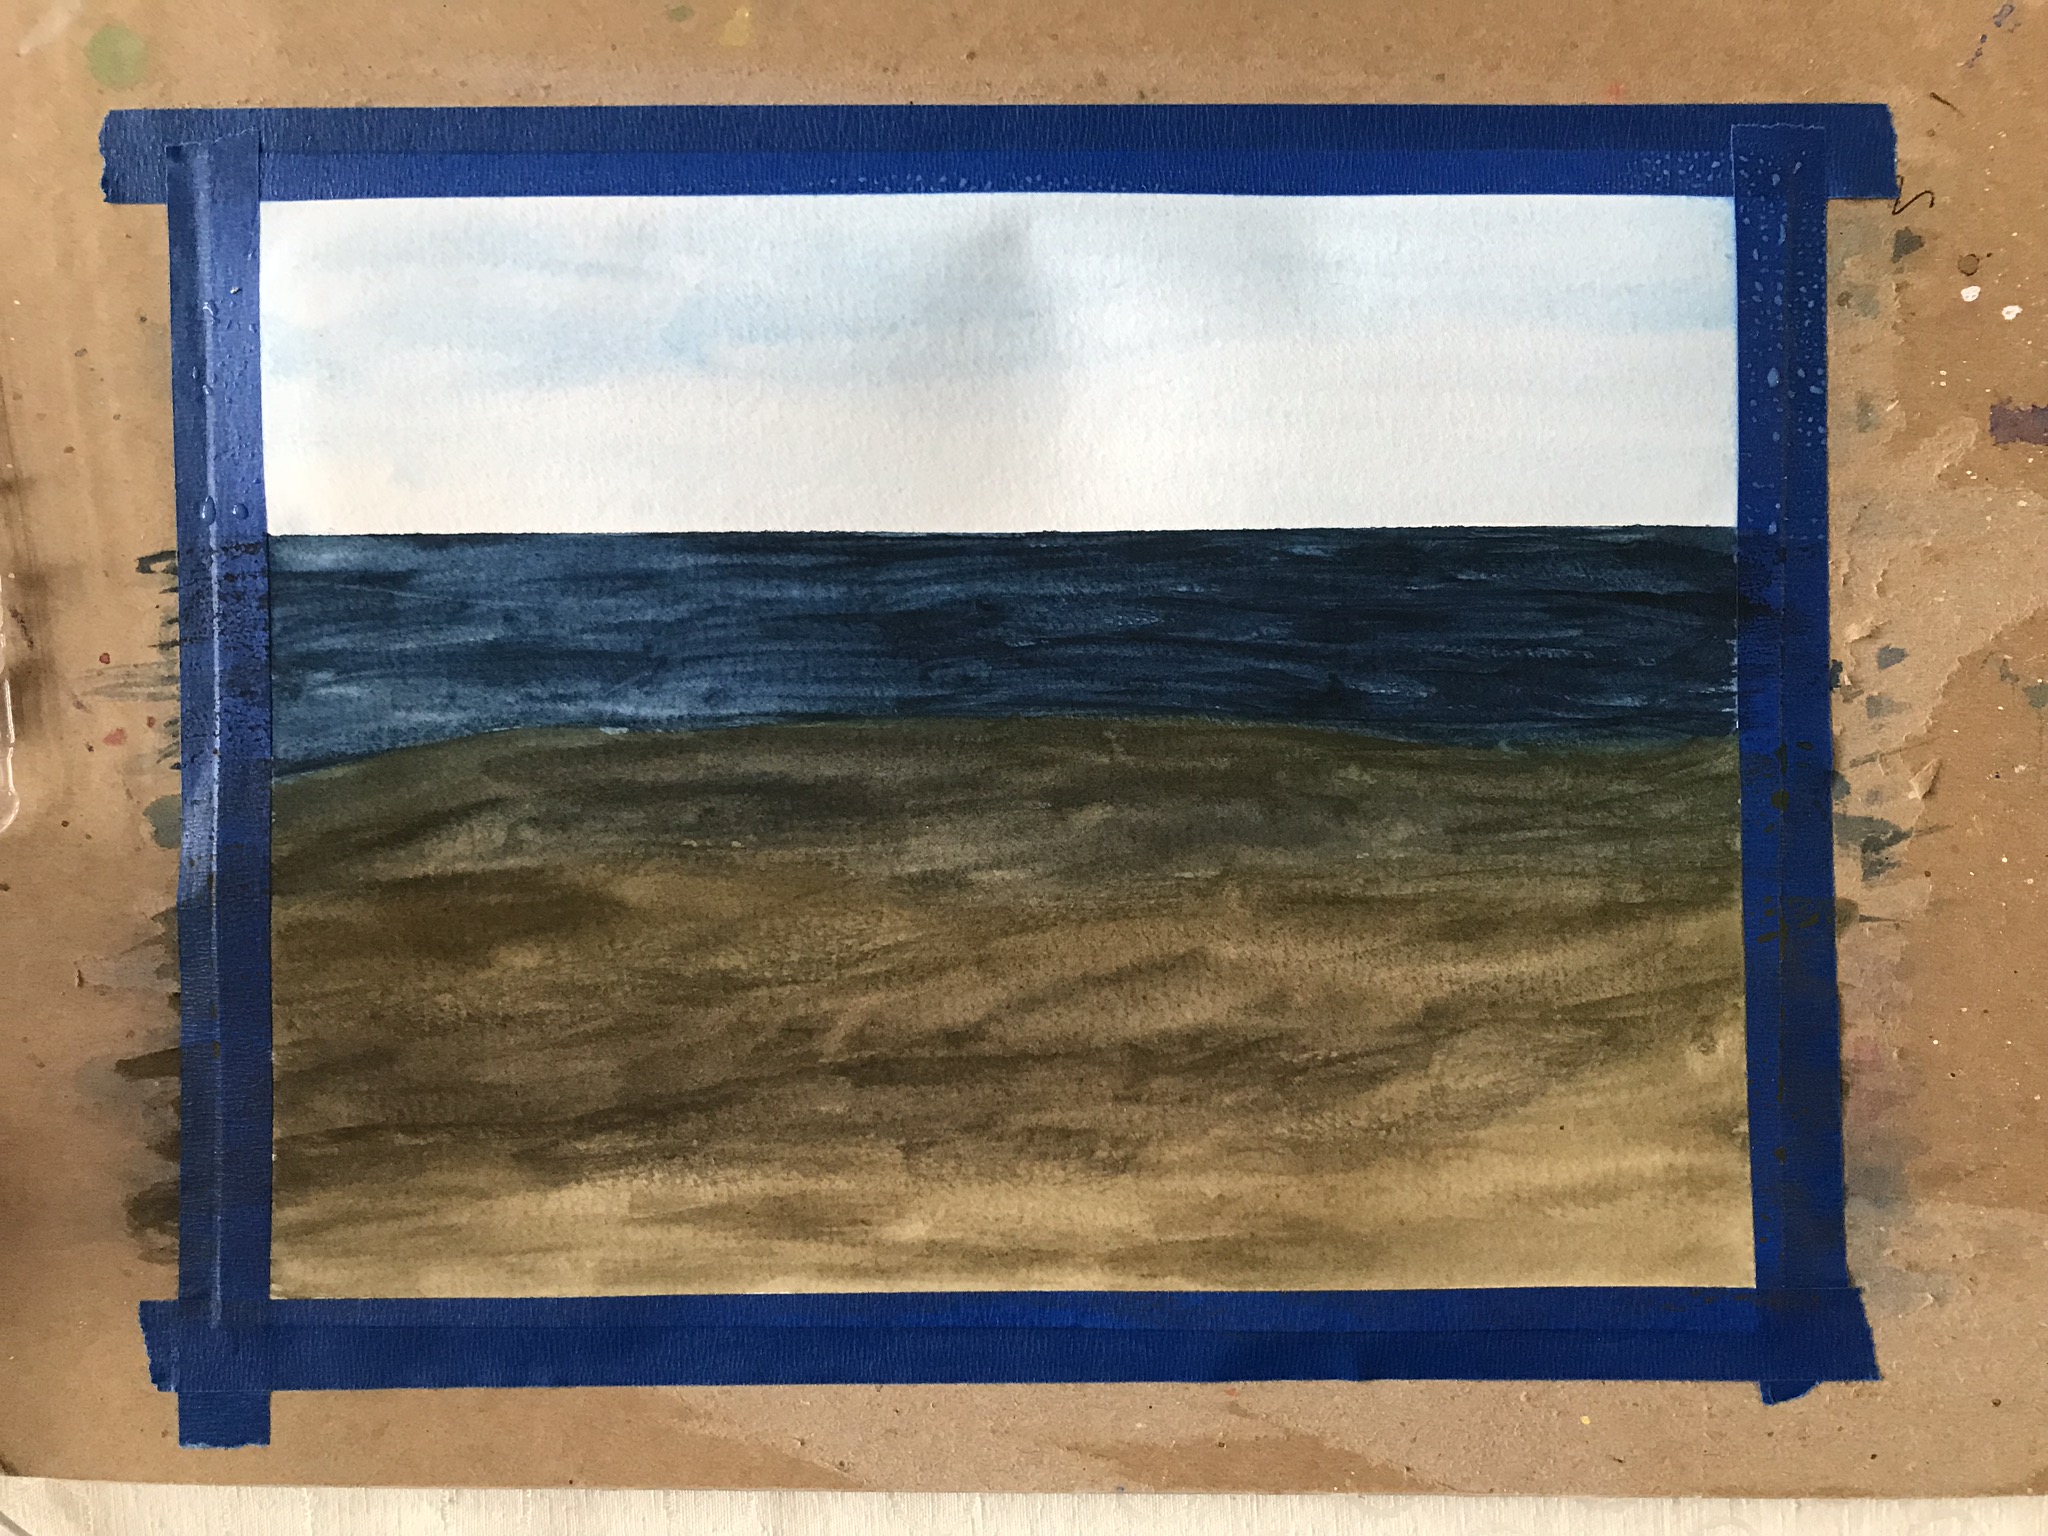
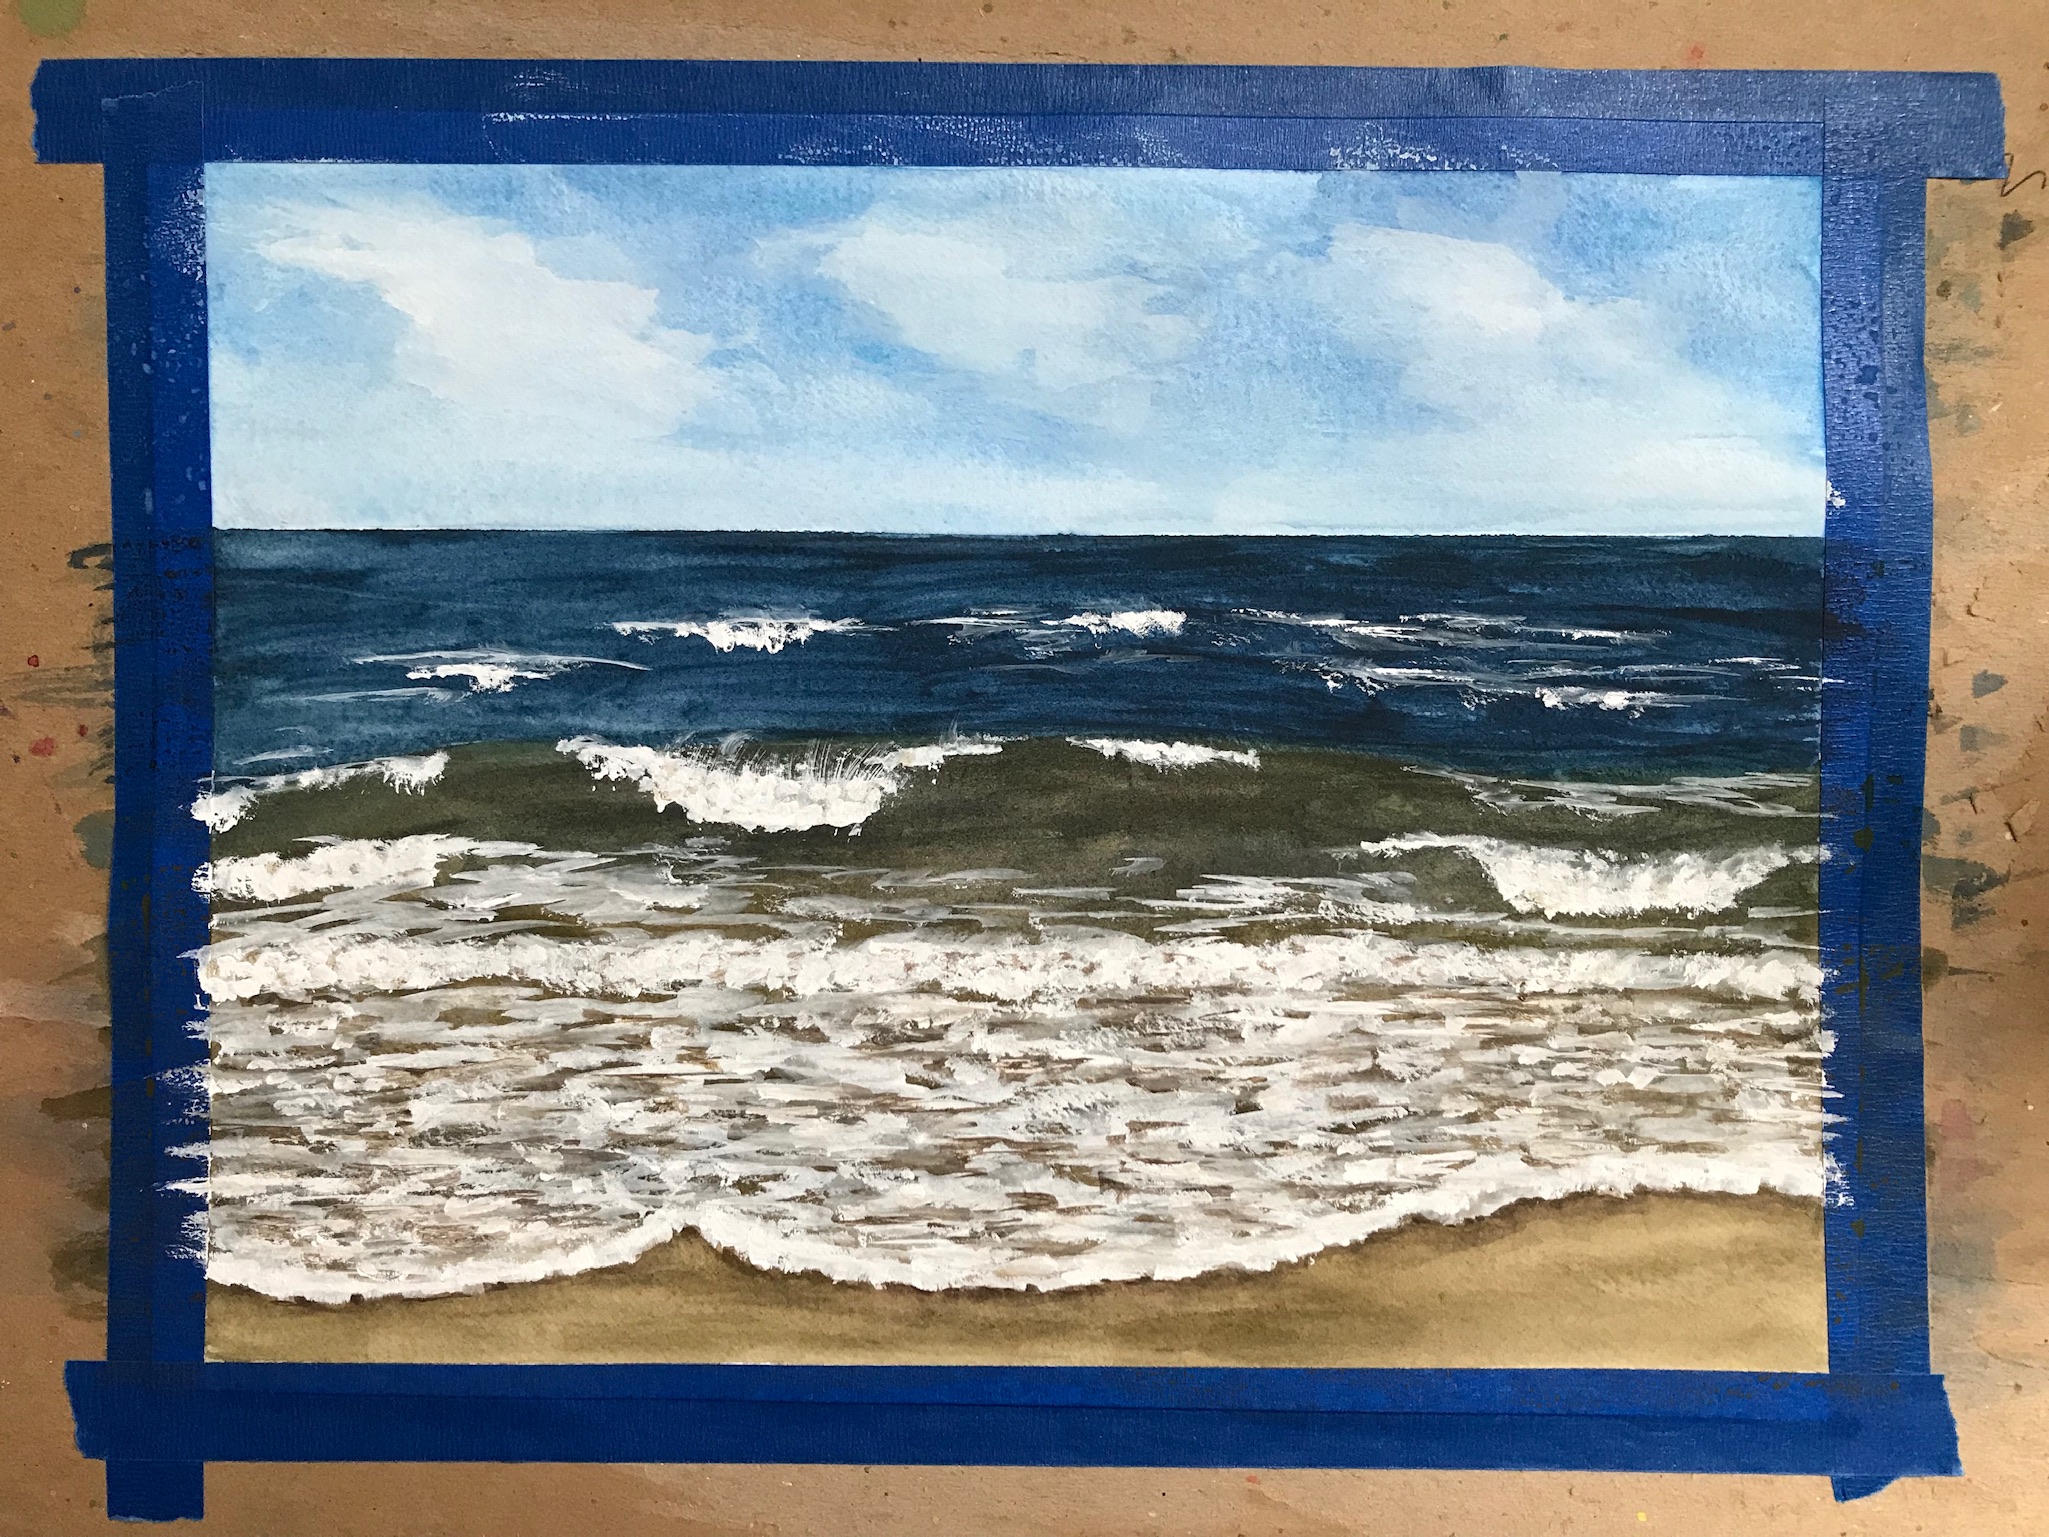
With painting holiday themed things throughout December, it’s been a while since I painted a seascape. Looking through my stack of unfinished projects, I found the start of a seascape and suddenly felt inspired to finish it. (Our annual New Year’s Day walk at the beach may have also inspired this. The waves were crazy!) Painting the foam was so much fun!
There are two time-lapse videos on Instagram if you want to see how I went from here:
As I was looking through my supplies this week, my kneaded eraser was nowhere to be found, I had only one sheet of watercolor paper left, and my favorite sketchbook was running low! I didn’t paint today but I did head to Blick to stock up on these essentials. I usually paint using 9” x 12” or 12” x 12” watercolor paper, but felt inspired to also grab a larger pad of 12″ x 16″.
It’s funny – a few years ago my favorite size was 6” x 6” – so small! It was an accident that I went to the 12” x 12”. I ordered the wrong size, decided to give it a try, and have never looked back!
This post contains affiliate links to products/brands I use and recommend. I earn a small commission whenever you buy using these links, at no additional cost to you. Thank you for supporting my blog!