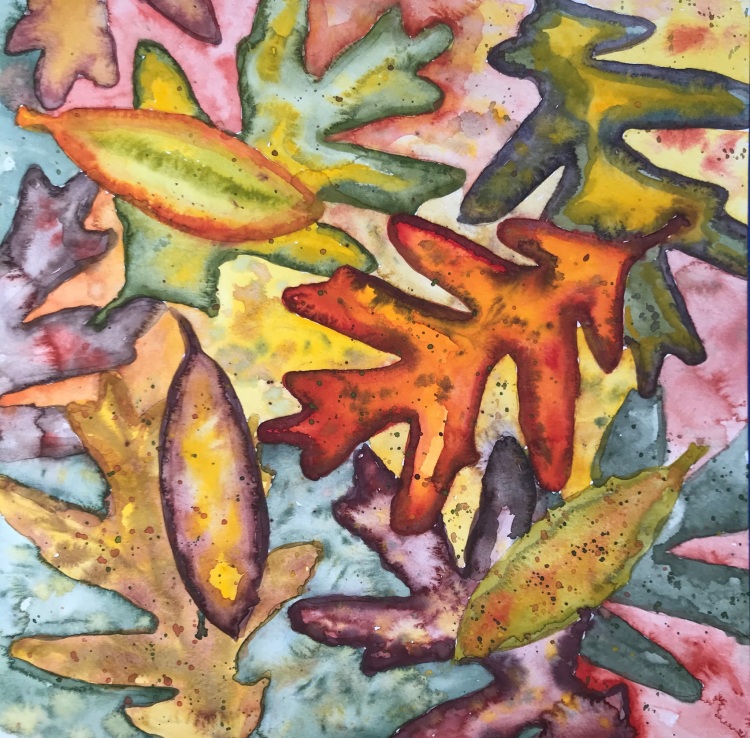
This week, find a leaf that inspires you and paint it. I’ve uploaded a video of my process for painting a leaf:
With pencil I outline the basic shape.
I use just three colors – cadmium yellow, cadmium red, and ultramarine blue and mix colors as I go. From those three colors I create all the fall colors I need – purples, maroons, browns.
I work wet encouraging the colors to bleed into one another.
It’s fun and relaxing. Check out the video below and watch my painting process. Then find your leaf and start painting. I’d love to see – tag me on Instagram @eileenmckenna.
Please like the video and subscribe!
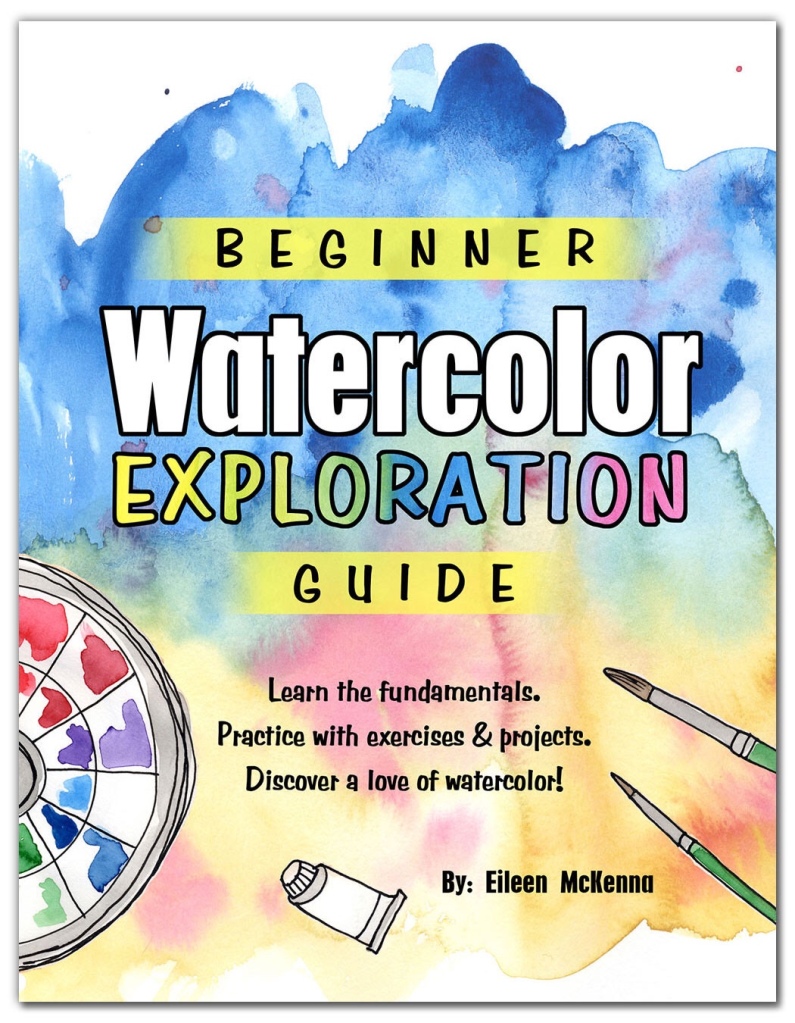
Want a comprehensive guide to getting started in watercolor? Check out “Beginner Watercolor Exploration.”Learn the fundamentals. Practice with exercises and projects. Discover a love of watercolor!
Recently I painted a pile of leaves in watercolor. It was an easy relaxing process:
Collect a few leaves
Trace the leaves
Mix fall colors from yellow, red and blue
Work wet and encourage the colors to bleed and blend.
Believe it or not, I’m often more interested in how it feels to sit and paint than what the final results are. Sure, there is satisfaction in how a painting comes out and sometimes frustration when I can’t achieve my vision. But the process of sitting and painting is…the best.
I shared a video on how I created the watercolor pile of leaves painting. Grab your paints and give it a try!
Please like the video and subscribe!
Want a comprehensive guide to getting started in watercolor? Check out “Beginner Watercolor Exploration.”Learn the fundamentals. Practice with exercises and projects. Discover a love of watercolor!
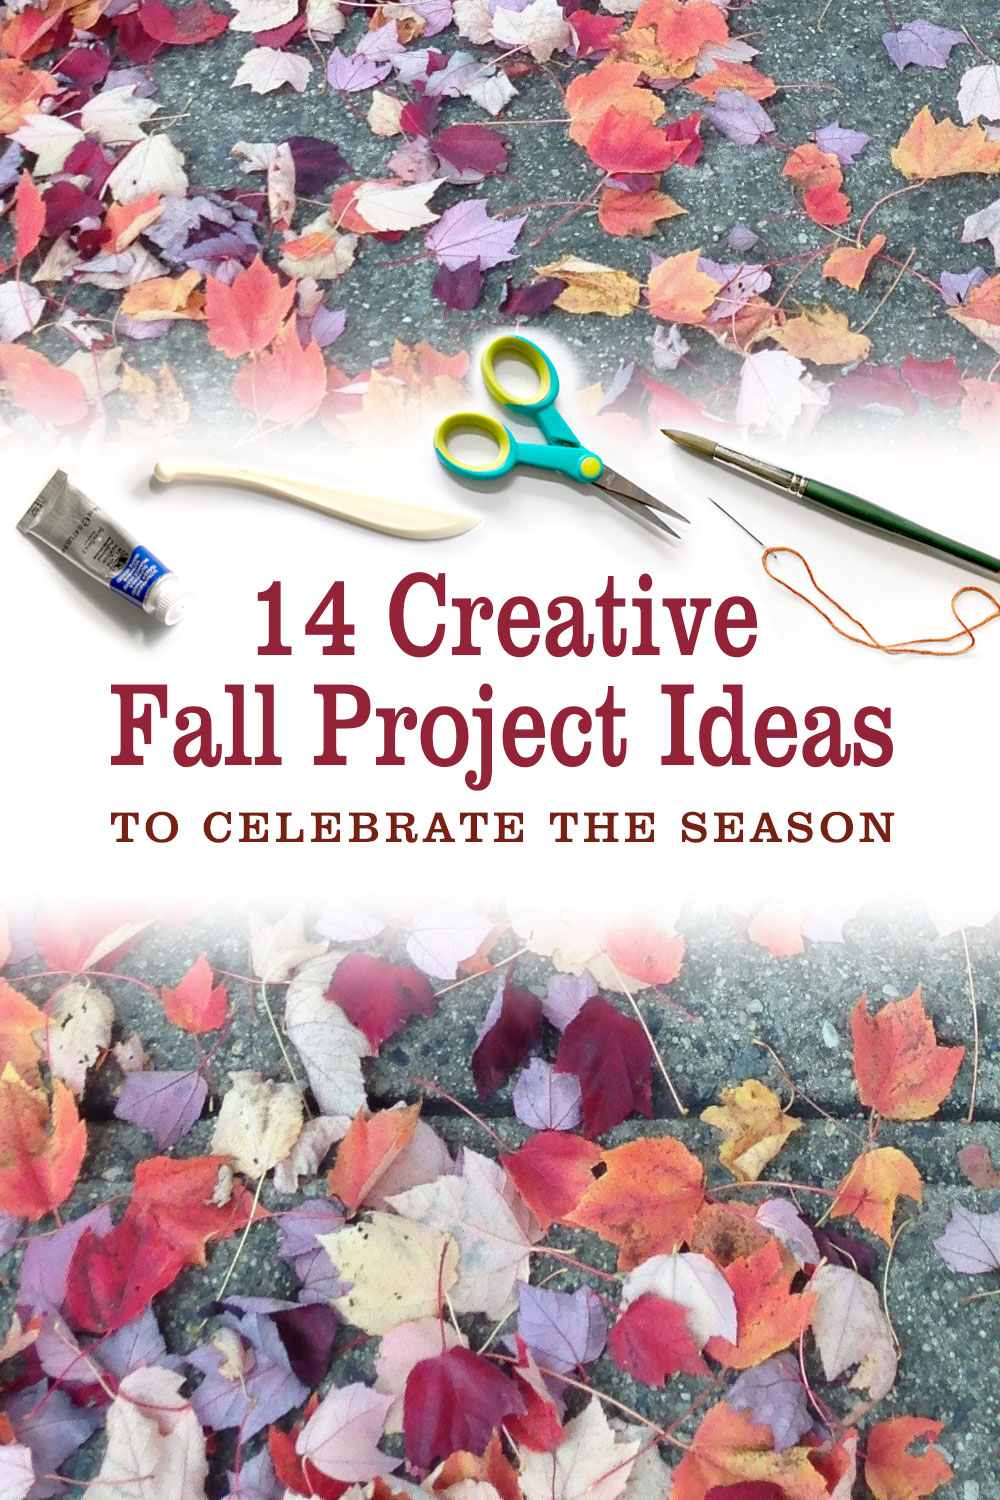
The air feels cooler, I’ve made my first batch of pumpkin bread, and I’m collecting and brainstorming ideas for fun fall projects!
14 Creative Fall Project Ideas:
Nature – I love projects that involve found elements and paint. Check these out:painting acorns,drawing on leaves (I love the ones with the white pen), decorating a white pumpkin. Now, I’m in competition with the squirrels to collect acorns!
Wood burning – I love this wood burned acorn by Italian Artist Liliia of SorrisoDesign. “The design is hand drawn, then carefully and lovingly burned into the solid wood bead with pyrography technique.”
Polymer Clay – Finally! I had a chance to play with my stash of polymer clay, blending colors, creating fall leaves and other fun projects while watching clay videos on YouTube.This is the starter kit I purchased:
This post contains affiliate links to products/brands I use and recommend. I earn a small commission whenever you buy using these links, at no additional cost to you. Thank you for supporting my blog!
Since the start of my blog “My Creative Resolution” and my regular creative practice, I’ve been hugely inspired by the seasons. Creativity literally opened my eyes to the changing landscape. That first fall, I was in awe of the fall foliage. It was like I’d never seen it before!
With fall in mind, I just developed a new step by step painting project – Watercolor Fall Farm. Watercolor colors blend and bleed into one another making it the perfect medium to capture the changing leaves.
Want a comprehensive guide to getting started in watercolor? Check out “Beginner Watercolor Exploration.”Learn the fundamentals. Practice with exercises and projects. Discover a love of watercolor!
In my previous Watercolor Basics posts I covered paper, brushes and paint but there are a few other items that are also important to have on hand.
Water – With watercolor paint, you need water to dilute your paint and to clean your brushes. I like to have two containers of water on hand so I have a backup when the first container gets dirty. Jars, cups, mugs, all work well. I prefer the container be white or clear so I know what color the water is.
Paper towel – the simplest ingredient but so important. I constantly dab my brushes on my paper towel to absorb excess water.
Scrap of paper for testing what’s on your brush before you touch your paper.
Tape, cardboard, ruler and pencil – Before I start painting I always tape my paper (with painter’s tape) to a larger piece of cardboard (the back of an old pad). This prevents the paper from buckling when it gets wet. Another thing I often do is tape the horizon line. I measure and mark both sides of the paper and then apply tape from one side to the other.
Egg cartons – I have paints in my palette. I have a mixing tray that contains commonly mixed colors and then I have tons of egg cartons! I use the top of the plastic egg carton as another mixing tray.
Mug – to hold all my brushes, pencils, etc.
Ipad – for viewing reference photos.
Phoneand earbuds – for taking photos and listening to my favorite podcasts while I paint.
This post contains affiliate links to products/brands I use and recommend. I earn a small commission whenever you buy using these links, at no additional cost to you. Thank you for supporting my blog!
There are several types of watercolor color paint including – pans (or cakes), tubes, and liquid. Many paints are available in student and artists grades. Student grades are a more affordable option, but usually have less pigment.
Pans (or cakes) – When I was starting out I associated watercolor pan sets with the paints I used as a child. I have since learned that the pans available today contain rich, saturated colors and are widely used by many watercolor artists. Just like my Sakura Koi travel palette!
Tubes – I started with tubes and have stuck with them. I was originally gifted a set of Van Gogh tubes. The set includes a variety of colors. It’s a great set to start out with. As I used up my Van Gogh tubes, I began replacing them with Winsor & Newton tubes. I also began adding other colors (like pink and purple) with Winsor & Newton tubes, sometimes with their student grade brand Cotman.
My Palette – I squeezed small amounts of most of my colors into my palette. I reactivate dried paint by mixing it with water. Sometimes I work directly from the tube and use a mixing tray or the top of a plastic egg carton to add water or mix colors. You don’t actually need tons of colors – I often create paintings from primarily just three colors – Ultramarine, Cadmium Red and Cadmium Yellow.
Liquid – Watercolor paint also comes in liquid form. Some liquid watercolors – like the ones below – have an eye dropper top. This seems like a great way to guarantee that you mix the same colors every time – just keep track of how many drops you use. My friend uses liquid watercolors and her colors are rich and vibrant.
Which type of paint you use is a personal preference. I don’t think there is a wrong answer. Pick one to try and see how you like it!
Tip – always keep a scrap piece of paper nearby to test the saturation of a color and/or your color mix before touching your painting!
This post contains affiliate links to products/brands I use and recommend. I earn a small commission whenever you buy using these links, at no additional cost to you. Thank you for supporting my blog!