Last weekend, after a beautiful beach day, I was sitting in my yard when a yellow leaf floated past me and landed in the grass. I yelled to my son, “It’s fall!” Despite the beautiful, summery weather, fall is indeed on its way.
I remember the first fall after making “my creative resolution.” It was a time when I had long lists of ideas for projects. I was noticing everything around me, soaking up the inspiration. When the leaves started to change and fall from the trees, I was stunned by the explosion of color. Was it always like this? How come I never noticed it before?
Being open to inspiration is a big part of the creative process. Knowing what to paint when you sit down comes from soaking up inspiration in the time before painting. I welcome the change of seasons. I welcome the fresh inspiration.
paint a single leaf
Paint a single leaf and challenge yourself to make it as realistic as possible. It’s all about noticing the details and painting more and more layers, with thinner and thinner brushes as you go.
sign up for my newsletter:
Processing…
Success! You're on the list.
Whoops! There was an error and we couldn't process your subscription. Please reload the page and try again.
paint a pile of leaves
Paint a pile of leaves and challenge yourself to use as many colors as possible.
Capturing fall works perfectly with watercolor. Think of all of the colors on one leaf, or in one tree. Allow your watercolors to bleed and blend – like they love to do. Be inspired by the season!
Fall landscape printable tutorial
Embrace the vibrant colors of fall with this step by step tutorial. Trace the barn and create the farm house with a few pieces of tape – no drawing required!
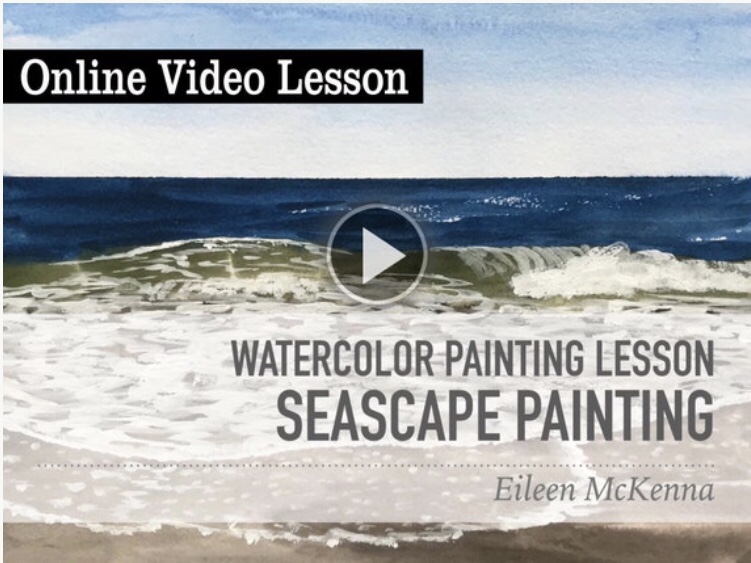
I originally planned to write about looking towards fall, but after scrolling through my photos I was inspired to paint a seascape and sunset. Thankfully, even though we are away, I had my supplies with me and some time to sit and paint. I haven’t painted enough lately and it felt SO GOOD.
In NY the weather has been spectacular. Without the oppressive heat and humidity we’ve had some beautiful “top notch” beach days. And what’s more inspiring than standing in the surf watching the waves roll in?
Soon enough the blue, green and brown color palette will be replaced with red, orange and yellow. For now I’m holding on to summer a bit longer.
Summer inspiration – standing in the ocean watching the waves roll in.
When I travel, I pack art supplies in case I have down time at the hotel. This trip, I’m in Athens, Georgia, and I forgot my art stuff. Perfect excuse to visit the local art store!
The k.a. Artist Shop is a really cute art store. It makes me feel like a kid in a candy store – everything looks pretty, and colorful, and I want it all.
I like visiting independent art stores. The Artist & Craftsman Supply in Charleston is another one of my favorites. It has everything and it’s employee owned which is cool.
When I lived in Manhattan, I loved visiting Kate’s Paperie in Soho. Sadly the store is no longer around (as far as I know). Such a colorful, creative store to visit.
At k.a. I bought a new sketchbook. I figured it was a good excuse to sample a different one and update my watercolor journal recommendations post. I also bought a Winsor & Newton Cotman watercolor travel set. The watercolor pans come out, making it convenient to replace and or swap out colors. Unwrapping each color felt like I was unwrapping Starbursts, without the sugar.
After the art store, since I was out in the rain already, I figured I’d try Zombie Donuts. Wow! The freshest, lightest, fluffiest donut I’d ever had. I should have bought more.
Back in the hotel, my donut eaten, I set up my purchases near my big window and started unwrapping each color and testing them out. It’s always good to know the colors in your palette – read this post: Painting Tips for Beginners.
I have to admit, I’m not loving the new sketchbook. It’s mixed media paper, but I don’t think it’s suitable for watercolor. The paper is coming apart as I paint. See my sketchbook/ journal recommendations here. Paper is so important with watercolor!
A few days after I wrote about my time in Georgia, I traveled to upstate New York. We were staying by a lake. Unfortunately one day was pouring. Good thing I had my paints with me!
Whoops! There was an error and we couldn't process your subscription. Please reload the page and try again.
This post contains affiliate links to products/brands I use and recommend. I earn a small commission whenever you buy using these links, at no additional cost to you. Thank you for supporting my blog!
1. Look before you paint. I’m so impatient I want to dive in and start painting. I need to remind myself to stop and observe before my brush hits the paper.
2. Paint the same subject over and over. Painting is seeing. The better you see your subject, the better your paintings will be.
3. Play in a sketchbook regularly. You’ll feel more free to experiment. A sketchbook takes away some of the pressure and the fear of “ruining” a painting. My favorite is the Canon Mixed Media XL.
4. Add more layers of detail for more realistic looking paintings. Don’t forget to allow for drying time between layers.
5. Invest in thin brushes for finer details. I use a 3/0 brush and 5/0 brush. These brushes have made a huge difference for me.
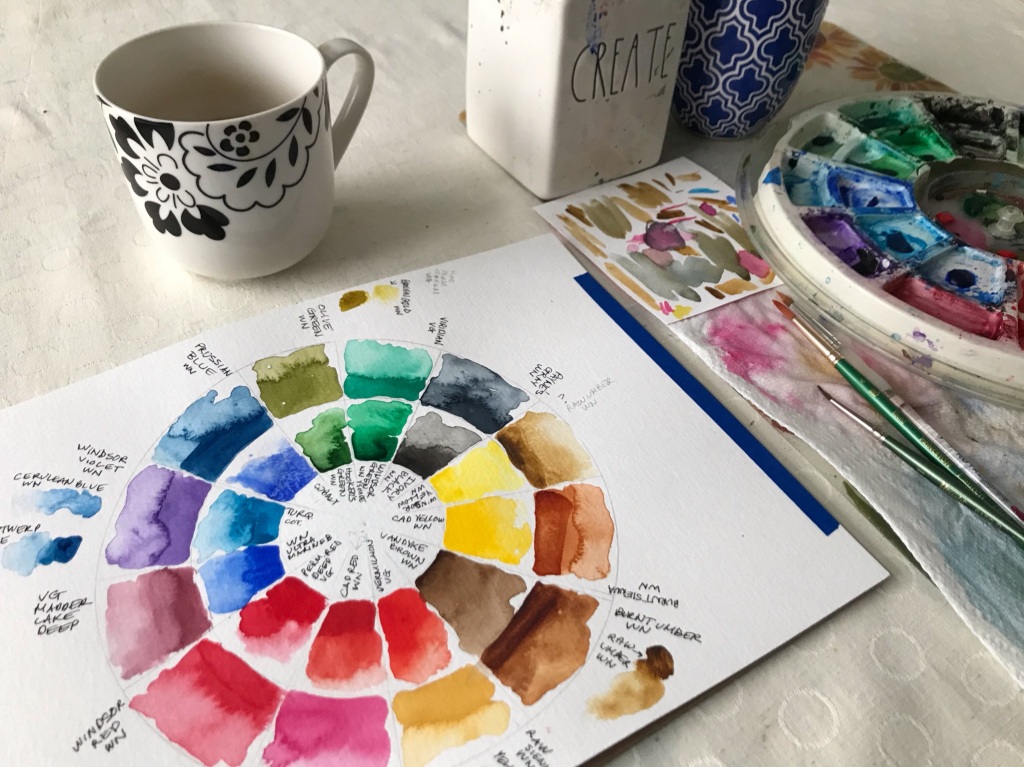
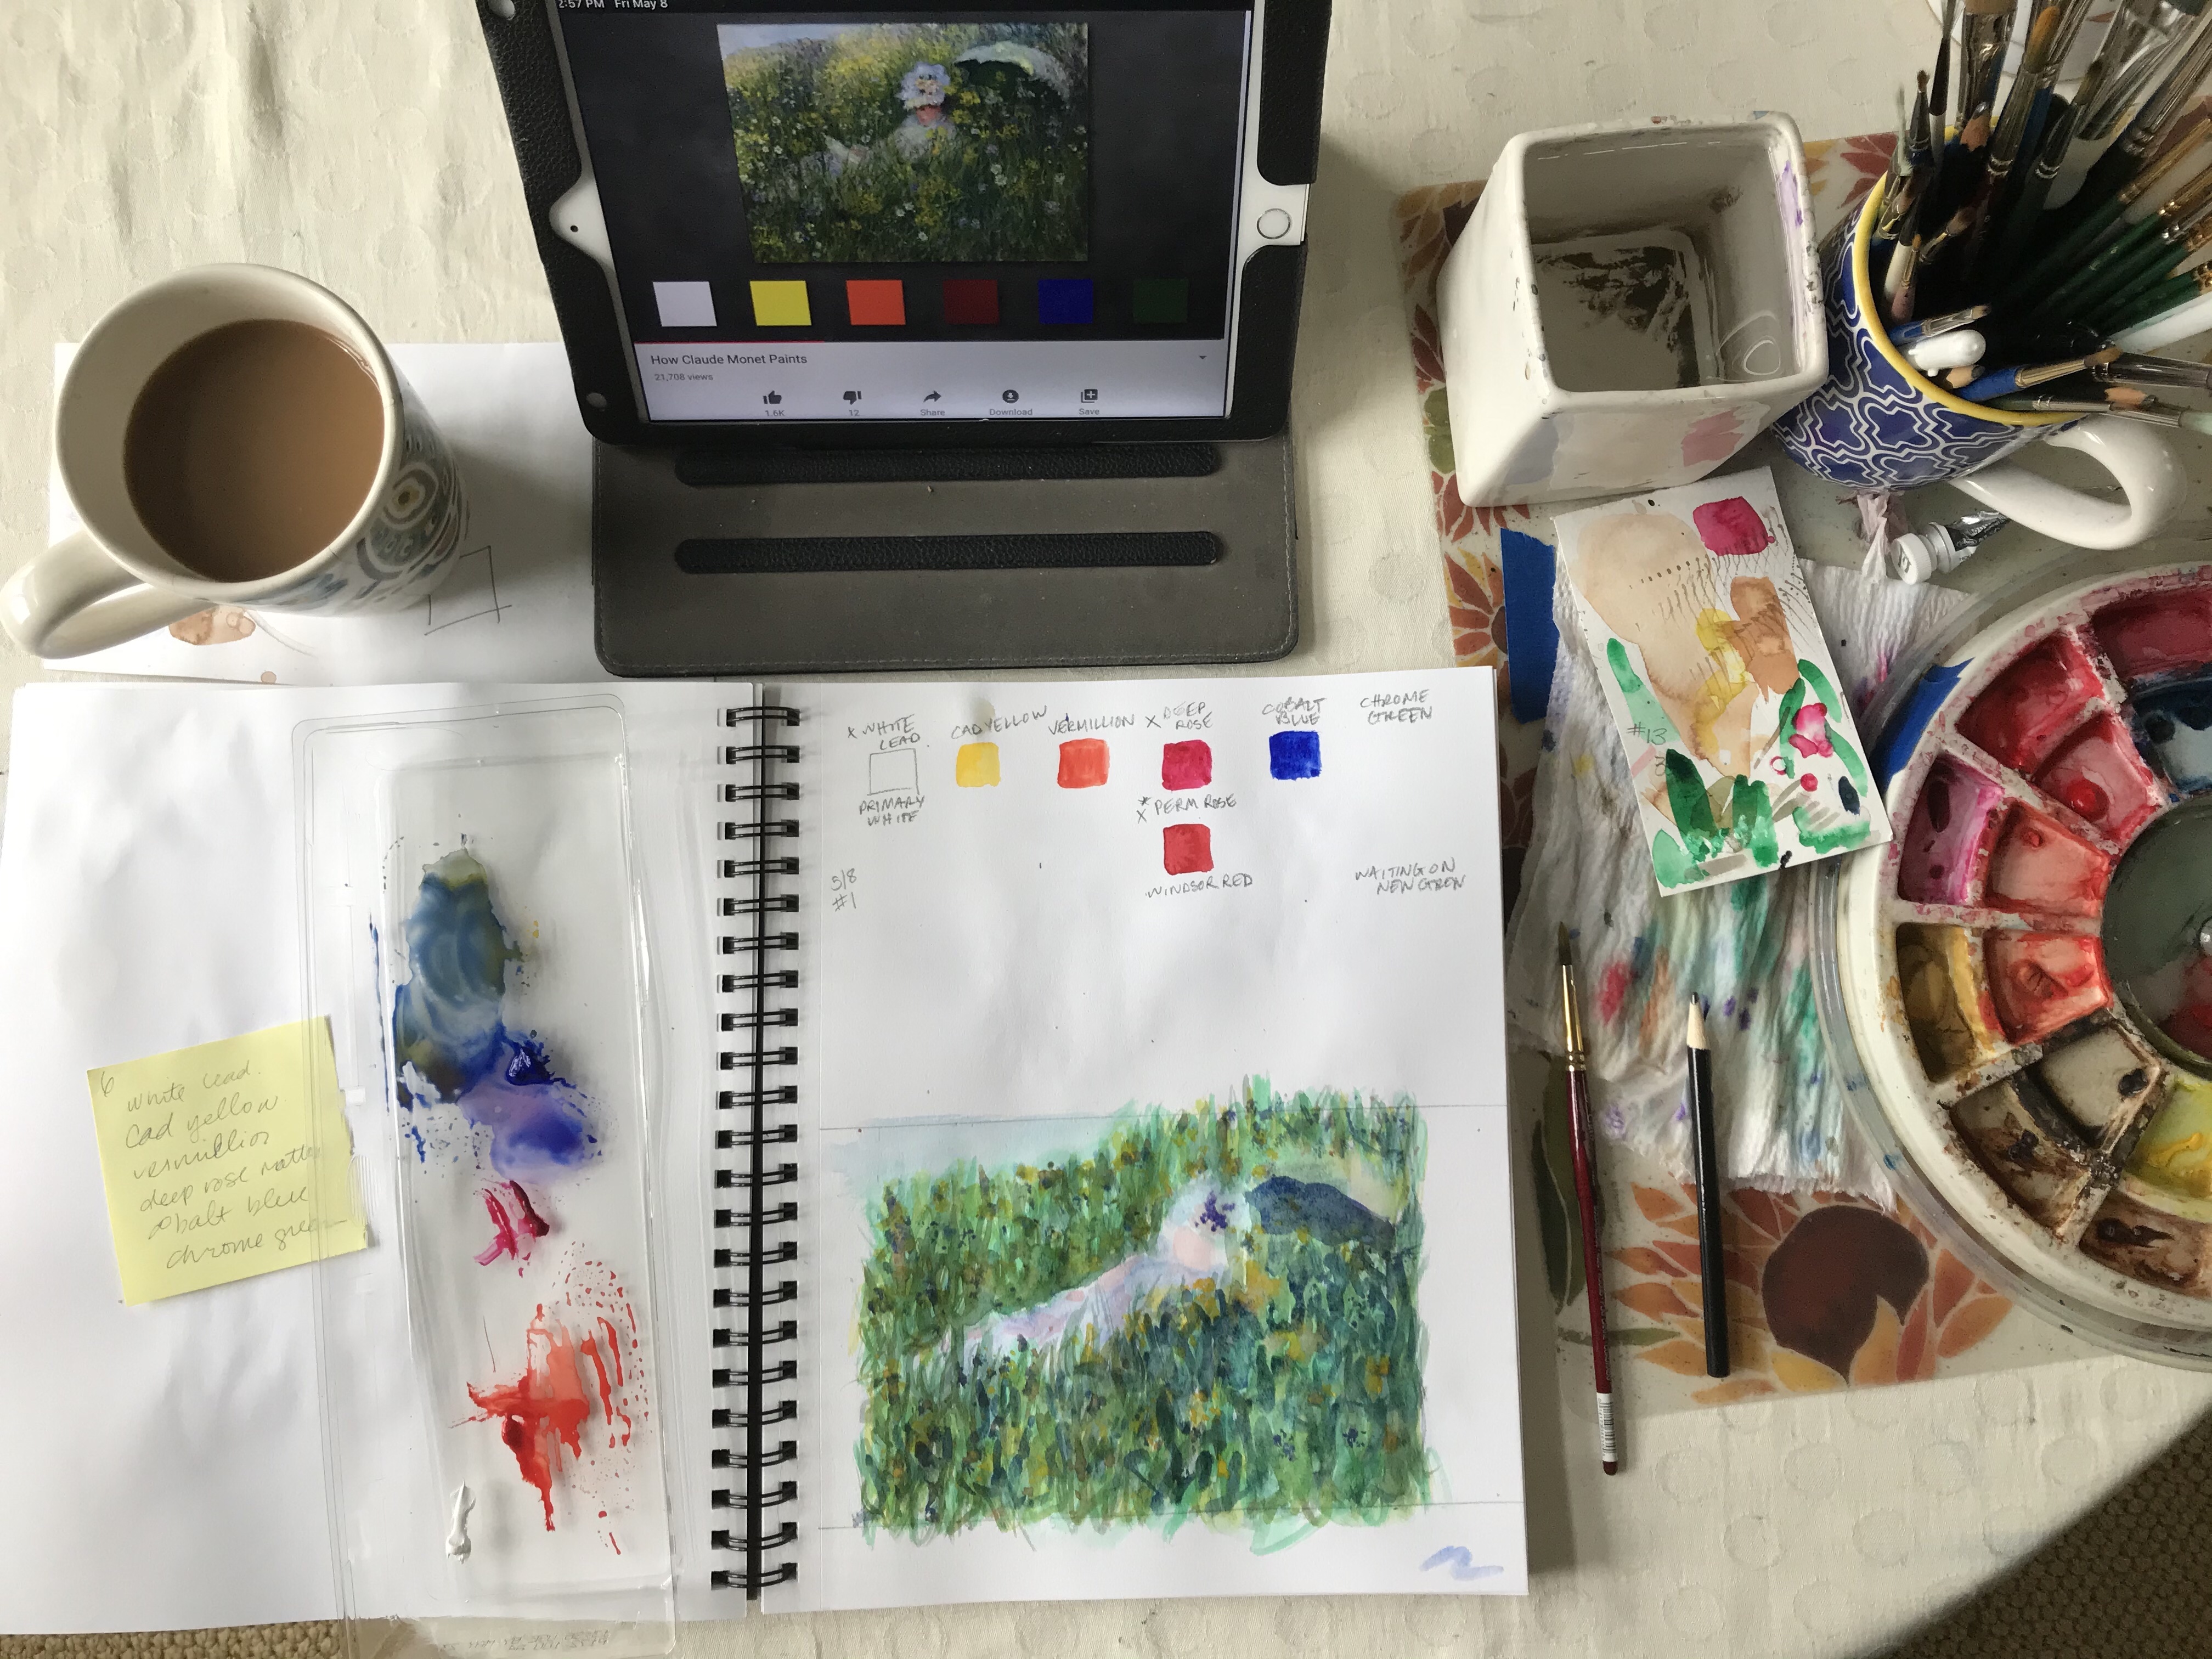
6. Create a color key of all your paints. Paint each color at the darkest (less water) and the lightest (more water). This color guide will help when selecting your colors. It will show you what your paints are capable of.
7. Mix your colors from the primary colors. Even though I have tubes of paint in many colors I often use Winsor & Newton cadmium red, cadmium yellow and ultramarine blue to mix almost all of the colors in a painting. I especially do this when painting seascapes, as it allows for more natural looking ocean colors and allows me to mix more variations on the blues, greens and browns.
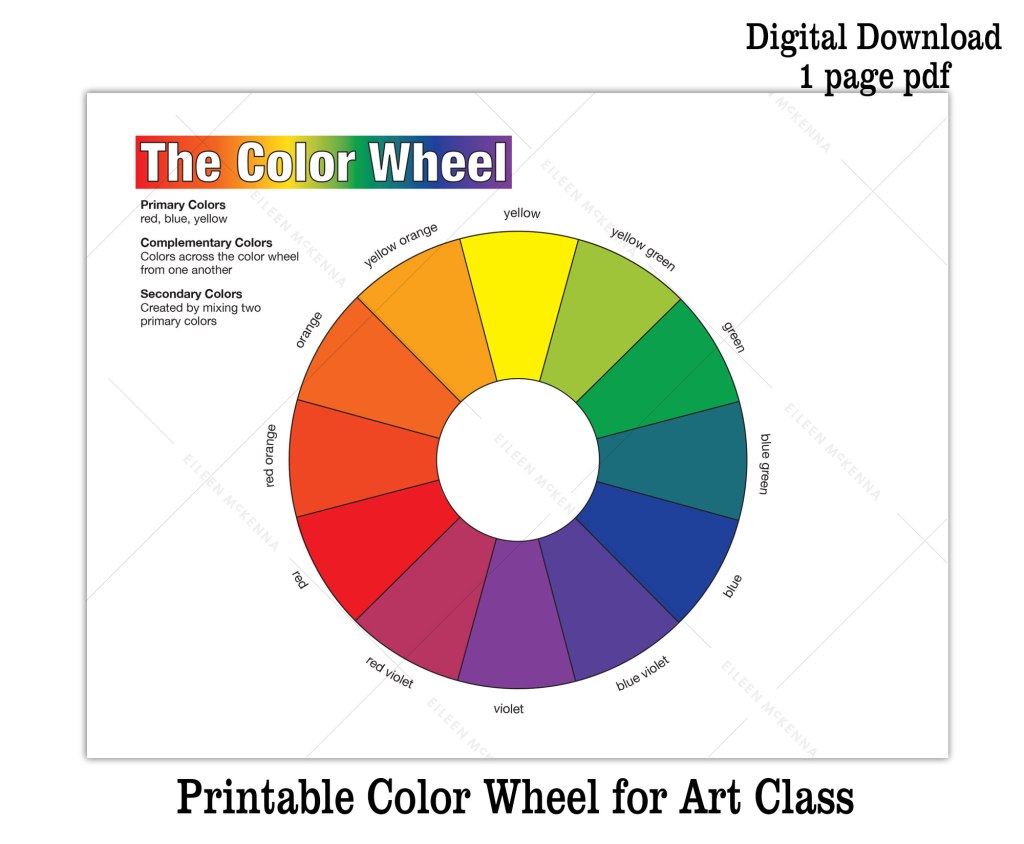
8. Create shadow colors by mixing a color with its complement. Sometimes using black for shadows can be harsh and unnatural looking. Instead mix a color with its complement. Colors across the color wheel are complements – red and green, blue and orange, etc. If you need a color wheel – I have a printable one in my Etsy shop – click here.
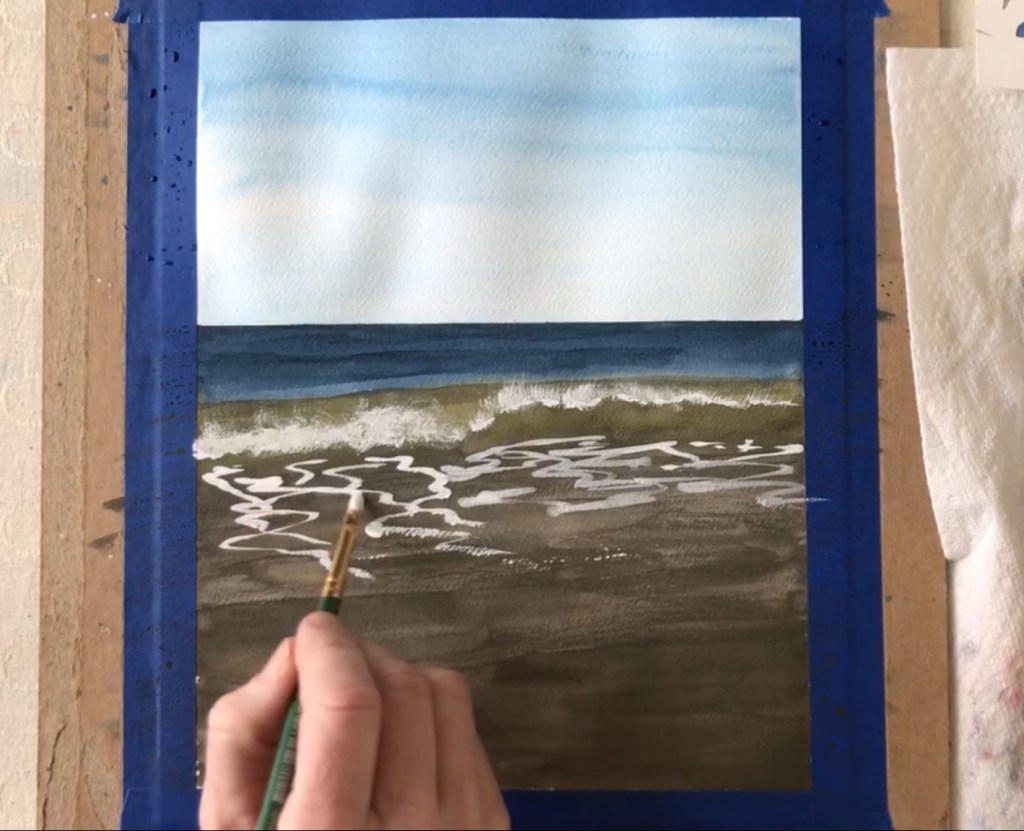
9. Use painter’s tape to mask areas and to “draw.” I use painter’s tape to tape my watercolor paper to a piece of cardboard to keep the paper from buckling when it gets wet. I also use tape to help me paint a straight horizon line. Sometimes I use it to “draw” a shape and mask an area.
For example a couple of pieces of tape can create the shape of a lighthouse. Then you can freely paint the sky without having to paint around the lighthouse. You paint right over the tape and then peel it up (carefully), when the sky color dries.
10. Add white back in by using white gouache.Instead of leaving white areas blank (the color of the paper), I often add back the white at the end of a painting using white gouache. Gouache is thicker and more opaque than watercolor. I use this when I’m painting seascapes.
11. Try new things and experiment. It’s easy to get comfortable in the way you paint. But it can be beneficial to mix things up. I was “stuck” using 6” x 6” paper until I accidentally ordered bigger. I never went back!
12. Learn from others. Read a blog post, watch a YouTube video, do a painting tutorial. Getting other people’s perspectives and painting tips can be invaluable to your painting process!
I have variety of printable tutorials and video lessons that teach watercolor fundamentals and techniques while you create a beautiful final painting. Browse painting tutorials here.
This post contains affiliate links to products/brands I use and recommend. I earn a small commission whenever you buy using these links, at no additional cost to you. Thank you for supporting my blog!
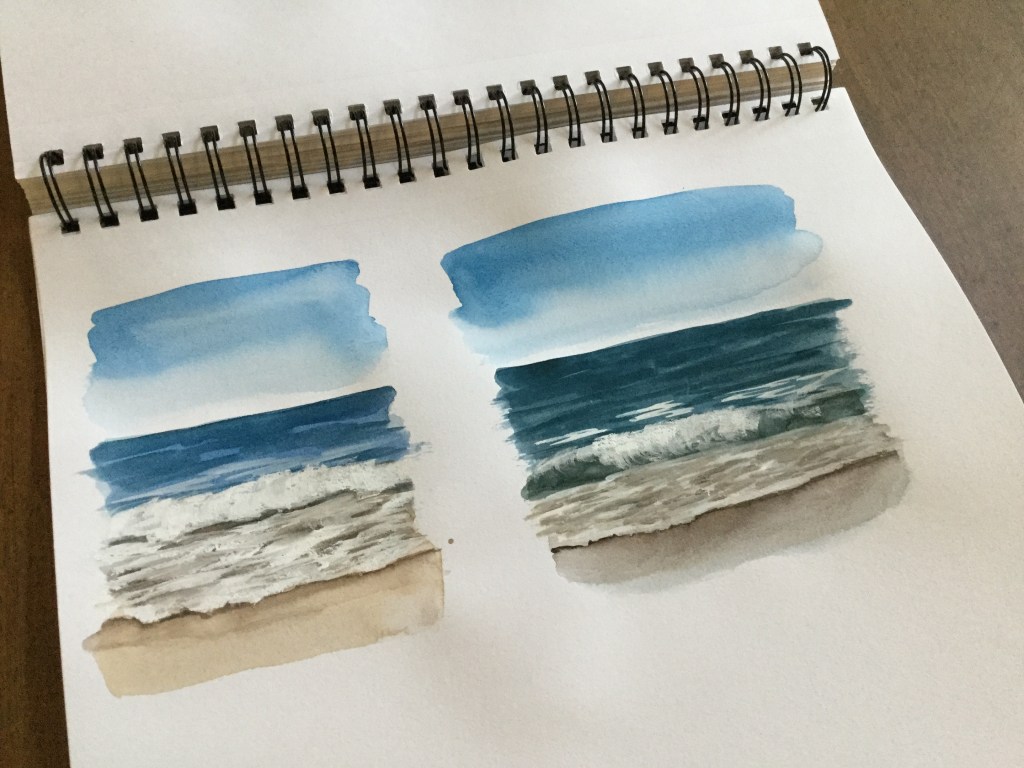
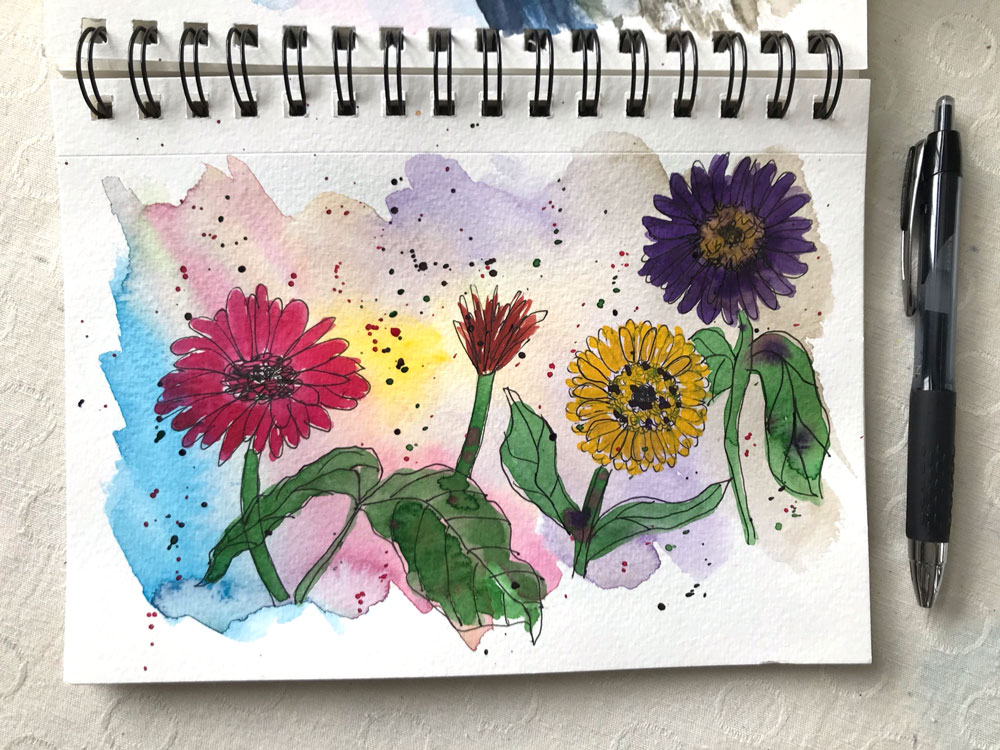
This past week I was teaching watercolor to the kids at the art studio. I’ve noticed that the kids are often impatient. They paint a background color and then they rush to paint the details. Since the background is still wet, the details bleed creating a blob.
I told the kids that painting in watercolor is like getting dressed in the winter. Just like you add layers of clothes to keep warm, paint layer after layer, letting each layer dry before adding another. With each layer add more and more detail.
When you start a painting, start with a wet, bigger brush, painting the lighter colors. As you progress to the final layers, paint with a drier, thinner brush to allow for the finer details.
Watercolor “Rules”
PAINT LAYERS – LET THE PAINT DRY BETWEEN LAYERS.
PAINT LIGHT TO DARK, BIGGER BRUSH TO SMALLER BRUSH, WET TO DRIER BRUSH.
Following these “rules” helps you to turn beginning blobs into a detailed illustration or painting.
Processing…
Success! You're on the list.
Whoops! There was an error and we couldn't process your subscription. Please reload the page and try again.
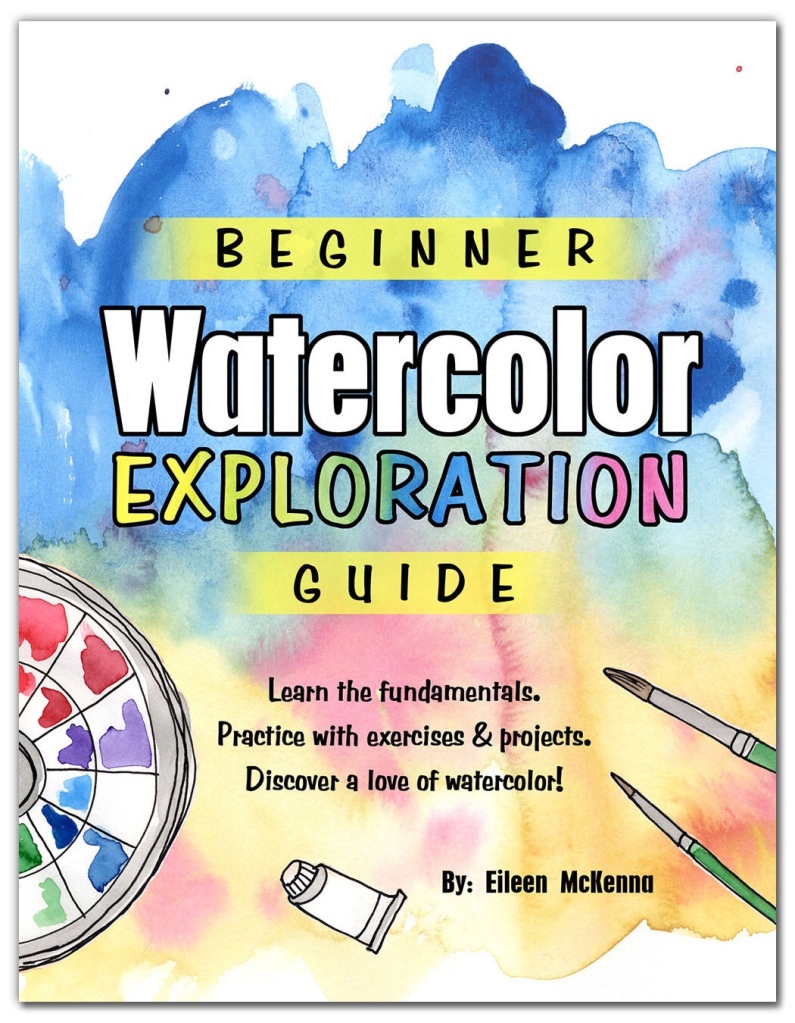
Learn the fundamentals
from beginner brushstrokes to a final seascape painting and four other painting projects in between!
Check out my “Watercolor Exploration Guide” – which walks you through the fundamentals of watercolor with exercises and five painting projects. Discover a love of watercolor!
This post contains affiliate links to products/brands I use and recommend. I earn a small commission whenever you buy using these links, at no additional cost to you. Thank you for supporting my blog!
I am having so much fun filling my watercolor journal by painting every day – or almost everyday – no one is perfect right? My pages are of the moments of joy I experience each day. I call my watercolor journal project “Finding Joy” and it’s been a great source of positivity in my life these last two months. And it’s great to paint almost every day.
Thinking of doing your own watercolor journaling? Here are my reviews on several watercolor journals.
The size: 5.5″ x 8″. I liked the small size of this book
The paper: 90 lb. mixed media paper. The paper can withstand some “working” at it – meaning you can apply the paint, lift the paint, add more paint without the paper starting to crumble.
The binding: The book doesn’t lay flat but I used binder clips to keep the pages secure while I was painting.
Cover: The cover is a bit flimsy and rubbery.
Pages: 64 pages. The pages are white which is good as I’m not a fan of off white paper.
Overall I really liked working in this book. If I wasn’t gifted a different journal I probably would have ordered another one of these.
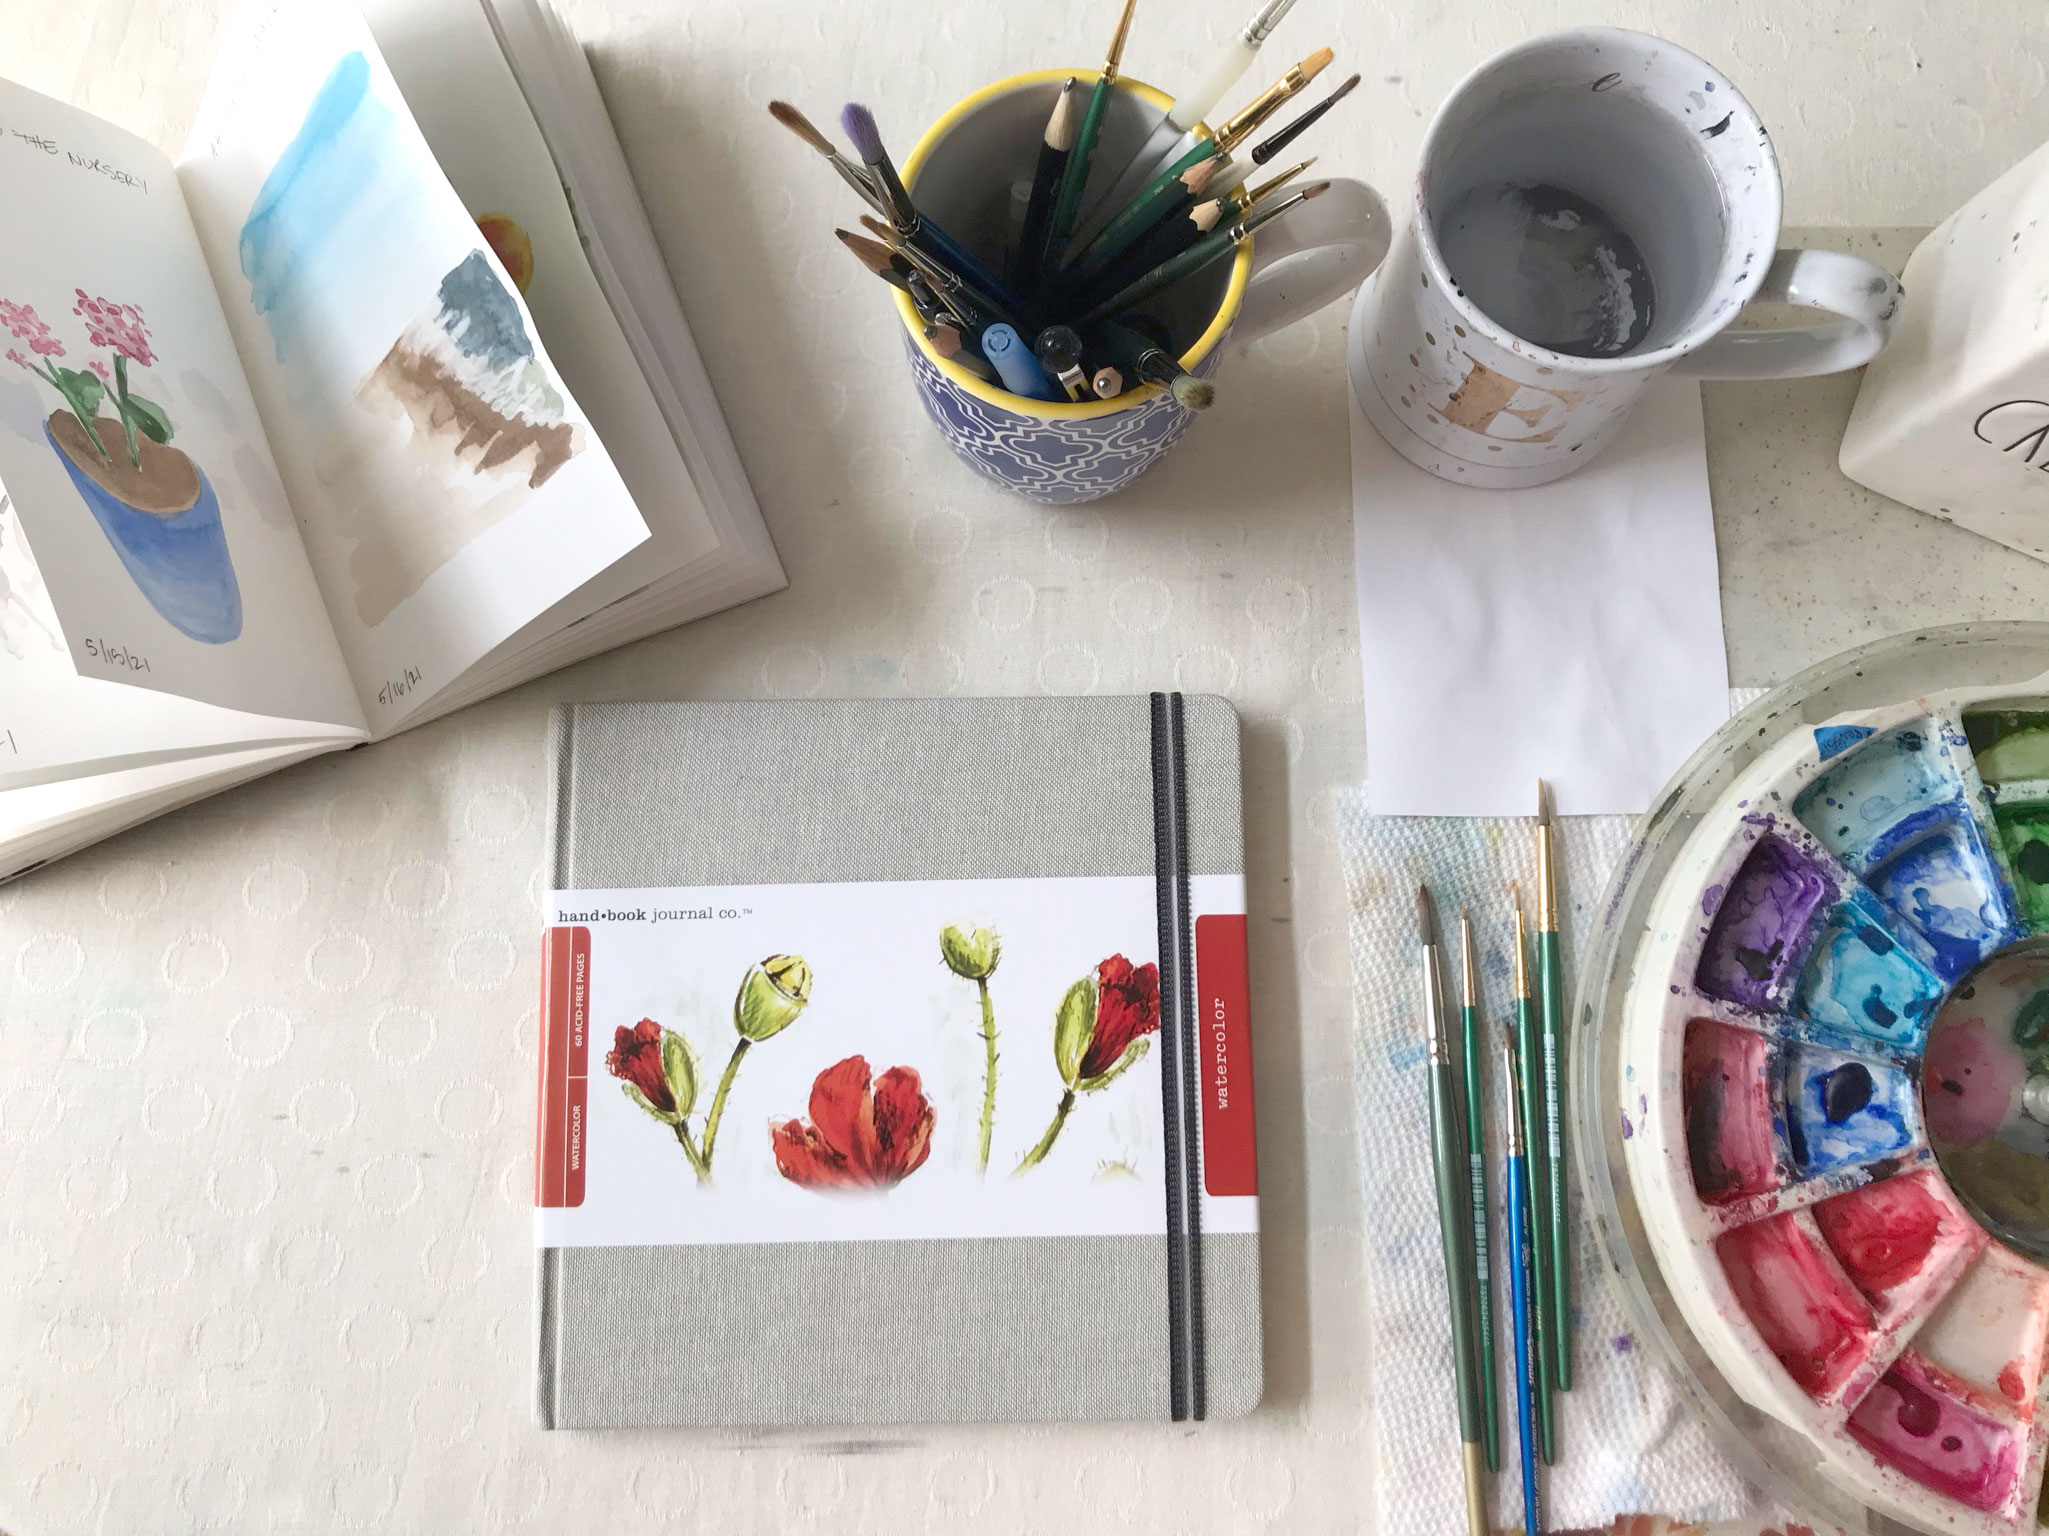
The size: 8.25″ x 8.25″ square. I always liked working with square paper!
The paper: 95 lb. watercolor paper.
The binding: The book lays completely flat.
Cover: Linen hardcover.
Pages: 60 pages. The pages are white which is good as I’m not a fan of off white paper.
Extras: A ribbon bookmark and clear pocket on back inside cover.
So far so good! I just started working in this journal. The cover is beautiful, the pages are spacious. The book feels special. Laying flat is a nice bonus.
Join my email list for weekly watercolor tips and tricks and creative inspiration!
Sign up and receive the “Watercolor Basics” free pdf:
Processing…
Success! You're on the list.
Whoops! There was an error and we couldn't process your subscription. Please reload the page and try again.
looking for a comprehensive introduction to watercolor? This guide is for you!
This Beginner Watercolor Exploration Guide is the perfect introduction to watercolor. Each fundamental is explained and then you practice it with exercises and painting projects.
The 5 tutorials build upon one another as you progress through the guide. You go from beginner brushstrokes to a watercolor seascape!
This posts contains affiliate links to products/brands I use and recommend. I earn a small commission whenever you buy using these links, at no additional cost to you. Thank you for supporting my blog!
Watercolor is a fun, convenient medium. It’s easy to set up and clean up. If you are just getting started with watercolor you may be wondering…
What supplies do i need to paint in watercolor?
There are several things you need to paint in watercolor – some of which you have around your home! Here is what you’ll need:
Watercolor paint (see below for specifics)
Watercolor brushes (see below for specifics)
Watercolor paper (see below for specifics)
Cardboard larger than your paper
Painter’s tape to tape down your paper to the cardboard
Container of water
Paper towel
Scrap paper
Palette to mix paint with water or mix colors – try the top of a plastic egg carton
You are probably wonder – Ok, but what kind of paint, brushes and paper? I’ve created a FREE downloadable pdf – “Watercolor Basics” – that covers what kind of paint, brushes, and paper you should use.
sign up here to receive the “Watercolor Basics” free pdf:
Processing…
Success! You're on the list.
Whoops! There was an error and we couldn't process your subscription. Please reload the page and try again.
How should I set up my supplies?
Now that you’ve collected all of your watercolor supplies, you may be wondering how to setup your workspace.
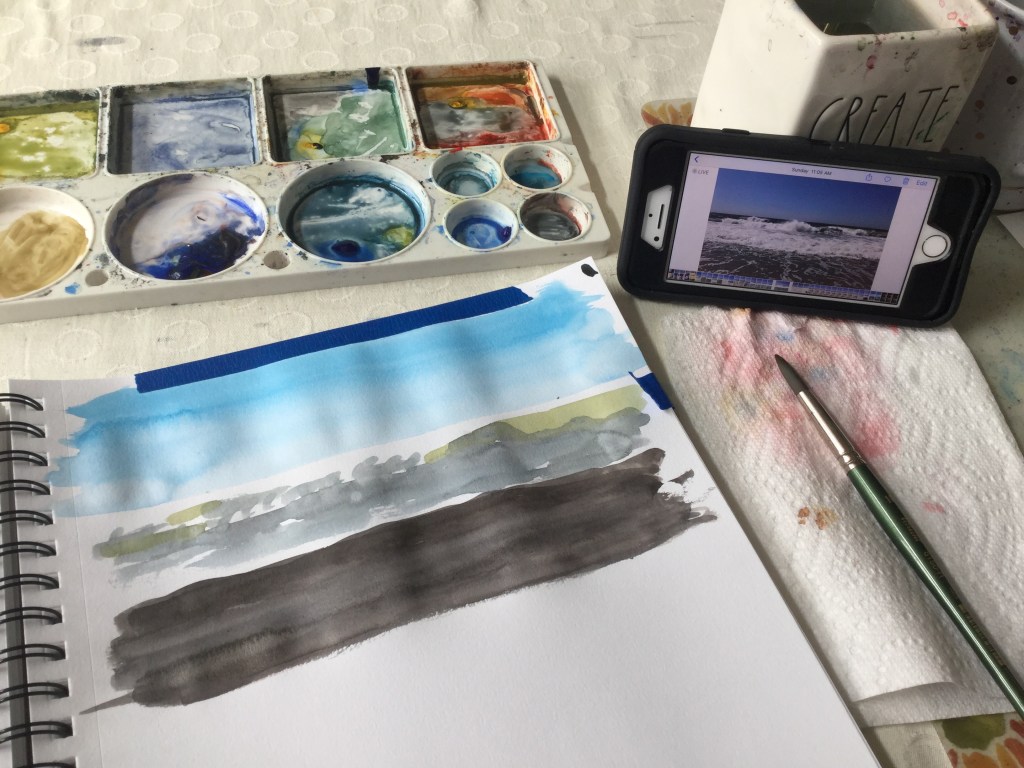
As a right handed person, I set up most of my supplies to the right of my paper or sketchbook. This is so I’m not reaching across my paper to get water or paint – I don’t want to accidentally drip on my paper! I usually place a reference photo (on my ipad) directly in front of my workspace. My mixing palette (top of an egg carton) can be moved around as needed. It’s always best if my coffee isn’t near my water. I’ve dipped my paintbrush in my coffee too many times!
how do you paint with watercolor?
A key element to painting in watercolor is water.
If you use a dry brush, the paint will go on rough and paper will show through in spots.
If your brush is wet the paint will glide onto the page.
If the paper is wet the paint will bleed into the water on the page when you touch it with your brush.
To lighten watercolor add water, NOT white.
These different ways of painting work in different circumstances. To paint one subject you will likely use all of the above ways of painting in different areas.
what should i paint?
When you are starting out it’s sometimes hard to come up with ideas. You’d like to practice but don’t know what to paint. Choosing a challenging subject can be discouraging.
printable painting tutorials
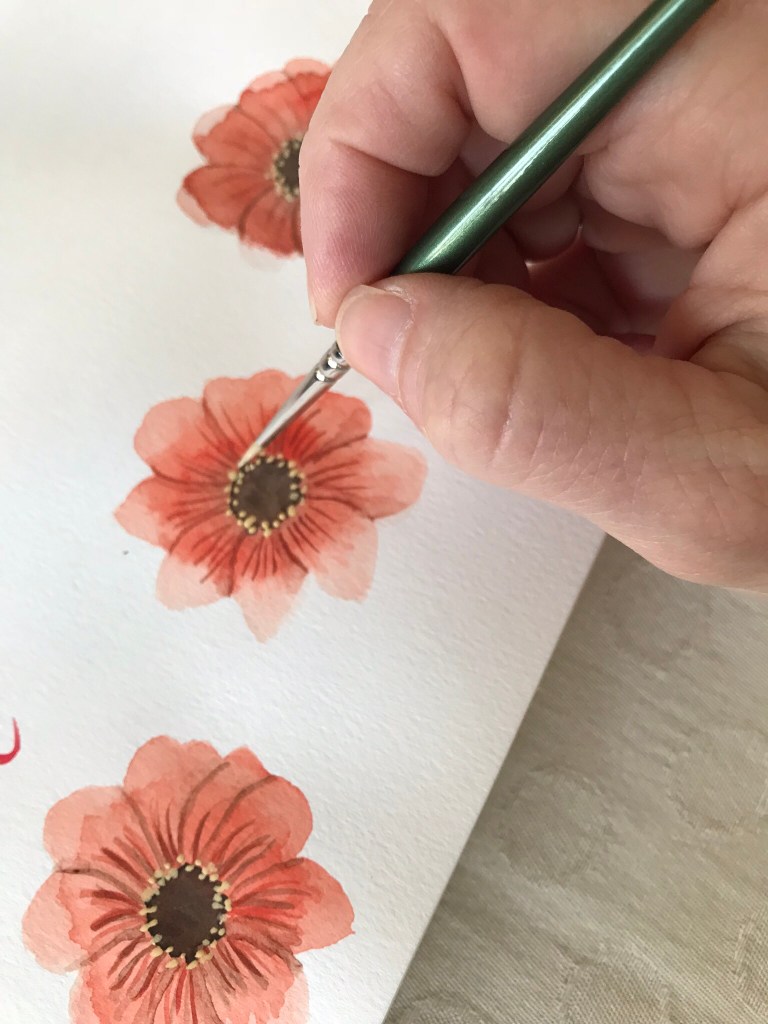
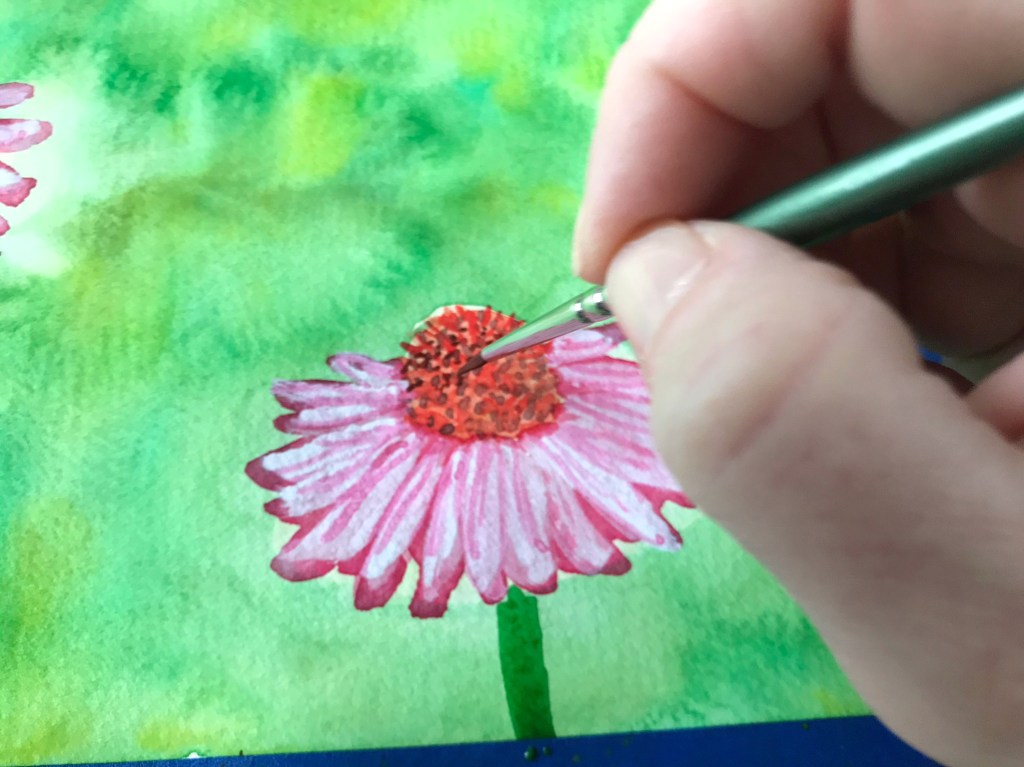
To help with this and to introduce you to the fundamentals of watercolor, I’ve created printable painting tutorials. Each tutorial walks you through fundamentals as you paint the steps for a specific final painting, like the “WATERCOLOR CONEFLOWER PAINTING LESSON” below.
When paper gets wet it wrinkles and buckles. To avoid this tape your paper to a piece of cardboard using painter’s tape. The tape also creates a nice border to your painting.
For weekly tips, sign up for my newsetter:
Processing…
Success! You're on the list.
Whoops! There was an error and we couldn't process your subscription. Please reload the page and try again.
looking for a comprehensive introduction to watercolor? This guide is for you!
This Beginner Watercolor Exploration Guide is the perfect introduction to watercolor. Each fundamental is explained and then you practice it with exercises and painting projects.
The 5 tutorials build upon one another as you progress through the guide. You go from beginner brushstrokes to a watercolor seascape!
This posts contains affiliate links to products/brands I use and recommend. I earn a small commission whenever you buy using these links, at no additional cost to you. Thank you for supporting my blog!
I was really feeling the spring vibes the day I climbed up and peeked in the Robin’s nest and saw these three eggs. Of course I painted the nest in my “Finding Joy” journal later that day!
I realized the bird’s nest was the perfect subject to share my watercolor painting process. So, I painted it again and recorded it for you.
Here’s what you’ll need to paint your own nest:
Watercolor or multimedia paper
Watercolor paints. I used brown, black, turquoise, orange, hooker’s green, raw sienna (tan)
Paintbrushes – round in medium to small (thin) sizes
This post contains affiliate links to products/brands I use and recommend. I earn a small commission whenever you buy using these links, at no additional cost to you. Thank you for supporting my blog!
Recently I wrote about how you should take some time to observe a reference photo before painting. I have to constantly remind myself of my own advice because I want to jump in and start painting. I want to get to the fun part!
1. observe your subject
After painting a few dog portraits, the part 2 to this advice occurred to me:
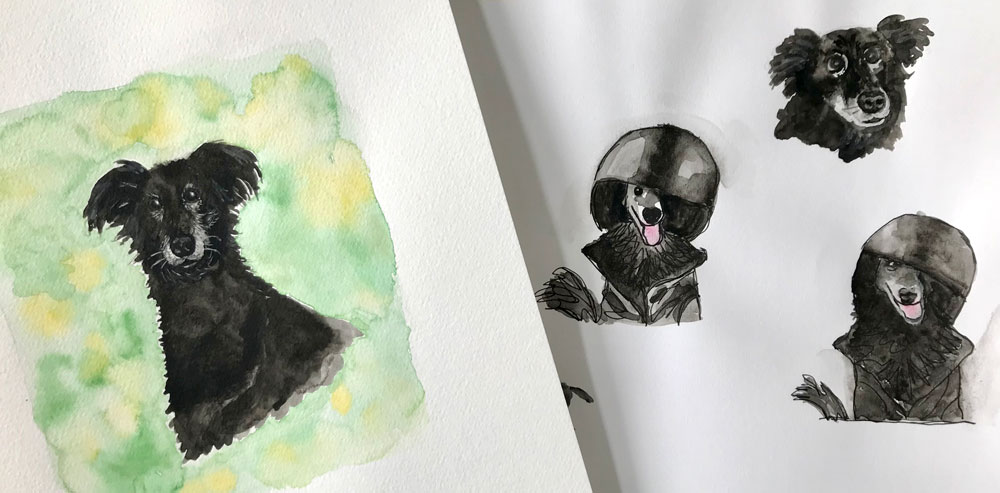
2. Do a “study”
What is a “study”? Essentially a study is a practice painting, drawing, or sketch. You have most likely seen studies done by the Masters before they painted their final masterpieces.
For weekly watercolor tips & Tricks sign up for my newsletter:
Processing…
Success! You're on the list.
Whoops! There was an error and we couldn't process your subscription. Please reload the page and try again.
The masters did studies
Georges Seurat, “A Sunday Afternoon on the Island of La Grande Jatte,” 1884-1886 (Photo: The Art Institute of Chicago Public Domain)
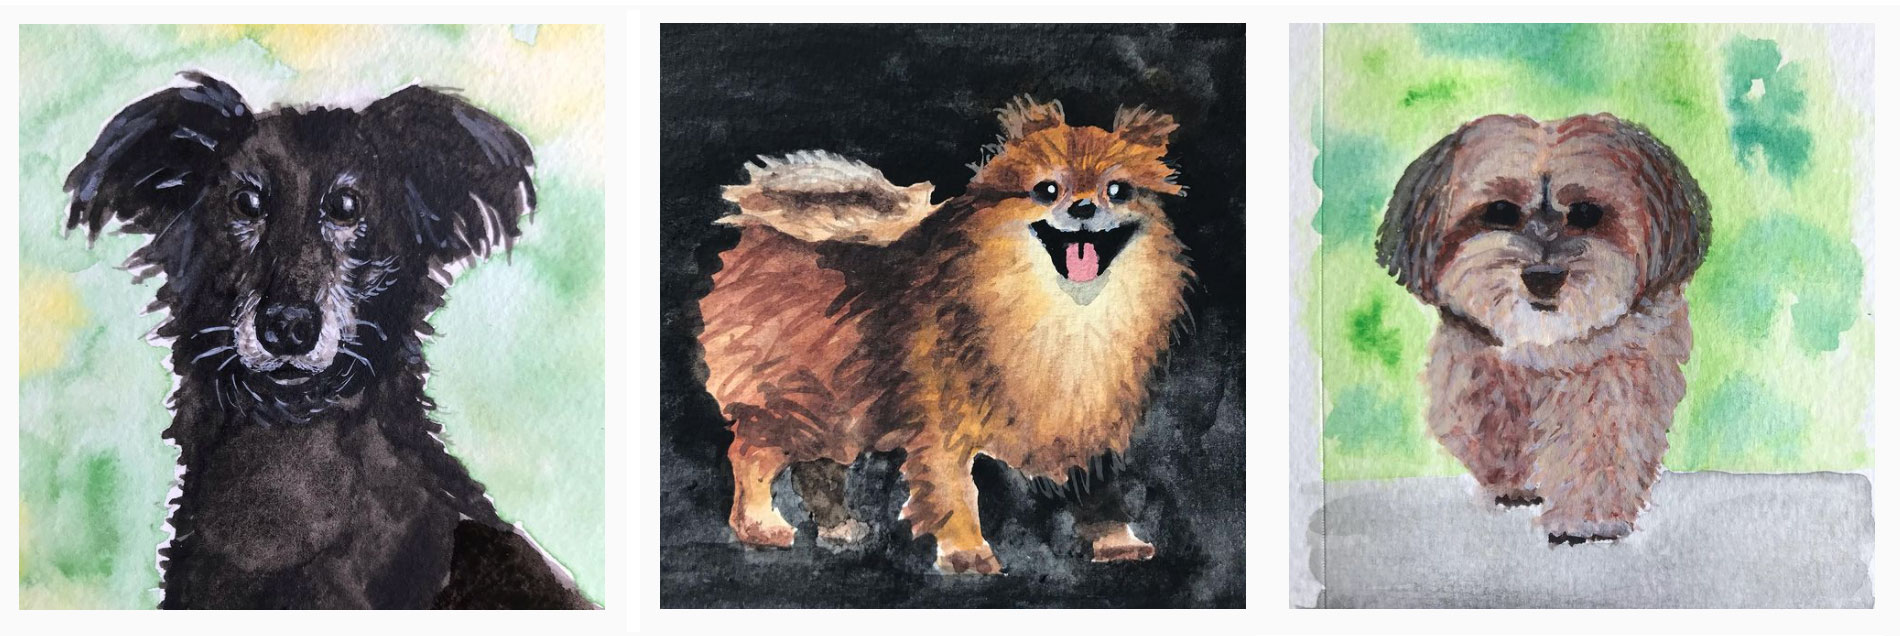
Sketching or painting helps you see the subject more closely. As I painted the dog portraits I noticed more about the dogs as I painted. When I paint or draw my eyes travel back and forth from my painting to the reference photo and back again.
This is something I try to instill in the kids at the art center where I teach:
Everything you need to know about the subject is in the photo. If you want to realistically draw or paint it, keep looking at the photo and your artwork.
Eileen McKenna
Another way of seeing
I find it useful to occasionally flip both the reference photo and my paper to see things differently. Looking at things this way is supposed to trigger the other side of your brain. This theory was written about in the popular book Drawing on the Right Side of the Brain.
I notice that when I look at things upside down it is easier to see the individual elements of something. For example a face upside down allows me to focus on the elements more than the whole face.
painting Stella
Stella by Eileen McKenna
When I painted Stella, I looked through many photos and selected a few photos to practice with. I wanted to “see” what characteristics were unique to her. As I painted I felt I was getting to know her. These practice paintings helped me get a more realistic final painting.
For weekly watercolor tips & Tricks sign up for my newsletter:
Processing…
Success! You're on the list.
Whoops! There was an error and we couldn't process your subscription. Please reload the page and try again.
This post contains affiliate links to products/brands I use and recommend. I earn a small commission whenever you buy using these links, at no additional cost to you. Thank you for supporting my blog!