Process for Painting the Beach in Watercolor

There is a real benefit to painting the same subject over and over. You get better at it, and after trying different things, over time you develop a process. You develop a series a steps that you follow every time you paint.

Crashing Wave by Eileen McKenna

Process for painting watercolor seascapes

Here is a summary of my process. Keep reading for links to more in depth resources.

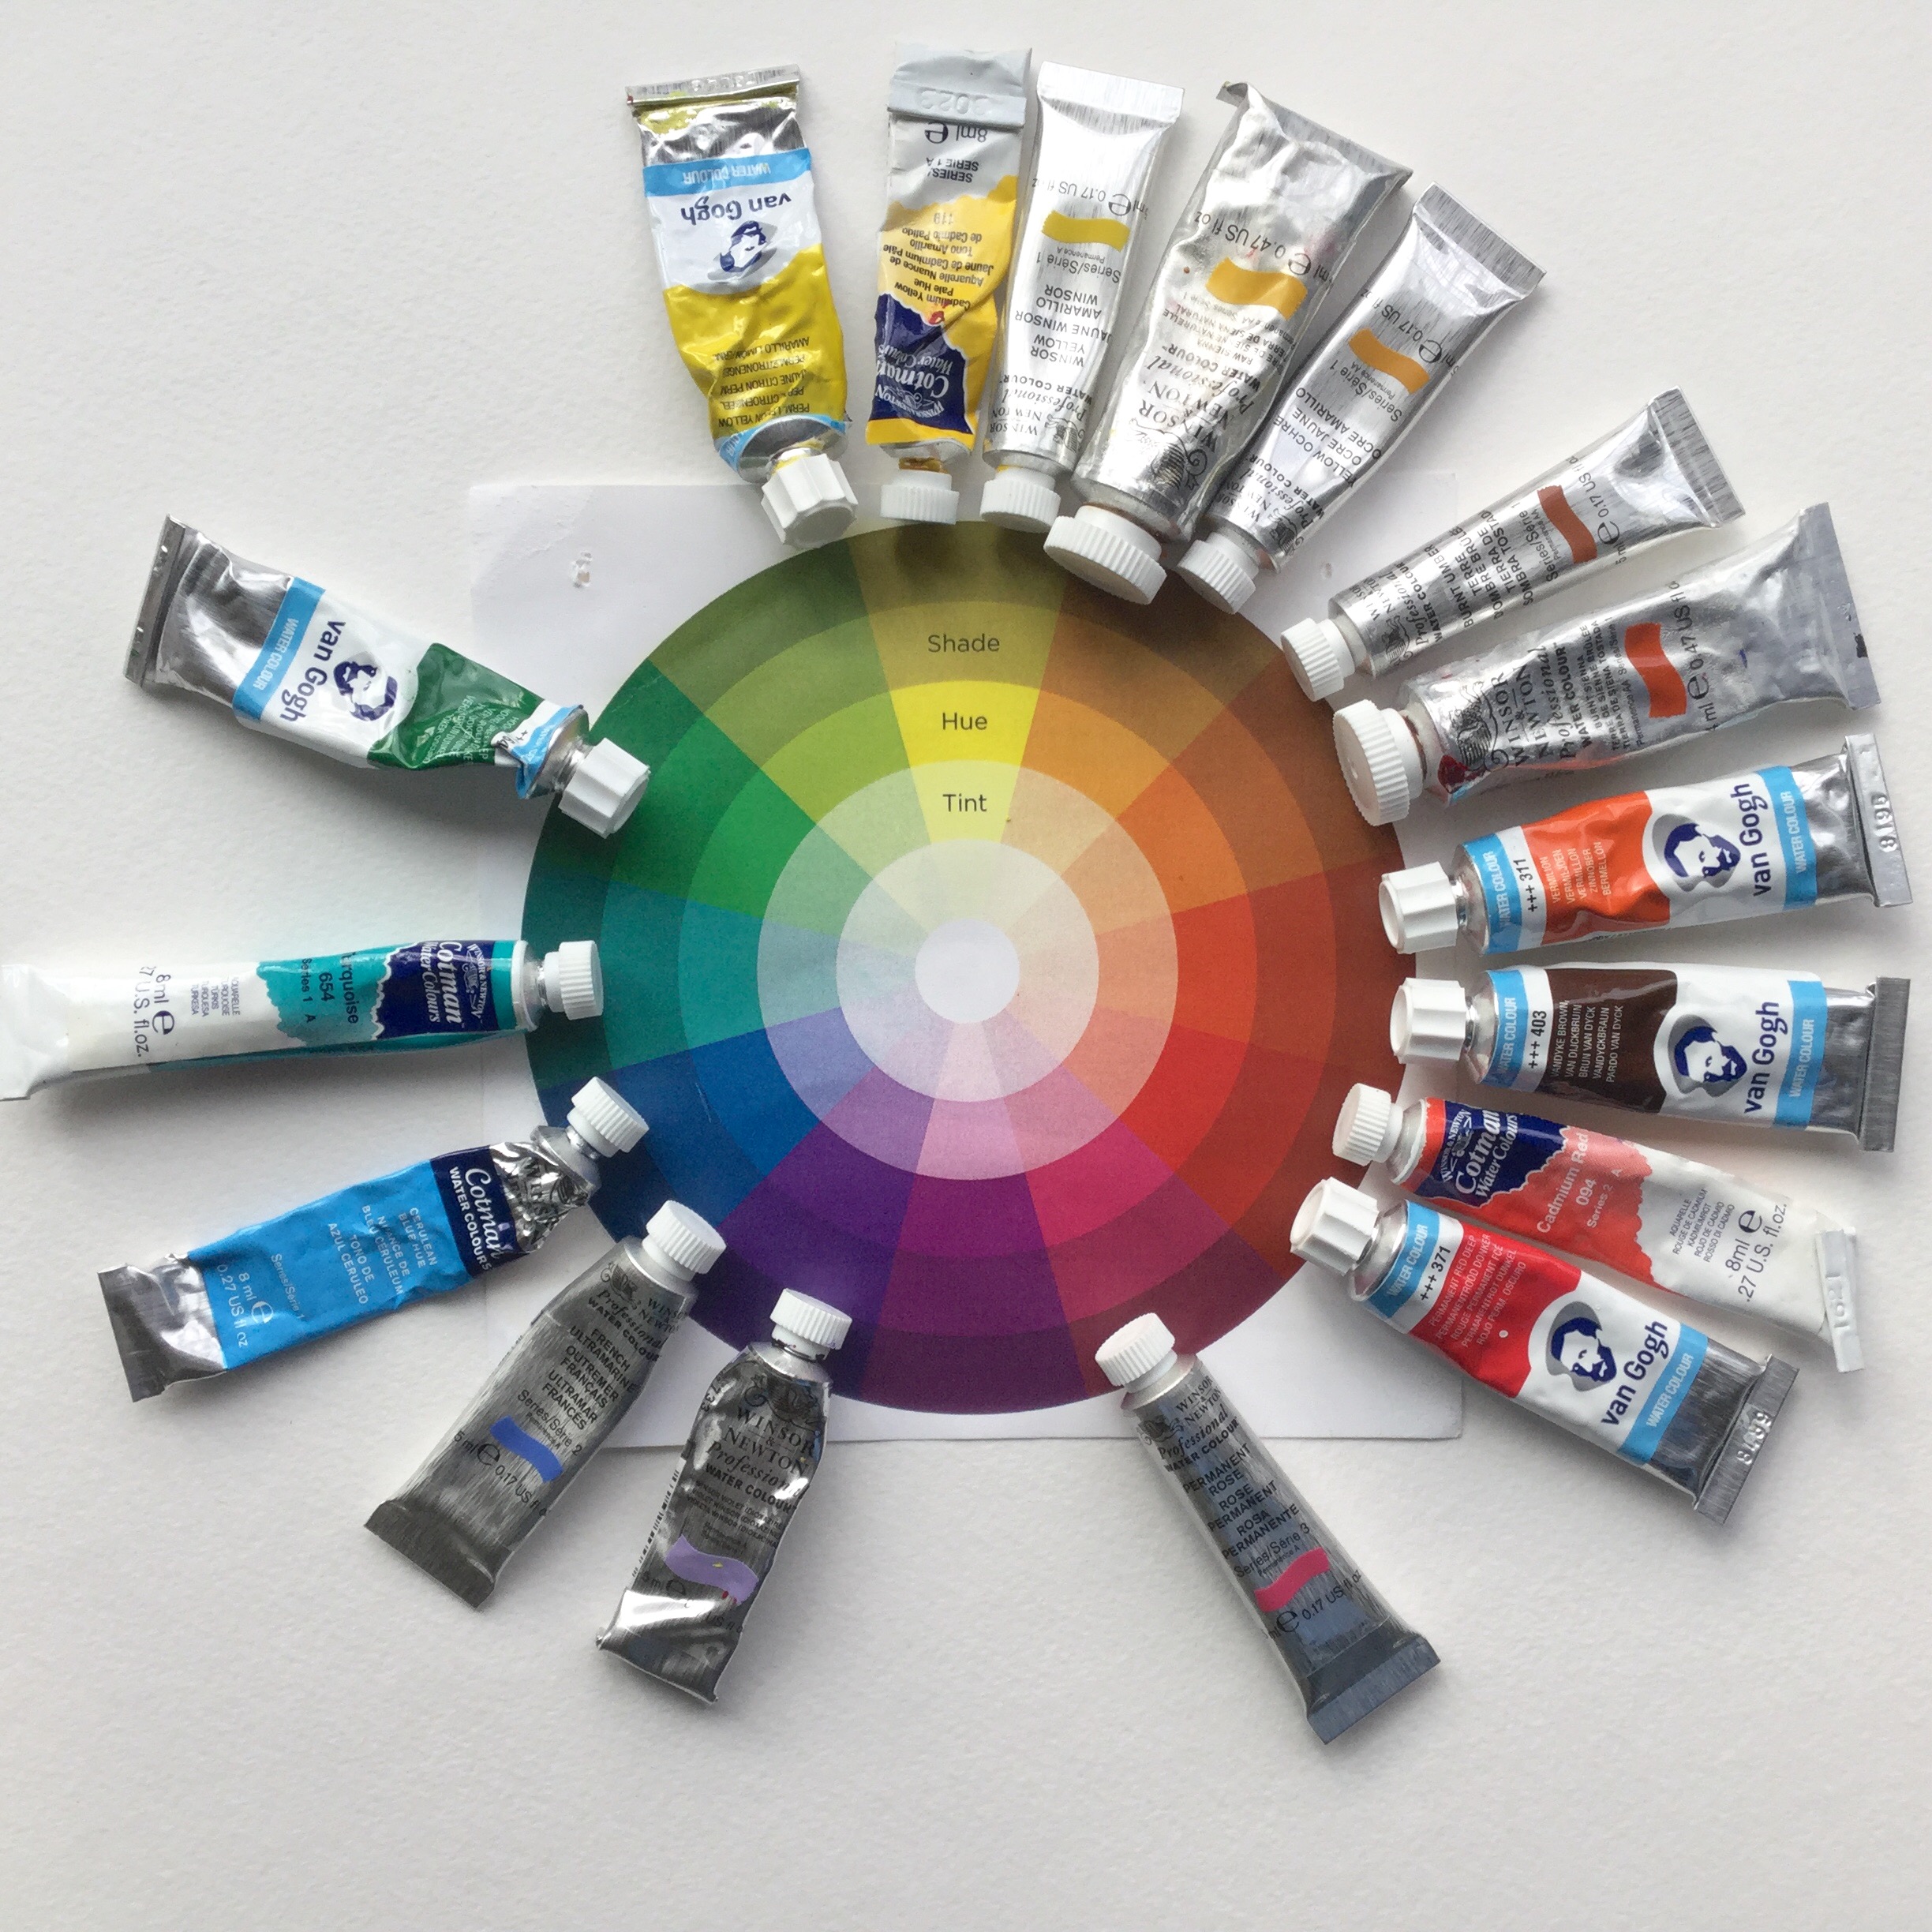
  1. Mix seascape colors  – I mix blues, greens, and browns from ultramarine blue, cadmium yellow, and cadmium red.
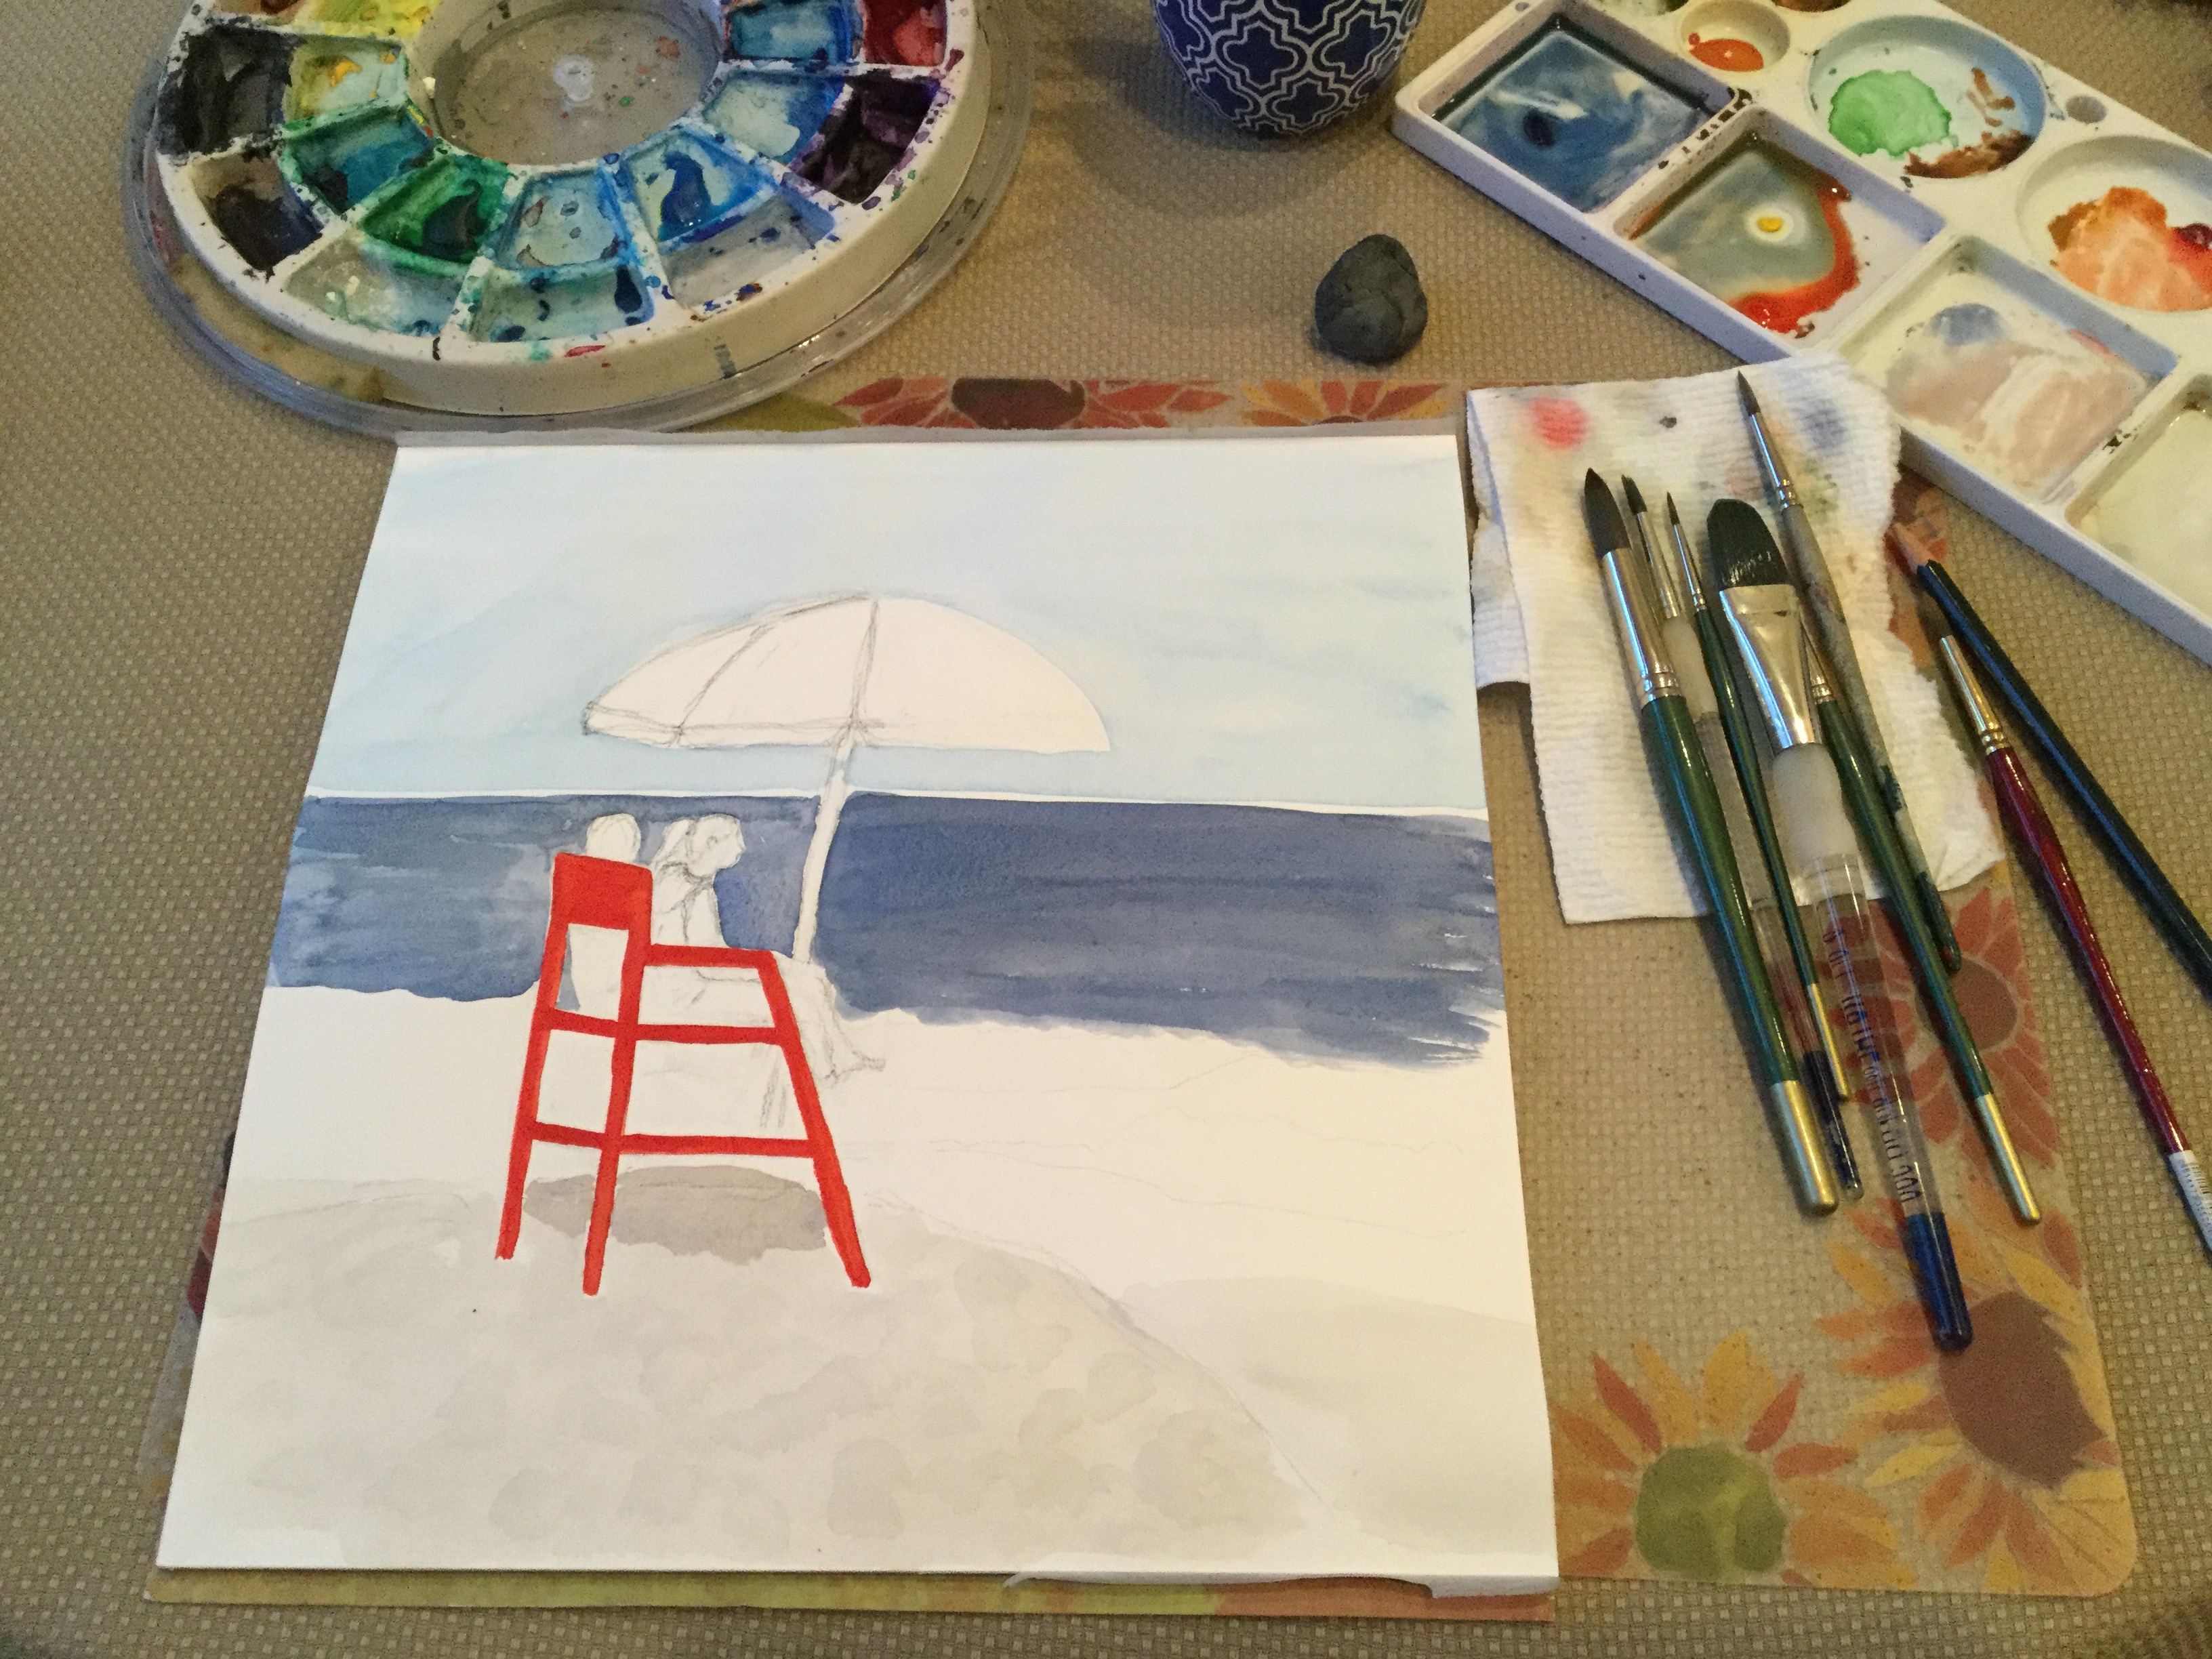
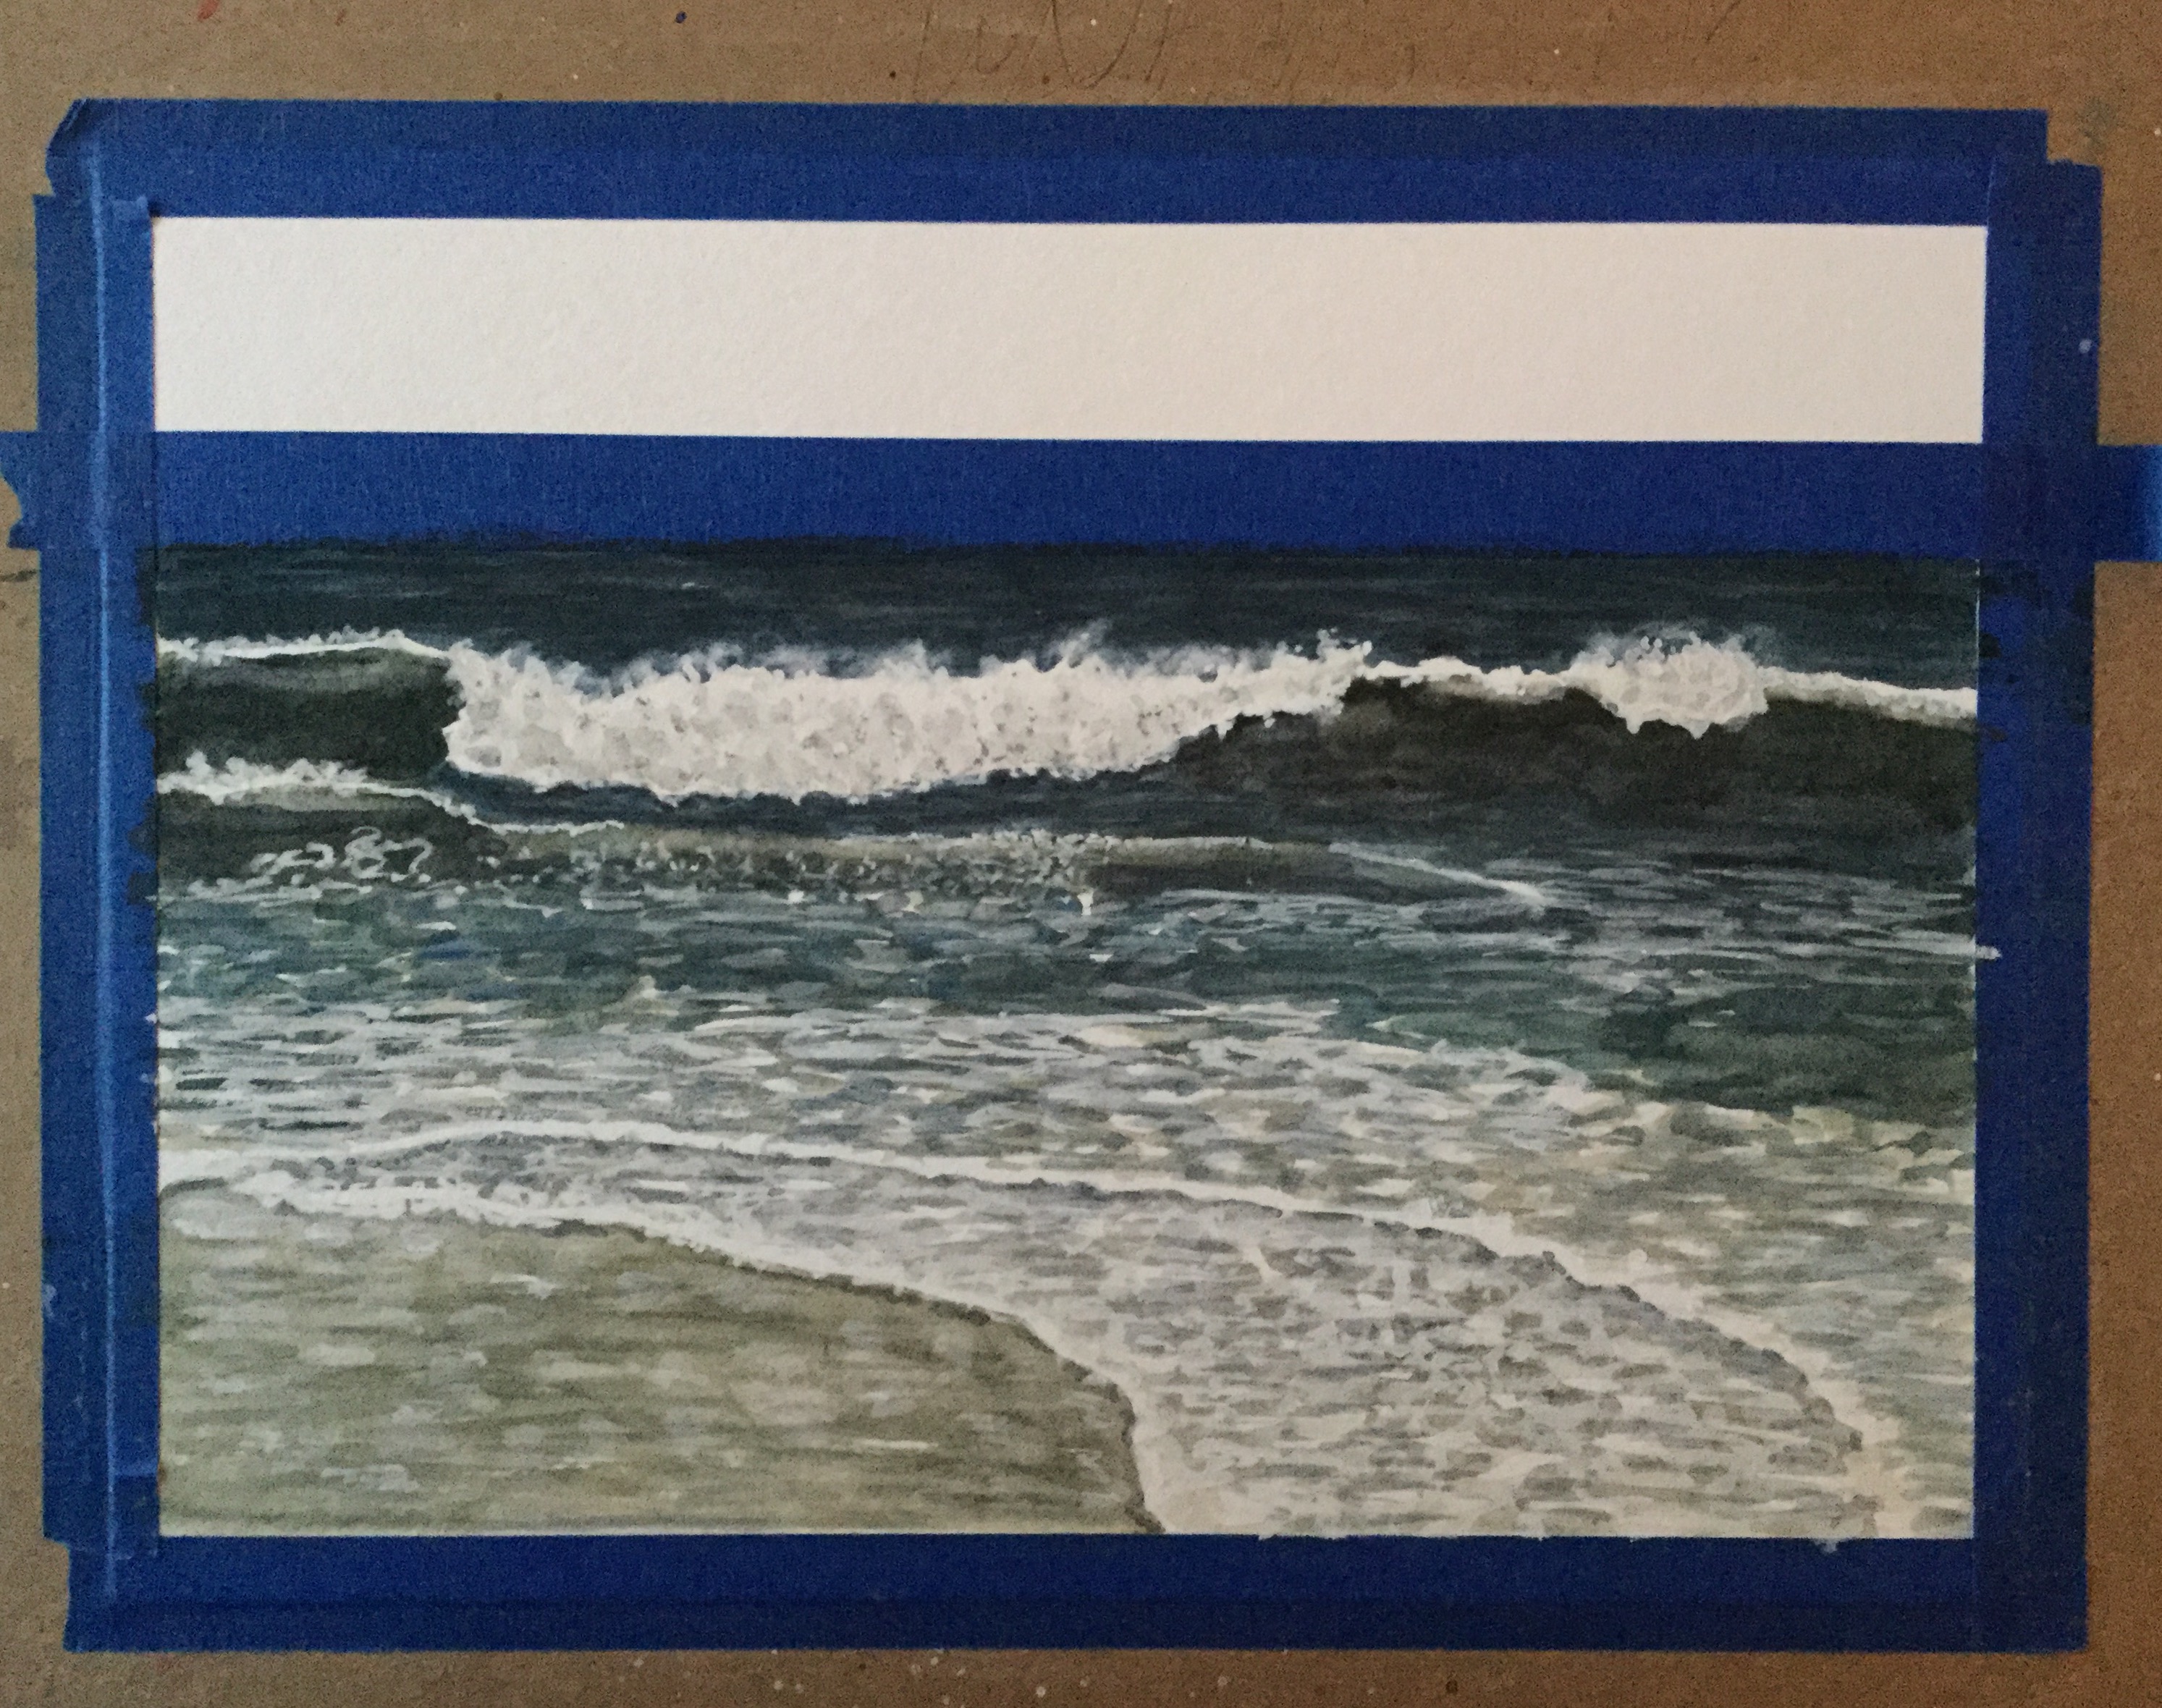
  2. Mark the horizon line. I use painter’s tape to achieve a straight horizon line.
  3. Paint the ocean water closest to the horizon darker and bluer.
  4. Paint the water in the cresting wave lighter and greener.
  5. Paint the shallow water near shore brown.
  6. Paint the sand. The sand is darkest closer to the ocean where it is wetter.
  7. Paint the crashing waves with white gouache.
  8. Paint the foam with white gouache and a flat brush. Horizontal lines help this area appear flat.
  9. Add shadows to the breaking wave.
  10. Paint the sky as a blue fade that is lighter closest to horizon.
Easy Watercolor Seascape online video lesson for beginners
My video lesson shows you the complete process for painting seascapes. Learn more here.

Learn more about painting watercolor seascapes:

I share my step by step process for painting watercolor seascapes in the following tutorials. Choose the format that works best for you:

Printable Watercolor Seascape Tutorial

For a steady stream of watercolor tips and tricks…

Sign up for my weekly newsletter here.

Related post:

Read “Tips on Painting Waves in Watercolor”

Ready to get started in Watercolor?

The Beginner Watercolor Exploration Guide is for you! And it includes the Watercolor Seascape Painting Tutorial!

Beginner Watercolor Exploration Guide
https://eileenmckenna.com/guide/
  • Learn the fundamentals.
  • Practice with exercises & projects.
  • Discover a love of watercolor!

This post contains affiliate links to products I use and recommend. I earn a small commission whenever you buy using these links, at no additional cost to you. Thank you for supporting my blog!
Process for Painting the Beach in Watercolor

Beach Heart

Beach Heart painting
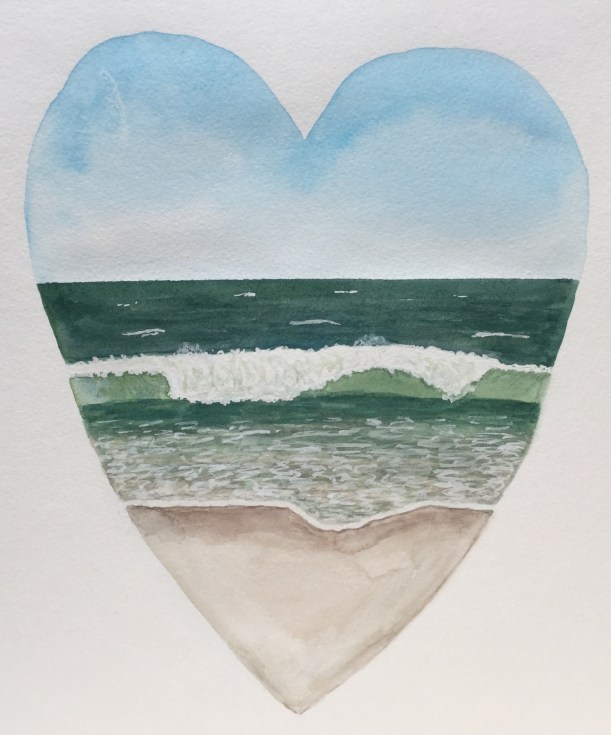
Painting this beach heart was as peaceful and relaxing as sitting on the beach itself. Before I sat down to paint I was looking through my work for something to post on Valentine’s Day. I usually don’t post things from my archives – not that there is anything wrong with that. It just sometimes feels disjointed from what I’ve been working on.

With Valentine’s Day and hearts on my mind, I sat down to paint and thought of a beach scene in the shape of a heart. I think practicing, and working out a process for painting the beach, was a great help in painting the heart from start to finish in one sitting. Ah the sense of accomplishment!

Have a happy Valentine’s Day!

14 tips on painting waves in watercolor


Adding beach bodies to my paintings

Painting figures on the beach
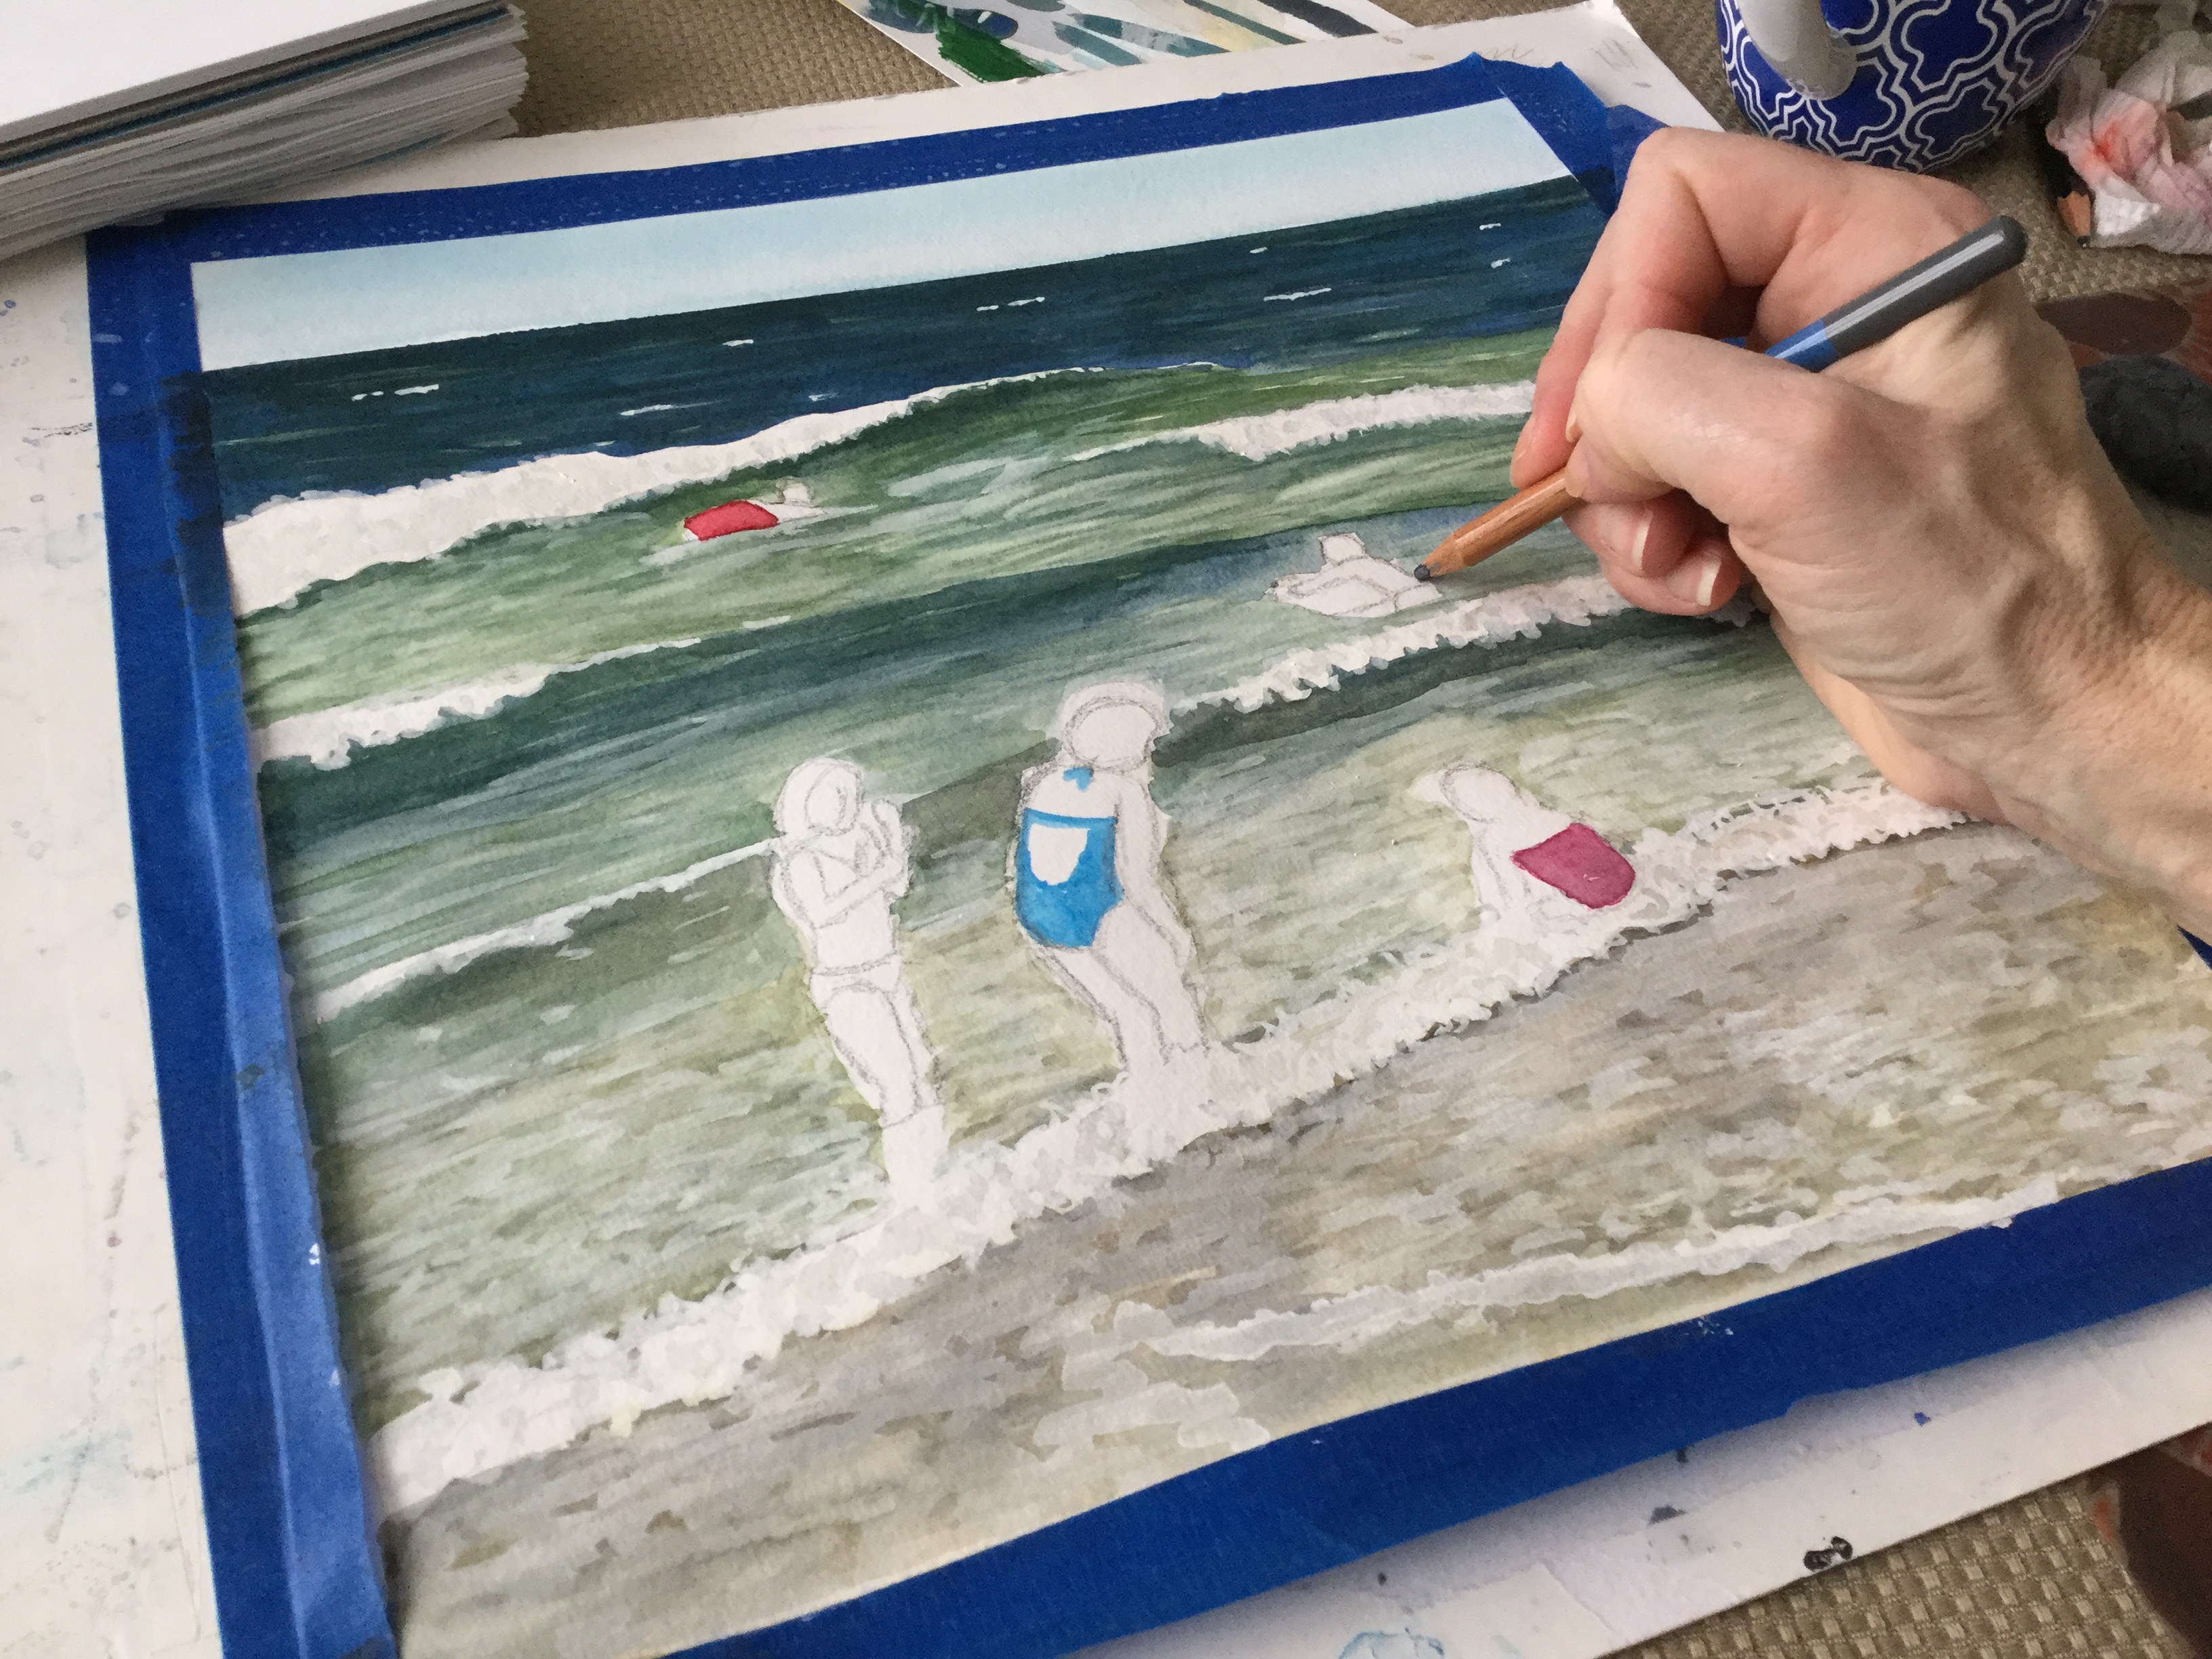
I’m proud of the progress I’ve made since starting to paint the beach on January 1st. I feel as if I’m finally capturing the movement of the waves. But something has been missing. Around here on a beautiful summer day the beaches are packed with people. Sometimes we struggle to find a good spot down by the water.

So, I’ve been collecting my photos that include people and trying to incorporate them into my paintings. Last night I did some loose brush sketches. Painting figures in my sketchbook

Today, I worked on refining the water in a painting where I had penciled in several people. Then I erased the pencil lines and using a watercolor pencil drew in the figures so I knew where to add paint. Figures don’t come easy to me and I have to work at a figure to get it right. Watercolor pencils are great because it’s easy to “erase” your lines by wetting them. You can mix the lines into the other colors or absorb them onto your brush.

I’m hoping if I focus on beach bodies for a while, I’ll see progress, like I’ve seen with my waves.

Here’s my favorite wave painting so far. Painting waves in watercolor

Have your read these posts yet?
 19 Books for Creatives 11 Art Supplies I can't paint without

Some posts contain affiliate links to products I use and recommend. I earn a small commission whenever you buy using these links. Thank you for supporting my blog!

Painting within a theme for 31 days

Painting the beach my 31 day projectThis month I worked almost daily painting the beach. It’s a place that is very close to my heart. I grew up just a few blocks away from it. My mom referred to it as our backyard. I played there, I worked there, and eventually brought my own kids there.

That's me on the left, age 3 or 4
That’s me on the left, age 3 or 4.

I learned a lot this month. I’ve tried different techniques to capture the foam of the ocean – leave the white of the paper, use a white gel pen, use lots of white gouache. I’ve used different blues in my ocean mixture. I painted landscapes, as well as people close up. But, I feel it’s just the tip of the iceberg. There is so much more for me to learn and explore within this theme. So, not surprisingly, I’m continuing with my beach painting project. It probably would have been better to declare this a 100 day project from the start. Although that would have been a bit intimidating.

Follow my blog with Bloglovin

I Used to be a Quitter

Painting waves. Sticking with it.
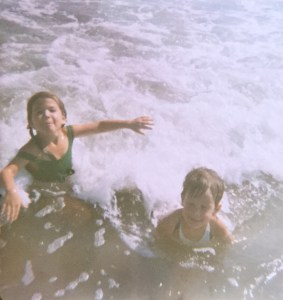
I would start a creative project and if it didn’t immediately “work out” I would quit, thinking, “I can’t do this.” When I made my creative resolution 3 years ago, I suddenly felt more accountable. If I didn’t finish a project what would I write about? I began finishing the drawings and paintings I started. I even pulled out canvases long ago abandoned and finished them. Suddenly I had momentum and a building confidence.

Yesterday I began a painting of the ocean from a photo I took. I’m always excited and hopeful at the start. I tried to capture the different colors of the waves and it looked…awful. I almost took the painting and tossed it aside. It reminded me of those frustrating times when my vision and the painting in front of me didn’t match up and I would quit when I’d barely started. This time I persevered and continue to work on the painting. This is what I love about watercolor, that you build the layers up and work at the painting to transform it. As I worked I wondered what has changed from those days when I had piles of unfinished paintings?

What do I have now that I didn’t have then?

  • Determination – I want to make the painting work.
  • Dedication – I make time for painting almost every day, because it is important to me.
  • Confidence – I no longer accept that I do or don’t have the talent. Instead I know that if I continue to work I will be better than I was.
  • Experience – The more I paint the more I learn. I have a process and techniques that I use, and as I learn and try new things I add to this.
  • History – I have had paintings that I’ve deemed a success. This helps quiet the “I can’t do it.”
  • Knowledge that there usually is an ugly stage. It has to look bad before it looks good.
  • Lack of pressure – I don’t stress about the final result.
  • Enjoyment – I enjoy the process, of working at it, of learning with each painting.

Painting Larger

12" x 12" Watercolor beach paintings

Quite by accident I almost doubled the size of the watercolor paper I was using and I’m so glad. For years I happily painted on 8″ x 8″ paper. When I went on Amazon, I ordered the Fluid Watercolor paper in 12″ x 12″ instead of my normal 8″ x 8″. When the package arrived the pads looked huge!

At first I was disappointed, but then thought, “I’ll try them out. Maybe I’ve outgrown that small size anyway.” Months later I can’t imagine working so small! Lately I’ve been taking advantage of the fact that the pages are bound together on 2 sides. I sometimes paint with the paper still attached to the pad, instead of removing it and taping it down to a board.

Here is a collection of my “mini” 8″ x 8″ paintings.

8 inch watercolor paintings

This post contains an affiliate link. When you make a purchase using an affiliate link I make a commission. Thank you for supporting my blog!

11 Art Supplies I can't paint without

Starting Can be the Hardest Part

img_1895
I can write all about the benefits of creating every day, but there are some days where I’m busy, or sick, or just don’t feel like it.

So what to do then? If I really don’t have a second, or I am sick like last week, I put in extra time the next day. Usually I’ll squeeze in some time in the morning to “count” for the day before. When I just don’t feel like it, I try to push through and tell myself…

…just do a little. It doesn’t have to be a masterpiece. I don’t have to follow the same process like the previous days. Maybe instead of painting, I’ll just do a pencil sketch, or an ink sketch, or just add details to a painting I haven’t finish.

Anything is progress. Starting can be the hardest part and once I tackle that – my mindset often changes and I make a lot more progress than I thought I would.

Today was one of those days. When I finally had spare time to paint, I didn’t want to, but the last two days were busy and I hadn’t done much, so I forced myself to get to work. I looked through my reference photos and decided to sketch the lifeguard chair. I figured sketching it would be progress. I liked my sketch and decided to add watercolor. My attitude totally changed and I was so glad I pushed myself to start.

Learning by painting every day

img_1848
I’m still amazed that painting every day is such a learning process. Some days of course aren’t great and/or they don’t yield great results, but other days I try things and learn so much, make so much progress – regardless of what the final result is. I guess when you create every day, you’re picking up where you left off, it’s a continuous thing. If I have a thought to try a different color for the skin or leave more white paper or whatever, I remember it the next day. When you paint only here and there – you’re practically starting over every time, instead of building on the previous day.

Over the last couple of months I’ve been very mindful of trying to capture highlights and shadows. And since I started working in the beach theme I’ve been thinking a lot about skin tones and the shadows on the skin. I was very happy with the results of the skin of the little girl. I mixed yellow ochre and permanent rose and then mixed in white gouache. The white gouache adds a creaminess that I like. For the shadows of the skin tone I mixed in a little franch ultramarine. When I can, I add the compliment of a color to achieve the shadow instead of black. I was happy with the results. 😀