Winter

skitrail
I’m really happy with how the sky turned out – although the salt wasn’t working as well as last time. I had to try it several times – I think the painting wasn’t wet enough. Some of the salt is stuck on there for good. It adds a bit of sparkle! Maybe I let it dry too long?

My Steps:
The underpainting.
skitrail1
Adding ink.
skitrail3

One of the attempts with the salt.
skitrail4

My Creative Resolution – a year in review.

chart
As the first anniversary of My Creative Resolution approaches, I decided to look back and see what I worked on this year – what mediums I choose. It was surprising to me that during the first two months I painted with acrylics. I think it was something I’ve wanted to do for a long time. I even pulled out old unfinished canvases and finished them!

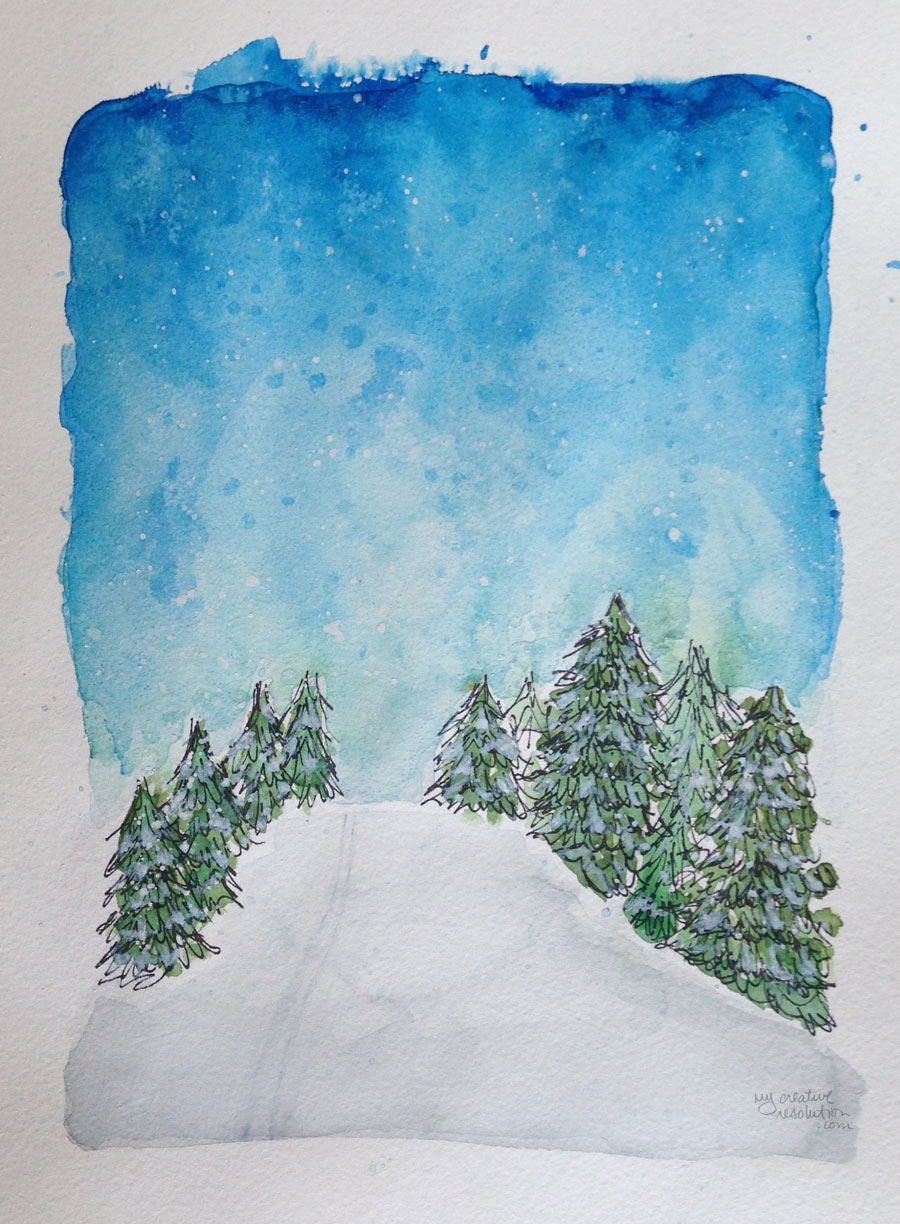
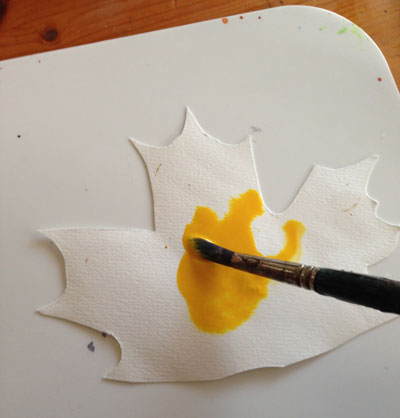
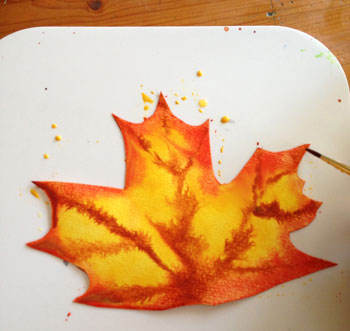
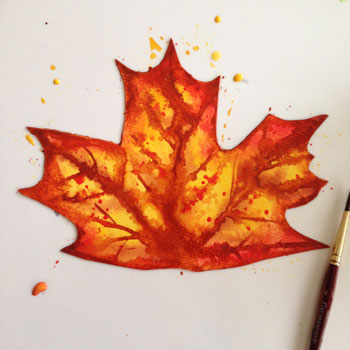
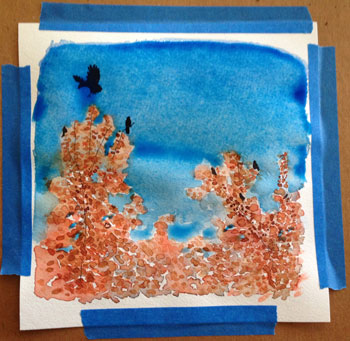
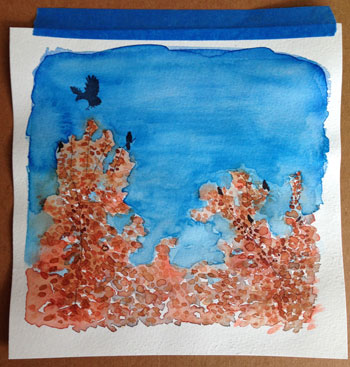
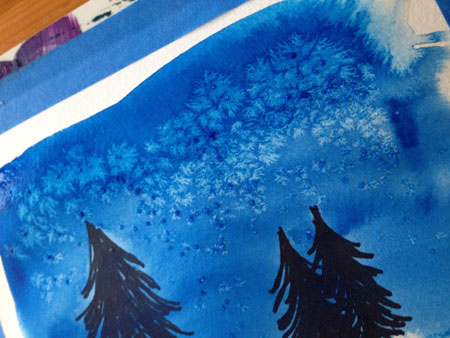
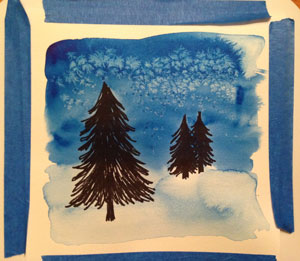
After two months, I was getting a little bored with my sketchbook and I pulled out my watercolors. Well, that changed everything! I started focusing more and more on watercolor. I had a history and some knowledge with watercolor. I added to that by watching videos and absorbing ideas and techniques from other artists online. I was having fun with it and was more and more liking my results. For too long I was working on crappy paper, but eventually I bought the right stuff!

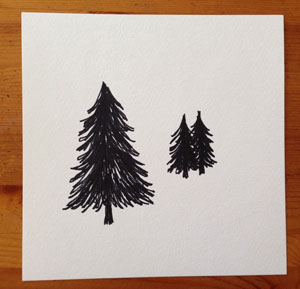
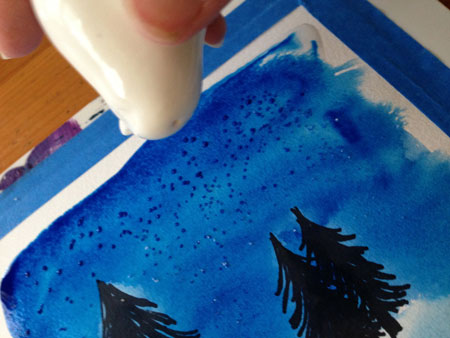
Eight months in and I decided to paint cards for the swim coaches. To make the cards whimsical I added ink to the cards. When I draw in pencil, I tend to have a scratchy (lots of lines) style. In the past whenever I tried pen and ink I thought I had to draw one perfect deliberate line. (This stressed me out.) This time I scratched away (with the ink pen) and was happy with the results!

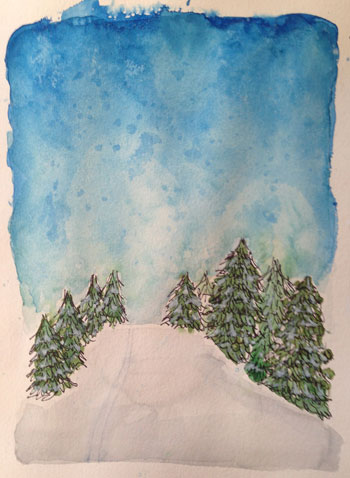
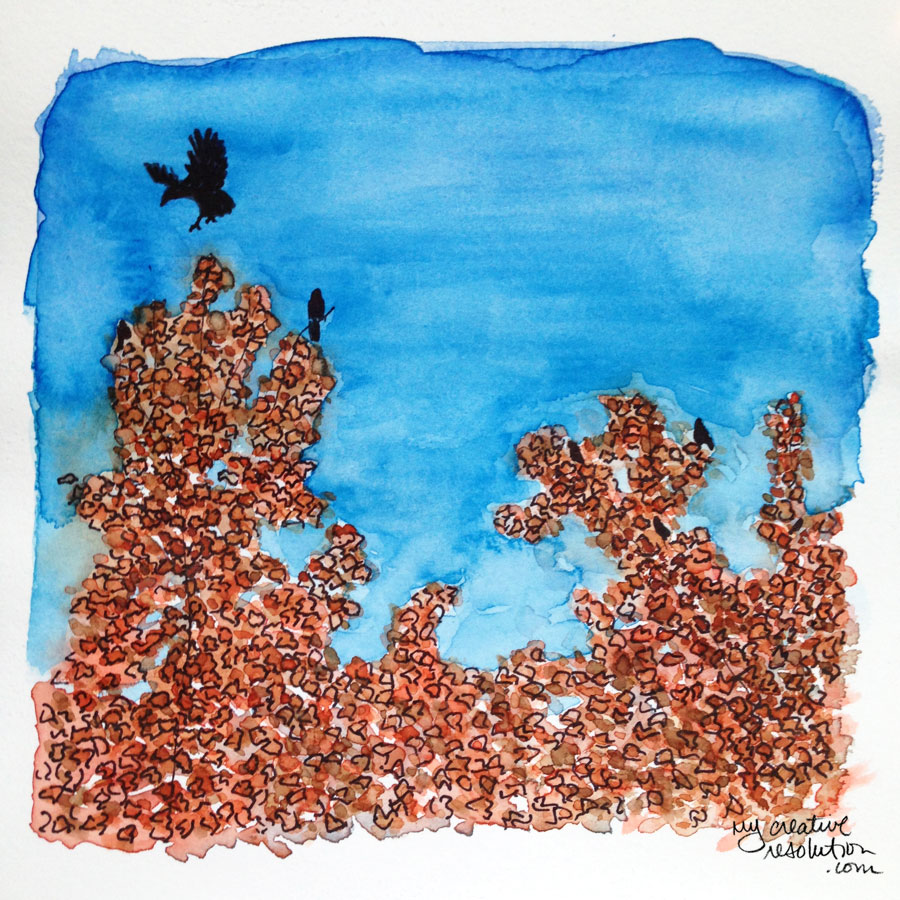
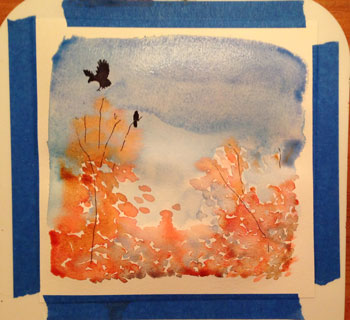
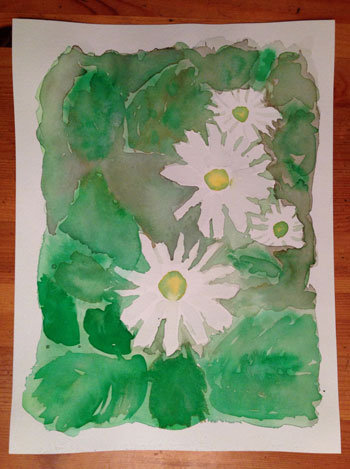
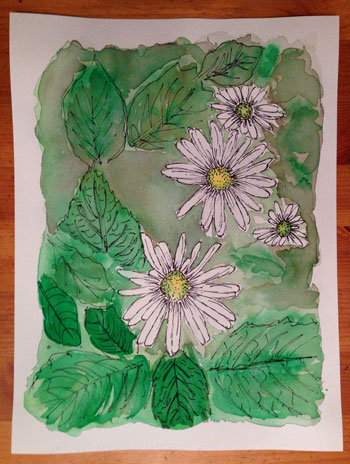
After that, I started adding ink to a lot of my watercolors. My favorite, surprising result, was when I took two outtakes and attacked them with a pen. I liked them better than the original painting!

For a long time I wanted to know what my style was – especially when I was trying to illustrate a children’s book. I scoured the internet for the answer – how do you develop/choose a style? Now I know that the answer is simple – time. Take the time to practice and try different things and your style will come out. The longer you work at it, the more it will evolve.

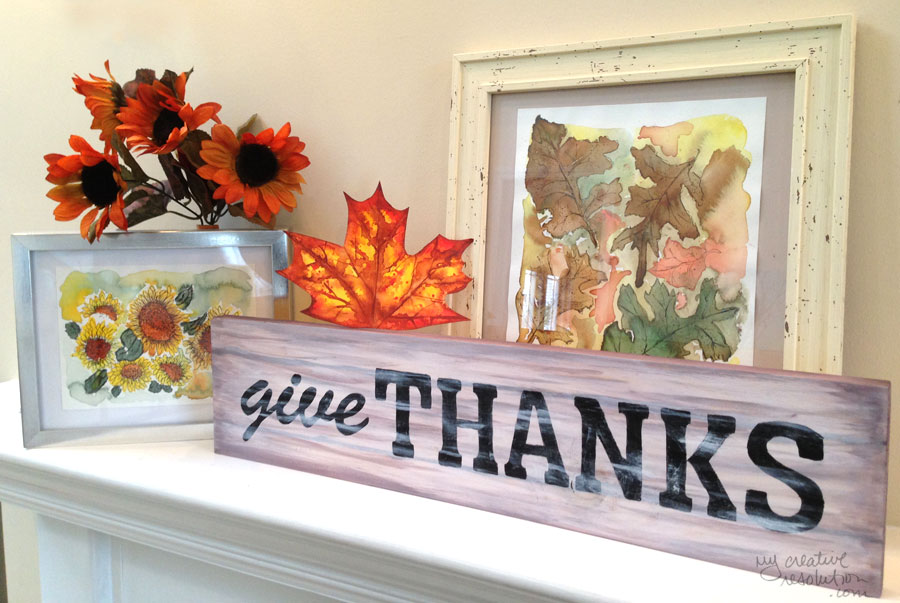
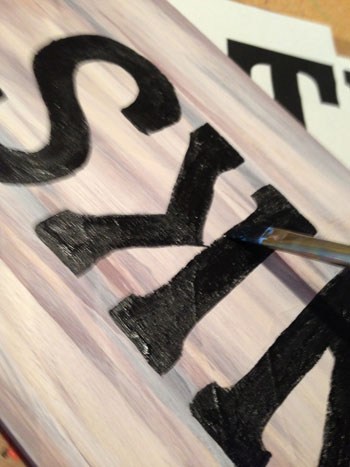
Even though I’ve almost reached the one year mark in My Creative Resolution, I have no intention of stopping! I am so happy with the results – the result of pushing myself to keep at it. I can’t wait to see where this journey will continue to take me, where I’ll be in six months or in another year. My original creative resolution was to draw, paint and create. I left open the possibility that I might be sanding and refinishing furniture, making signs, drawing or painting. BTW there are STILL a few pieces waiting in the garage to be refinished! Maybe in 2015?

Giving my artwork as a gift.

housesdoors
I’ve been playing around with the idea of giving whimsical house (or door) paintings as hostess gifts (either framed or made into ornaments). I’ve come a long way this year, in terms of my confidence as an artist, but there is something scary about giving my artwork as a gift! Regardless of whether or not I’ll get up the nerve – I’ve started painting. The house is my brother and sister-in-law’s. I definitely want to try another version!

Here are my steps:
brothers1brothers2
brothers3brothers4


Crows

crows
I came across these crows in the Target parking lot. With the bright blue sky, the orange trees, and the crows flying around, it was beautiful, so I snapped a few pictures. Ironic that it was in a parking lot! My husband said a flock of crows is actually called a “murder.”

My Steps:
I started by drawing, in ink, a few of the crows. I added the sky and the shape of the trees in watercolor.
crows1 crows2

When that dried, I added a few more crows.
crows3

I realized the sky wasn’t blue enough, so I added a richer layer of blue. I also added more oranges and browns in more definitive leaf shapes.
crows4 crows4b

I drew the outlines of the leaves in ink. I added more orange and brown to give the trees more depth. I tried to cover up and soften the line that the second layer of blue sky had created between the sky and the trees.
crows5

Winter Wonderland (watercolor with salt)

winterwonderland
I’m not sure what made me start this Winter scene the day after Halloween. I guess I was thinking about the weather to come! I was inspired by my “ready to fall” painting, which started out as an ink drawing of a tree.

My steps:
I drew a few simple tree shapes. Then I painted the sky and ground around them. On a whim, I salted the sky section to give it that frosted look. (If you’ve never used salt before it is a cool technique. Salt your painting when it is still wet. The salt absorbs some of the paint. Wait until it is completely dry and then brush off the salt.) I was happy with the effect. It reminds me of frost on a window. I added white to the trees and a few splatters of white for snow.
winter1 winter2
salt
salt3 salt4

Watercolor Montauk Daisies – Lifting Color

montaukdaisiesf
I took the reference photo for this painting in our yard. I really worked this painting! I kept going back in and adding color. Good thing I’m using watercolor paper these days!

Finally I remembered to tape my paper to a board (a palette did the trick) to keep the paper smooth and prevent the paint from pooling. I made sure to add paint to the “white” petals, because they aren’t truly white. Then, I added the base color of the background.
md1st md2ndl

When that was mostly dry I painted in some details. BTW in the end, I preferred this painting upside down from the way I painted it. So the painting is flipped from here out.
md3

I added some outlines and details in ink. But felt the empty area needed to be darker. I had to add color several times to get it dark enough. Then, I thought it looked weird. Like the Montauk daisies were floating. Even my nine year old son said, “Maybe you need to add some leaves in there.” I drew some leaves in ink and then lifted the dark color where the leaves were. I added a little bit of green to those new leaves. I like the result and how those leaves are subtle. [See final painting in the first photo.]

If you have never “lifted” watercolor paint before, it is easy. Using a wet brush, you touch the area you want to lift the paint from. Wipe the brush on a paper towel (you’ll see the color come off onto it) and rewet the brush and repeat until you’ve achieved your desired effect. 🙂
md2
 md1

I’m thankful I finished this project!

givethanksfinal
I finally got around to finishing this. I started it back in the summer, when I painted the background for two signs. One sign became my “beach lover” sign, which I finished over a month ago. For this sign, I wasn’t sure what to do with it, what words to paint on it – Fall harvest? With Thanksgiving getting closer and closer, I decided on “give thanks.”

Two years ago Thanksgiving took on a whole new meaning. My siblings, parents, cousins and my aunt were all affected by Superstorm Sandy. They all had major renovations to tackle and some of them couldn’t even live in their homes. Living 20 minutes away, our home was unaffected. So Thanksgiving 2012 was here at our house. We hosted around 40 people. I wasn’t stressed at all. I knew everyone would be happy, just being together in a warm, dry place. There was no need to sweat the small stuff. Although they suffered damage to their homes, everyone was safe and that was definitely reason to give thanks.

Technique:
I used the same technique for the lettering as last time. Using the side of the pencil, I quickly colored on the back of my printout. Then, I flipped the printout over and taped it to my sign. With firm pressure, I traced the letters on the printout, using a Nintendo DS stylus pen. I peeled the printout off and, using the light pencil marks and indentation as a guide, I painted the letters. After the letters were dry I added a little white for effect.

thanks1thanks1b    thanks2a thanks2thankspaintthanksalmost