

I took the reference photo for this painting in our yard. I really worked this painting! I kept going back in and adding color. Good thing I’m using watercolor paper these days!
Finally I remembered to tape my paper to a board (a palette did the trick) to keep the paper smooth and prevent the paint from pooling. I made sure to add paint to the “white” petals, because they aren’t truly white. Then, I added the base color of the background.


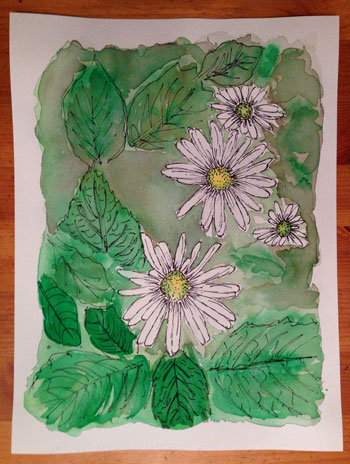
When that was mostly dry I painted in some details. BTW in the end, I preferred this painting upside down from the way I painted it. So the painting is flipped from here out.
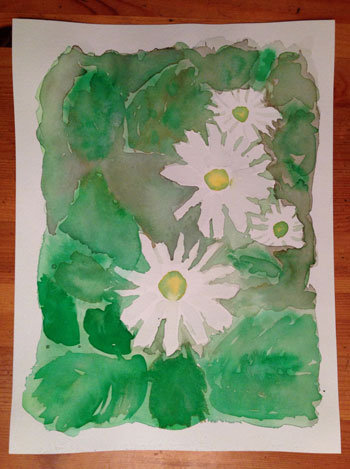
I added some outlines and details in ink. But felt the empty area needed to be darker. I had to add color several times to get it dark enough. Then, I thought it looked weird. Like the Montauk daisies were floating. Even my nine year old son said, “Maybe you need to add some leaves in there.” I drew some leaves in ink and then lifted the dark color where the leaves were. I added a little bit of green to those new leaves. I like the result and how those leaves are subtle. [See final painting in the first photo.]
If you have never “lifted” watercolor paint before, it is easy. Using a wet brush, you touch the area you want to lift the paint from. Wipe the brush on a paper towel (you’ll see the color come off onto it) and rewet the brush and repeat until you’ve achieved your desired effect. 🙂


Lovely post!
Thank you!
You did a great job. It’s a lovely painting.
Thank you! It was kind of a surprise at the end – I kept working it and tweaking it and then I was like – wow, I like it!
this turned out very nice!
Thank you!
My newly planted Montauks are glorious on Cape Cod. Nice painting!
Thank you! Here on Long Island our Montauk daisies seem to be dying out.
Just took a closer look at mine…blooms are still beautiful but bottom leaves are turning yellow. We’re about a week behind you!