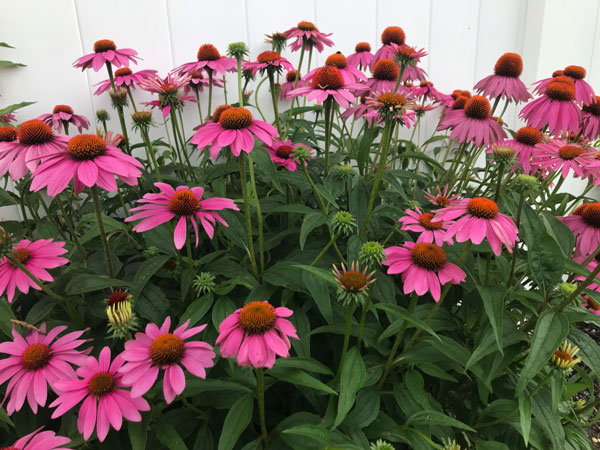
It’s that time of year when the gardens are blooming! They are at their peak, before the August heat starts to take its toll. I love taking lots of pictures to use as reference for future paintings. I’m like a squirrel stocking up for winter. I’m storing creative inspiration on my phone for the winter months.
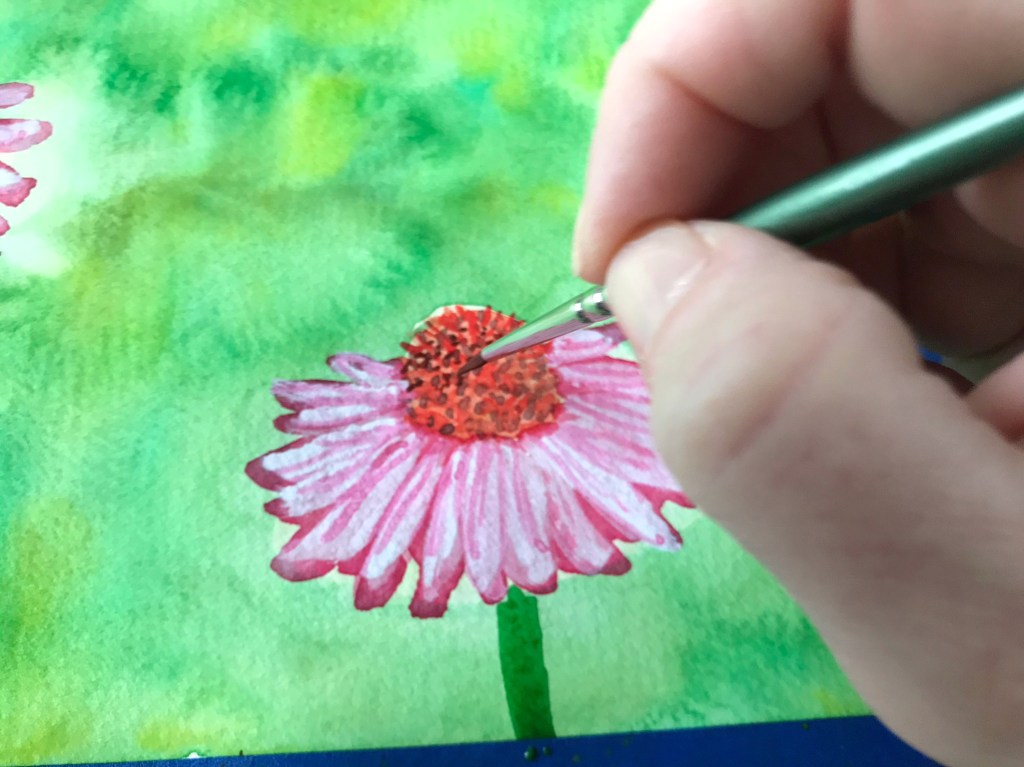
I’m in awe of every hibiscus bloom we get. I’ve made several attempts to paint them. And the coneflowers – Echinacea – are one of my favorites. Last spring I created a new printable tutorial if you’d like to give coneflower painting a try!
Recently I wrote about how you should take some time to observe a reference photo before painting. I have to constantly remind myself of my own advice because I want to jump in and start painting. I want to get to the fun part!
1. observe your subject
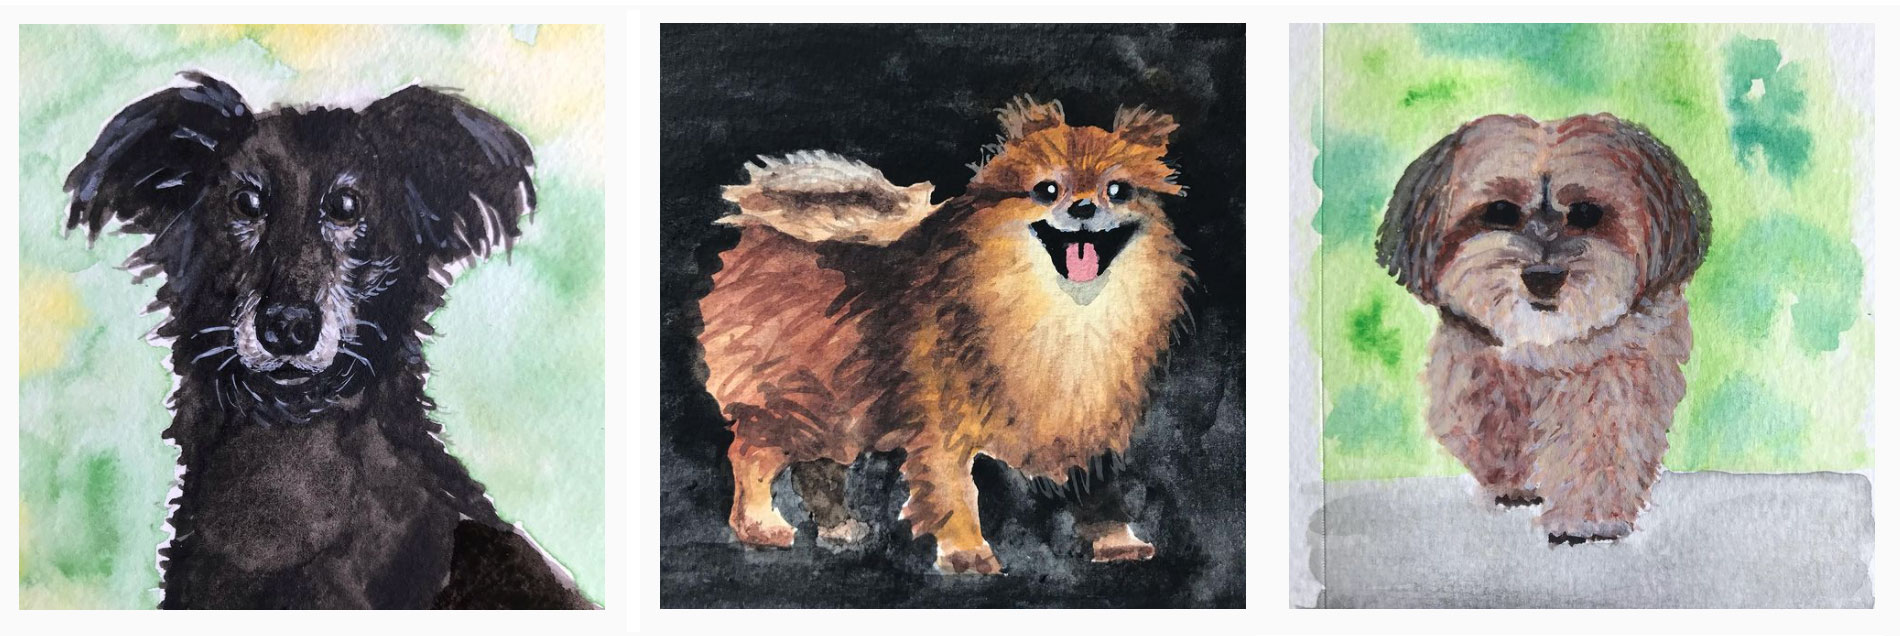
After painting a few dog portraits, the part 2 to this advice occurred to me:
2. Do a “study”
What is a “study”? Essentially a study is a practice painting, drawing, or sketch. You have most likely seen studies done by the Masters before they painted their final masterpieces.
For weekly watercolor tips & Tricks sign up for my newsletter:
Processing…
Success! You're on the list.
Whoops! There was an error and we couldn't process your subscription. Please reload the page and try again.
The masters did studies
Georges Seurat, “A Sunday Afternoon on the Island of La Grande Jatte,” 1884-1886 (Photo: The Art Institute of Chicago Public Domain)
Sketching or painting helps you see the subject more closely. As I painted the dog portraits I noticed more about the dogs as I painted. When I paint or draw my eyes travel back and forth from my painting to the reference photo and back again.
This is something I try to instill in the kids at the art center where I teach:
Everything you need to know about the subject is in the photo. If you want to realistically draw or paint it, keep looking at the photo and your artwork.
Eileen McKenna
Another way of seeing
I find it useful to occasionally flip both the reference photo and my paper to see things differently. Looking at things this way is supposed to trigger the other side of your brain. This theory was written about in the popular book Drawing on the Right Side of the Brain.
I notice that when I look at things upside down it is easier to see the individual elements of something. For example a face upside down allows me to focus on the elements more than the whole face.
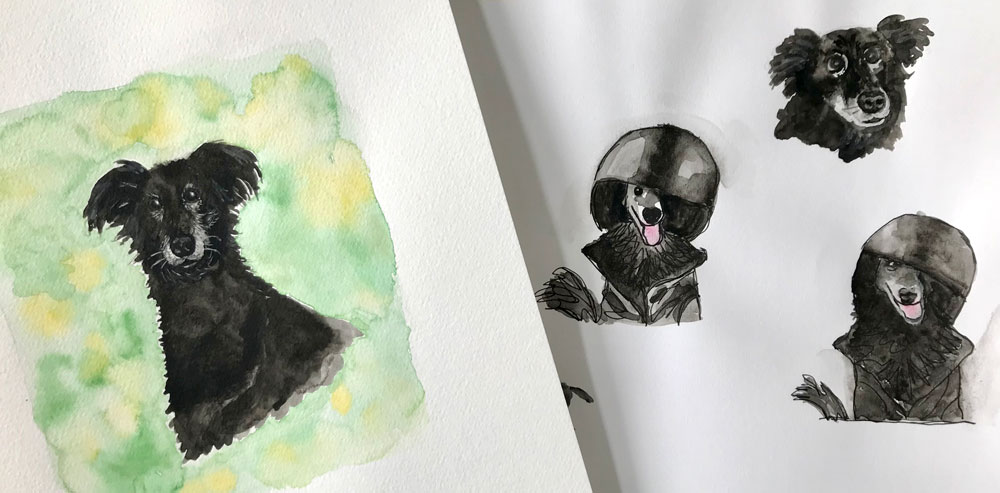
painting Stella
Stella by Eileen McKenna
When I painted Stella, I looked through many photos and selected a few photos to practice with. I wanted to “see” what characteristics were unique to her. As I painted I felt I was getting to know her. These practice paintings helped me get a more realistic final painting.
For weekly watercolor tips & Tricks sign up for my newsletter:
Processing…
Success! You're on the list.
Whoops! There was an error and we couldn't process your subscription. Please reload the page and try again.
This post contains affiliate links to products/brands I use and recommend. I earn a small commission whenever you buy using these links, at no additional cost to you. Thank you for supporting my blog!
Several years ago I dedicated myself to painting seascapes. I painted one after another. I studied my photos as I painted and as time went on I noticed more things about the ocean and waves. These little details are what made my paintings better.
For weekly watercolor tips & Tricks sign up for my newsletter:
Processing…
Success! You're on the list.
Whoops! There was an error and we couldn't process your subscription. Please reload the page and try again.
By nature I am an impatient person. I’ve heard it said that the Aries motto is “Ready, Fire, Aim.” It is certainly true about me. When I’m painting, I rarely draw anything beforehand. I immediately want to get to the fun part of splashing paint onto the page. But I am often reminded that if I took some time to look at and study my reference photo I would get better results.
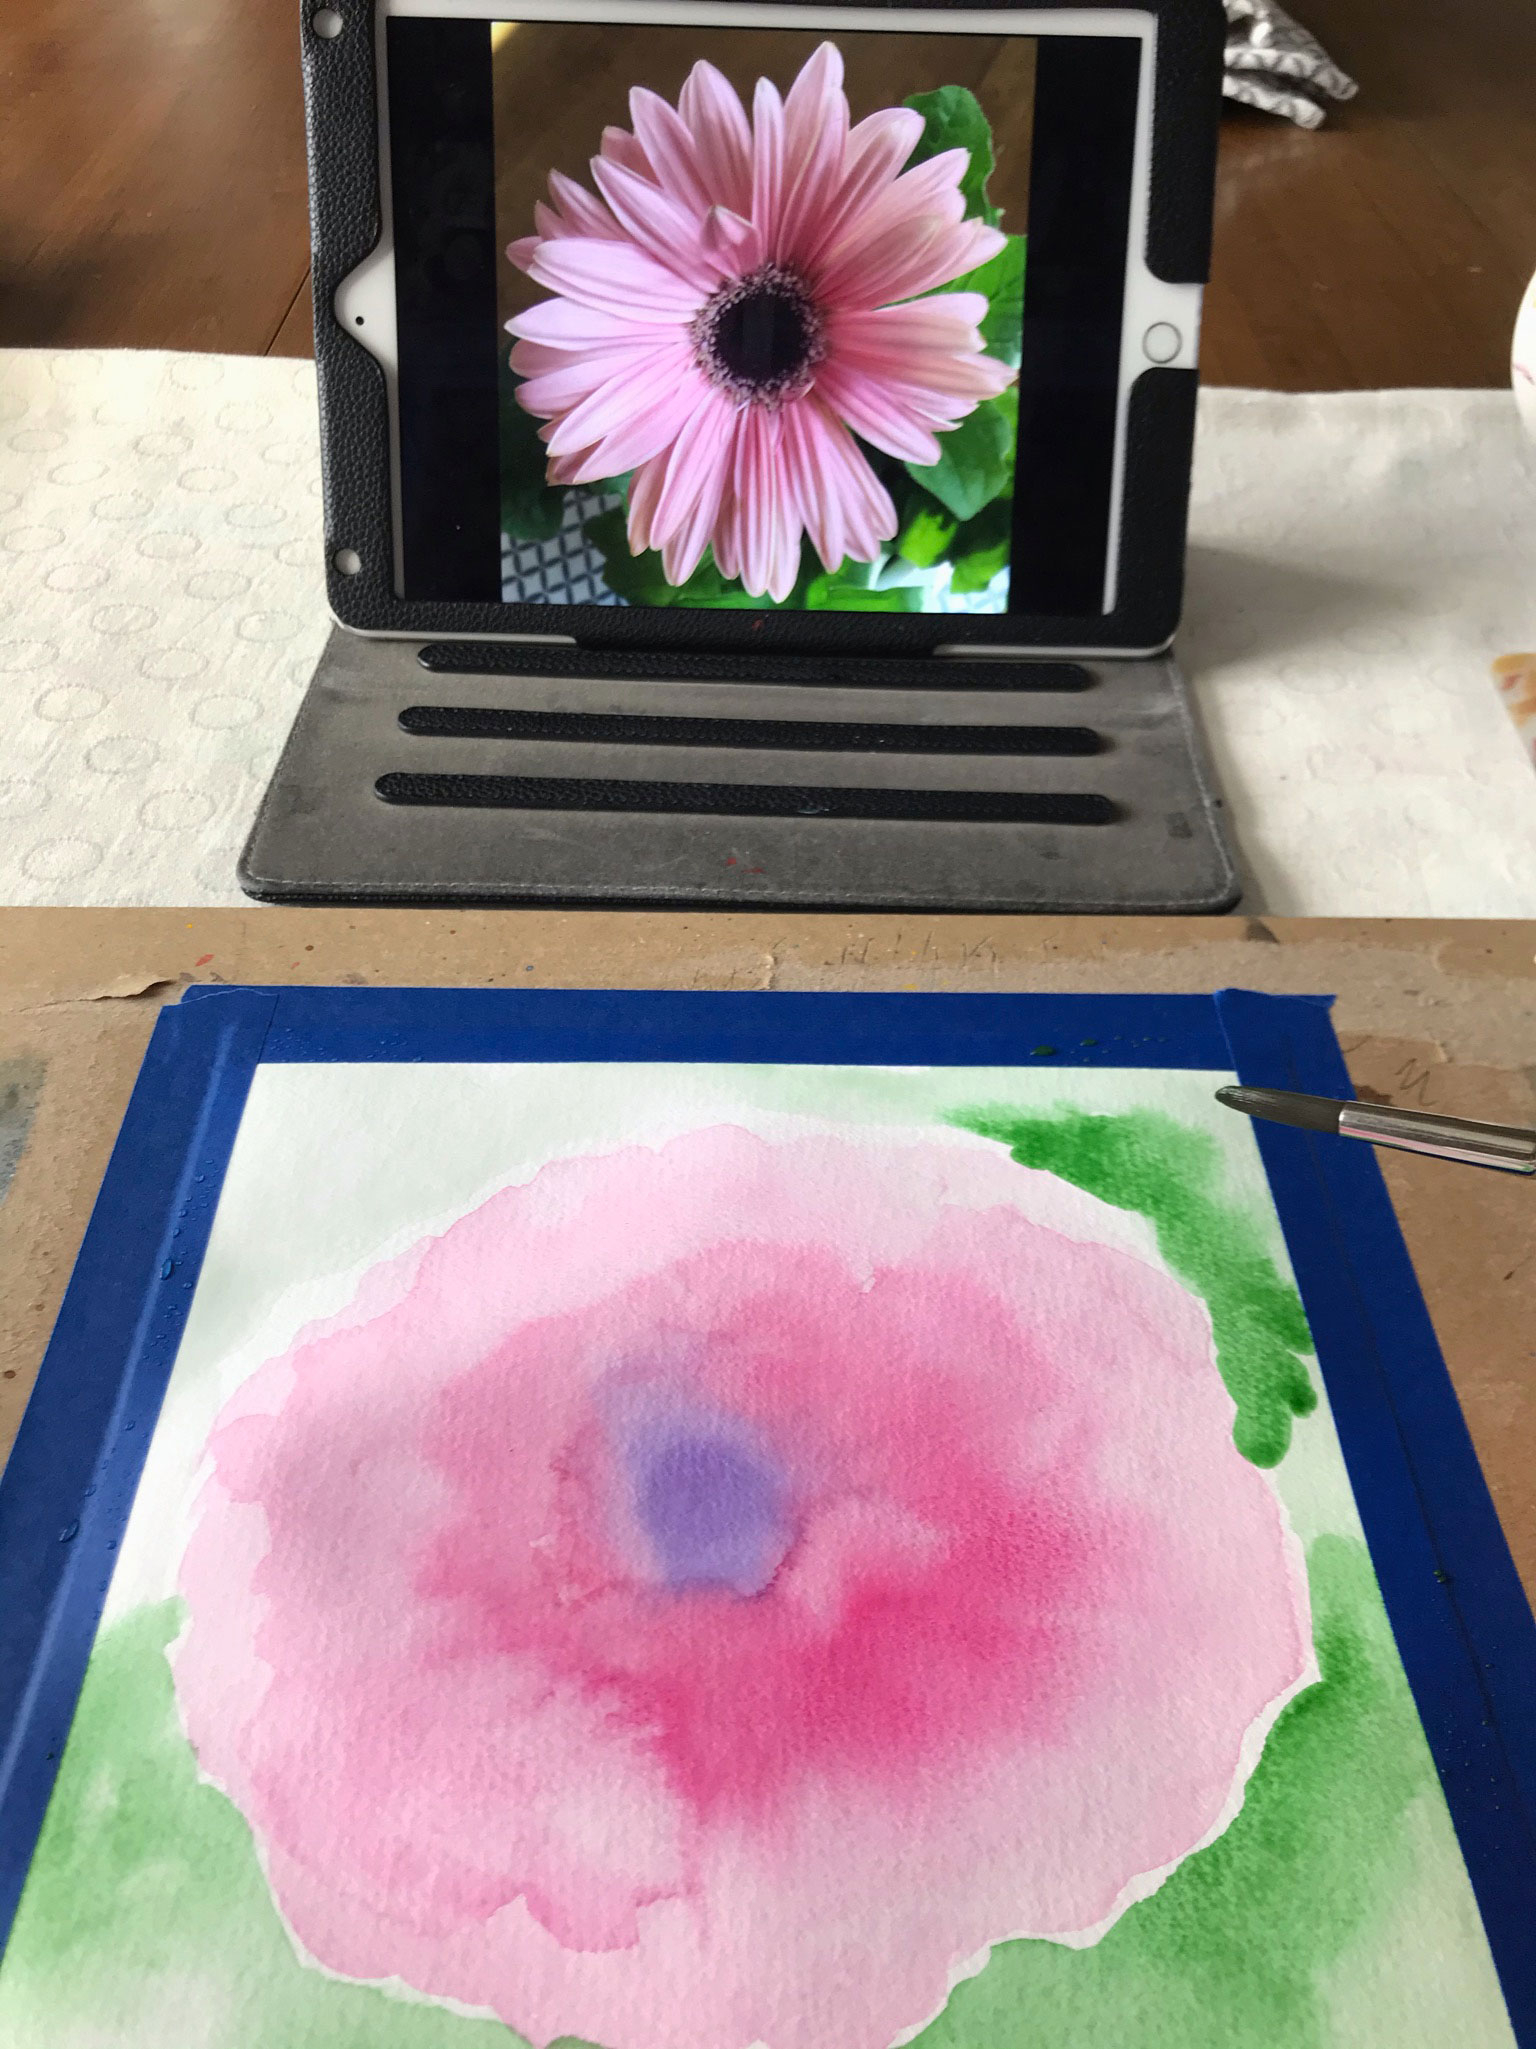
I took a close up of a Gerbera Daisy, so I could see the details. A great start! But I dove in too quickly and ended up struggling. My painting had twice as many petals as it should have and looked off. I’m sharing the lesson I learned with you:
Take time to look at and study your reference before painting.
For weekly watercolor tips & Tricks sign up for my newsletter:
Processing…
Success! You're on the list.
Whoops! There was an error and we couldn't process your subscription. Please reload the page and try again.
This post contains affiliate links to products/brands I use and recommend. I earn a small commission whenever you buy using these links, at no additional cost to you. Thank you for supporting my blog!
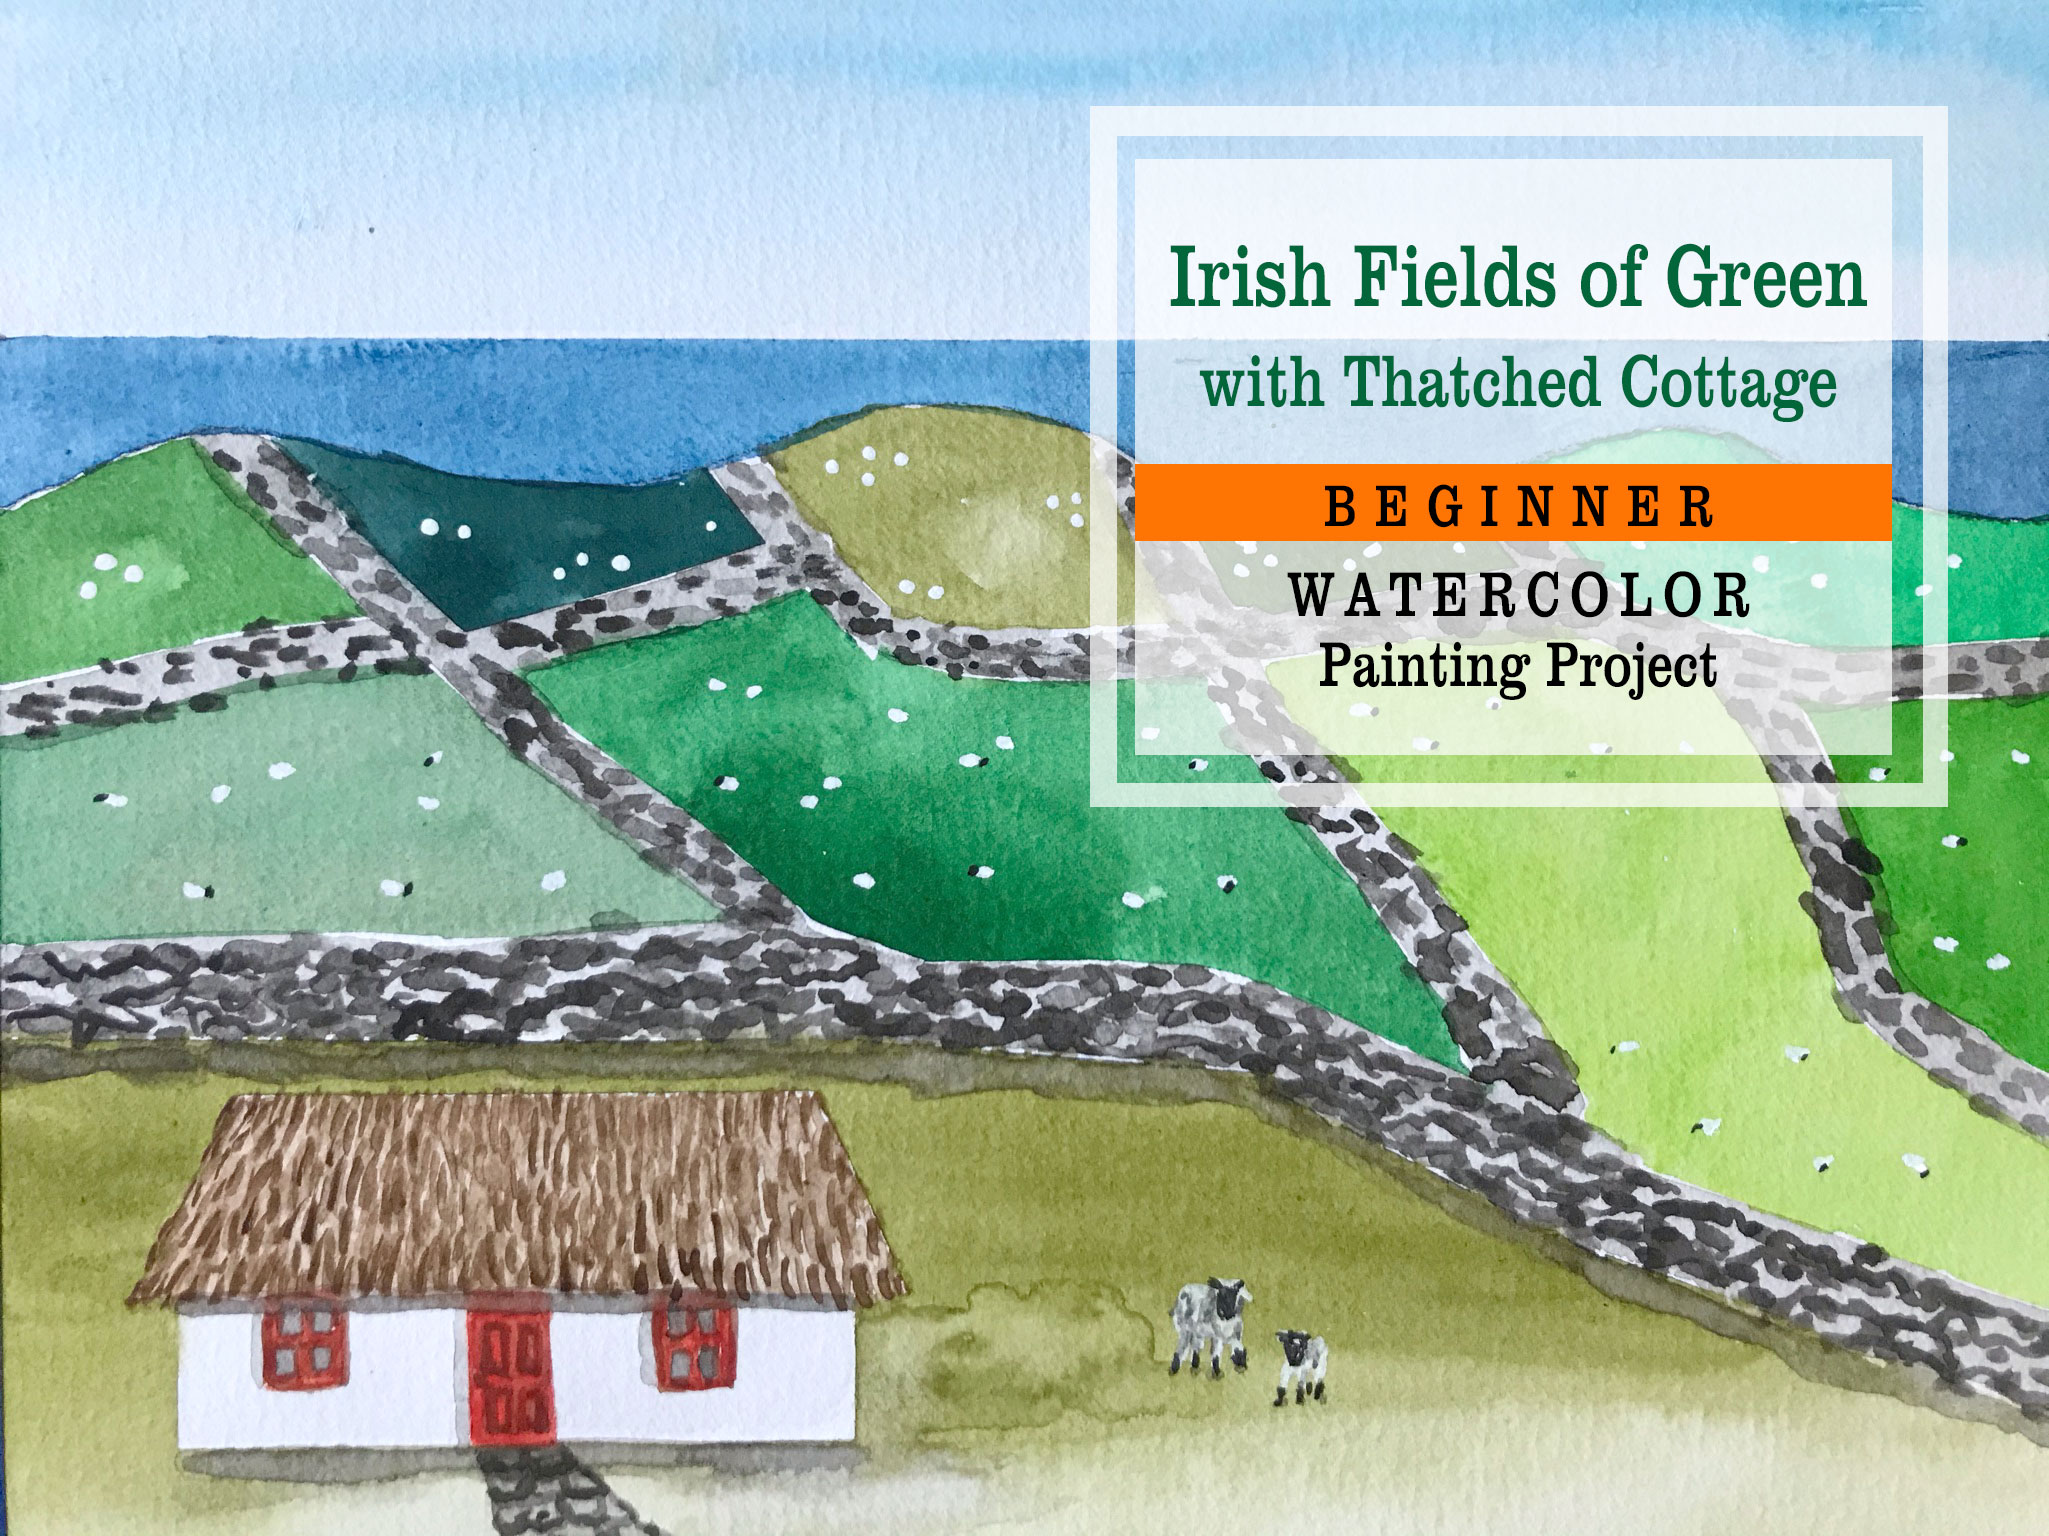
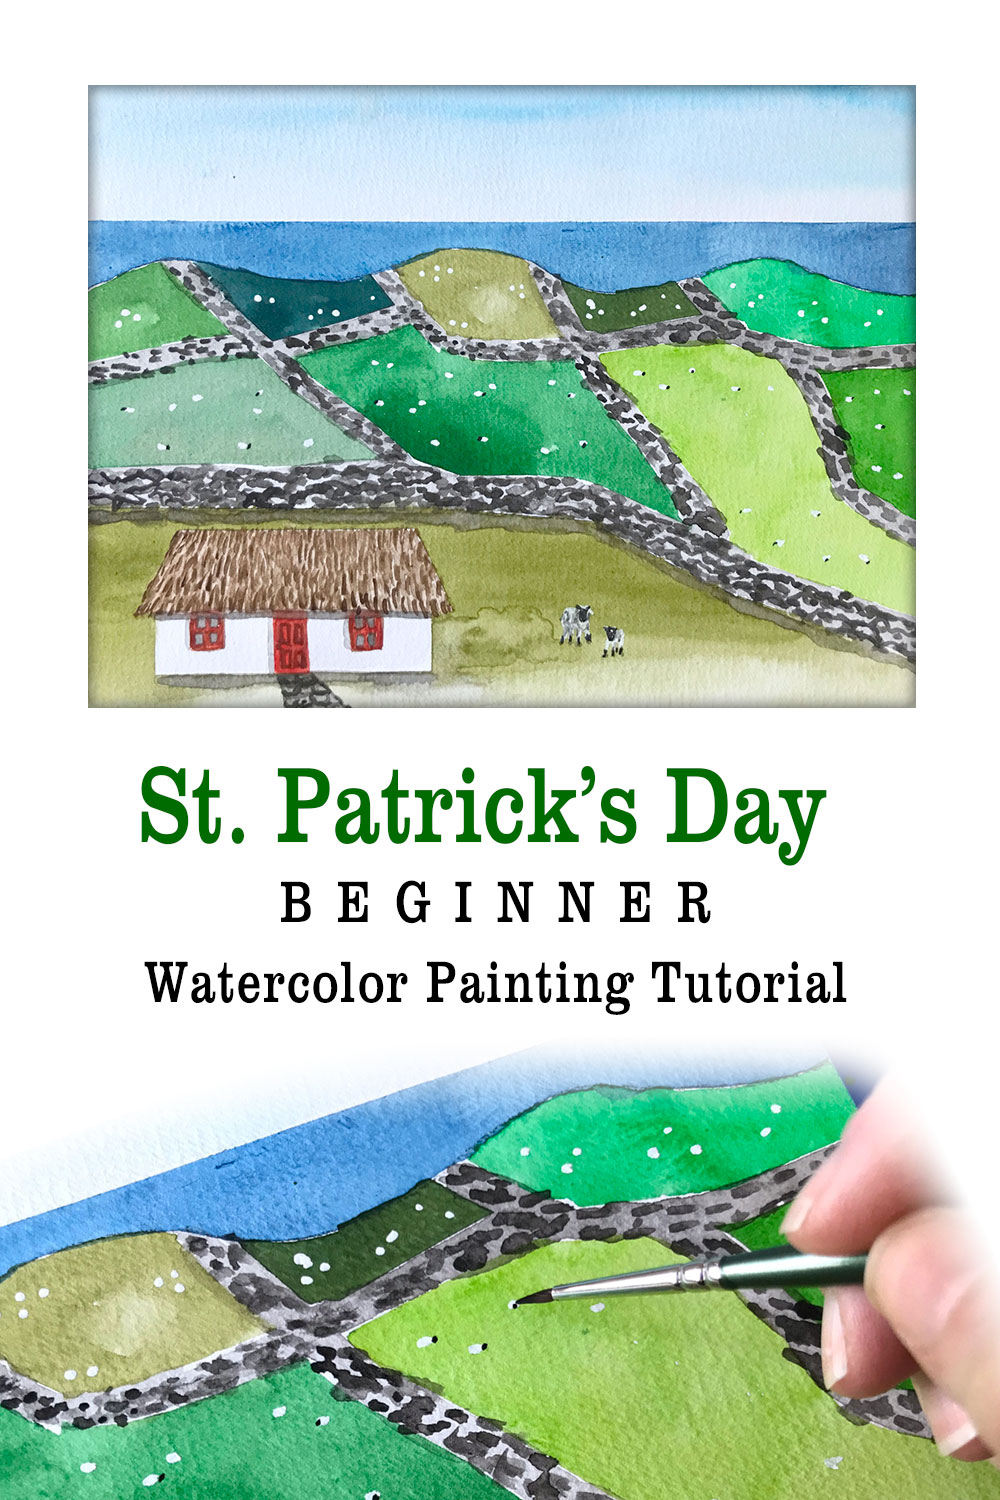
This Fields of Green Watercolor Painting Project will get you in the spirit of St. Patrick’s Day and take you on a “visit” to Ireland!
Beginner Watercolor Painting Idea for St. Patrick’s Day
Ireland is said to have “40 Shades of Green” and in this beginner watercolor project we’ll use as many shades as possible! Beginner friendly! Step by step tutorial with photos walks you through painting this Irish landscape.
In addition to learning all these techniques – you’ll have a beautiful final painting when you are done!
Supplies you’ll need:
Watercolor paper. I use 9” x 12” Arches 140 lb. cold pressed paper. Trim to 9” x 11” to create a painting that works well in a 8” x 10” mat.
Painter’s tape – 1” wide
Watercolor paint. Colors: shades of green and/or blue and yellow for mixing greens (a touch of red can be added too), blues for sky (turquoise or other blue) and ocean (prussian or ultramarine blue), black, and orange (can mix with yellow and red) AND…
Gouache – White Gouache (Gouache can go over watercolor. It is less translucent.)
Paint brushes – 1 large round brush – #6, one thin round brush – #1
Container of water
Paper Towel
Palette for mixing paint with water and mixing colors. Use a plastic lid or the top of a plastic egg carton.
Pencil, eraser (kneaded is best), ruler and scissors
Scrap of paper. Always test color mixes before touching your painting with your brush.
I have exciting plans for 2021 and I want you to be a part of them! Last New Year’s we had the privilege of visiting Paris. It was amazing. After the trip I revisited my photos and memories by painting them. Instead of doing it alone, I developed the “Let’s Paint Paris in Watercolor” program so participants could virtually “visit” Paris and improve upon their watercolor skills. This year – I’m so excited – I’m expanding on the “Let’s Paint Paris in Watercolor” program by also offering online zoom lessons.* We can meet and paint together! It is going to be so fun. Zoom lessons will start mid January. Please note – the zoom lessons will be an additional fee.
You can start the “Let’s Paint Paris in Watercolor” program at any time. If you are interested in the upcoming small group zoom lessons please email me and let me know. There is no commitment at this point – I just want to make sure you receive all the details!
*The zoom lessons will be an additional cost to the current “Let’s Paint Paris in Watercolor” program. The zoom lessons are not included in the cost of the “Let’s Paint Paris in Watercolor” program.
Hoping for a creative new year but don’t know where to start? Try my book Creative Exploration: A Six Week Process for Introducing Regular Creativity into your Life – Develop a regular practice of creating, explore mediums and subjects in search of your thing, and experience the joy that creativity brings. Creativity is for EVERYONE! Talent is just a starting point!
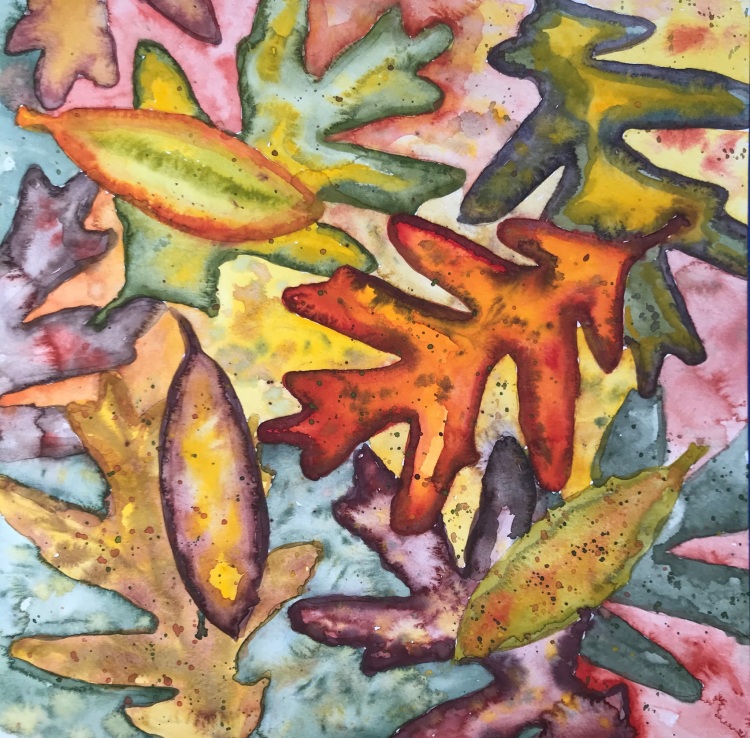
This week, find a leaf that inspires you and paint it. I’ve uploaded a video of my process for painting a leaf:
With pencil I outline the basic shape.
I use just three colors – cadmium yellow, cadmium red, and ultramarine blue and mix colors as I go. From those three colors I create all the fall colors I need – purples, maroons, browns.
I work wet encouraging the colors to bleed into one another.
It’s fun and relaxing. Check out the video below and watch my painting process. Then find your leaf and start painting. I’d love to see – tag me on Instagram @eileenmckenna.
Please like the video and subscribe!
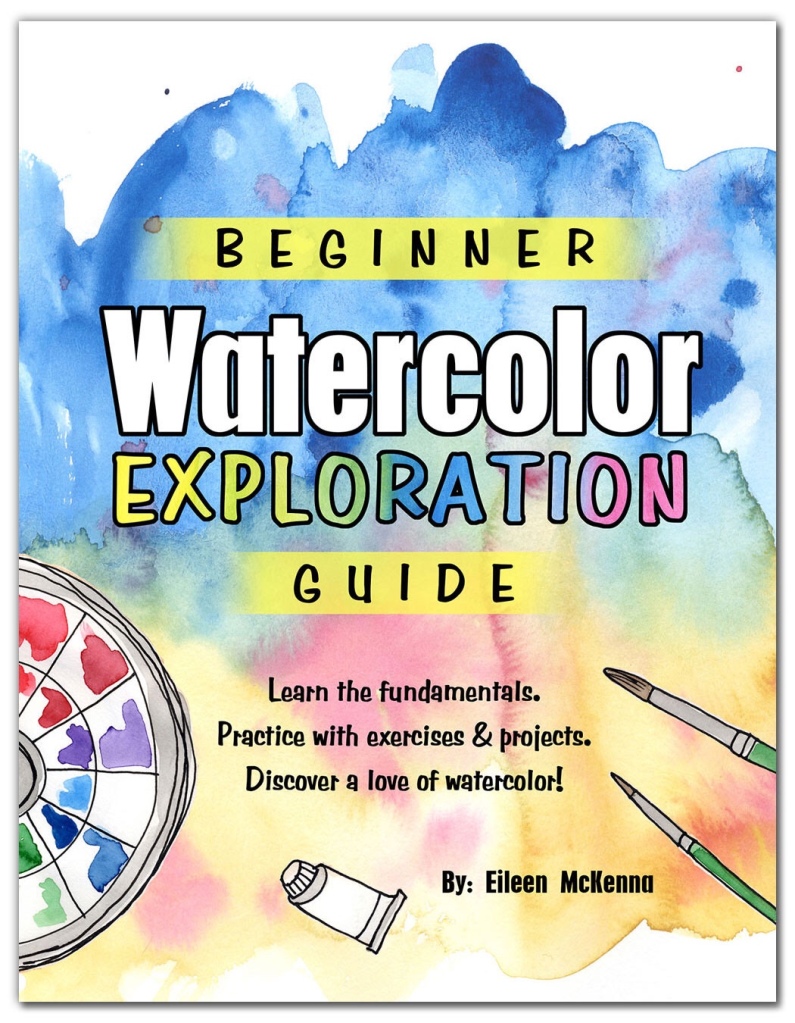
Want a comprehensive guide to getting started in watercolor? Check out “Beginner Watercolor Exploration.”Learn the fundamentals. Practice with exercises and projects. Discover a love of watercolor!
Recently I painted a pile of leaves in watercolor. It was an easy relaxing process:
Collect a few leaves
Trace the leaves
Mix fall colors from yellow, red and blue
Work wet and encourage the colors to bleed and blend.
Believe it or not, I’m often more interested in how it feels to sit and paint than what the final results are. Sure, there is satisfaction in how a painting comes out and sometimes frustration when I can’t achieve my vision. But the process of sitting and painting is…the best.
I shared a video on how I created the watercolor pile of leaves painting. Grab your paints and give it a try!
Please like the video and subscribe!
Want a comprehensive guide to getting started in watercolor? Check out “Beginner Watercolor Exploration.”Learn the fundamentals. Practice with exercises and projects. Discover a love of watercolor!
The air feels cooler, I’ve made my first batch of pumpkin bread, and I’m collecting and brainstorming ideas for fun fall projects!
14 Creative Fall Project Ideas:
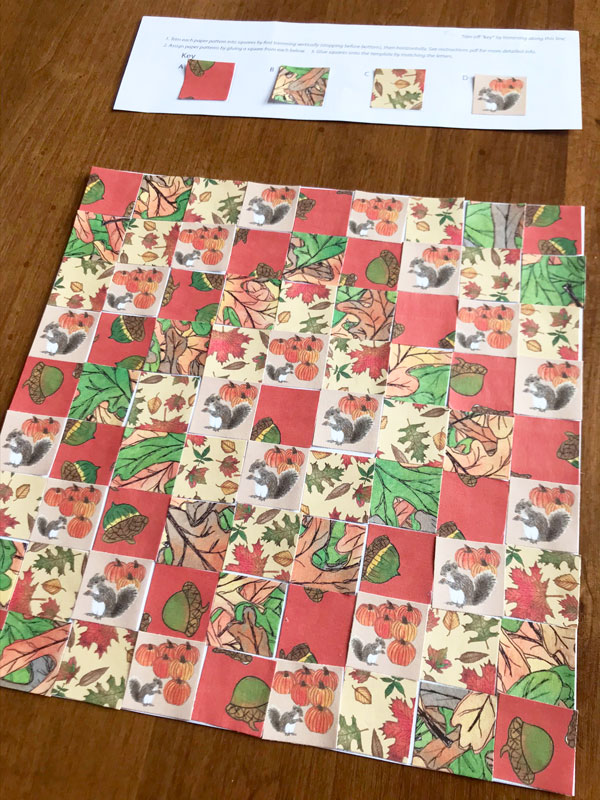
Nature – I love projects that involve found elements and paint. Check these out:painting acorns,drawing on leaves (I love the ones with the white pen), decorating a white pumpkin. Now, I’m in competition with the squirrels to collect acorns!
Wood burning – I love this wood burned acorn by Italian Artist Liliia of SorrisoDesign. “The design is hand drawn, then carefully and lovingly burned into the solid wood bead with pyrography technique.”
Polymer Clay – Finally! I had a chance to play with my stash of polymer clay, blending colors, creating fall leaves and other fun projects while watching clay videos on YouTube.This is the starter kit I purchased:
This post contains affiliate links to products/brands I use and recommend. I earn a small commission whenever you buy using these links, at no additional cost to you. Thank you for supporting my blog!
Since the start of my blog “My Creative Resolution” and my regular creative practice, I’ve been hugely inspired by the seasons. Creativity literally opened my eyes to the changing landscape. That first fall, I was in awe of the fall foliage. It was like I’d never seen it before!
With fall in mind, I just developed a new step by step painting project – Watercolor Fall Farm. Watercolor colors blend and bleed into one another making it the perfect medium to capture the changing leaves.
Want a comprehensive guide to getting started in watercolor? Check out “Beginner Watercolor Exploration.”Learn the fundamentals. Practice with exercises and projects. Discover a love of watercolor!