Children’s Book Illustration

Sidney and the Traveling Tree, by Lolisa Monroe

I’ve illustrated a book! For years I aspired to illustrate a children’s book. When the kids were small, taking them to the library and looking at picture books was my favorite thing to do. I even wrote and illustrated my own children’s book – although that one hasn’t seen the light of day.

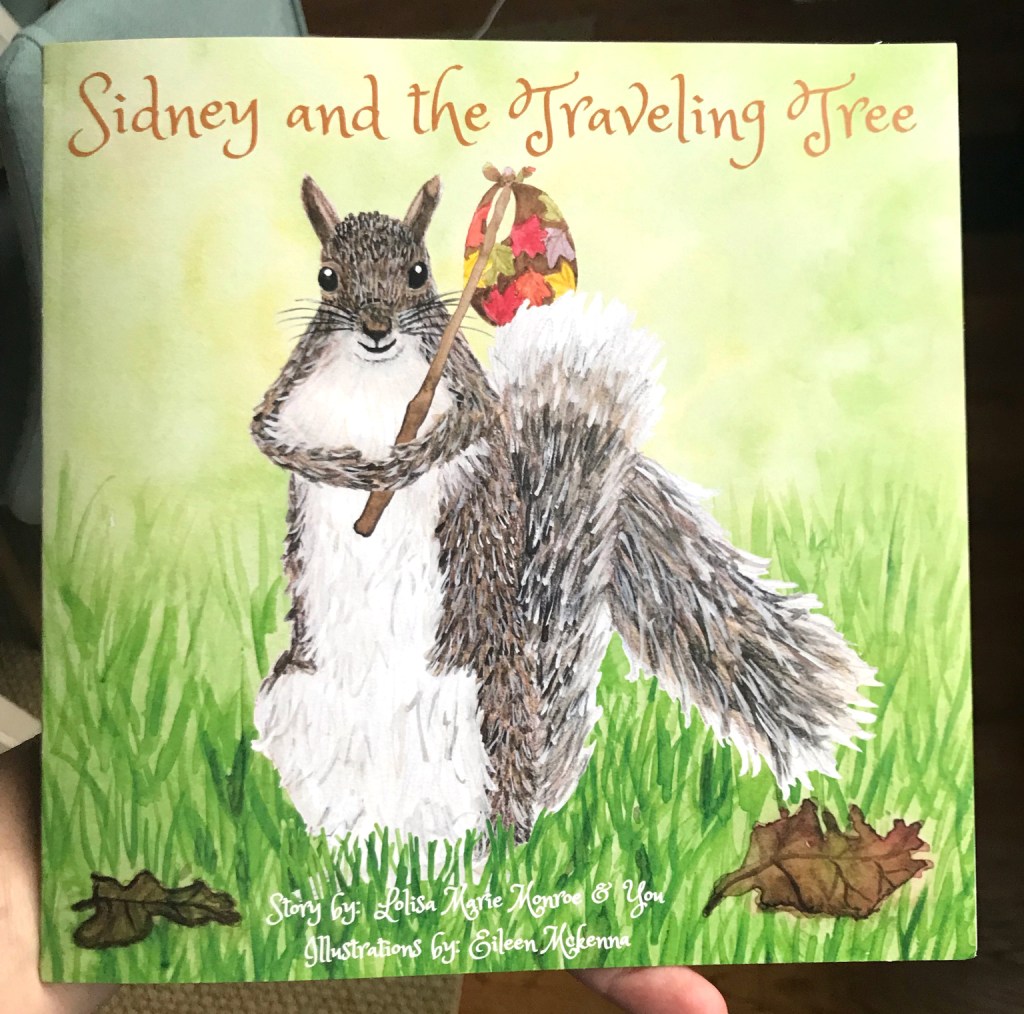
This book – “Sidney and the Traveling Tree” is by Lolisa Monroe is “a story about a grey squirrel from Western Maine and his adventures in the woods. He discovers a mysterious tree that takes him on the journey of a lifetime. Your child will be engaged as they help ‘fill in the blanks’ in Chapter 1 and actually write and illustrate Chapter 2 by themselves! Develop the writer and illustrator in your child.

This is the first of the series of Miss Lisa’s Little Writers featuring the illustrations of Eileen McKenna. More volumes coming soon!”

Finding a children’s book illustration style

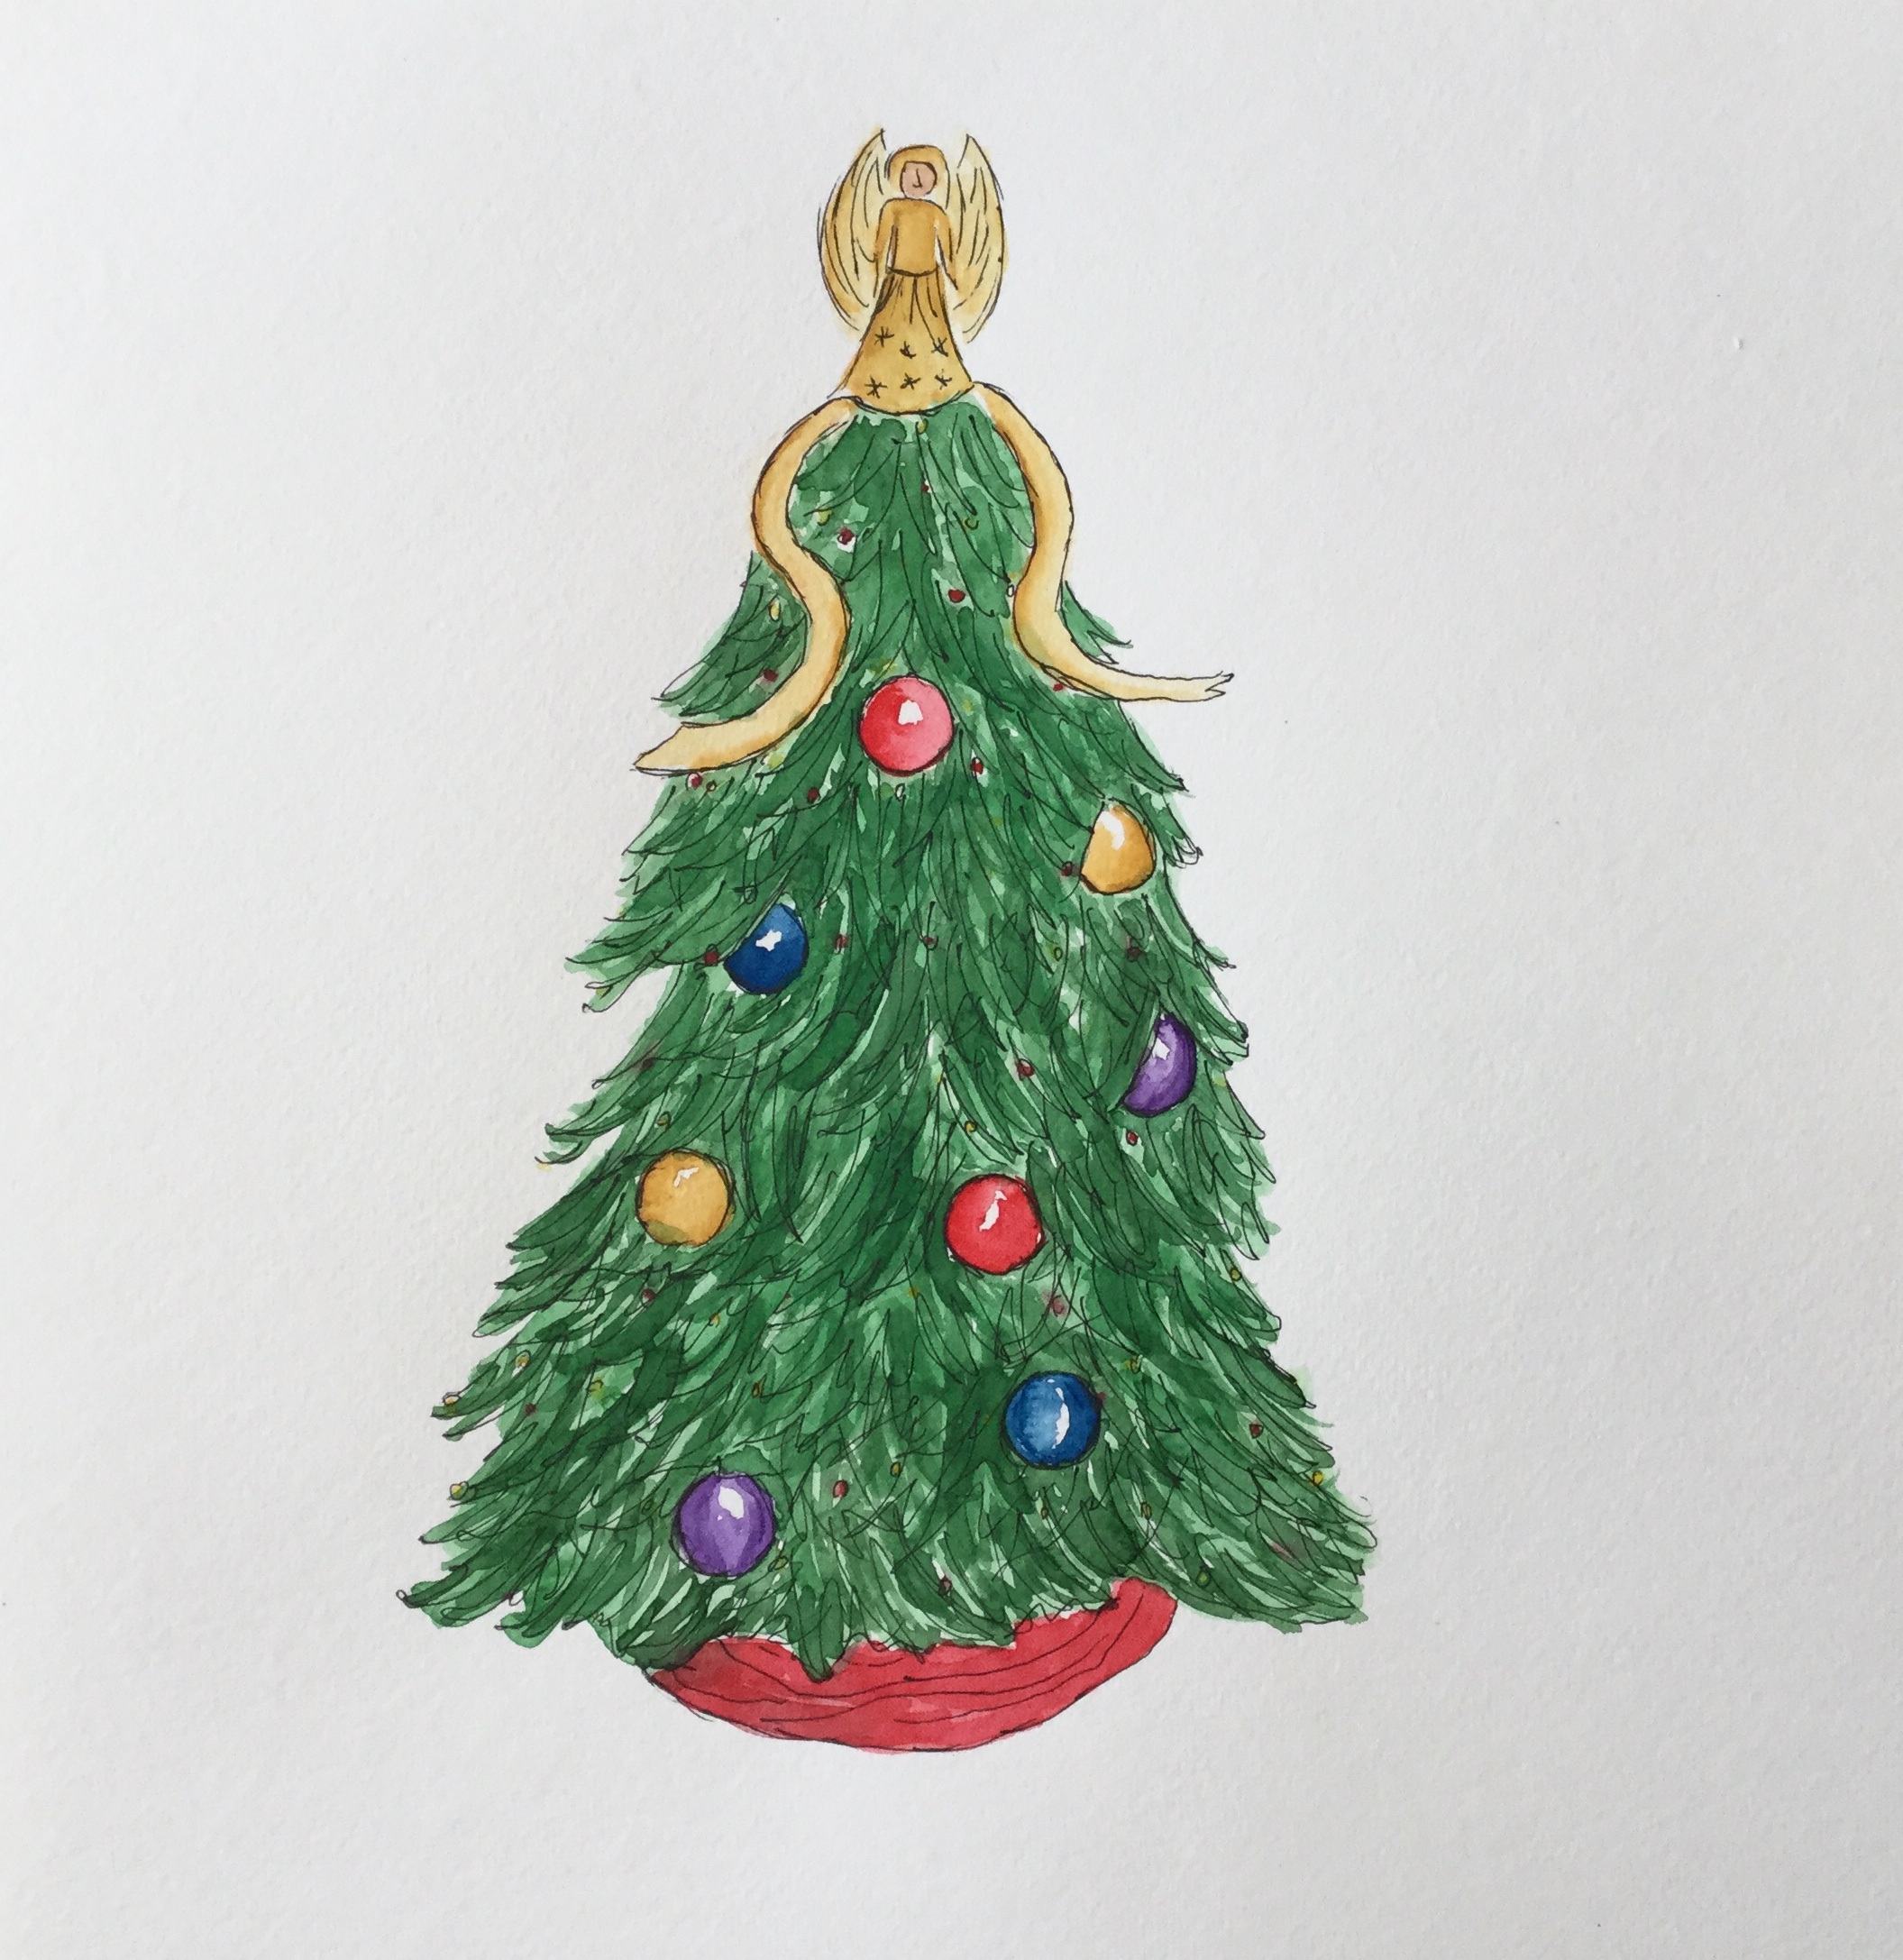
The early days of my blog were about trying to find a children’s book illustration style. I struggled with that for a long time. How do you decide on a style? What I learned is that you develop a style, by drawing or painting a lot. Just keep painting – your style will emerge. It’s okay to emulate the style of others in the beginning or try out their techniques. In the end your style will shine through. And it will evolve as time goes by.

How to get hired as an illustrator

I’m working on two books at the moment – one is the second book in the Sidney series, the other is about a dog (by a different author). So how did I suddenly find myself with all of these book illustration projects? The dog project is through a friend. The other is through Etsy. The author of the Sidney books, Lolisa Monroe, found a watercolor clipart squirrel that I sell as a digital download in my Etsy shop. Lolisa liked my style so she reached out and asked if I would do custom work.

Visit my Etsy shop

How can you get hired as illustrator? Post your work. Even your friends need to know what you do, in order to consider you for a project or to recommend you to a friend. Post the work you are doing on social media. I hate to say this, because it’s what everybody says and because for me it took years for it to happen. I was posting in 2015/16 about children’s book illustration.

I will say that even though the children’s book work took awhile, other great opportunities have come my way because I post my artwork. I have been teaching art to kids for over three years. I got the opportunity because I posted a watercolor seascape on facebook. The owner of the art studio, who was my web design, marketing client, saw my painting and ask me if I would teach a three day summer camp week. That one week of summer camp has evolved into me teaching three days a week. And I absolutely love it. I love working with the kids.

Side note of advice – take opportunities that scare you. I was terrified to teach that week of camp. Now I can’t imagine teaching not being part of my life!

how to Illustrate a book

Because I am new to illustrating books I am learning so much about the process of working with an author and about illustrating. Here’s the top things I’ve learned in hopes of helping you with your process.

Request detailed descriptions from the author with photos

Since we can’t visualize what is someone else’s head, ask the author to provide a description of what they want the illustrations to be. Also ask for supporting photos. These things will help you visualize what the author is thinking. Don’t rely only on the text of the book unless the author is giving you creative freedom.

I realize as I’m writing this that the two books I’ve been working on have been very different processes. In the dog book, I was given the text of the book and creative freedom. With the Sidney book, the author has had specific ideas of what each illustration should be. Before you pick up your brush get as much direction as the author has to give.

Processing…
Success! You're on the list.

show rough sketches and/or descriptions of illustrations

Before painting, show the author what you are intending. It is much easier to adjust at that point than after you have fully painted an illustration. In the case of the dog book, where I was given creative freedom, I wrote out what I intended each illustration to be, and got approval beforehand.

In the Sidney book, I learned the hard way. I completed illustrations based on the author’s descriptions and photos and then got feedback. For the second Sidney book, for a more complex cover illustration I did a pencil sketch and made adjustments based on the author’s comments before painting.

Sketch for future illustration

image retouching is part of the process

Incorporate into your estimate the time it takes to scan and retouch your illustrations. It is rare that you would be mailing your originals to the author. They probably will want digital files that are ready for a graphic designer to insert into the book.

high tech and low tech tools for adjusting illustrations

photoshop

Photoshop was extremely helpful for me when I completed an illustration and then had to make edits based on the author’s comments. In some cases, I painted elements separately and put them together on the computer in Photoshop, so I could have more control and it would be easier to change things.

This was especially useful when I painted the squirrel separately from the grass background. I had to adjust the illustration proportions to fit on the cover. I was able to reduce the squirrel but not the grass. If the squirrel and grass were one illustration, it would have been more challenging to fix.

Tracing paper

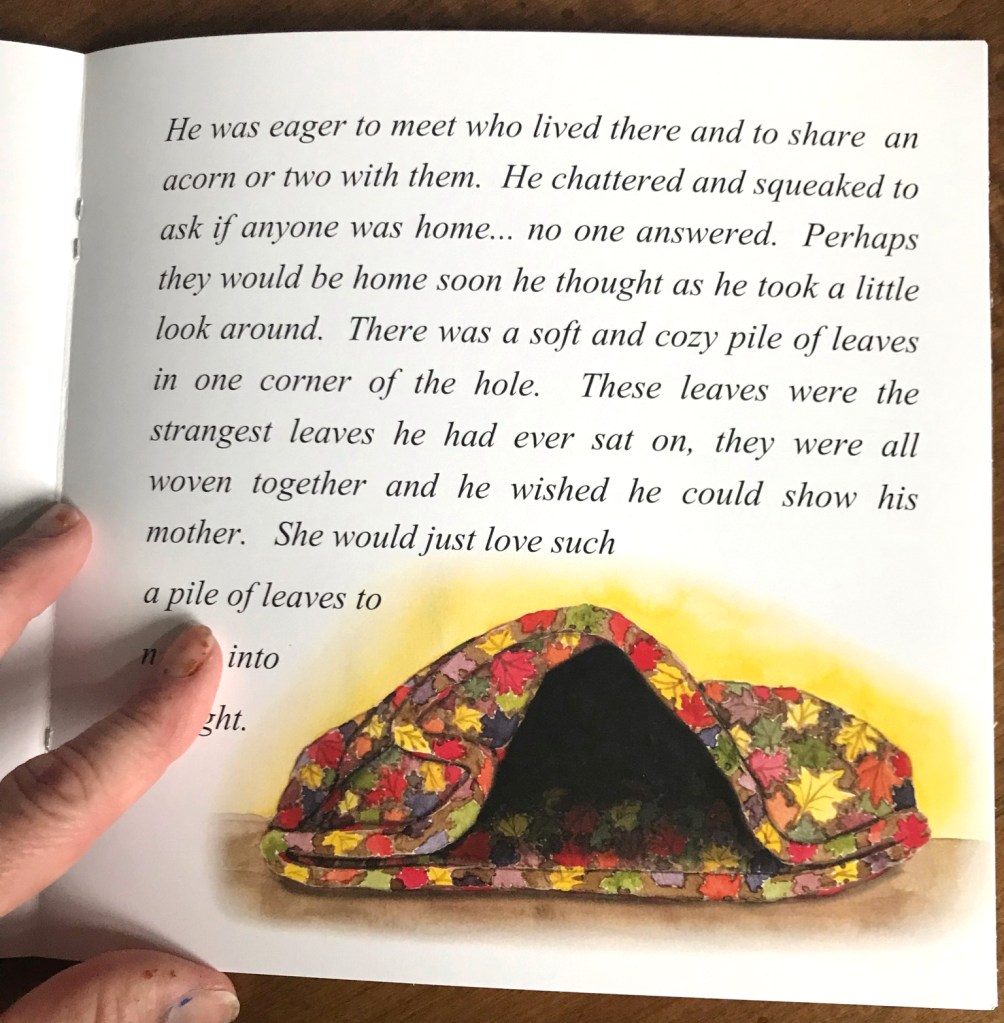
A couple of times, when I had to edit an illustration I used tracing paper to trace the area that needed to be changed. Then I put graphite on the back of the tracing paper. Then I traced the area onto mixed media paper. This way I had a light pencil line indicating the exact size of the area I needed to repaint.

This transfer technique is one we use with the kids at the art studio to transfer their drawings onto canvas. It came in handy! I didn’t have to repaint the entire illustration. I used it for the folded quilt below. The original quilt illustration had solid red border. The author requested that the border be removed and instead I continue the leaf pattern. For the quilt, I added the shadows in Photoshop. I figured I’d have more control than if I added them with paint.

get sizes up front, work larger and include bleed

Again, I learned this the hard way. You can always reduce an illustration but for resolution reasons, you can’t increase it. As a graphic designer I should have realized that any illustrations that go to the edge of the page need extra image size so that there is “bleed.” The image needs to have about .125″ more to give room for some of it to be cut off after printing. This prevents a white edge if things shift slightly in printing or trimming.

refine your process

With each illustration and book – keep track of what went smoothly and what didn’t. Try to incorporate ways to improve the book illustration process.

check out “sidney and the traveling tree” On Amazon!

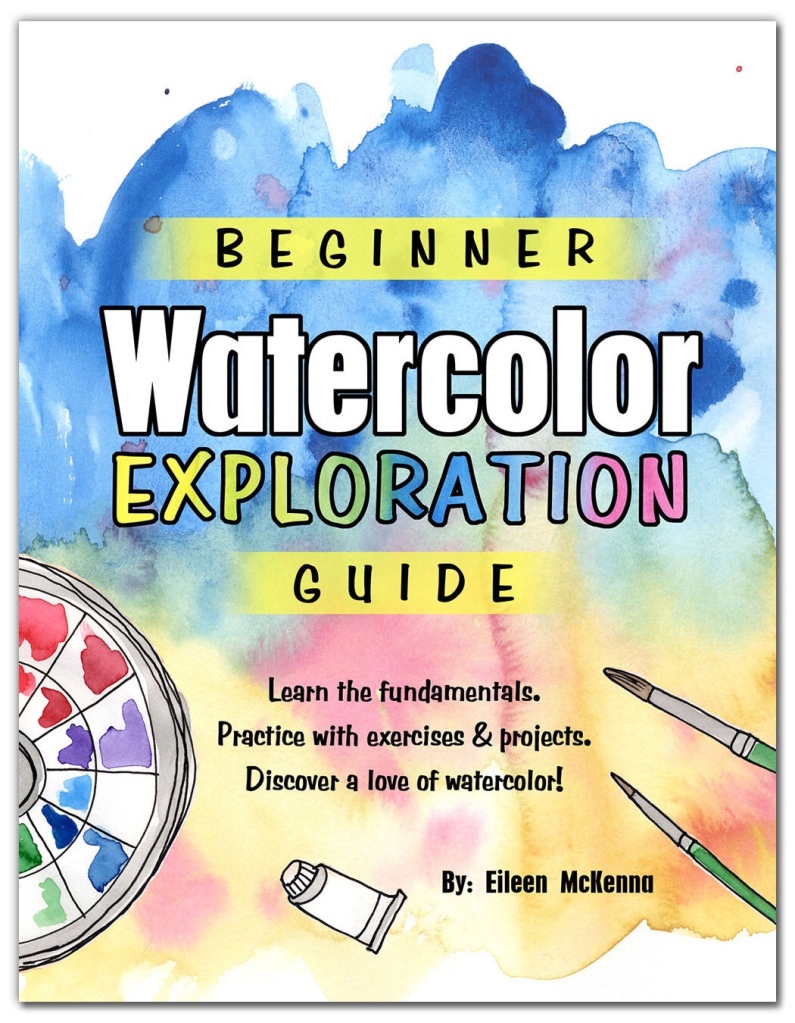
want to learn watercolor?

Check out my “Watercolor Exploration Guide” – which walks you through the fundamentals of watercolor with exercises and five painting projects. Discover a love of watercolor!

Beginner Watercolor Exploration Guide

This post contains affiliate links to products/brands I use and recommend. I earn a small commission whenever you buy using these links, at no additional cost to you. Thank you for supporting my blog!

It’s hard to commit to a daily painting challenge

Daily Painting Challenge | Regular Creativity Creative Practice
It’s hard to commit to a daily painting challenge but every time I do, and stick with it, I’m always happy with the results. The first few times I did my Christmas countdown (daily watercolor illustrations counting down to Christmas) I followed prompts. Last year and this year, I’ve allowed myself the freedom to paint whatever fits into the Christmas/winter/holiday theme. I love the flexibility to explore.

The first few days of a daily challenge can feel a little awkward, or stiff. But after that you open up to the inspiration around you. Flipping through a skiing catalog I saw a Telluride ad that I thought would be so cool to paint. It was totally outside of the normal thing I would do. I enjoyed the process and was pleased with the results. The thing I get most excited about are the ideas. Last year I painted a girl with a record player in front of a tinsel covered tree – me as a kid, playing a favorite gift.

Daily painting or drawing is hard, especially during the busy holiday season. But the break from the busyness and the interesting creative process of coming up with new ideas is so worth it!

Want to be creative on a regular basis and experience the joy that creativity brings? Explore mediums and subjects, in search of your thing? Learn about my new book Creative Exploration: A Six Week Process for Introducing Regular Creativity into your Life by clicking here. Creativity is for EVERYONE! Talent is just a starting point.

Creative Exploration book -

Illustrated Map Making

Illustrated map making #the100dayproject Charleston

I’m over a third of the way through my #the100dayproject – illustrated map making. If you are thinking about making a map, here are some of the things I’ve learned:

  • Decide ahead of time the theme or point of view of the map. For example, is it a map of food destinations, tourist spots, local spots, or a personal map?
  • Research the area to make sure you know what the important places are.
  • Write a list of the places that will be illustrated.
  • How many elements are necessary? I’m still trying to determine how many elements make a good map – make it full but not too cluttered?
  • Decide on the style, color palette, etc. I paint in watercolor and often add details in ink. The elements should all be in a similar style.
  • Develop a process. I hand paint the background and all the elements separately and put them together in Photoshop. Text is added on the computer. I create the illustrations at about 3-4” and reduce them. Painting them at this small size allows me to skip details that will be lost when reducing, but also fit some details – that if I worked at 1” I wouldn’t be able to paint or see!
  • Create a schedule. Currently I’m creating one map element per day. Deadlines are my own, but if a map was a commission, it would be helpful to have a schedule. X number of elements created in X number of days plus the time to put it all together on the computer. Allowing buffer time for client input is always a good idea.
  • Composition. Often liberties have to be taken to fit the map. The map doesn’t have to be exact proportions.
  • Create a library of common elements. As I create more maps, I create elements that can be reused – trees, lifeguard chair, beach umbrella. I’m organizing my files to make it easy to find stuff.

So far I’ve worked on maps of:

  • Fire Island, NY – completed
  • Point Lookout, NY – elements completed, all in Photoshop, finalizing needs to be done
  • Nashville, TN – access if more elements need to be created
  • Charleston, SC – currently illustrating the map elements and creating a list

Other map ideas:

  • Long Beach, NY (my hometown)
  • Long Island, NY. Long Island is a large area, trying to think of what the focus of the map would be
  • Maps inspired by trips we’ve taken – Maine or Acadia National Park, National Parks in Utah

How much I’ll accomplish by day 100, I don’t know. I do know that I’ve wanted to create maps for years, but never got past trying for 15 minutes. #the100dayproject gives me the motivation to keep going, work through the process, learn, explore. Starting was easy. Continuing isn’t, but I’m determined to see it through. That can be said for not just the bigger project but finalizing each map. Pushing myself produces results.

My Fire Island map is available for download in my Etsy shop. Click here to visit my Etsy shop where I sell digital clipart, invitations, prints, painting tutorials, and even personalized family trees!
Illustrated Fire Island map | Day 25 #the100dayproject

Beginner Watercolor Painting Instructional PDF "What you need to know to get started with Watercolor" Beginner Printable Introduction

My Creative Collection a creative newsletter
Want a dose of creative inspiration?
Sign up for my newsletter “My Creative Collection” where I feature artists and makers, and link to inspiring art, design, and craft, inspiring places, interesting books, movies, and more. It’s a collection of all the things inspiring me delivered to your inbox every two weeks. Click here to sign up.

Painting my favorite candy – Dots

Painting candy packaging - Dots #candy #illustration #food
Uppercase Magazine – a favorite creative magazine of mine – recently had a call for submissions of artwork of your favorite packaging. I of course picked one of my favorite childhood candies, DOTS, to paint. (And Yes, I ate all the DOTS.)

One of my goals this year is to get my artwork “out there.” I’m not necessarily searching for places to submit my work, but staying alert for opportunities, in places that I’m a fan of.

So far:

I view each submission as a victory, regardless if I’m accepted or not. It is an accomplishment to follow through and submit, and in many cases create new art for the submission. And just like the old lottery slogan, “You’ve got to be in it, to win it.”


Want a dose of creative inspiration? Sign up for my newsletter “My Creative Collection” by clicking here. Learn more here.

Have you visited my online shop? Prints of my seascapes are available on watercolor paper or canvas, in many sizes including the new “mini” canvas 11″ x 14″ at shop.eileenmckenna.com. Take a peek!

This contains affiliate links to products/brands I use and recommend. I earn a small commission whenever you buy using these links, at no additional cost to you. Thank you for supporting my blog!

Christmas Countdown Day 22/25 – Bells

Christmas Countdown Day 22/25 - Bells
Paint/draw along with me!
Creative prompts for Christmas countdown #Christmas #creative #advent

Want a dose of creative inspiration? Sign up for my newsletter “My Creative Collection” by clicking here. Learn more here.

Have you visited my online shop? Prints of my seascapes are available on watercolor paper or canvas, in many sizes including the new “mini” canvas 11″ x 14″ at shop.eileenmckenna.com. Take a peek! The perfect gift for beach lovers.

Creating an Animation from your Illustration

I’ve been animating my illustrations lately and thought I’d share how I do it. My technique is similar to stop motion – I save an image for each point of movement in the animation. Then I put the images together in iMovie. When the time between frames (or images) is the right speed, it appears as if the illustration moves.

Here are the three animations I created recently – click each image to see the animated movie on Instagram.
Click here to see the animation https://instagram.com/p/Bcx4w_gnIAP/
Flickering candle animation #animation
Elf flipping animation

Steps to animating your illustration:

  1. Create your illustration. It is easier if the animated part is created separately from the non-moving part. For my reindeer animation – the reindeer is a separate illustration from the lights. The same is true for the elf. The background with the present is one illustration and the elf at the various stages of flipping are separate illustrations.
  2. Create the frames for your animation. Save a separate jpg file for each frame. I use Adobe Photoshop to put the illustrations together and to create the animated element. For the reindeer it was the lights lighting up in different ways. For the candle it was the flame moving and changing shape slightly. For the elf it was the elf in different positions, in different places. See my frames below.
  3. Upload the jpgs into iMovie. Place the jpgs in the order you want them to be viewed. Adjust the time between the frames so the animation looks fluid. Make sure “fit to frame” is selected so each frame doesn’t zoom in and out.
  4. Select “Share to file” to save your movie as an mp4 file to post.

Some of the reindeer jpgs:
In the image to the left only the blue lights are “on.” The one in the middle all the lights are on. On the right only the red lights are on.

Some of the Candle jpgs:
In each image the flame is slightly modified. I wanted it to appear that the candle was flickering.

The Elf jpgs:

Let me know if you give it a try!


Want a dose of creative inspiration? Sign up for my newsletter “My Creative Collection” by clicking here. Learn more here.

Have you visited my online shop? Prints of my seascapes are available on watercolor paper or canvas, in many sizes including the new “mini” canvas 11″ x 14″ at shop.eileenmckenna.com. Take a peek! The perfect gift for beach lovers.

Christmas Countdown Day 1/25

Christmas countdown #christmas #creative #tree

Paint/draw along with me!
Creative prompts for Christmas countdown #Christmas #creative #advent

Want a dose of creative inspiration? Sign up for my newsletter “My Creative Collection” by clicking here. Learn more here.

Have you visited my online shop? Prints of my seascapes are available on watercolor paper or canvas, in many sizes including the new “mini” canvas 11″ x 14″ at shop.eileenmckenna.com. Take a peek! The perfect gift for beach lovers.

Creative Christmas countdown 2017

Creative prompts for Christmas countdown #Christmas #creative #advent

Last year I had a lot of fun drawing and painting every day to countdown until Christmas. I even uploaded some of my illustrations as ornament designs. See them all at www.zazzle.com/eileen_mckenna.

Christmas ornaments #Christmas #ornaments

I’ve decided to challenge myself again this year. The prompts are the same – it will be interesting to see how the same prompts can be interpreted differently this year. I hope you’ll follow along, and maybe draw along too! Let me know!

Want a dose of creative inspiration? Sign up for my newsletter “My Creative Collection” by clicking here. Learn more here.

Have you visited my online shop? Prints of my seascapes are available on watercolor paper or canvas, in many sizes including the new “mini” canvas 11″ x 14″ at shop.eileenmckenna.com. Take a peek! The perfect gift for beach lovers.

2016 – My creative year in review

img_0878

As this year wraps up, what I’m most proud of is not a particular painting or illustration but that after some ups and downs, I’m finishing the year strong. I completed daily challenges in October (InkTober), November (World Watercolor Group’s food prompts), and December (my own Christmas countdown).

Oh and I’m also proud of my Nutcracker pin!

My plans for 2017

  • Beach book – more details on this later this week 😉
  • Another enamel pin – a leprechaun is in the works
  • A pattern a month. I designed a pattern a month in 2015 and it was a great motivator. I learned so much and want to continue to grow in the area of surface design. First up is to turn some of my Christmas countdown illustrations into new patterns.

What are your creative plans for 2017?