
I’m over a third of the way through my #the100dayproject – illustrated map making. If you are thinking about making a map, here are some of the things I’ve learned:
- Decide ahead of time the theme or point of view of the map. For example, is it a map of food destinations, tourist spots, local spots, or a personal map?
- Research the area to make sure you know what the important places are.
- Write a list of the places that will be illustrated.
- How many elements are necessary? I’m still trying to determine how many elements make a good map – make it full but not too cluttered?
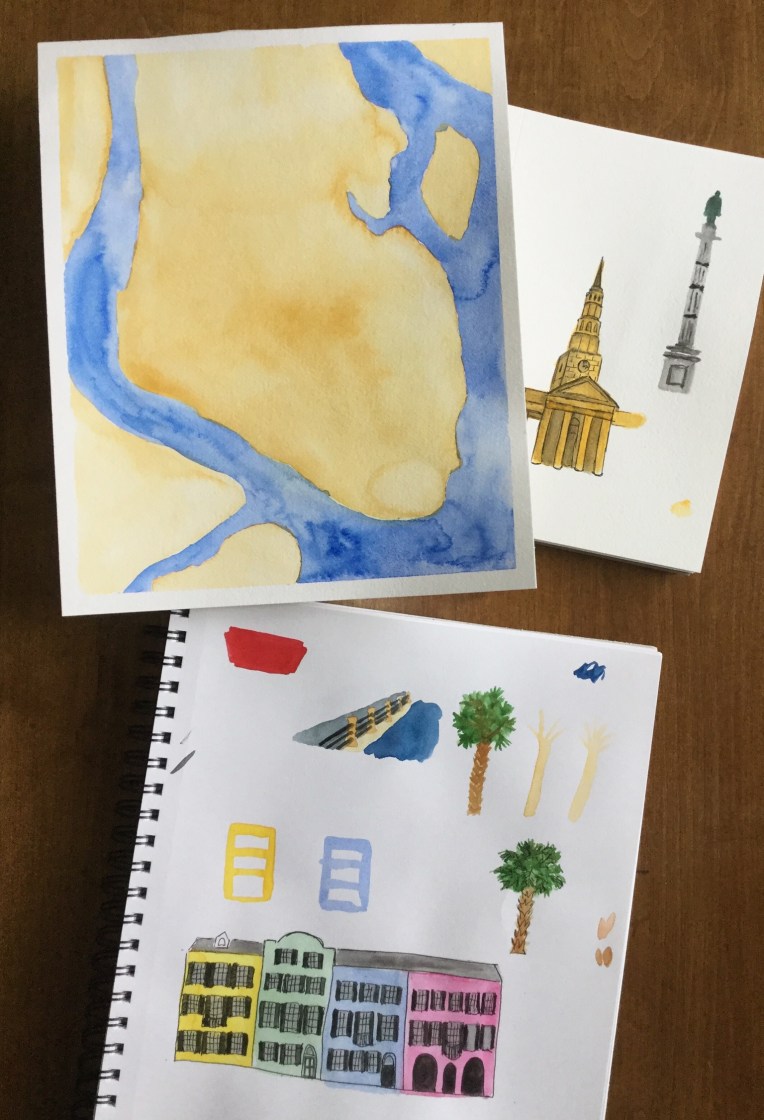
- Decide on the style, color palette, etc. I paint in watercolor and often add details in ink. The elements should all be in a similar style.
- Develop a process. I hand paint the background and all the elements separately and put them together in Photoshop. Text is added on the computer. I create the illustrations at about 3-4” and reduce them. Painting them at this small size allows me to skip details that will be lost when reducing, but also fit some details – that if I worked at 1” I wouldn’t be able to paint or see!
- Create a schedule. Currently I’m creating one map element per day. Deadlines are my own, but if a map was a commission, it would be helpful to have a schedule. X number of elements created in X number of days plus the time to put it all together on the computer. Allowing buffer time for client input is always a good idea.
- Composition. Often liberties have to be taken to fit the map. The map doesn’t have to be exact proportions.
- Create a library of common elements. As I create more maps, I create elements that can be reused – trees, lifeguard chair, beach umbrella. I’m organizing my files to make it easy to find stuff.
So far I’ve worked on maps of:
- Fire Island, NY – completed
- Point Lookout, NY – elements completed, all in Photoshop, finalizing needs to be done
- Nashville, TN – access if more elements need to be created
- Charleston, SC – currently illustrating the map elements and creating a list
Other map ideas:
- Long Beach, NY (my hometown)
- Long Island, NY. Long Island is a large area, trying to think of what the focus of the map would be
- Maps inspired by trips we’ve taken – Maine or Acadia National Park, National Parks in Utah
How much I’ll accomplish by day 100, I don’t know. I do know that I’ve wanted to create maps for years, but never got past trying for 15 minutes. #the100dayproject gives me the motivation to keep going, work through the process, learn, explore. Starting was easy. Continuing isn’t, but I’m determined to see it through. That can be said for not just the bigger project but finalizing each map. Pushing myself produces results.
My Fire Island map is available for download in my Etsy shop. Click here to visit my Etsy shop where I sell digital clipart, invitations, prints, painting tutorials, and even personalized family trees!


Want a dose of creative inspiration? Sign up for my newsletter “My Creative Collection” where I feature artists and makers, and link to inspiring art, design, and craft, inspiring places, interesting books, movies, and more. It’s a collection of all the things inspiring me delivered to your inbox every two weeks. Click here to sign up.


I really am enjoying your map making adventure! Well done!
Thanks Carol!
Wonderful Eileen, you all have the best tips and tricks.
Thanks Sharon!😊
Great idea!!
Thanks Beverly!