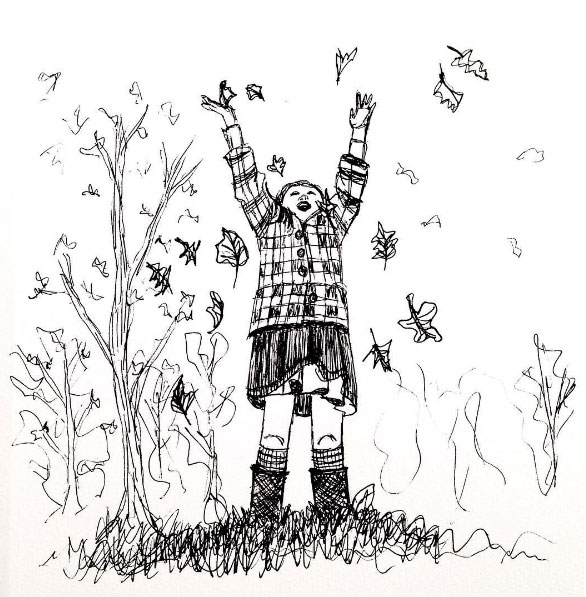
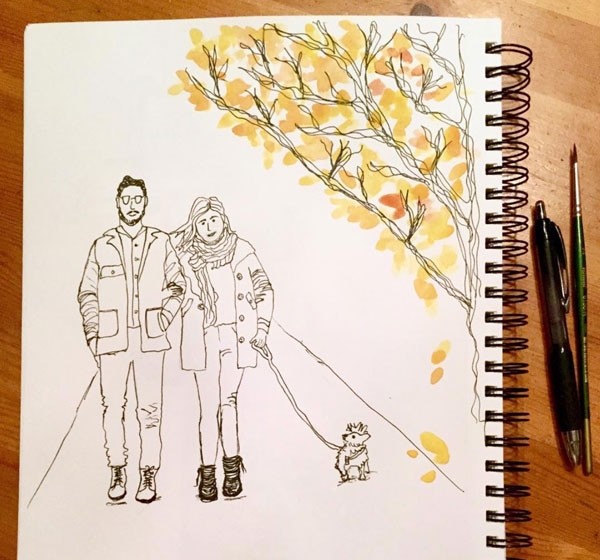
When I think of October I think of Fall colors and black ink lines. October is InkTober! For several years I’ve participated in Inktober, a daily challenge to create in ink. In the early years of my participation, I was a purest, only drawing in ink. But it’s hard for me to stay away from my watercolors for a whole month! In more recent years I’ve blended the two – creating fall themed illustrations with ink outlines using my favorite ink pen.
Inktober illustration by Eileen McKenna
There are optional Inktober prompts – which I don’t follow. Prompts are great, but I prefer to paint what inspires me. There are tons of creative challenges online. It doesn’t matter which one you follow or if you follow all the “rules.” The point of these challenges is to inspire and motivate us to create more regularly.
I’m adjusting to my new work schedule and am ready to fit in daily creativity – so Inktober comes at the perfect time for me. What about you? Are you ready for Inktober?!
I’ve illustrated a book! For years I aspired to illustrate a children’s book. When the kids were small, taking them to the library and looking at picture books was my favorite thing to do. I even wrote and illustrated my own children’s book – although that one hasn’t seen the light of day.
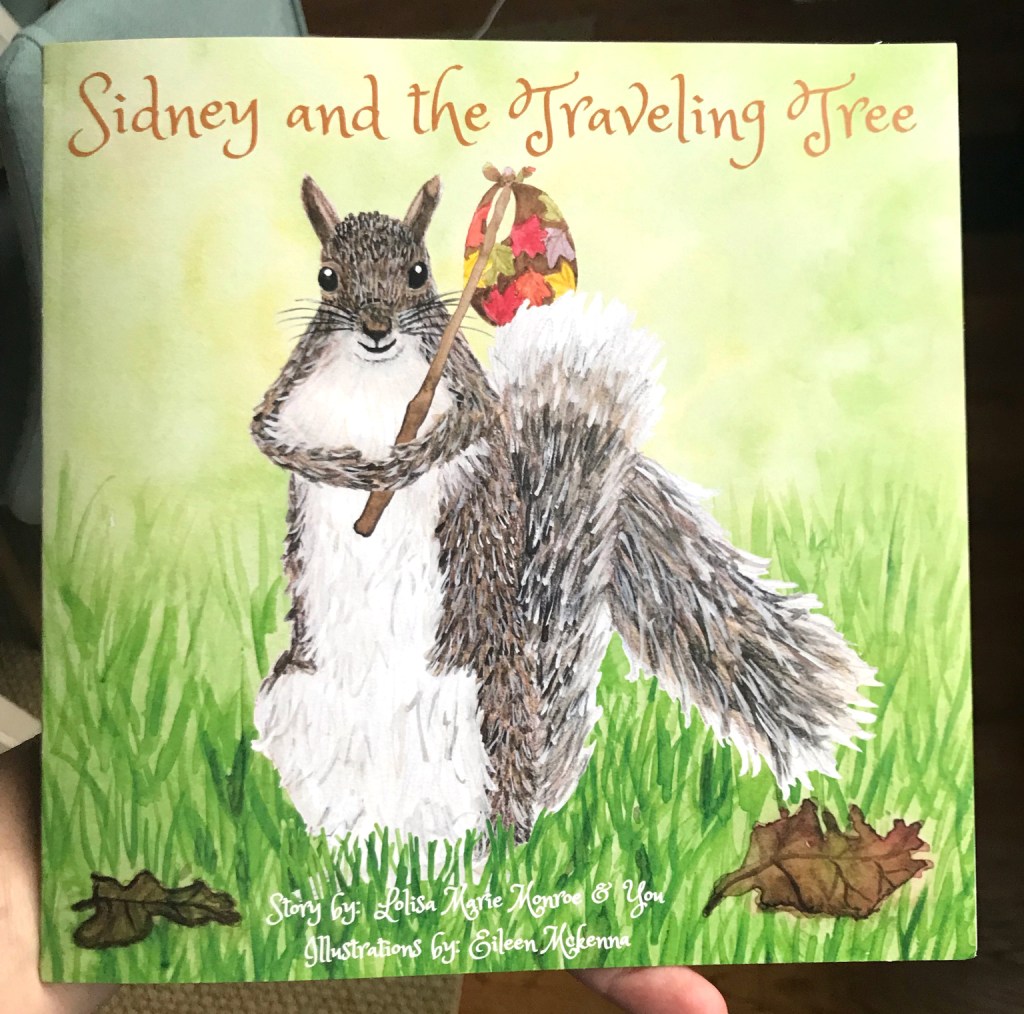
This book – “Sidney and the Traveling Tree” is by Lolisa Monroe is “a story about a grey squirrel from Western Maine and his adventures in the woods. He discovers a mysterious tree that takes him on the journey of a lifetime. Your child will be engaged as they help ‘fill in the blanks’ in Chapter 1 and actually write and illustrate Chapter 2 by themselves! Develop the writer and illustrator in your child.
This is the first of the series of Miss Lisa’s Little Writers featuring the illustrations of Eileen McKenna. More volumes coming soon!”
Finding a children’s book illustration style
The early days of my blog were about trying to find a children’s book illustration style. I struggled with that for a long time. How do you decide on a style? What I learned is that you develop a style, by drawing or painting alot. Just keep painting – your style will emerge. It’s okay to emulate the style of others in the beginning or try out their techniques. In the end your style will shine through. And it will evolve as time goes by.
How to get hired as an illustrator
I’m working on two books at the moment – one is the second book in the Sidney series, the other is about a dog (by a different author). So how did I suddenly find myself with all of these book illustration projects? The dog project is through a friend. The other is through Etsy. The author of the Sidney books, Lolisa Monroe, found a watercolor clipart squirrel that I sell as a digital download in my Etsy shop. Lolisa liked my style so she reached out and asked if I would do custom work.
How can you get hired as illustrator? Post your work. Even your friends need to know what you do, in order to consider you for a project or to recommend you to a friend. Post the work you are doing on social media. I hate to say this, because it’s what everybody says and because for me it took years for it to happen. I was posting in 2015/16 about children’s book illustration.
I will say that even though the children’s book work took awhile, other great opportunities have come my way because I post my artwork. I have been teaching art to kids for over three years. I got the opportunity because I posted a watercolor seascape on facebook. The owner of the art studio, who was my web design, marketing client, saw my painting and ask me if I would teach a three day summer camp week. That one week of summer camp has evolved into me teaching three days a week. And I absolutely love it. I love working with the kids.
Side note of advice – take opportunities that scare you. I was terrified to teach that week of camp. Now I can’t imagine teaching not being part of my life!
how to Illustrate a book
Because I am new to illustrating books I am learning so much about the process of working with an author and about illustrating. Here’s the top things I’ve learned in hopes of helping you with your process.
Request detailed descriptions from the author with photos
Since we can’t visualize what is someone else’s head, ask the author to provide a description of what they want the illustrations to be. Also ask for supporting photos. These things will help you visualize what the author is thinking. Don’t rely only on the text of the book unless the author is giving you creative freedom.
I realize as I’m writing this that the two books I’ve been working on have been very different processes. In the dog book, I was given the text of the book and creative freedom. With the Sidney book, the author has had specific ideas of what each illustration should be. Before you pick up your brush get as much direction as the author has to give.
Processing…
Success! You're on the list.
Whoops! There was an error and we couldn't process your subscription. Please reload the page and try again.
show rough sketches and/or descriptions of illustrations
Before painting, show the author what you are intending. It is much easier to adjust at that point than after you have fully painted an illustration. In the case of the dog book, where I was given creative freedom, I wrote out what I intended each illustration to be, and got approval beforehand.
In the Sidney book, I learned the hard way. I completed illustrations based on the author’s descriptions and photos and then got feedback. For the second Sidney book, for a more complex cover illustration I did a pencil sketch and made adjustments based on the author’s comments before painting.
Sketch for future illustration
image retouching is part of the process
Incorporate into your estimate the time it takes to scan and retouch your illustrations. It is rare that you would be mailing your originals to the author. They probably will want digital files that are ready for a graphic designer to insert into the book.
high tech and low tech tools for adjusting illustrations
photoshop
Photoshop was extremely helpful for me when I completed an illustration and then had to make edits based on the author’s comments. In some cases, I painted elements separately and put them together on the computer in Photoshop, so I could have more control and it would be easier to change things.
This was especially useful when I painted the squirrel separately from the grass background. I had to adjust the illustration proportions to fit on the cover. I was able to reduce the squirrel but not the grass. If the squirrel and grass were one illustration, it would have been more challenging to fix.
Tracing paper
A couple of times, when I had to edit an illustration I used tracing paper to trace the area that needed to be changed. Then I put graphite on the back of the tracing paper. Then I traced the area onto mixed media paper. This way I had a light pencil line indicating the exact size of the area I needed to repaint.
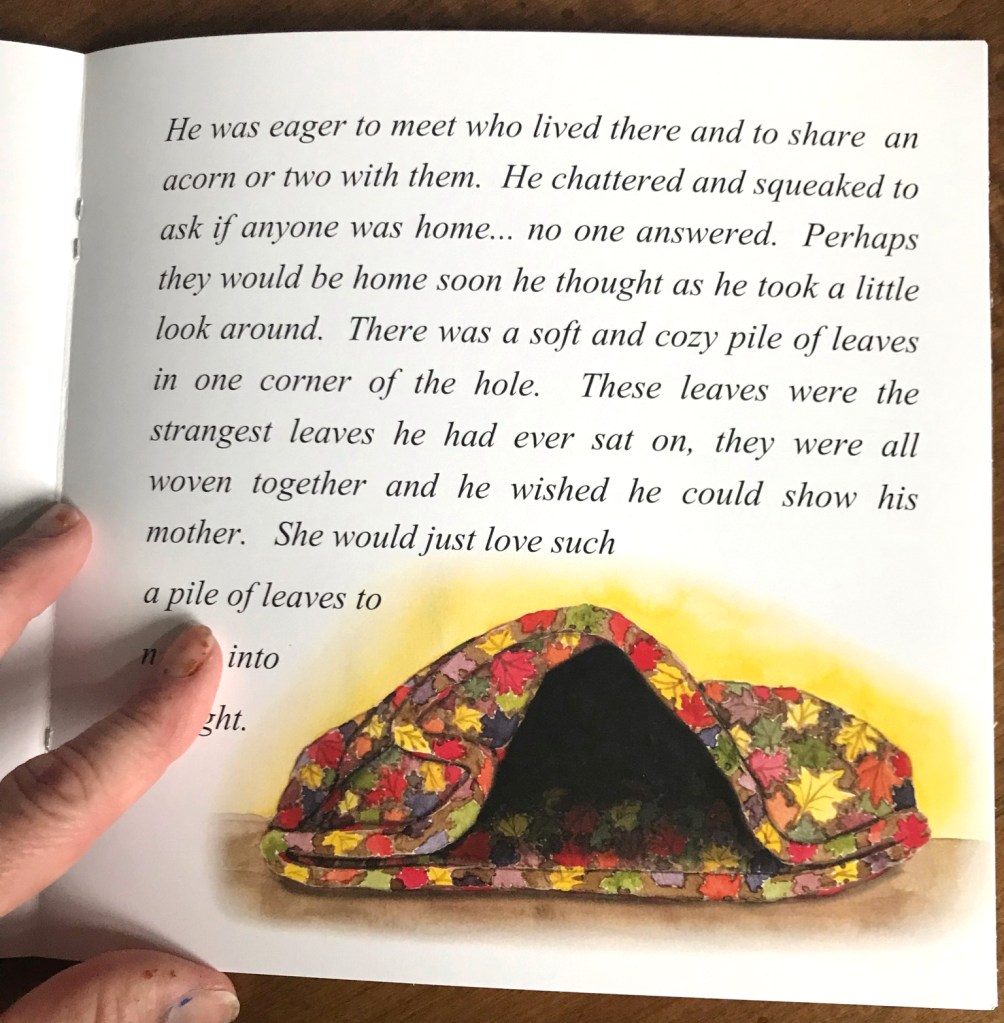
This transfer technique is one we use with the kids at the art studio to transfer their drawings onto canvas. It came in handy! I didn’t have to repaint the entire illustration. I used it for the folded quilt below. The original quilt illustration had solid red border. The author requested that the border be removed and instead I continue the leaf pattern. For the quilt, I added the shadows in Photoshop. I figured I’d have more control than if I added them with paint.
get sizes up front, work larger and include bleed
Again, I learned this the hard way. You can always reduce an illustration but for resolution reasons, you can’t increase it. As a graphic designer I should have realized that any illustrations that go to the edge of the page need extra image size so that there is “bleed.” The image needs to have about .125″ more to give room for some of it to be cut off after printing. This prevents a white edge if things shift slightly in printing or trimming.
refine your process
With each illustration and book – keep track of what went smoothly and what didn’t. Try to incorporate ways to improve the book illustration process.
check out “sidney and the traveling tree” On Amazon!
want to learn watercolor?
Check out my “Watercolor Exploration Guide” – which walks you through the fundamentals of watercolor with exercises and five painting projects. Discover a love of watercolor!
This post contains affiliate links to products/brands I use and recommend. I earn a small commission whenever you buy using these links, at no additional cost to you. Thank you for supporting my blog!
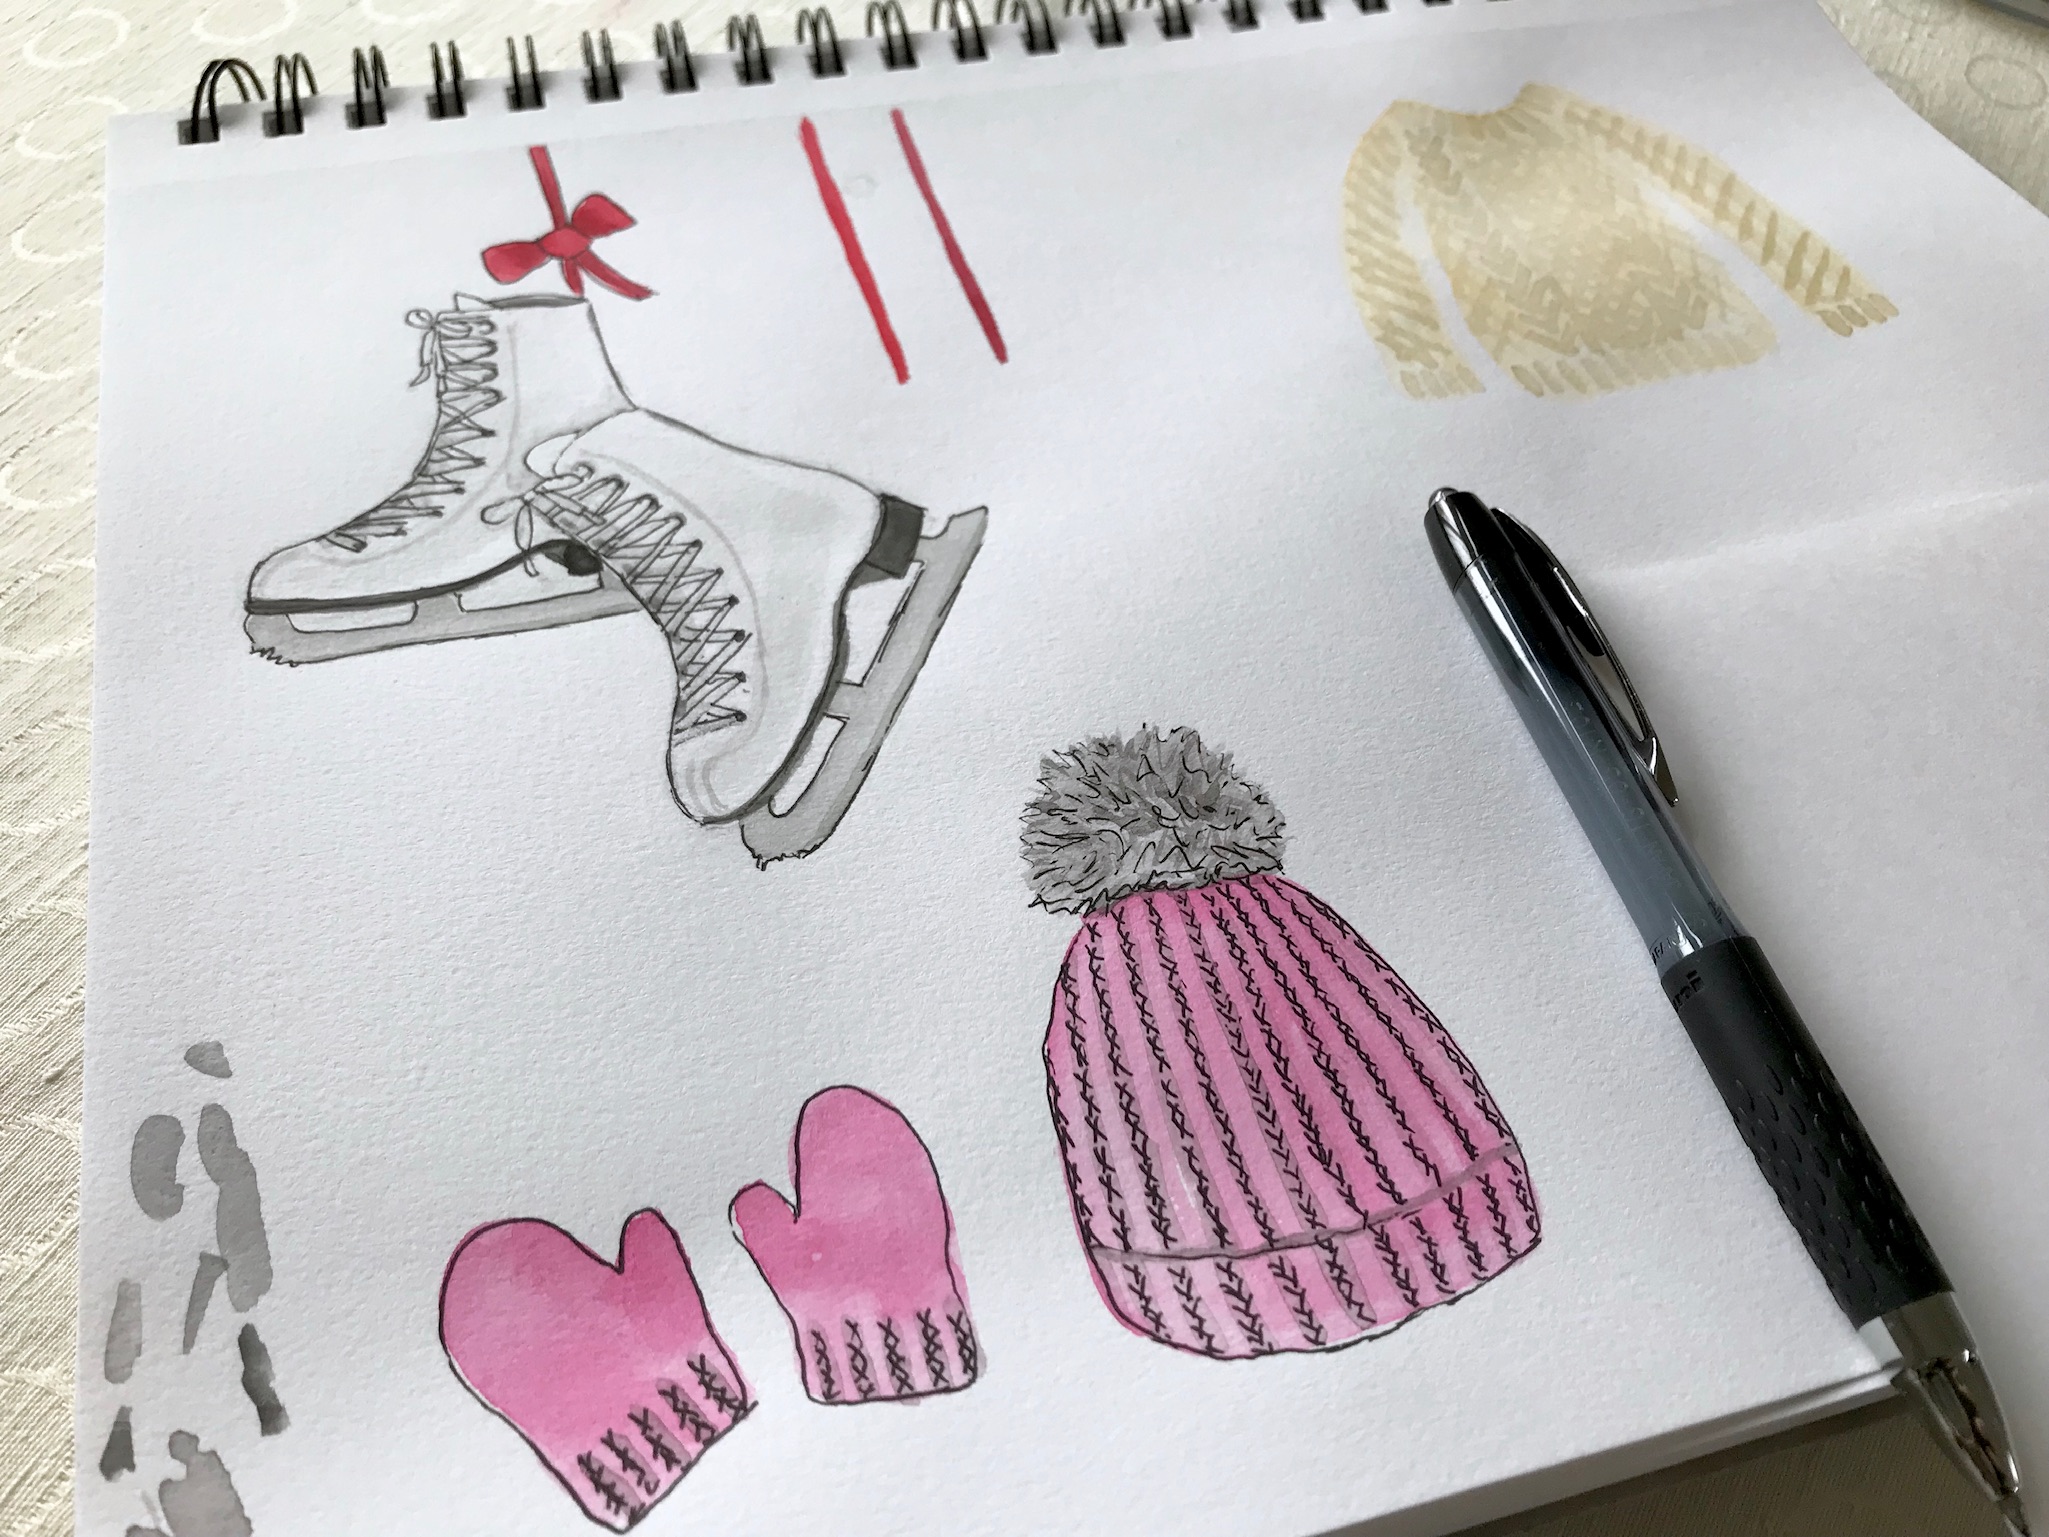
It’s hard to commit to a daily painting challenge but every time I do, and stick with it, I’m always happy with the results. The first few times I did my Christmas countdown (daily watercolor illustrations counting down to Christmas) I followed prompts. Last year and this year, I’ve allowed myself the freedom to paint whatever fits into the Christmas/winter/holiday theme. I love the flexibility to explore.
The first few days of a daily challenge can feel a little awkward, or stiff. But after that you open up to the inspiration around you. Flipping through a skiing catalog I saw a Telluride ad that I thought would be so cool to paint. It was totally outside of the normal thing I would do. I enjoyed the process and was pleased with the results. The thing I get most excited about are the ideas. Last year I painted a girl with a record player in front of a tinsel covered tree – me as a kid, playing a favorite gift.
Daily painting or drawing is hard, especially during the busy holiday season. But the break from the busyness and the interesting creative process of coming up with new ideas is so worth it!
I’m over a third of the way through my #the100dayproject – illustrated map making. If you are thinking about making a map, here are some of the things I’ve learned:
Decide ahead of time the theme or point of view of the map. For example, is it a map of food destinations, tourist spots, local spots, or a personal map?
Research the area to make sure you know what the important places are.
Write a list of the places that will be illustrated.
How many elements are necessary? I’m still trying to determine how many elements make a good map – make it full but not too cluttered?
Decide on the style, color palette, etc. I paint in watercolor and often add details in ink. The elements should all be in a similar style.
Develop a process. I hand paint the background and all the elements separately and put them together in Photoshop. Text is added on the computer. I create the illustrations at about 3-4” and reduce them. Painting them at this small size allows me to skip details that will be lost when reducing, but also fit some details – that if I worked at 1” I wouldn’t be able to paint or see!
Create a schedule. Currently I’m creating one map element per day. Deadlines are my own, but if a map was a commission, it would be helpful to have a schedule. X number of elements created in X number of days plus the time to put it all together on the computer. Allowing buffer time for client input is always a good idea.
Composition. Often liberties have to be taken to fit the map. The map doesn’t have to be exact proportions.
Create a library of common elements. As I create more maps, I create elements that can be reused – trees, lifeguard chair, beach umbrella. I’m organizing my files to make it easy to find stuff.
So far I’ve worked on maps of:
Fire Island, NY – completed
Point Lookout, NY – elements completed, all in Photoshop, finalizing needs to be done
Nashville, TN – access if more elements need to be created
Charleston, SC – currently illustrating the map elements and creating a list
Other map ideas:
Long Beach, NY (my hometown)
Long Island, NY. Long Island is a large area, trying to think of what the focus of the map would be
Maps inspired by trips we’ve taken – Maine or Acadia National Park, National Parks in Utah
How much I’ll accomplish by day 100, I don’t know. I do know that I’ve wanted to create maps for years, but never got past trying for 15 minutes. #the100dayproject gives me the motivation to keep going, work through the process, learn, explore. Starting was easy. Continuing isn’t, but I’m determined to see it through. That can be said for not just the bigger project but finalizing each map. Pushing myself produces results.
Want a dose of creative inspiration?Sign up for my newsletter “My Creative Collection” where I feature artists and makers, and link to inspiring art, design, and craft, inspiring places, interesting books, movies, and more. It’s a collection of all the things inspiring me delivered to your inbox every two weeks. Click here to sign up.
I’m proud to announce that my Fire Island map is now available for download in my Etsy shop. I’ve been spending the first 25 days working on elements of three maps, so to finalize one of the maps is very satisfying. Click here to visit my Etsy shop where I sell digital clipart, invitations, prints, and even personalized family trees!
I’m a quarter of the way through my #the100dayproject. 100 days seems less daunting, or does is it? I’m really good at starting projects. It’s my Aries nature. Sticking with them is the hard part. I learned early in my creative journey that it’s great to try new things, but you don’t progress in an area if your efforts are scattered. I have to work hard to stay focused. What does your astrological sign say about your creative habits?
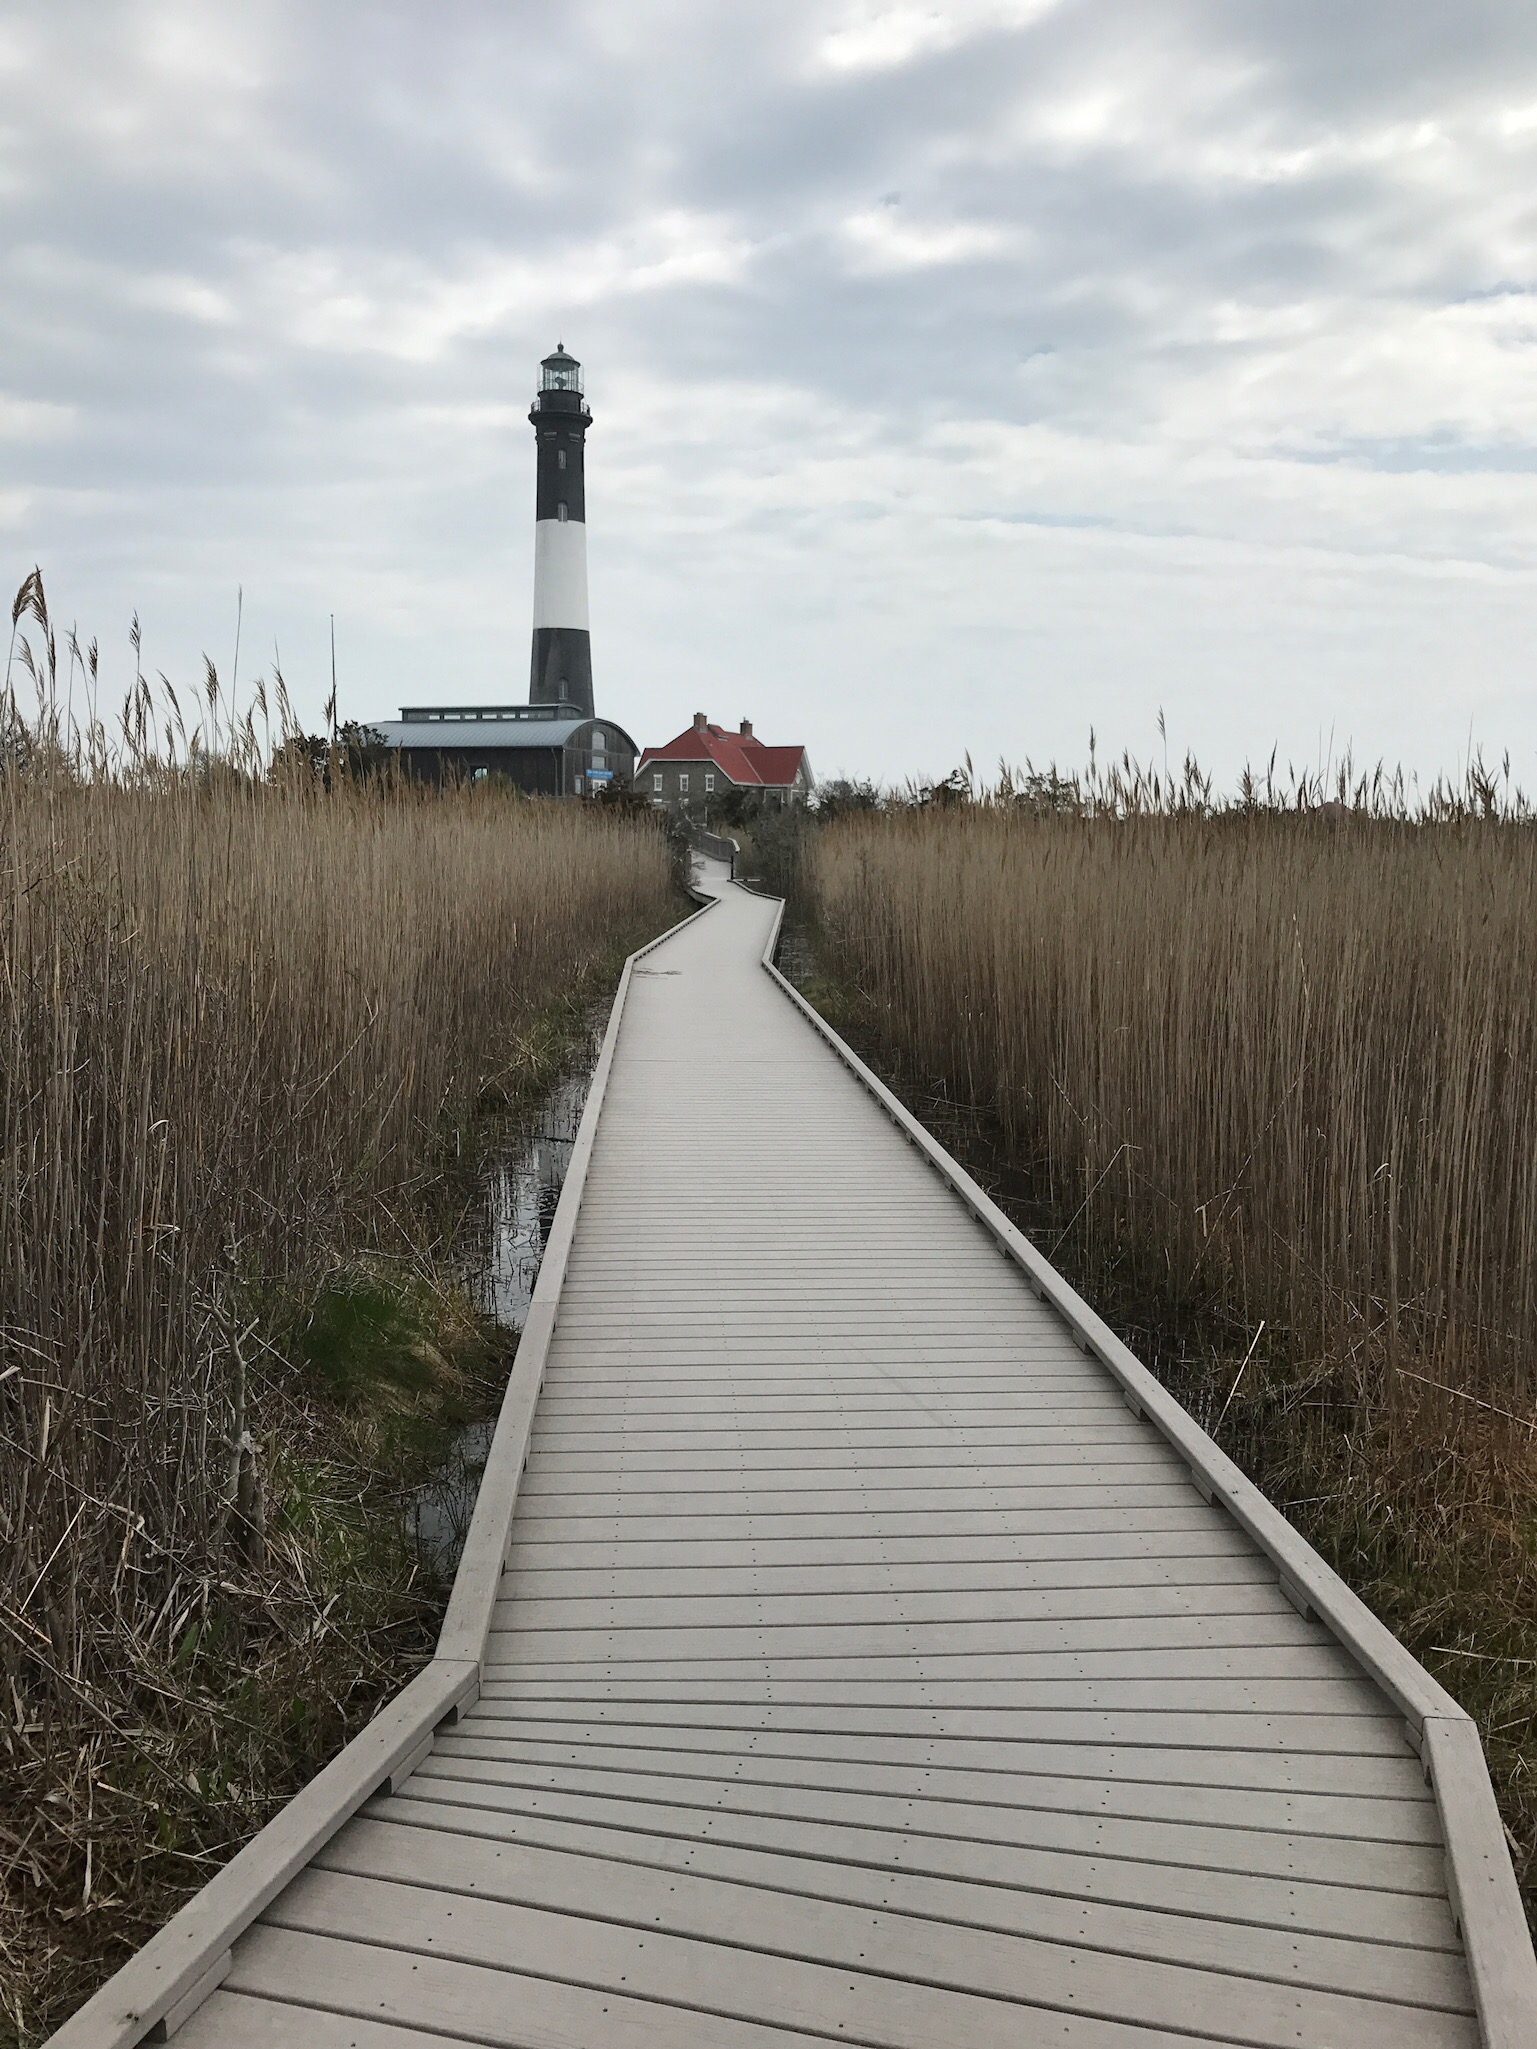
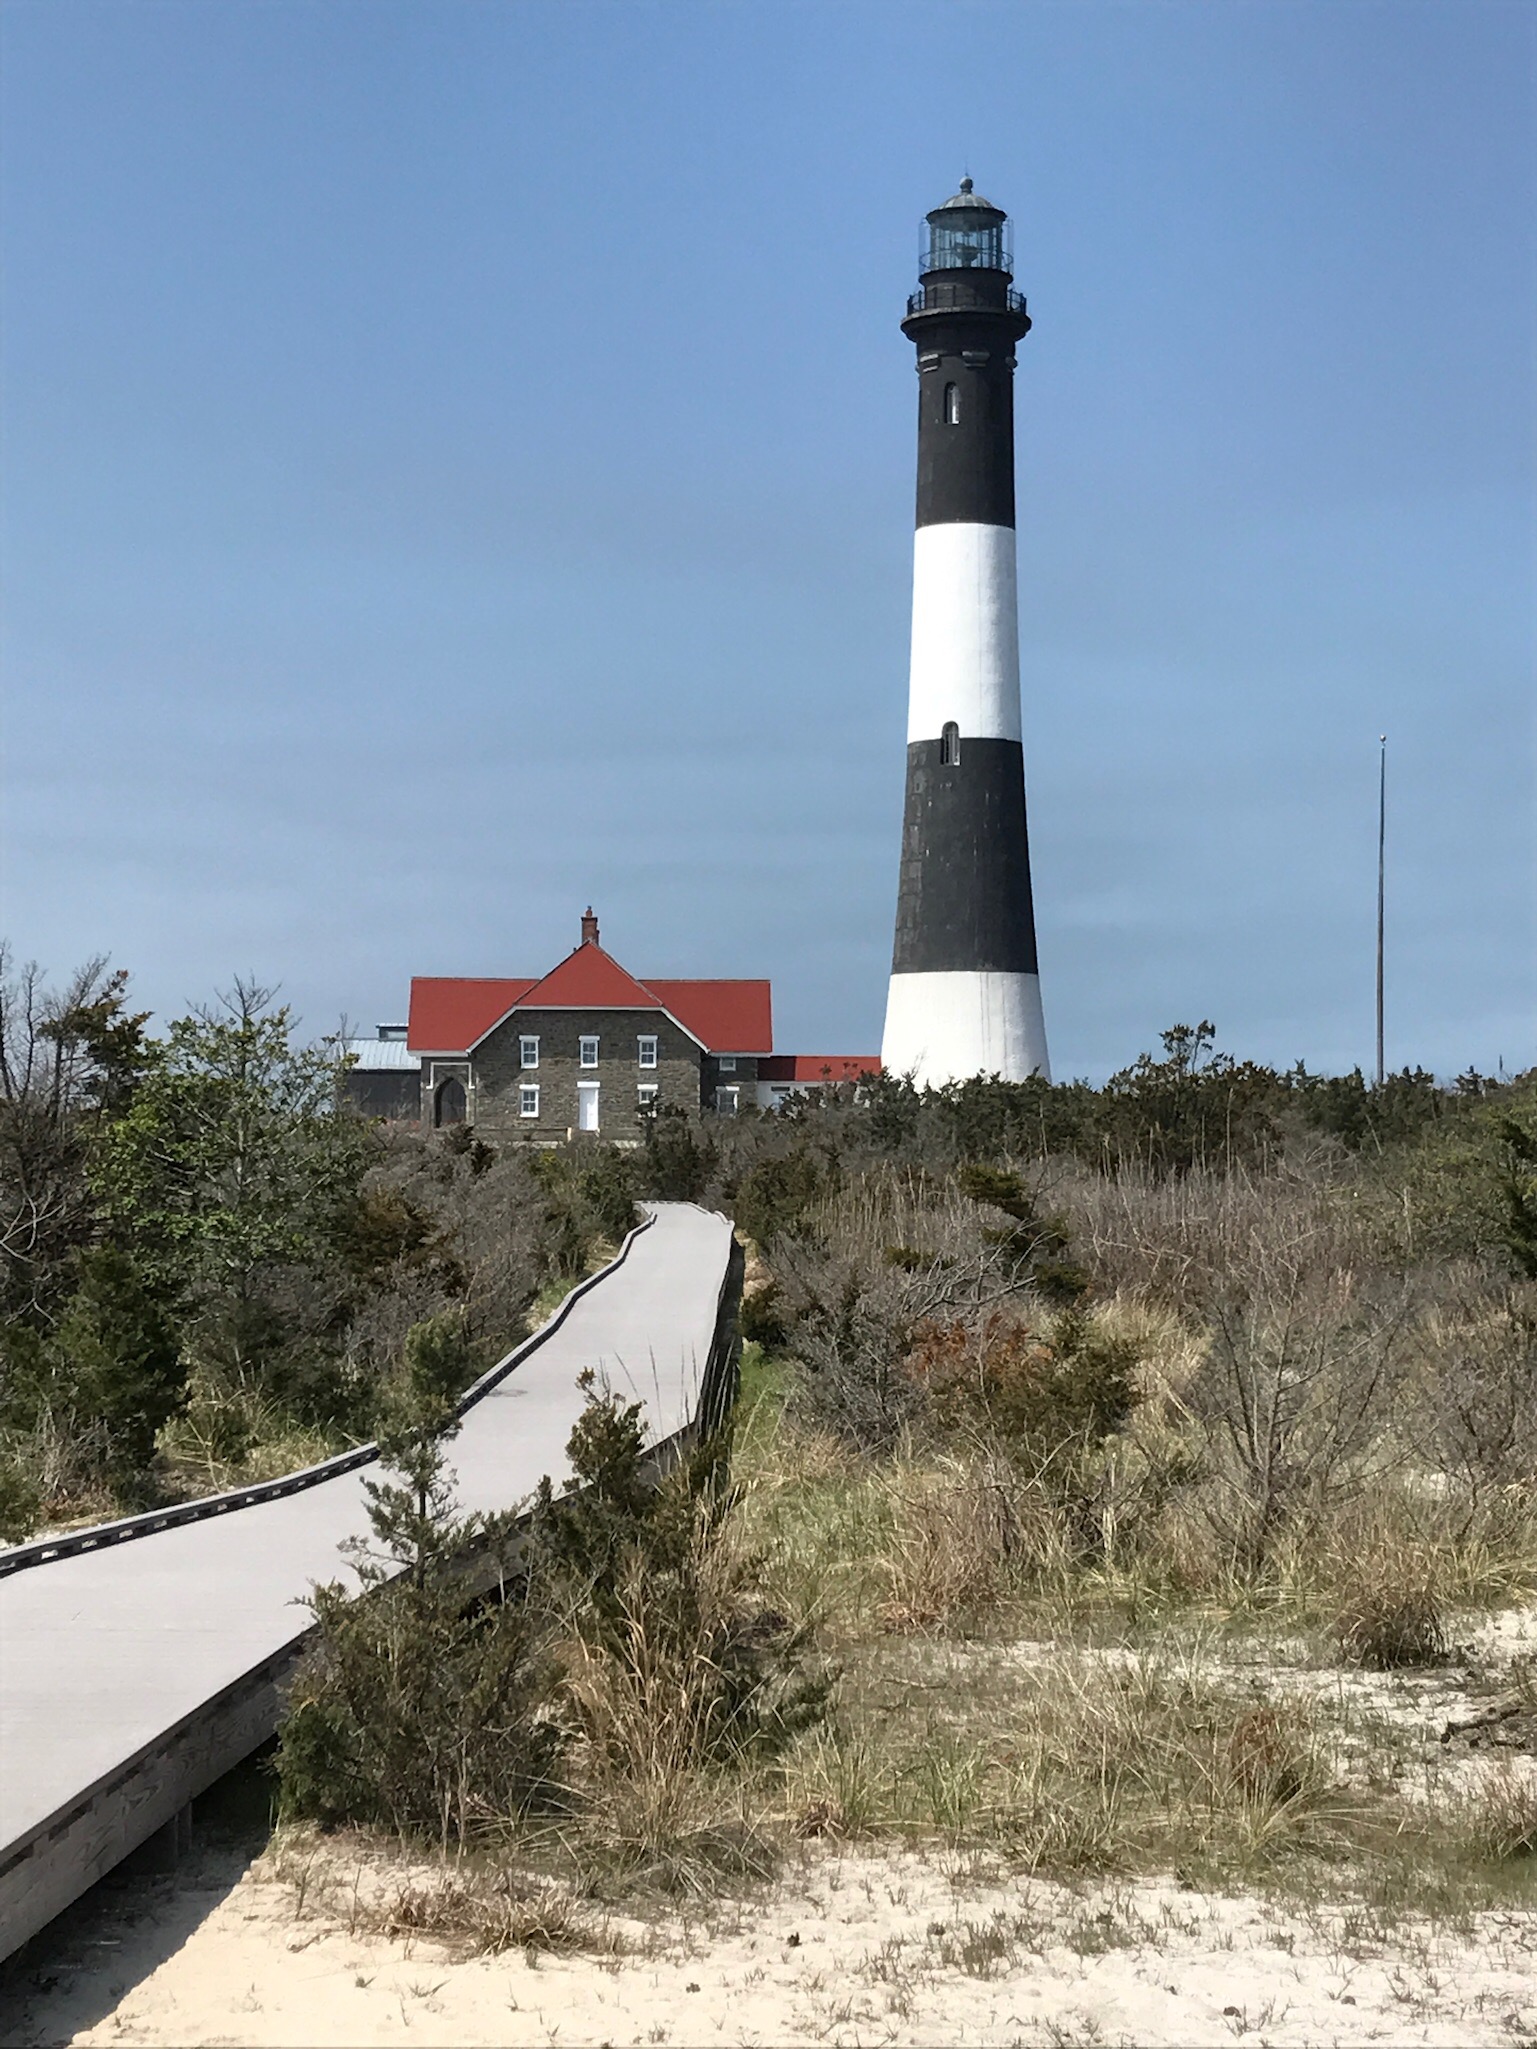
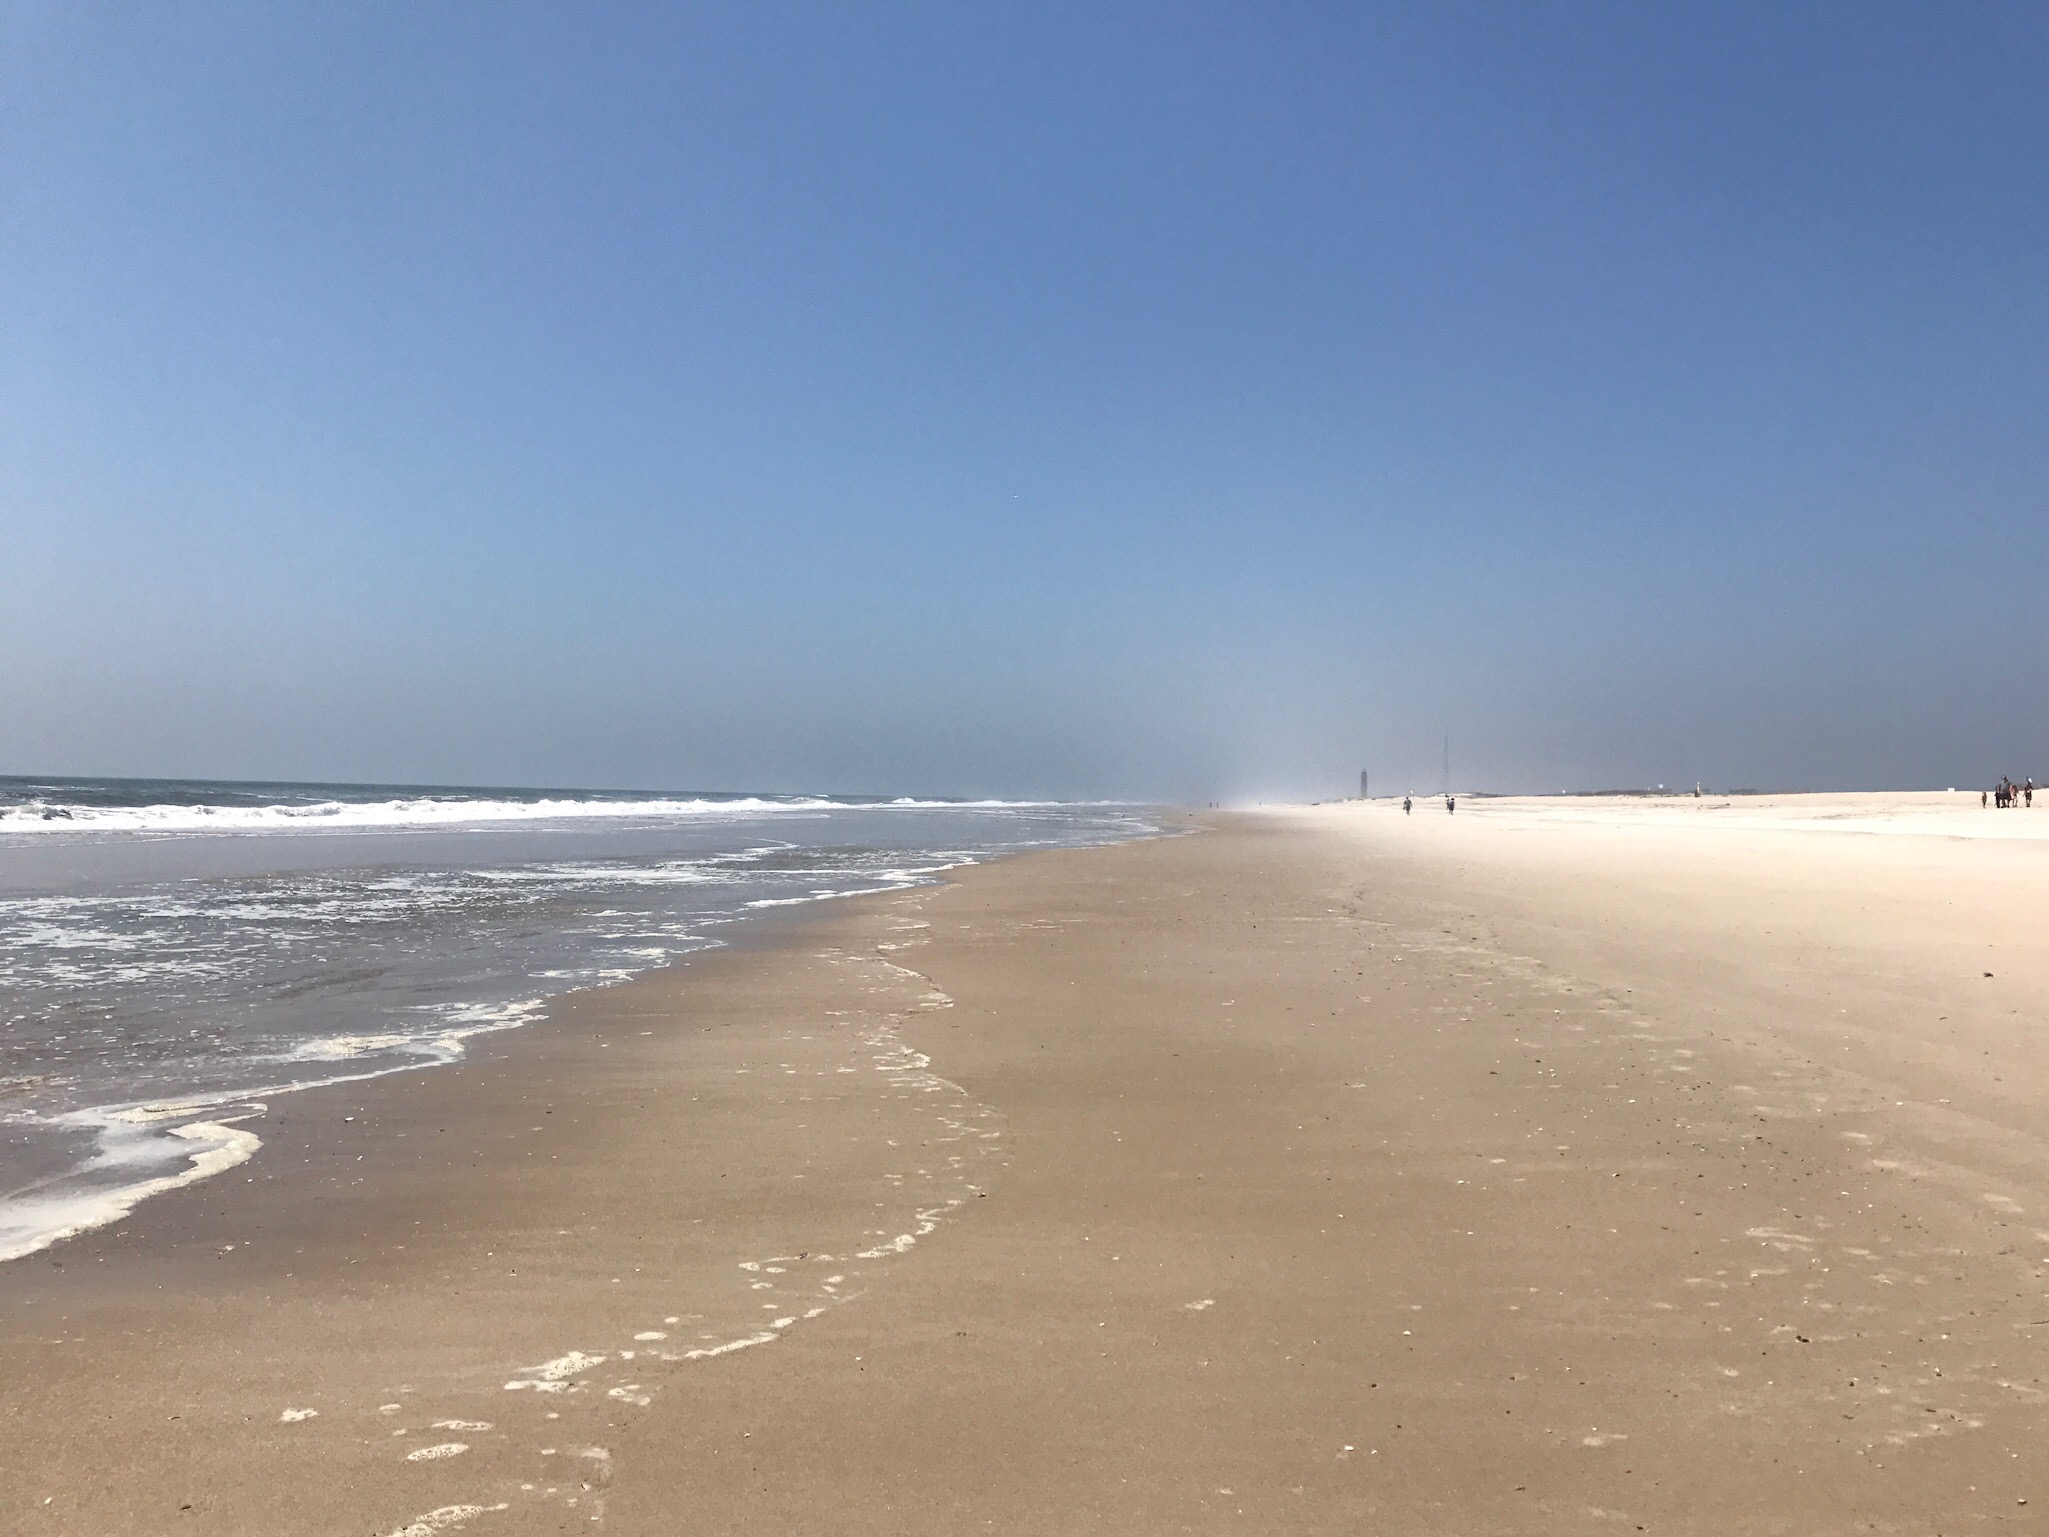
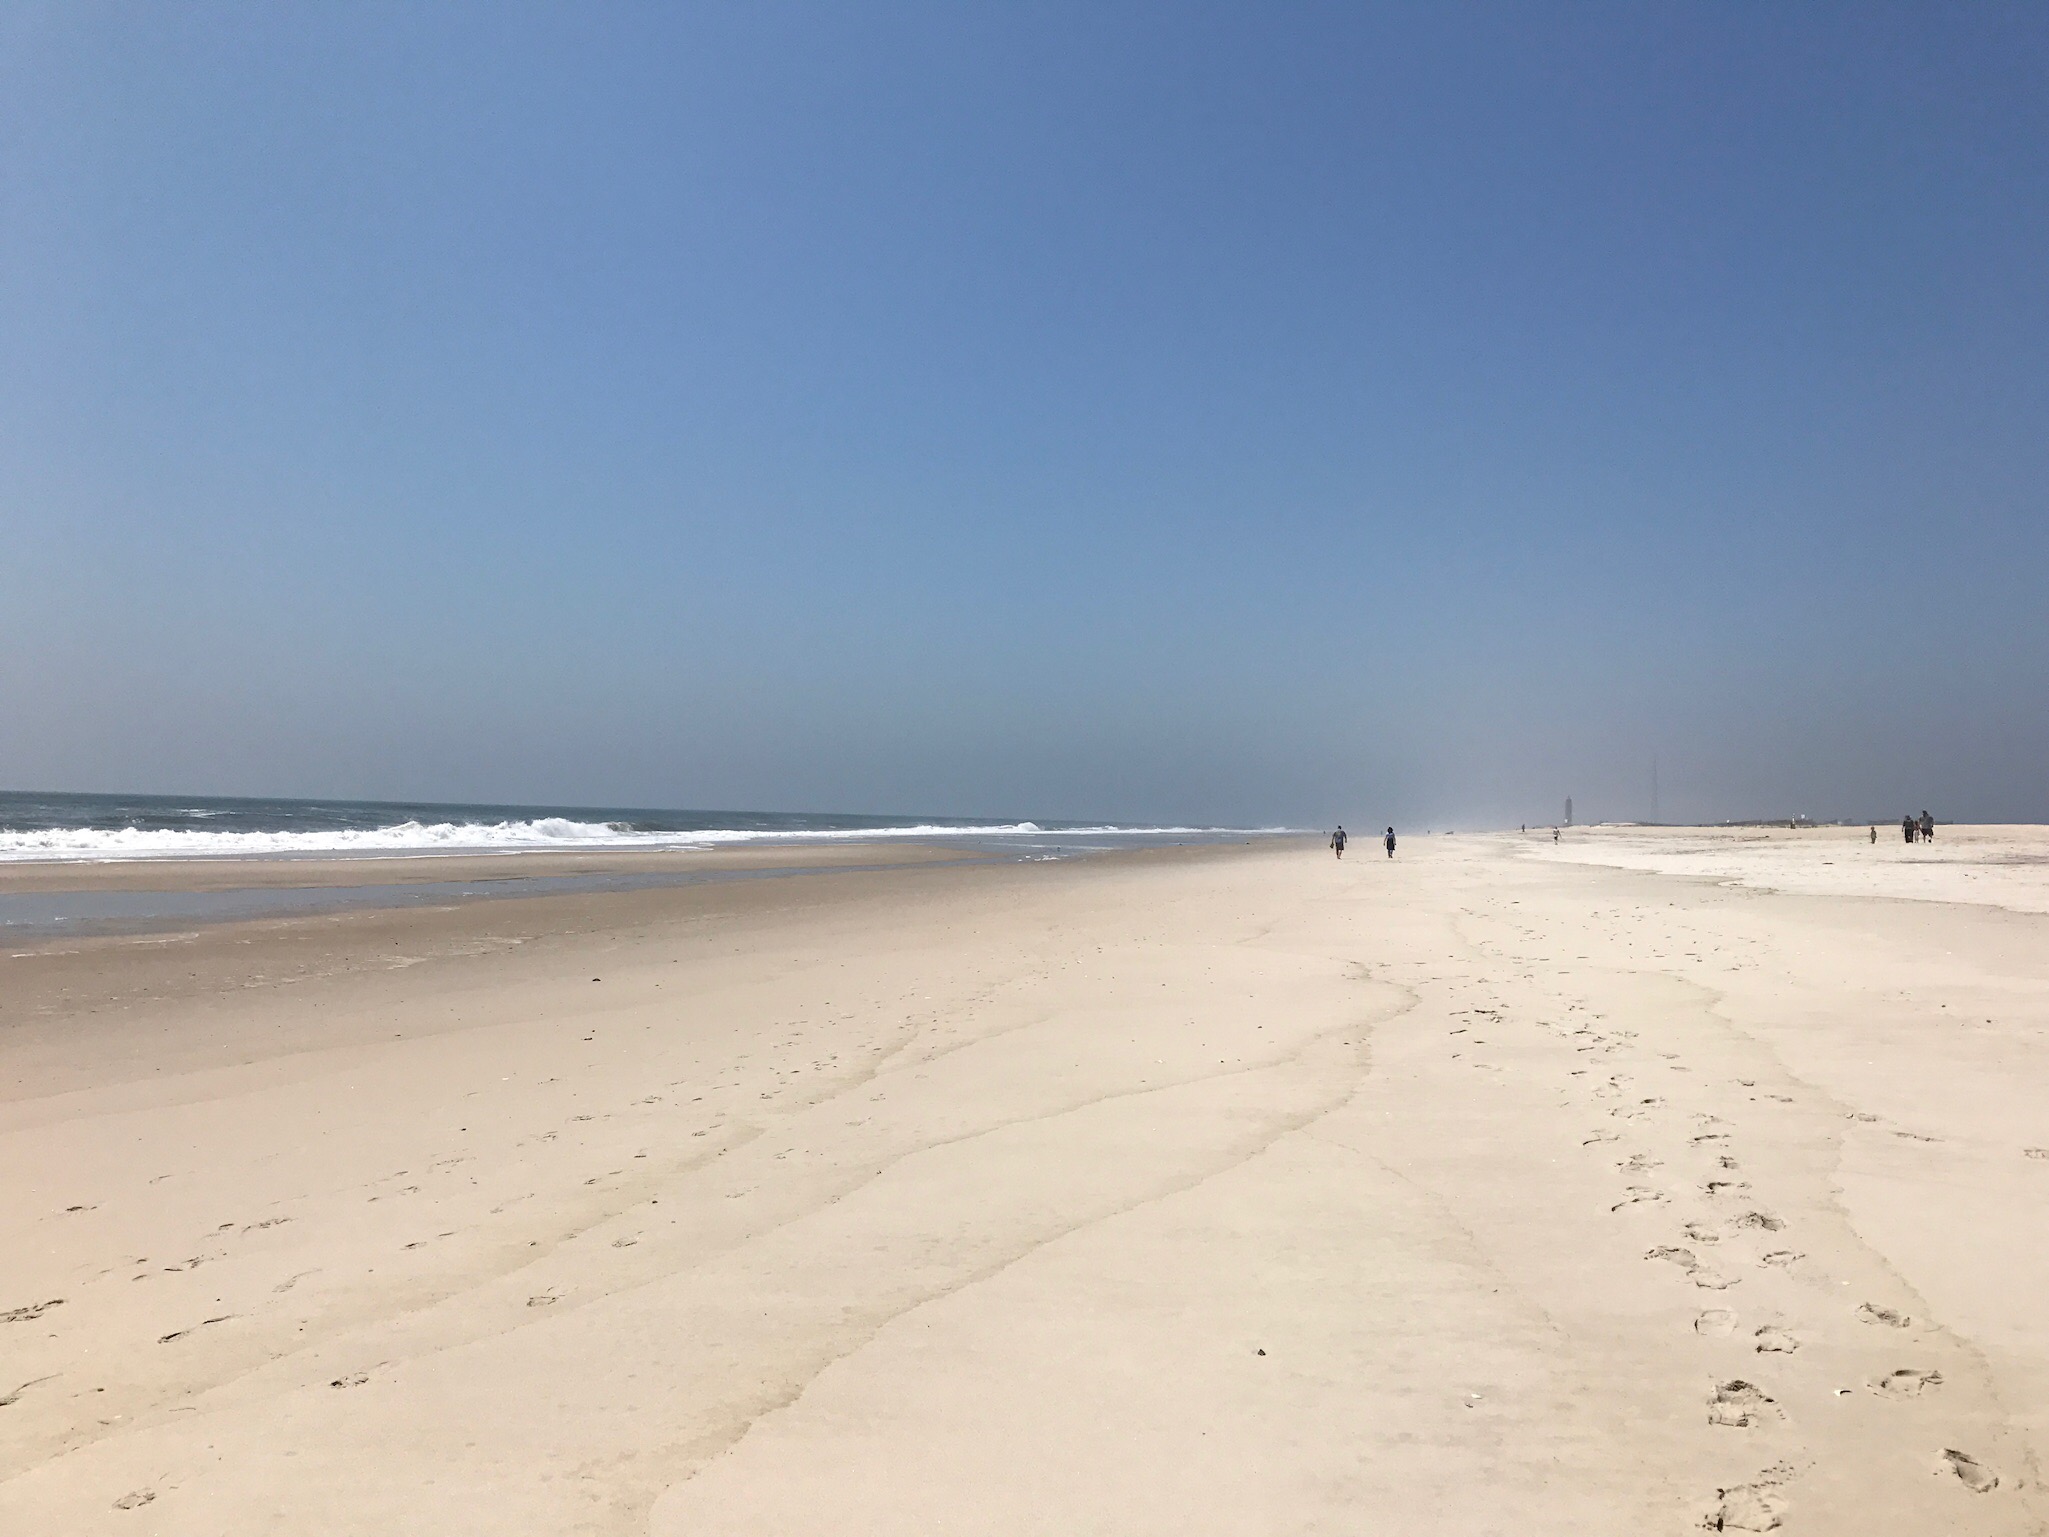
Today I was reading an email from #the100dayproject and there was a worksheet that has a spot for how you’ll celebrate the 100th day of the challenge. Hmm, how will I celebrate? You know what would be awesome – to visit the Fire Island lighthouse! It’s such a fun day trip. The lighthouse is the only part of Fire Island that you can drive to. The walk to the lighthouse is a cool boardwalk through the dunes. Usually when we go we bring a picnic lunch to enjoy on the beach after climbing to the top of the lighthouse. The perfect way to celebrate!
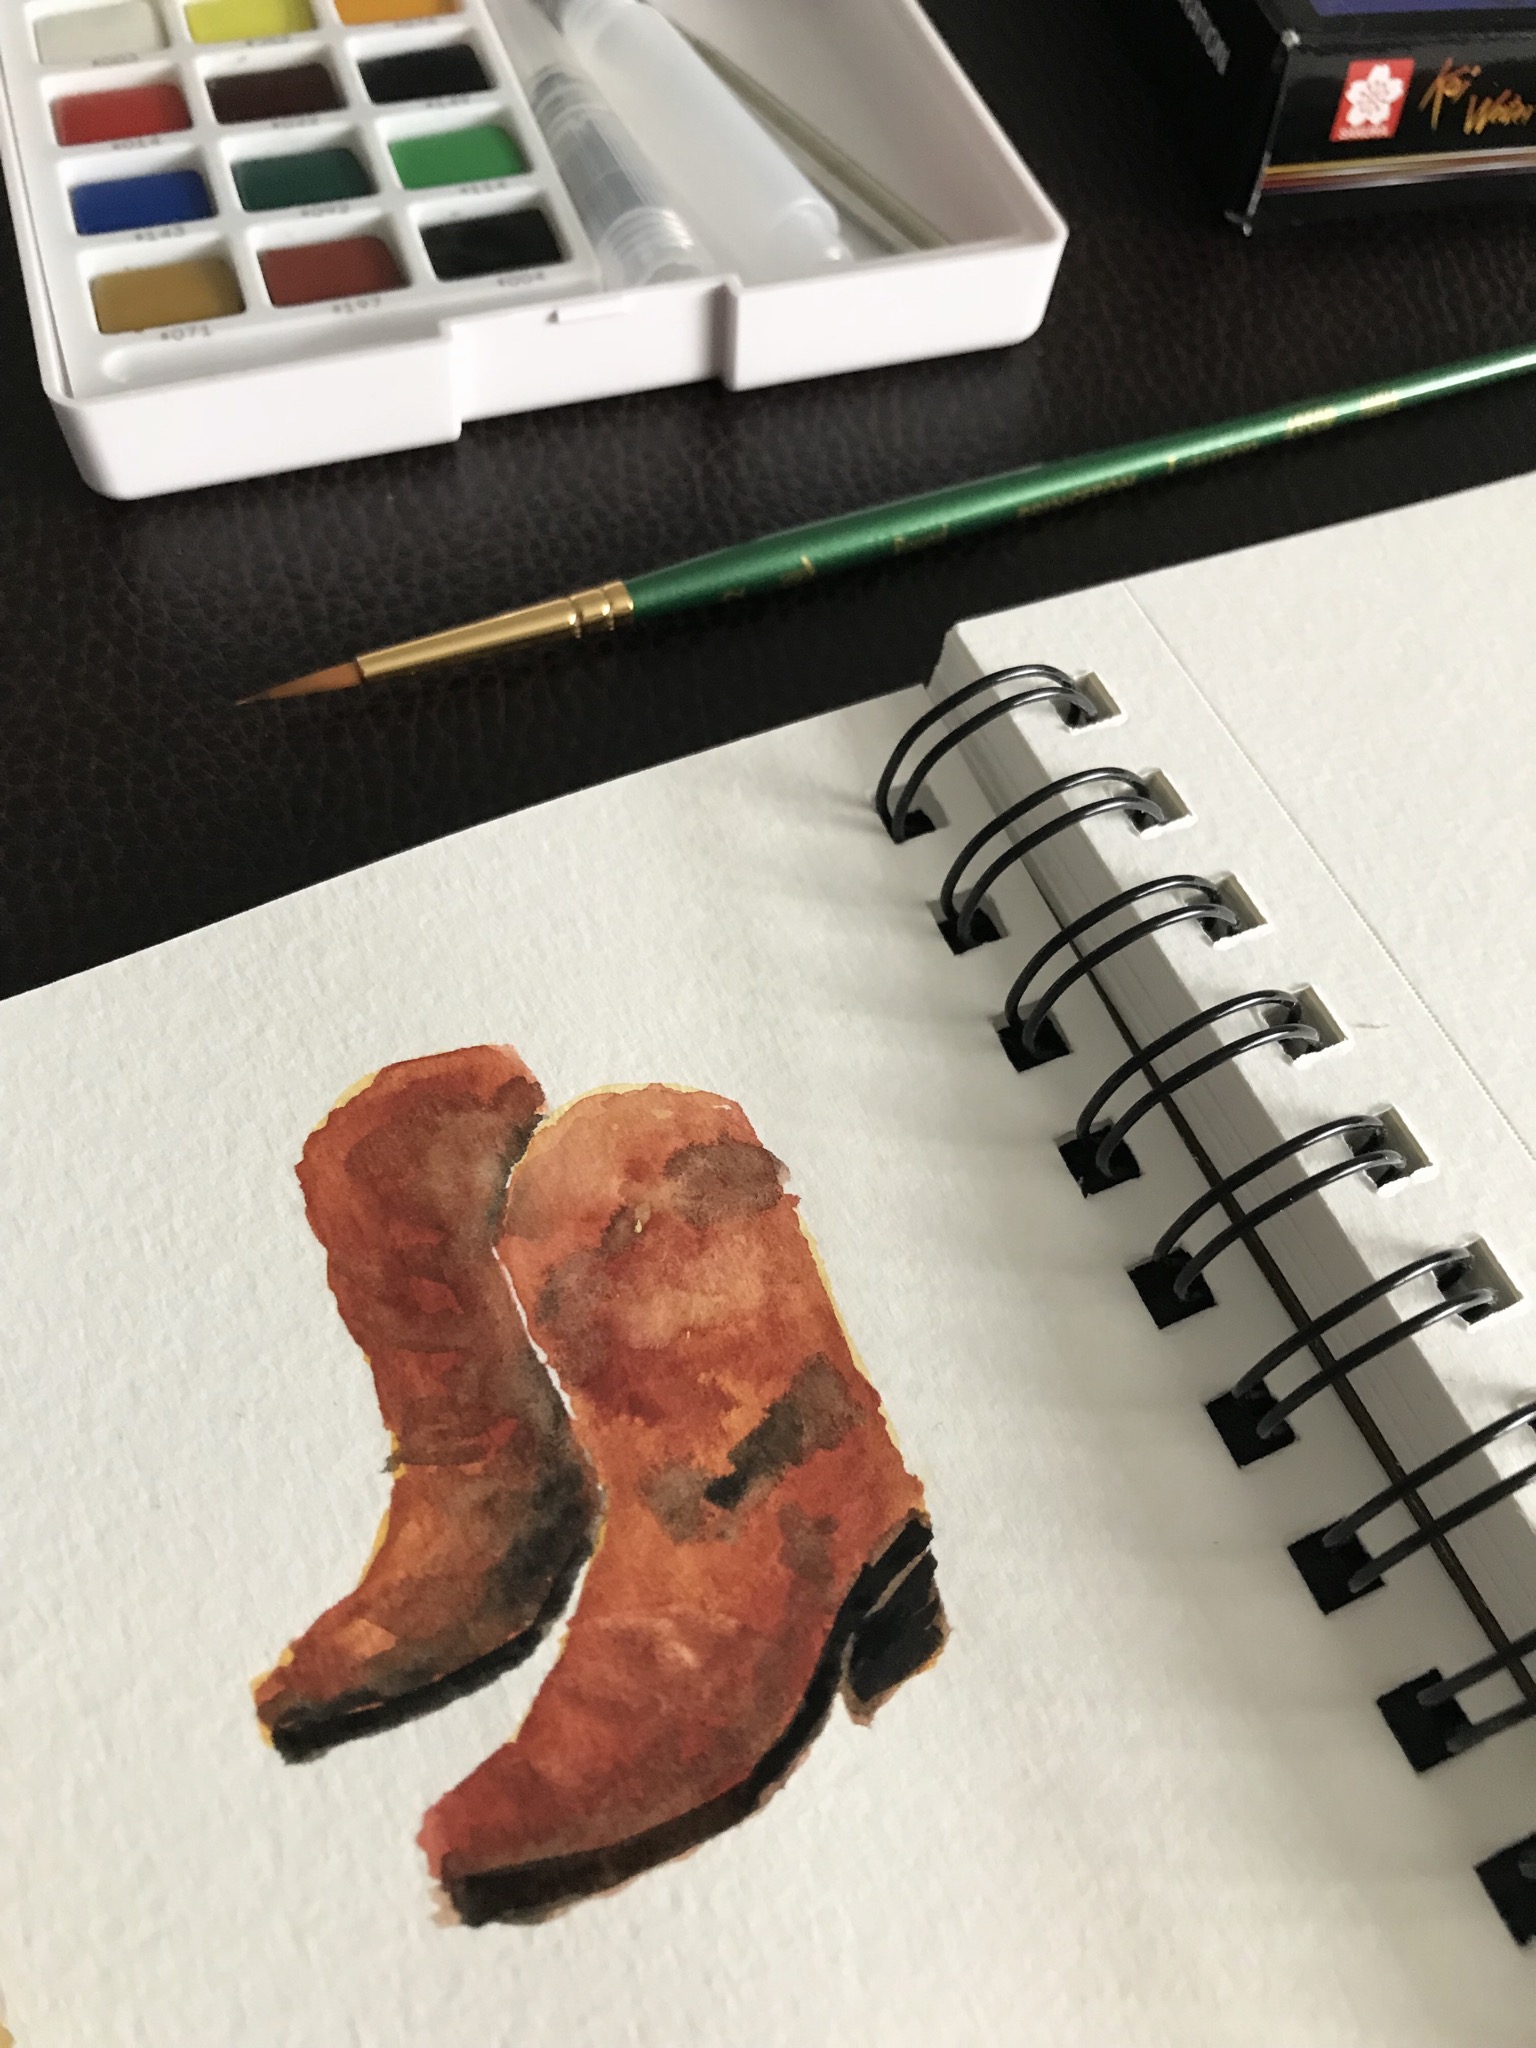
It’s a fun twist to my illustrated map making project to be able to explore a new city – Nashville 🎸 – with map making in mind. These worn boots were inspired by the County Museum Hall of Fame and Museum. The costumes are unbelievable! So far it’s easier to paint while traveling then I thought it would be. The Koi travel watercolor set and small Canson watercolor pad are working out great. The colors in the Koi travel set are unbelievably rich and saturated and the pages in the Canson pad are nice and thick. I set them up on the desk at the hotel. I’m not one for painting in public.
As a kid I saw The Grand Ole Opry on tv. Minnie Pearl, with the price tag hanging off her hat, is my most vivid memory. I never thought I’d actually visit the Grand Ole Opry. I’m thinking of becoming a country music fan.
In progress – Nashville’s Union Station, a former railroad terminal now hotel. It’s clock tower stood out to me as we rode around downtown, especially when it glowed at night. It’s hard to capture all the detail in a 4” illustration that will be reduced to 1”. I guess that’s one of thechallenges in map making. Another challenge is picking out which sites to illustrate. It seems so subjective. Whether you’re a tourist or local in a place, the sites that are important to you may not be the same spots that stand out to others. I’m almost a quarter of the way through #the100dayproject! You can see snippets of my Nashville trip in my Instagram stories @eileenmckenna – saved under “Nashville.”
This post contains affiliate links to products/brands I use and recommend. I earn a small commission whenever you buy using these links, at no additional cost to you. Thank you for supporting my blog!
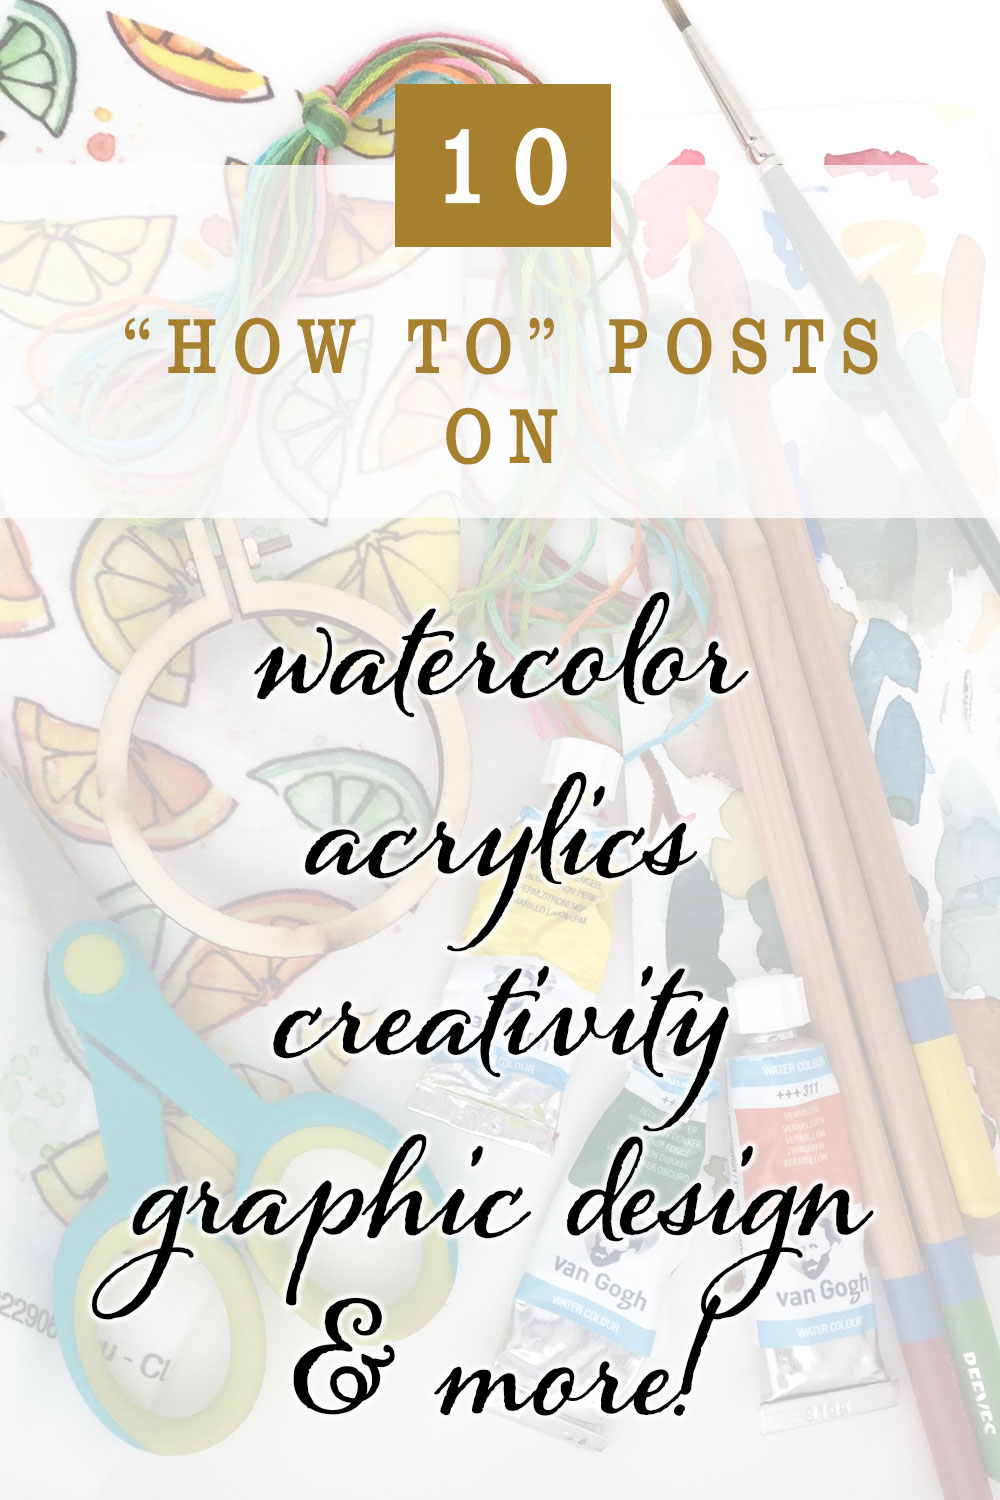
It’s still amazing to me that I made a commitment to be creative, created this blog to hold myself accountable, have continued with it for over five years, and have published over 600 posts! This from someone who previously couldn’t finish a creative project. Here’s a round up of my best “How to” posts.
How to Design Invitations.I’ve been a Graphic Designer for over 20 years. I wrote this post to share the process of designing invitations. Designing invites has always been one of my favorite projects. Visit my Etsy shop for invitation borders, backgrounds, and clipart that make the invitation design process easier!
How to Paint the Ocean.For the last few years I have dedicated myself to capturing the ocean in watercolor. This post shares my step by step process and my secret ingredient.
Transitioning from Watercolor to Acrylicswas such a challenge and I’m still learning every time I pull out a canvas. In this post I share the top differences between the two, to help others make a more smooth transition.
Easy Forest Watercolor Project– is a great one for watercolor beginners. Create an interesting forest and learn and practice five watercolor techniques along the way. It’s actually one of my most popular posts and I’ve heard such nice things from the people who have tried it. There was even a group at a library that tried it.
Creating Repeating Patterns. Early on in my blogging days I began noticing the art of Surface Design. This post explains how to turn your art into a repeating pattern.
Creativity is for everyone. For me being creative is less about the final product and more about the joy I get from being creative. I wish I realized sooner that talent doesn’t mean much. It’s just a starting point. If you have the desire to be creative and work at it regularly, your skills will improve.
Winter Birch Tree Painting.I wanted to add wintery art to my living room so I created these birch tree paintings in acrylic and shared my process in this post.
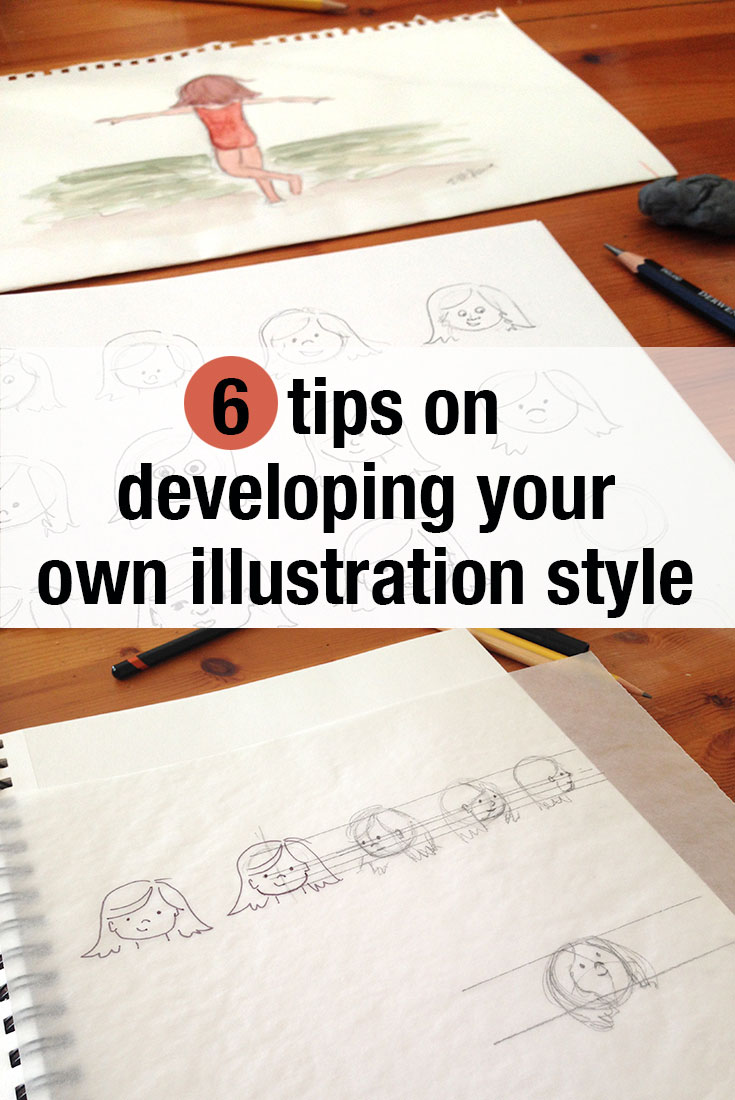
Developing your own Illustration Style. When my kids were small I desperately wanted to illustrate a children’s book. But, not only were my skills not there, but I didn’t have a style. I scoured the internet looking for ways to develop my own style. In this post I share what I learned.
Ways to Find Inspiration. It’s very rare that I don’t have ideas. For me time is more of a struggle, as well as following through on ideas. This post shares ways to find inspiration.
Logo Design Process. I shared a peek into my life as a graphic designer in this post about designing logo.
Want a dose of creative inspiration? Sign up for my newsletter -“My Creative Collection.” A collection of all the things that inspire me, in the hopes of inspiring you! Sign up here!
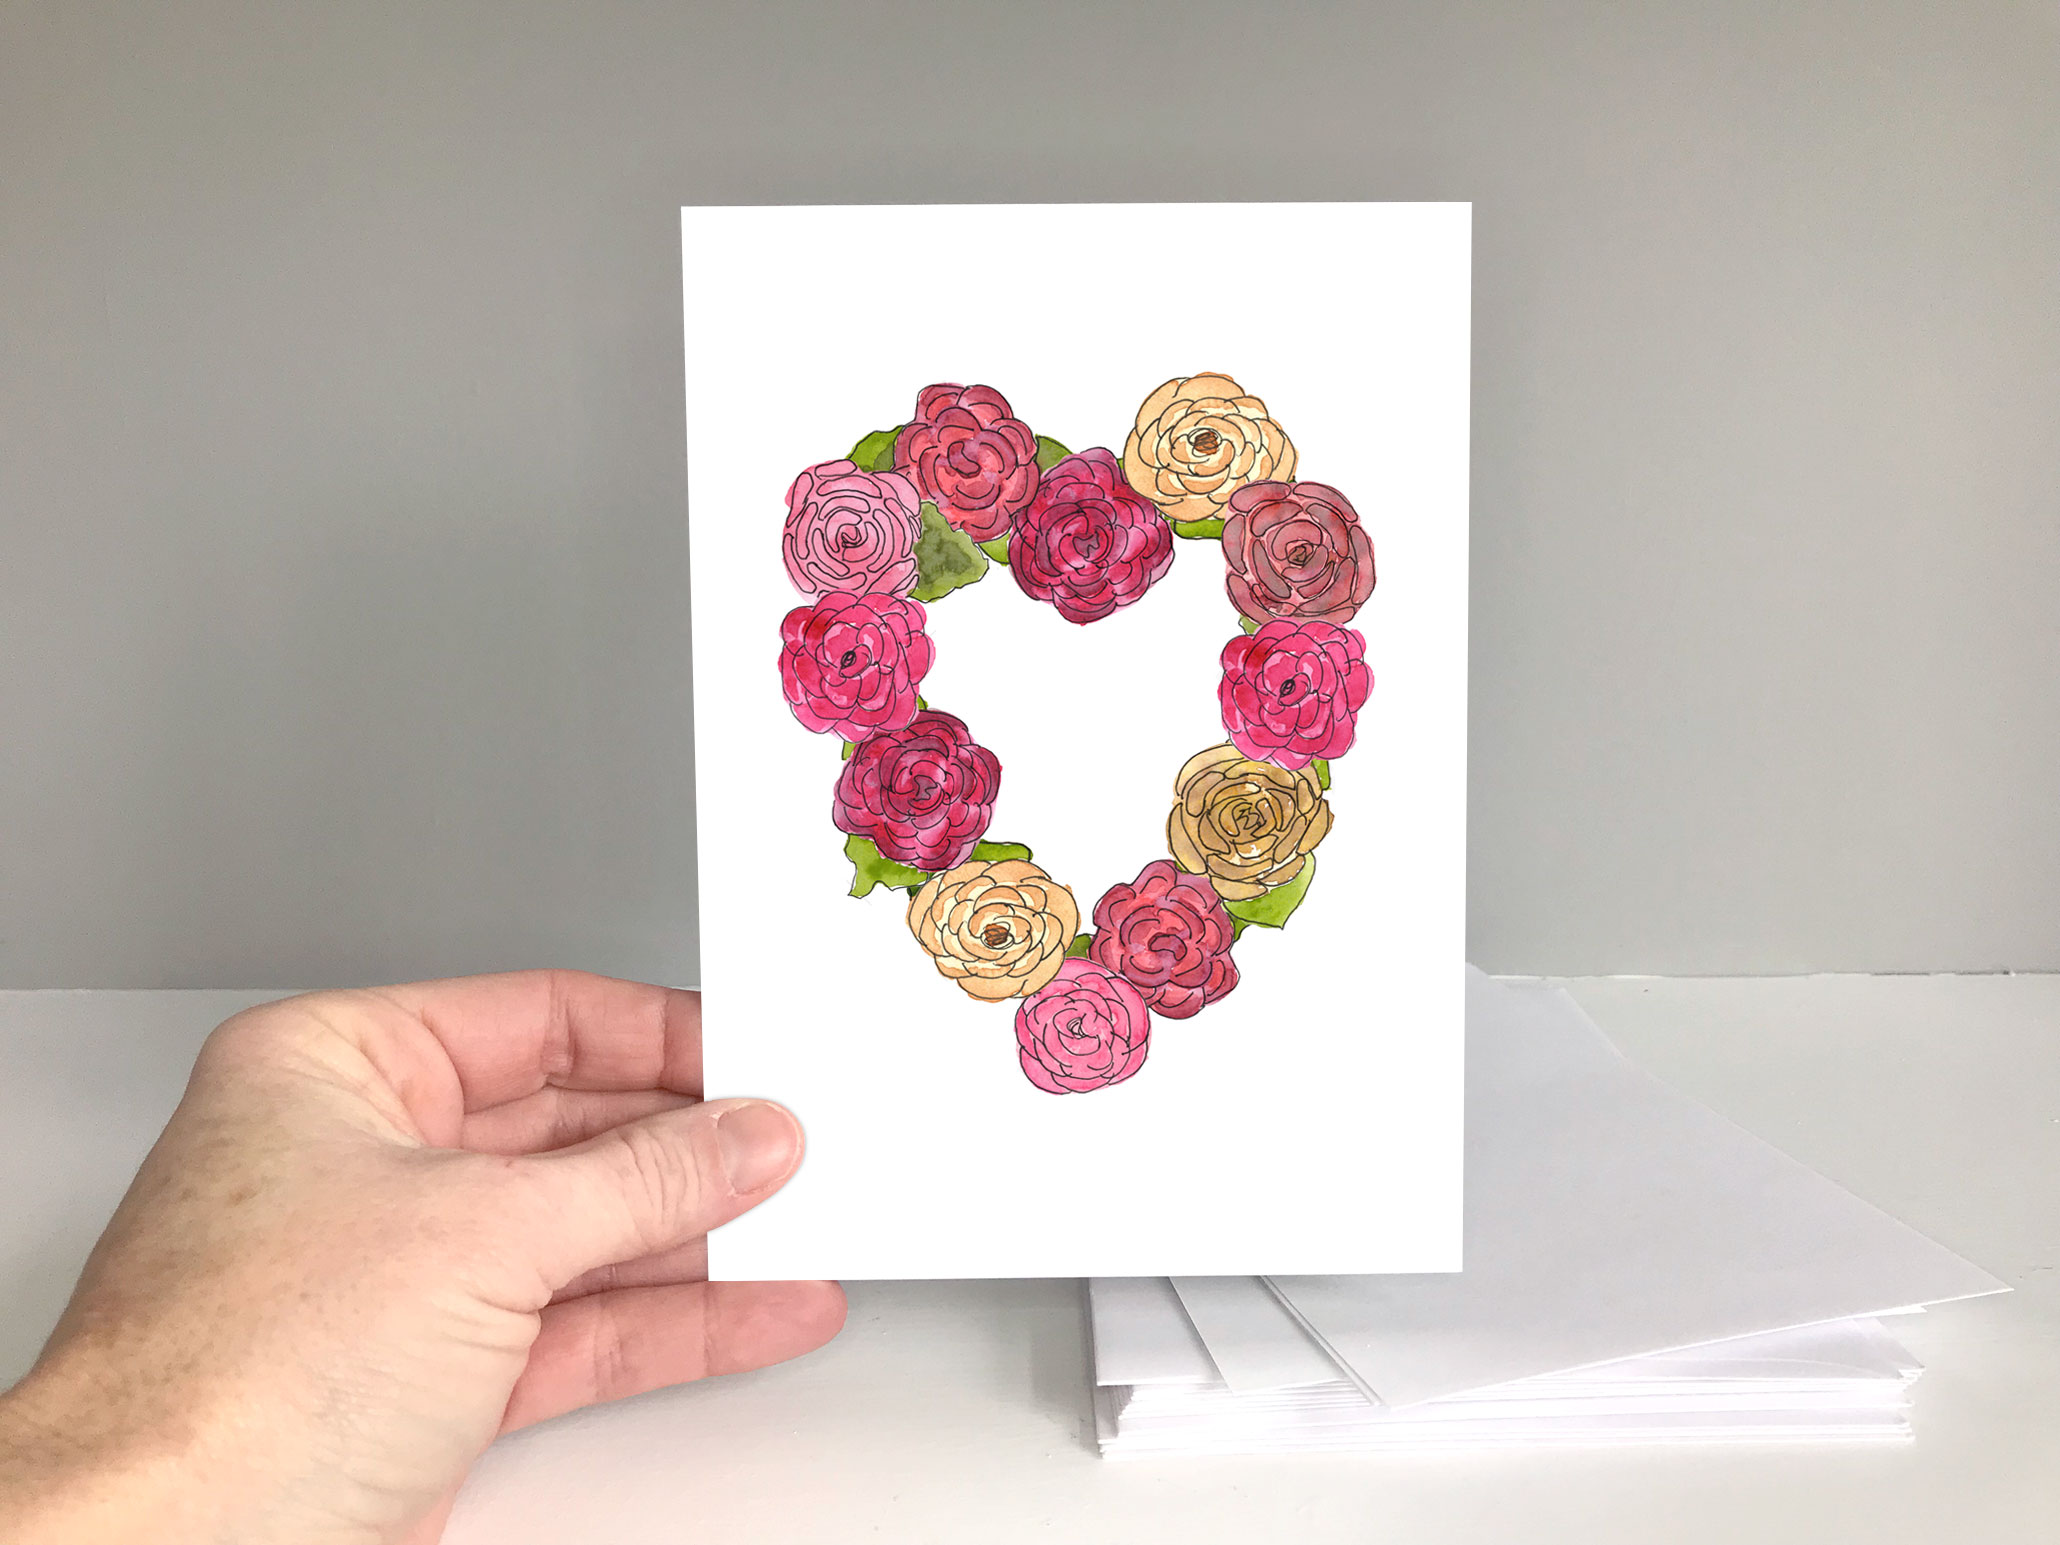
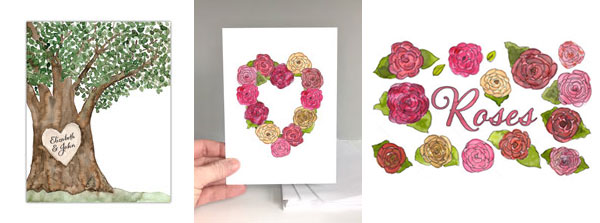
Other than a one or two days when I had the flu, I’ve painted throughout the holiday season. You can see every post on Instagram @eileenmckenna. I really enjoy this relaxing time and the holiday and winter concepts I’ve explored. Anytime I’ve worked for a week or month within a theme, I’ve been pleasantly surprised with some of my ideas. One of my main goals for 2019 is to work within themes. First up Valentine’s Day and St. Patrick’s Day.
To see my daily posts follow me on Instagram @eileenmckenna.