Looking forward to a new season.

leavesonwood
One of the things I’ve learned about myself since starting my creative resolution is that I’m inspired by the seasons. I’m already seeing signs of what’s to come and I’m looking forward to it! Paintings (and sketches) of shells and the ocean will soon be replaced by leaves and trees and other Fall things! I can’t wait for the leaves to change…and the weather to cool down. 🙂

Here are some of my favorites projects from last Fall:

This slideshow requires JavaScript.

Learning with each painting

finalhydrangea
This Hydrangea was definitely a challenge. But whatever the outcome of a piece there’s still a takeaway – I learn something. When I multiply the number of sketches and paintings I’ve done since committing to my creative resolution (prob. between 315-400) and think of all I’ve learned (big and little things) – I am amazed.

While working on this piece, with all the little details of the flower, I thought, “This is hard.” But, it’s good to try hard things, it makes us better. And sometimes a piece isn’t about the final product, but about the process and the takeaway.

Here are my steps:
Wash, Ink, More Watercolor, More Ink
hwash haddinginkhink2hmorewatercolor

I worry that I overworked the final – too much ink. What is my takeaway from this piece? Hmmm. As I struggled to capture the dome of the hydrangea, I studied the photo, again and again. Should I have planned the piece out more from the beginning? Studied the photo before starting? I’m the girl who doesn’t read the instructions. Who dives right in and then tries to figure things out.

From the start I was fixated on the details of the flower petals – the shapes. In addition to this “detailed” thinking, I should have pulled back and thought about other “overall” elements before starting.

Learning Lino – A Different Way of Thinking

finalacorns
As I worked on my second linocut, I realized that with block printing it’s a totally different way of thinking, than painting or drawing. It’s also exciting (and hard) that you don’t really know what you are going to get, until you do that first print.

Here’s what I was thinking about as I carved my second linocut:

  • Mirror image. The design prints the reverse of what it is on the block. I keep forgetting this!
  • Positive and negative. Parts of the design are either printed or not. There is no in between. I sometimes forget which is which, and what I’m supposed to carve! I had to write myself a note (“Carve the blue”). The tricky part is when objects in your design meet. You have to work out what prints and what doesn’t, so the design makes sense.
  • Plan. It’s better to plan exactly what gets carved away and what prints before carving.
  • Blade sizes. Wispy little lines don’t exactly translate to carving blades. You almost have to plan the design in terms of what is “carvable.”
  • How deep to carve? I’m still figuring this out. In my first linocut, I didn’t go deep enough, but there was a nice surprising texture throughout.
  • Paint colors. I tried using a blend, but when I rolled the brayer a couple of times it mixed it into a muddy army brown. Printing more than one color is more interesting, but I think you have to print each color separately.
  • Colored paper. An easy way to introduce another color. It’s fun seeing a print on different papers.
  • Press paper on lino or lino on paper? That is the question. I saw a couple of videos that put the paper on top of the lino block and burnished. Then I got a recommendation to press the lino onto the paper.* Like stamping. This time I tried both, and I found that peeling the paper off the lino is easier than picking up the lino block without smudging. Maybe it depends on the size of the lino block?
  • Workspace. As I learn the block printing process, I’m learning how to organize my workspace – what is working and what isn’t. Spreading the paint on a piece of taped down palette paper is working great – and it’s easy to clean up!

acorn1 acorn2 acorn3

*I appreciate any advice on block printing. Your expertise and experience is welcome! Thank you to bluechickenninja for recommending pressing the lino down onto the paper, in my last post: My First Linocut!

Autumn Tree

newfalltree
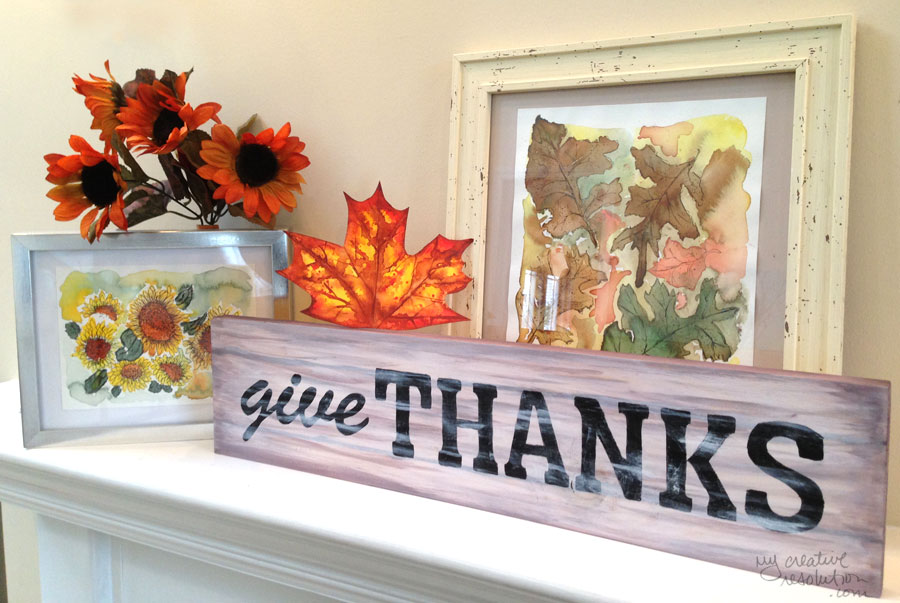
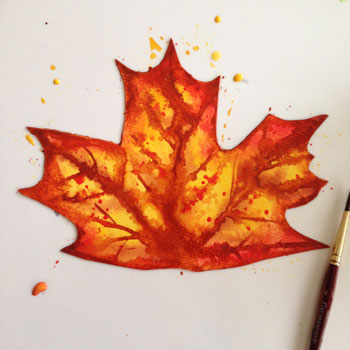
I told you I was into trees! Trees and leaves! For this piece I started painting, very wet, with watercolor. After the painting dried (a little) I went back and added more color and some leaf shapes. When that was completely dry, I started drawing, in ink, the shapes of the leaves and the lines of the bark. Then, I added more color.

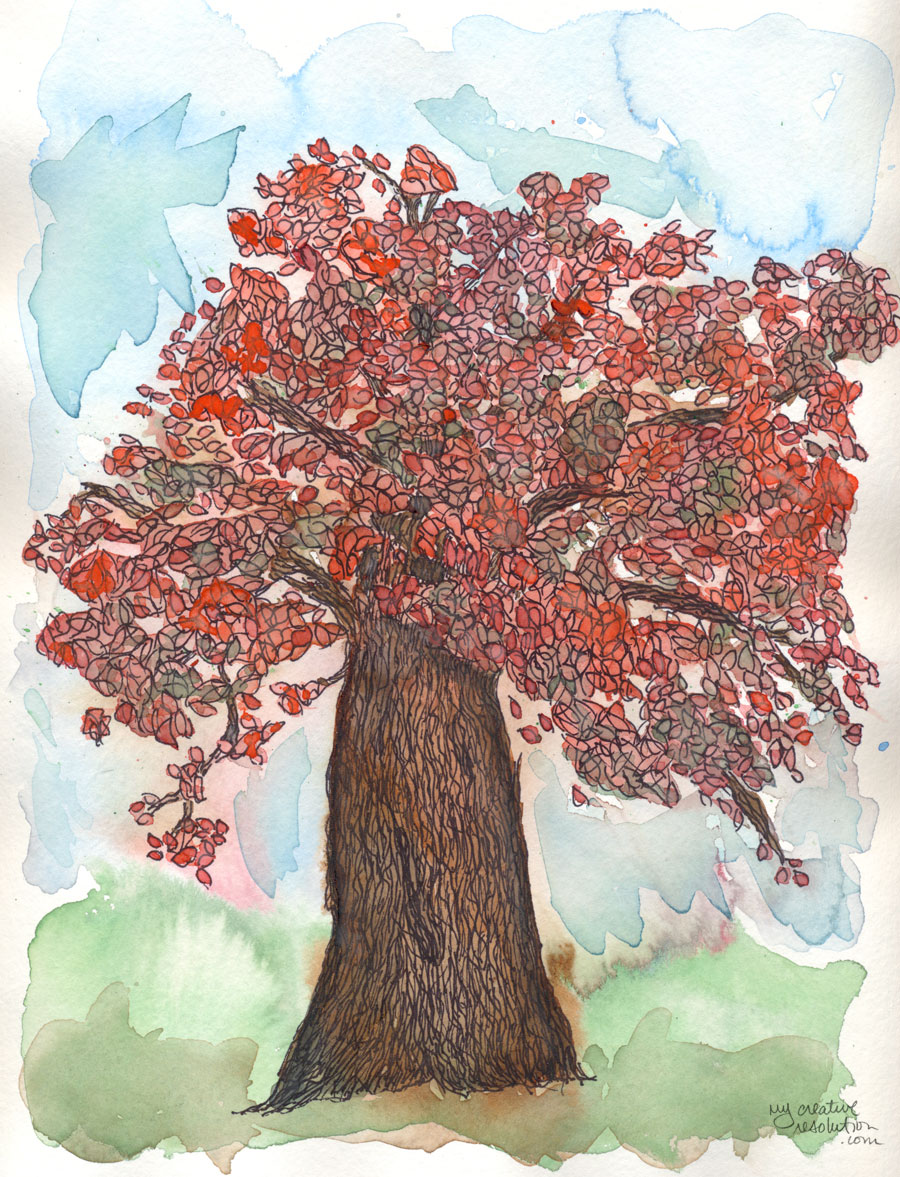
I love the style of this. It is so fun to doodle in ink. You kind of go into a trance where you are half paying attention. Sometimes it takes a little bit, but eventually I find my groove. I find it helpful to add the ink while I’m watching TV!

There were a couple of parts of this piece that were bugging me, so I did a little retouching in Photoshop. I don’t normally do this. I’m a Graphic Designer and spend a lot of time using Photoshop. I prefer to keep my art “handmade,” but I loved this piece and had to fix those nagging issues.
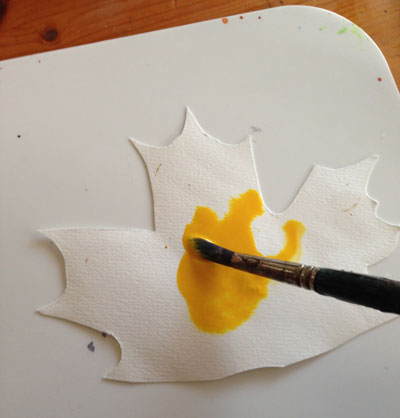
My steps:
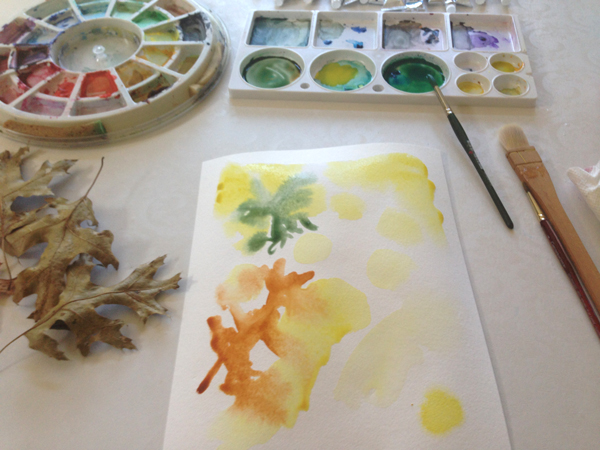
I need to start clamping down my paper to a board or taping it. My paper buckles and the paint puddles.

falltree1

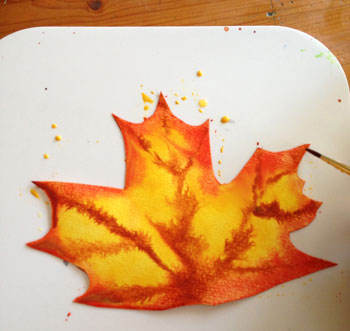
Here’s where I added more color and the hint of leaf shapes:
falltree2a

Before computer retouching. I’ve added details in ink and more color:
falltree3

See more trees, trees and leaves!

A Crisp Fall Day!

fallleavesfinal
Fall is one of my favorite times of year. I love those sunny, crisp, blue sky days. Unfortunately they lead to damp, grey, cold days! Today is the perfect Fall day. I’m going to enjoy it while it lasts! 🙂

This painting was part of my painting party. I worked very wet, letting the colors bleed together, only hinting at each leaf. I added several layers of paint. After I was done, I added some details with ink.

leaves1leaves2