I’m really proud, and happy, that I followed through on my goal to start creating surface designs. I designed the first one in January, and decided to commit to “1 Surface Design a Month.” That goal, and the end of the month deadline, really pushed me to put in the work.
12 Surface Designs
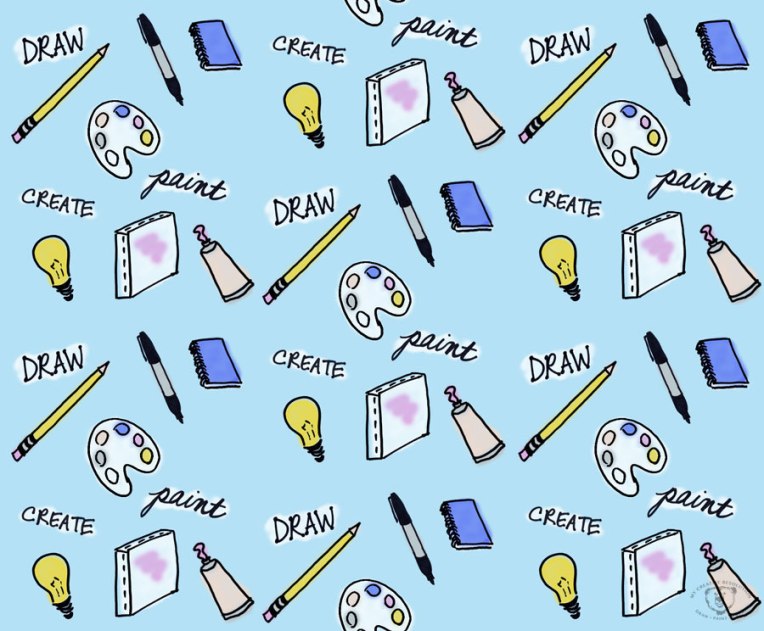
January – Art Supplies
February – Valentine’s Day

March – Gardening

April – Dahlias

May – Sandcastles

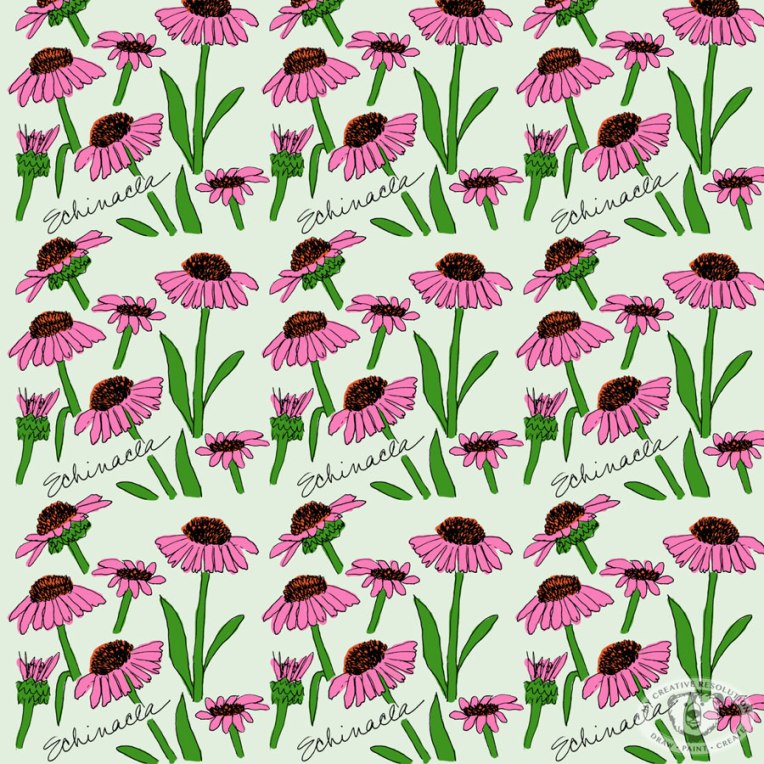
June – Echinacea
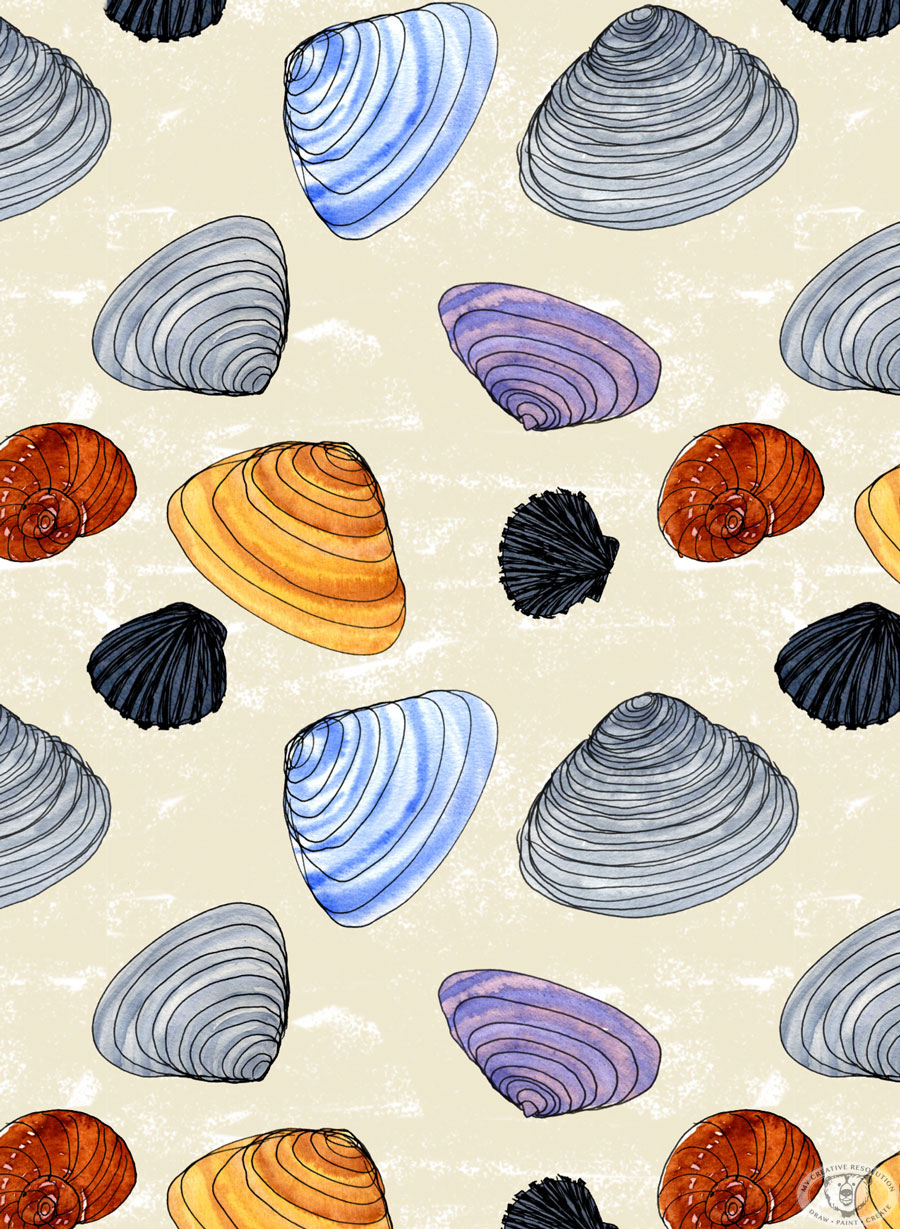
July – Shells

August – Ice Cream Cones

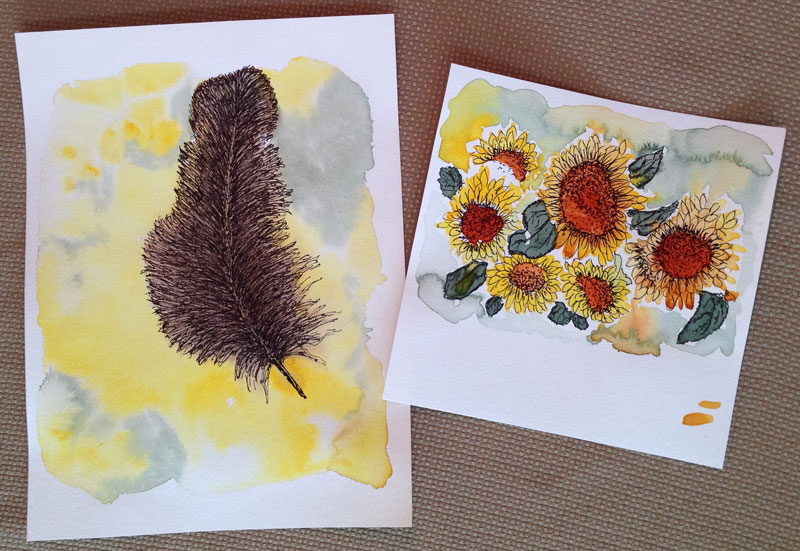
September- Feathers

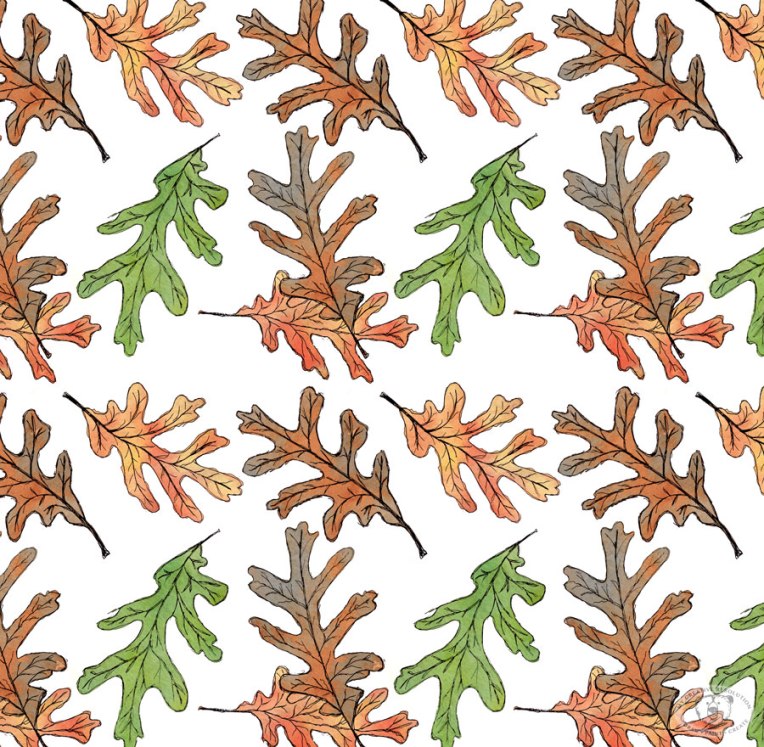
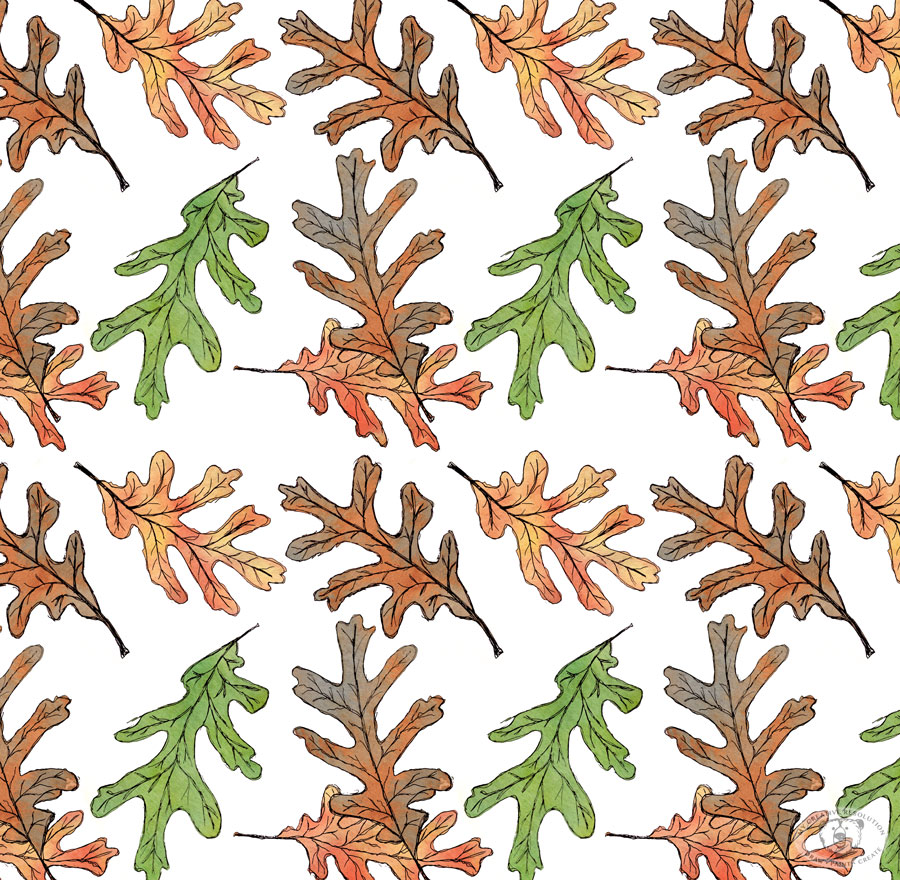
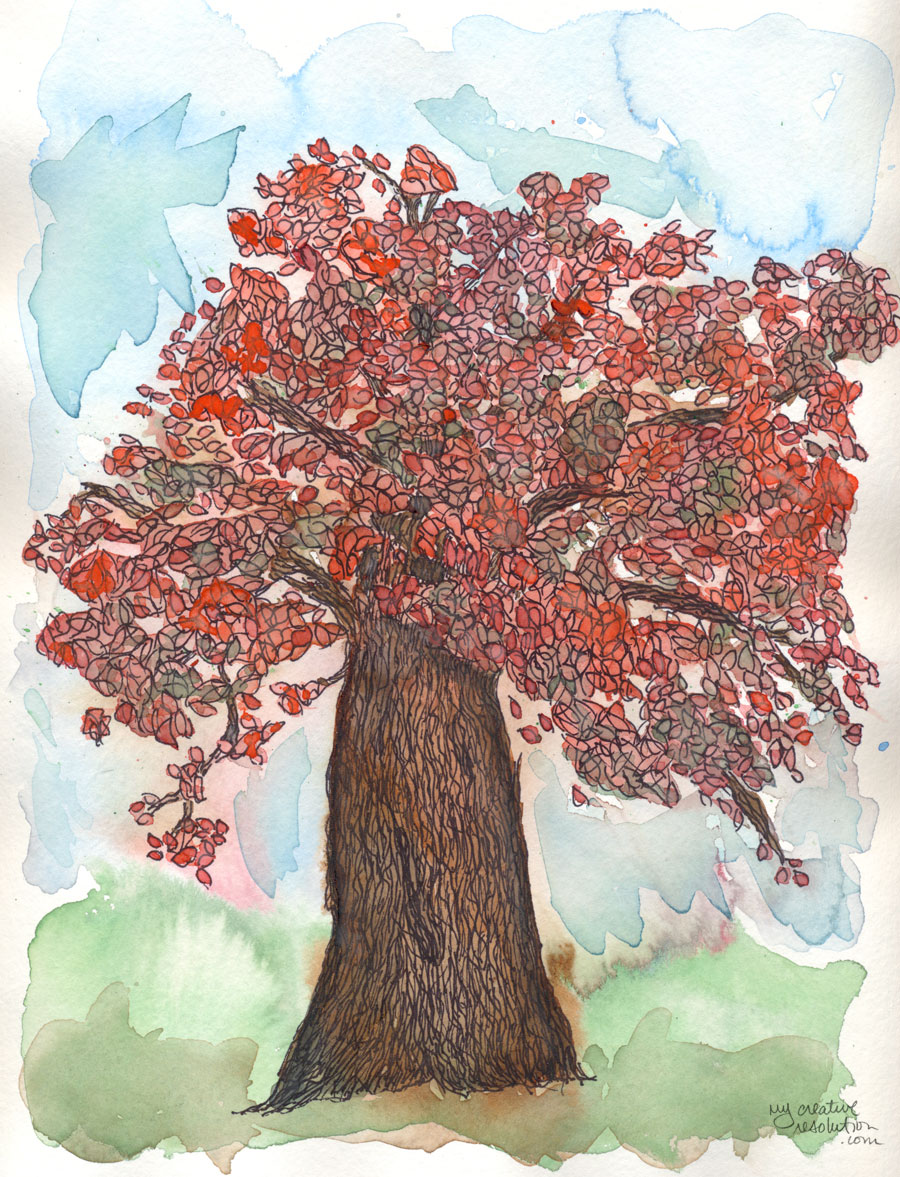
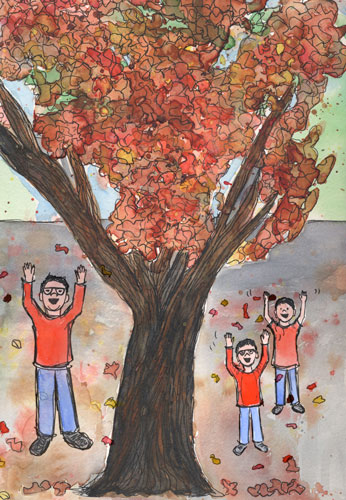
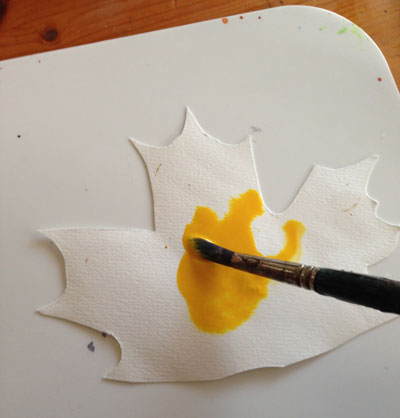
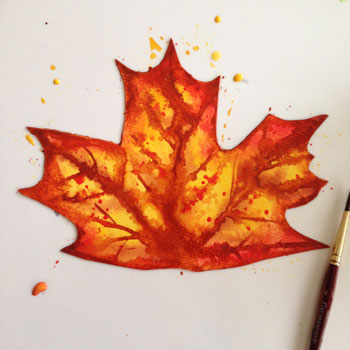
October – Leaves
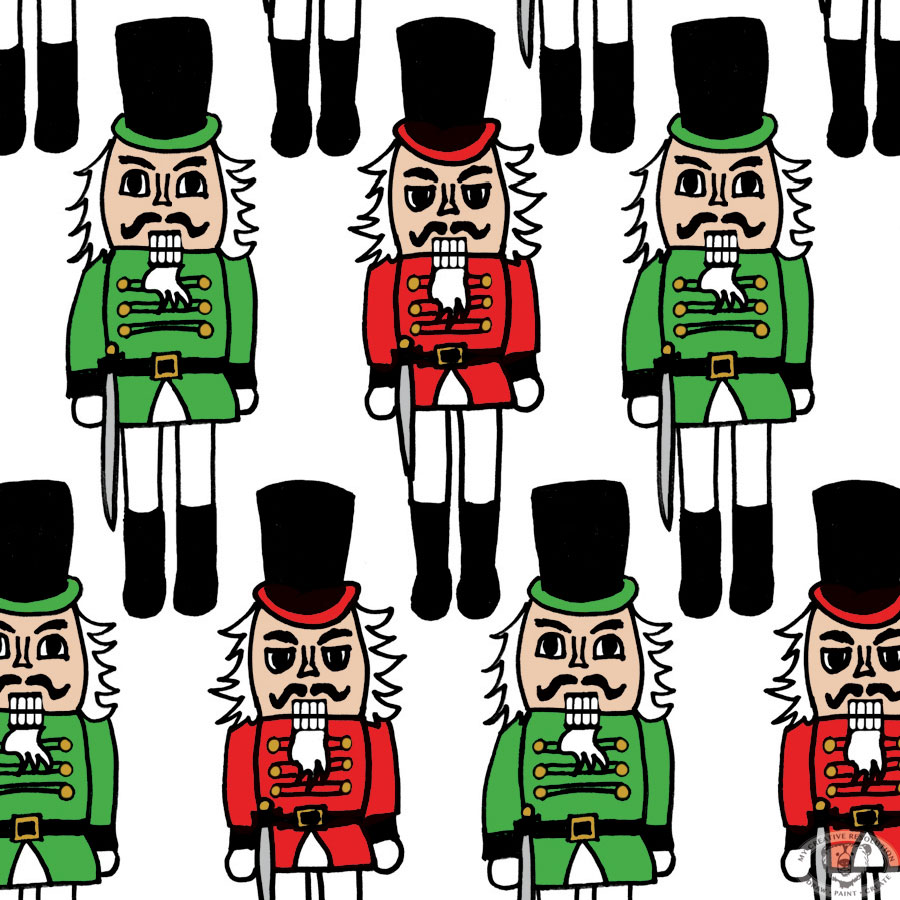
November – Nutcrackers

December – Toy Soldiers

I’m always asking you, “What’s your favorite?” And I would love to hear, but I’ll also tell you my favorites.
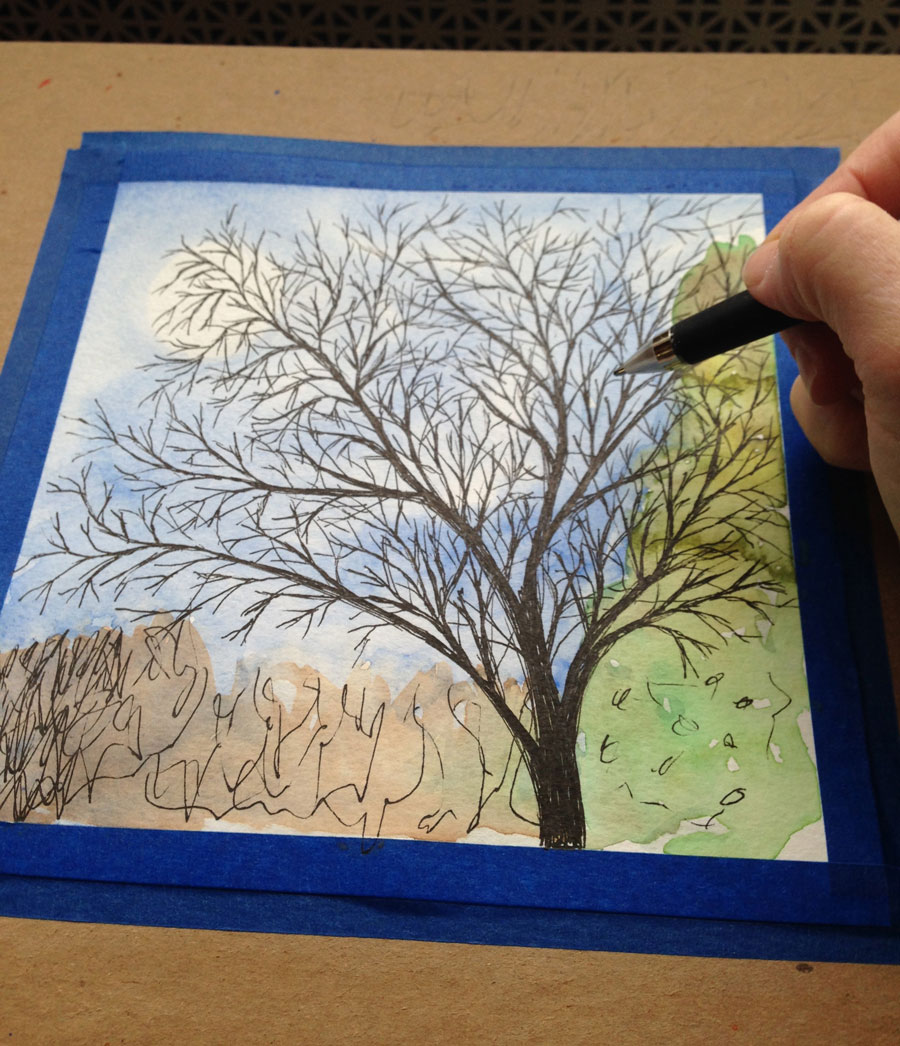
I really liked when I started using the technique of creating the ink lines and watercolor backgrounds separately and then merging them in Photoshop. I started this with the shell pattern. I think the watercolor really adds a depth that you can’t get with Photoshop brushes. I started this technique with the shells, and continued it with the leaves – which is my favorite design in this style.
My other technique is drawing the elements in my sketchbook and adding color in Photoshop. My favorite design, using this technique, is the Toy Soldiers. They are just so cute!
Will I be continuing with surface design in 2016? Absolutely! As you know, I’ve made the Nutcracker and Toy Soldier patterns available on Spoonflower, where you can have them printed as fabric or gift wrap. It is really interesting to see the designs printed and to think about how it will be used. It makes you think about the design, and what works and doesn’t. It’s a different perspective than just seeing it flat on the computer screen.
In the new year, I’ll be adding a few of the other “12 designs” onto Spoonflower. And I plan to continue designing one new one a month!


 This post contains affiliate links to products/brands I use and recommend. I earn a small commission whenever you buy using these links, at no additional cost to you. Thank you for supporting my blog!
Want a dose of creative inspiration? Sign up for my newsletter “My Creative Collection” by clicking
This post contains affiliate links to products/brands I use and recommend. I earn a small commission whenever you buy using these links, at no additional cost to you. Thank you for supporting my blog!
Want a dose of creative inspiration? Sign up for my newsletter “My Creative Collection” by clicking 


