
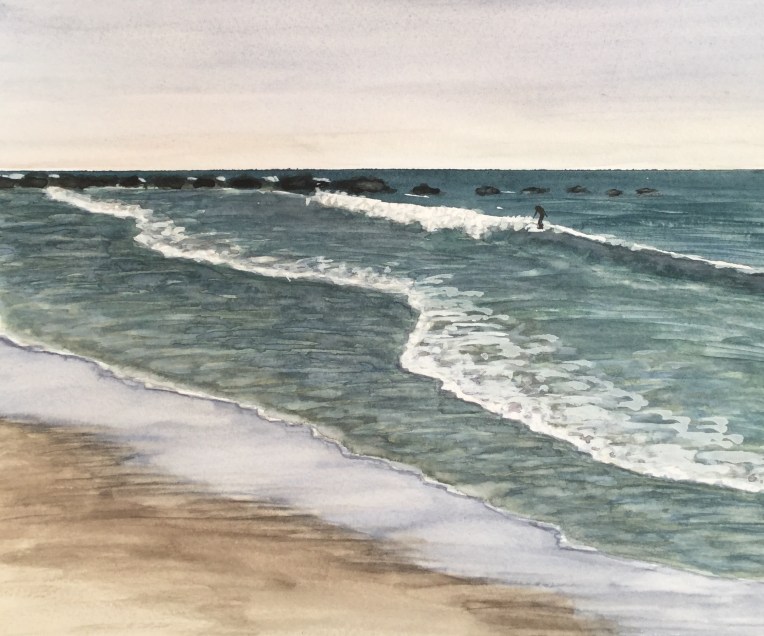
 Preoccupied with other things, I didn’t sit down to paint much this week. So, it feels particularly good to make some progress on this painting today. This painting has been hanging around for a few weeks. It was definitely at risk of going into the scrap pile. But I try to give each one a chance. I know from experience that even the worst beginnings, can surprise you in the end.
Painting waves in watercolor

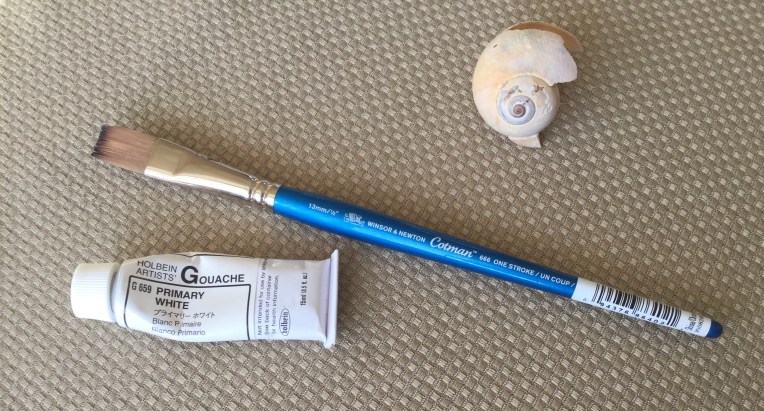
Tips and tools that prove invaluable
When I think about the progress I’ve made in the past two months, there are a few things that standout out to me. First watching videos of other artists painting waves gave me some great tips (which I wrote about here.)
Second, one of the artists was using a flat brush so I bought a couple to try. The smaller flat brush has become invaluable to me.
Lastly, when I started using white gouache for the foam of the waves it was a turning point.
Want a dose of creative inspiration? Sign up for my newsletter “My Creative Collection” by clicking here. Learn more about the newsletter here.
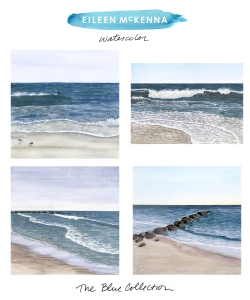
Prints of my watercolor beach paintings are now for sale at shop.eileenmckenna.com. Take a peek!
Read:


Share this:

Tips on painting waves in watercolor
For years I wondered how do you capture the ocean with paint? I decided to figure it out and painted the ocean over and over (and over). I learned and improved with each painting. Years later I still enjoy painting the ocean.

Here are my top tips for painting waves:
Study your reference photo.
To accurately paint or draw any subject you have to study that subject to really see the details – colors, lights and darks, shapes, composition, etc.
Identify the main colors and where the colors change.
- Often the distant ocean is a darker blue. As the water gets closer it gets lighter and greener.
- Near the breaking waves, where the sand is being churned up, the water is greener.
- The shallow water close to the shore is brown.

Paint Horizontal Strokes
After painting your base colors use a flat brush to add horizontal lines. Horizontal strokes in your painting make things look flatter. You can add dark thin horizontal strokes on top of the distant ocean color (waves in the distance). Add thicker strokes for cresting waves near the break area (where the waves are breaking).

Use White Gouache
Use White Gouache to add waves in the distance, crashing waves, foam etc. White Gouache is thicker (more opaque) than watercolor and you can use it to paint over watercolor.
Painting Waves in the distance
- Simply use a flat brush to add distant breaking waves
Painting Crashing waves
- Use gouache to create the crashing waves. Your brush strokes should mimic the motion of the wave.
- Add grey shadows within the breaking wave to add depth.
- Use a dry brush or blot with a tissue to create spray coming off the wave

Painting foam
- Paint the water near the shore brown and use white gouache to add the foam on top of it.
- A dark brown line at the edge of the foam makes it look thicker and more realistic. You can soften the line with a damp brush.
Want to learn more about painting seascapes?
I share my step by step process for painting seascapes in watercolor.
Choose the format that works best for you:
- Printable tutorial
- Video lesson
- Live Zoom lessons – coming soon! Check here for updates.

For Weekly watercolor tips and tricks…
Processing…
Success! You're on the list.
Whoops! There was an error and we couldn't process your subscription. Please reload the page and try again.
This post contains affiliate links to products I use and recommend. I earn a small commission whenever you buy using these links, at no additional cost to you. Thank you for supporting my blog!

