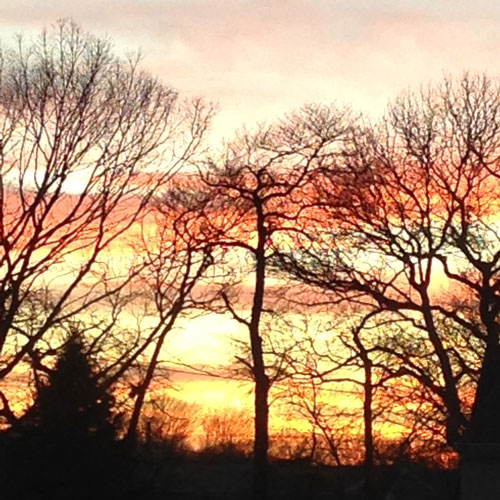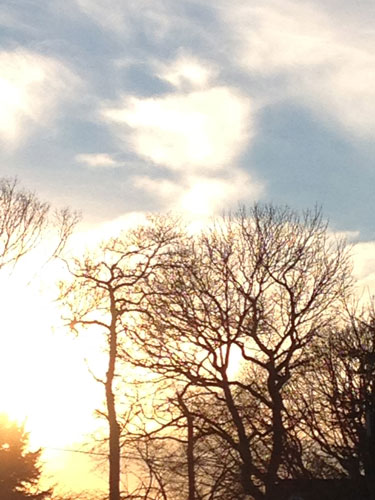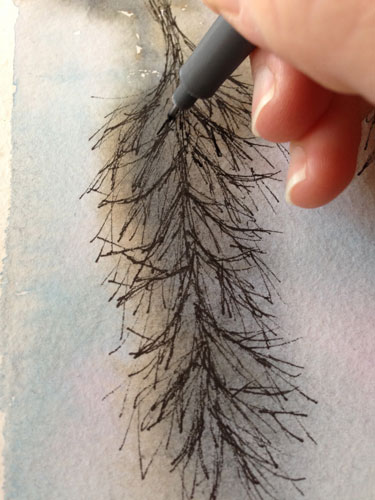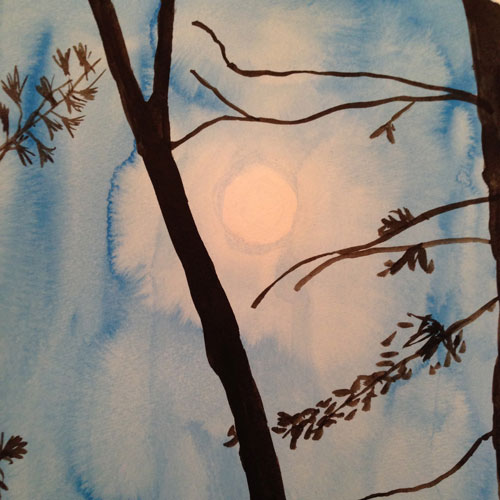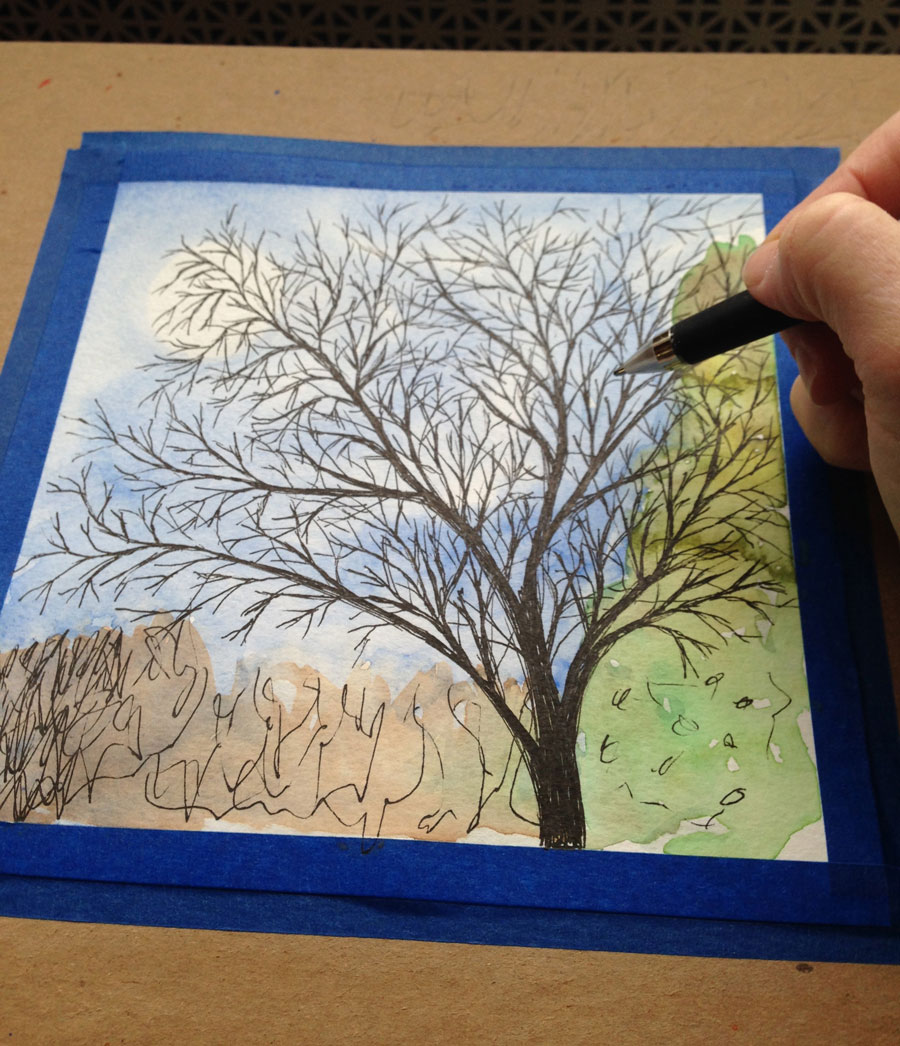
As I added branches to my latest illustration project, I wondered, “What was I working on last year?” I asked myself the same question at the end of the Summer and the answer was interesting. When I looked back to Summer 2014, I saw the start of my watercolor and ink style. I could pinpoint that first project where I added the ink details, and something clicked. The first couple of projects from Summer 2014 looked one way, and then a change took place.
Now, when I look back to last Fall, I see that I continued to work in that style. I actually don’t see much of a difference between last Fall and this Fall. To me, the projects are almost interchangeable.
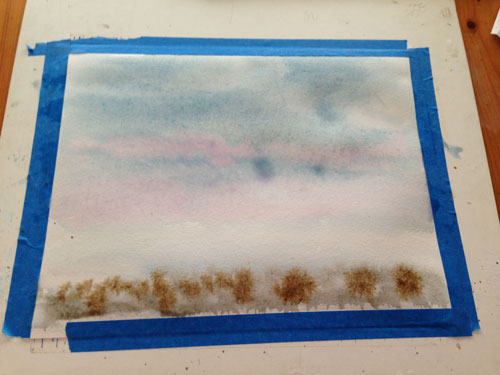
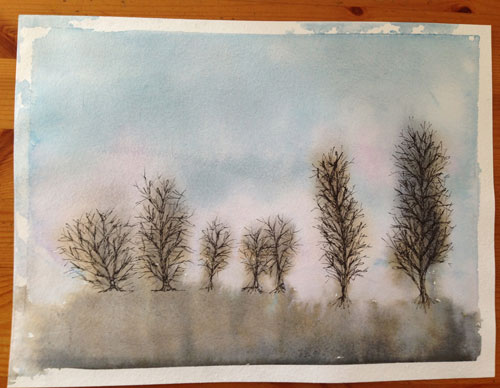
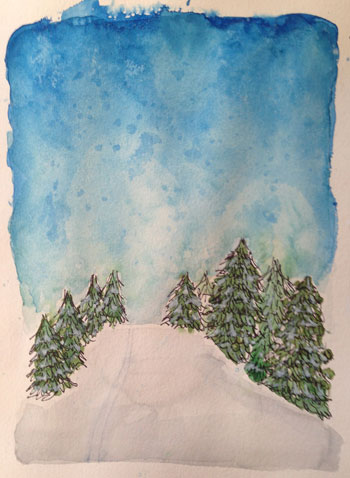
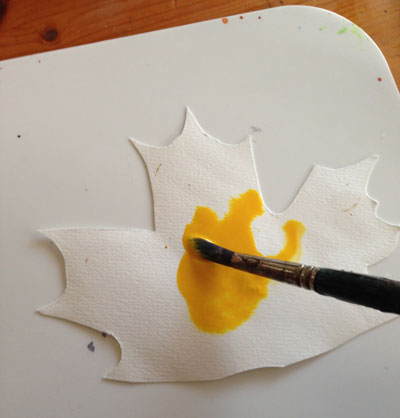
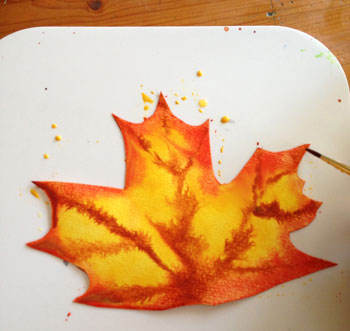
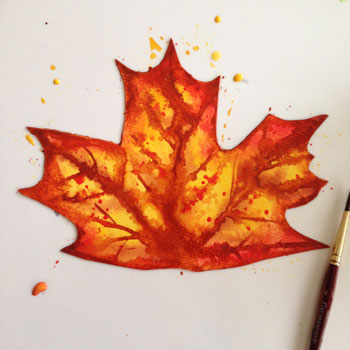
Fall 2014


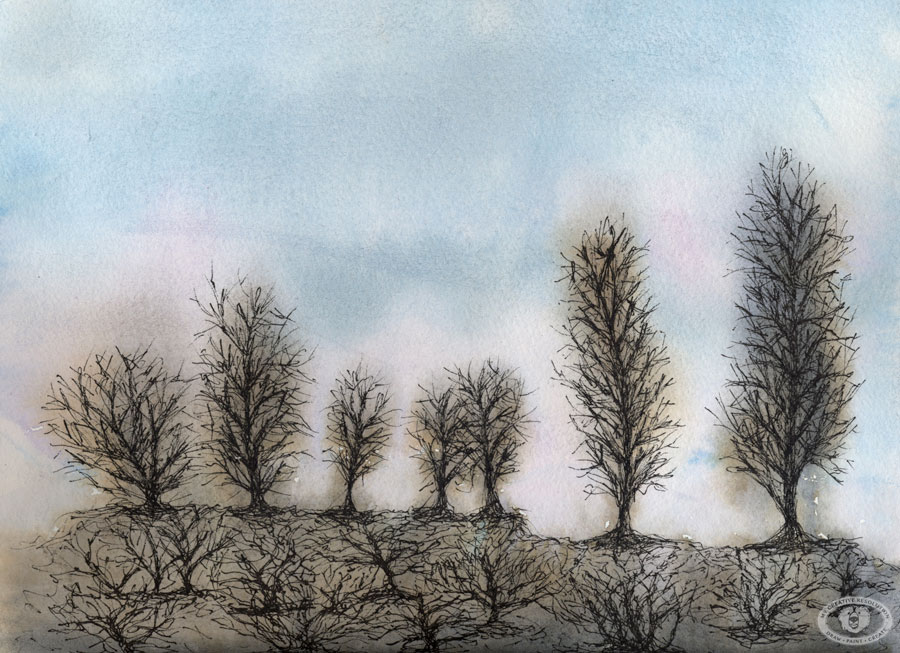
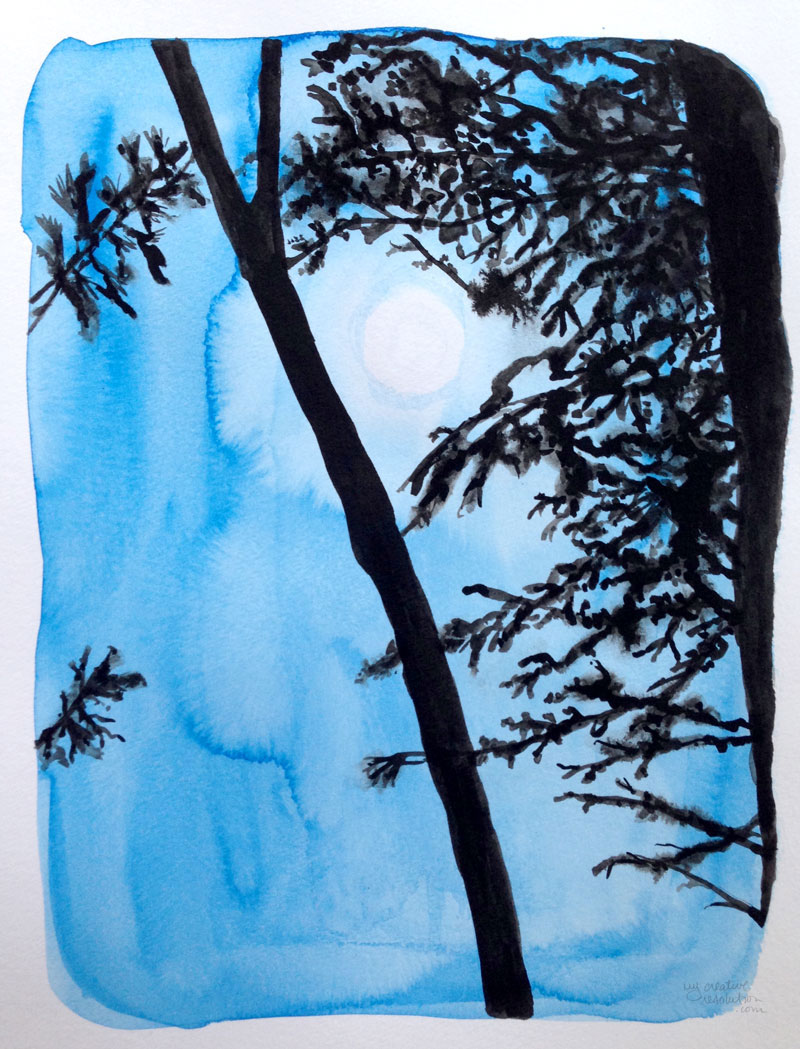
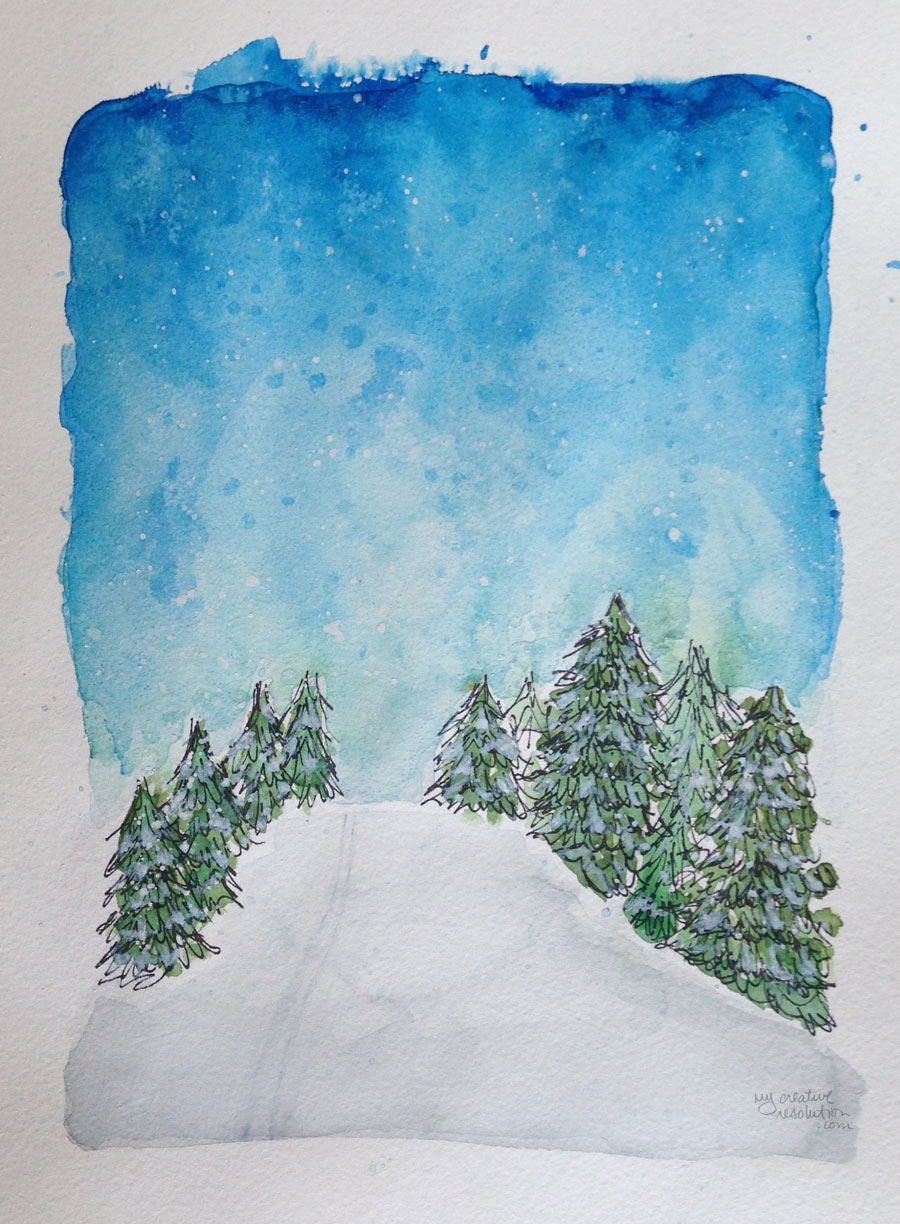
Fall 2015


But I don’t feel stagnant. I still think I’m growing and developing, and I’m happy to have found my style. Especially, after years of wondering how to find your style!