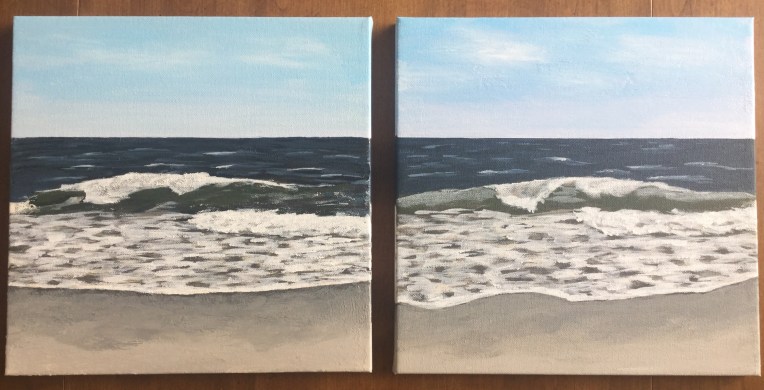
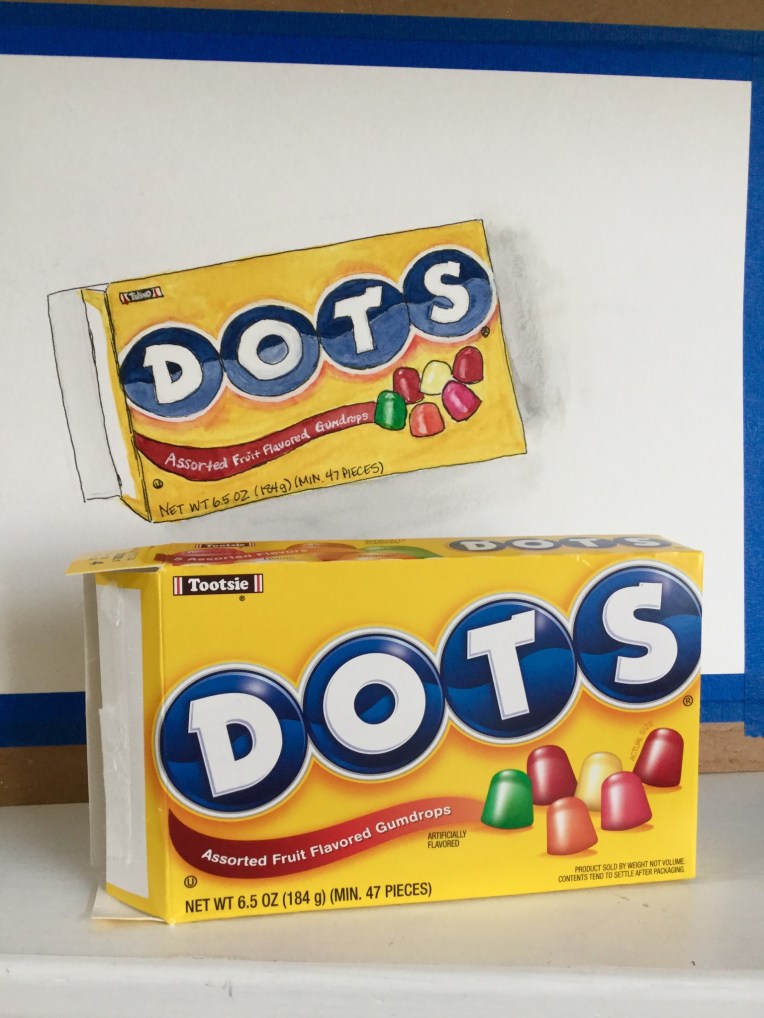
Final acrylic work for week 1.
I’m happy with the results and learned a lot this week as I try painting in acrylic after working for so long in watercolor. Admittedly, the first day in my acrylic challenge was frustrating.
I’m so used to working in watercolor where:
- A little paint goes a long way
- Water lightens color
- Paint goes on the paper so easily, especially wet paper with a wet brush
- You need just a cup or two of water for brush cleaning
- One paper towel is all you need to occasionally dry a brush
Day 1 with acrylics:

- The paint wasn’t going on smoothly
- I was brushing off paint and creating messy clumps
- I had to change out my cups of water frequently
- My paint mixes were so dark I had to mix in a lot of white
Lessons learned the first day:
- Mix in a little water for smoother brushing (helpful site: www.artisfun.com)
- Perhaps apply gesso prior to painting (recommended by above website)
- Let layers dry to avoid brushing off paint and creating clumps
- Have lots of rags handy!
Day 2 with acrylics:

- Mixing in a little water helped. Paint went on smoothly.
- When I want to create a fade in watercolor, I apply the color and then use water to fade it out. Doing this in acrylic, adding too much water, creates a strange look and I worry it will rub off.
Overall, I was proud of my progress on Day 2.
Day 3:
- Similar struggle with how to fade colors (without too much water)
- Struggled with mixing the right color for the sand
Lessons learned on Day 4. (I combined painting with watching instructional YouTube videos.)
- Fading colors. This video was very helpful regarding fading:.
- How much is too much water? This video answered my question on mixing in water. 80% paint, 20% water max.
I’m still trying to figure out the right color mixes, especially sand, which is ironic because back at the beginning of my blog (2014), I was painting in acrylic and trying to figure out what color sand is! Overall I’m happy with my progress and am looking forward to learning more next week!
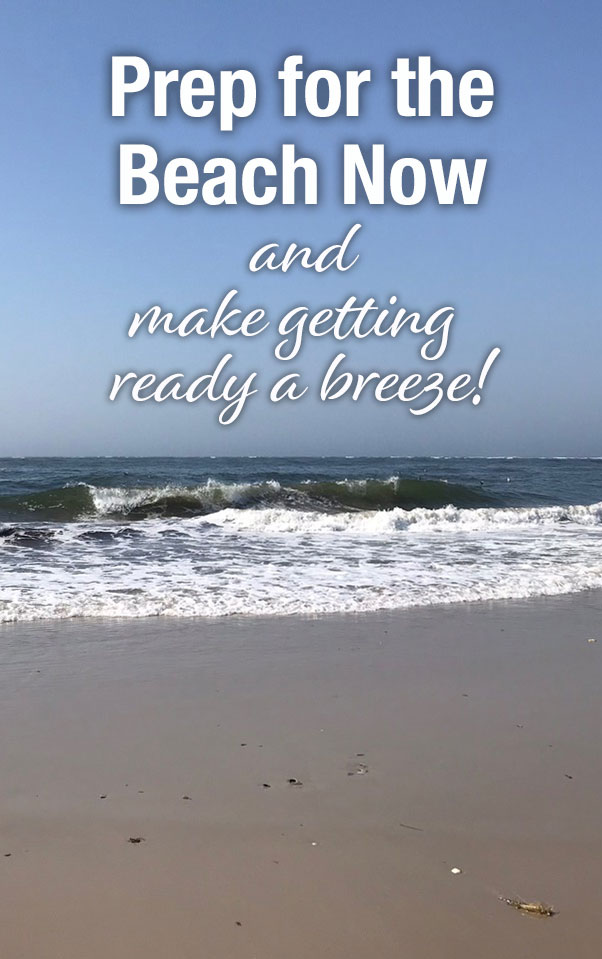
Click here to view my collection of watercolor seascapes. Prints are available on watercolor paper or canvas, in many sizes.
Want a dose of creative inspiration? Sign up for my newsletter “My Creative Collection” by clicking here. Learn more here.


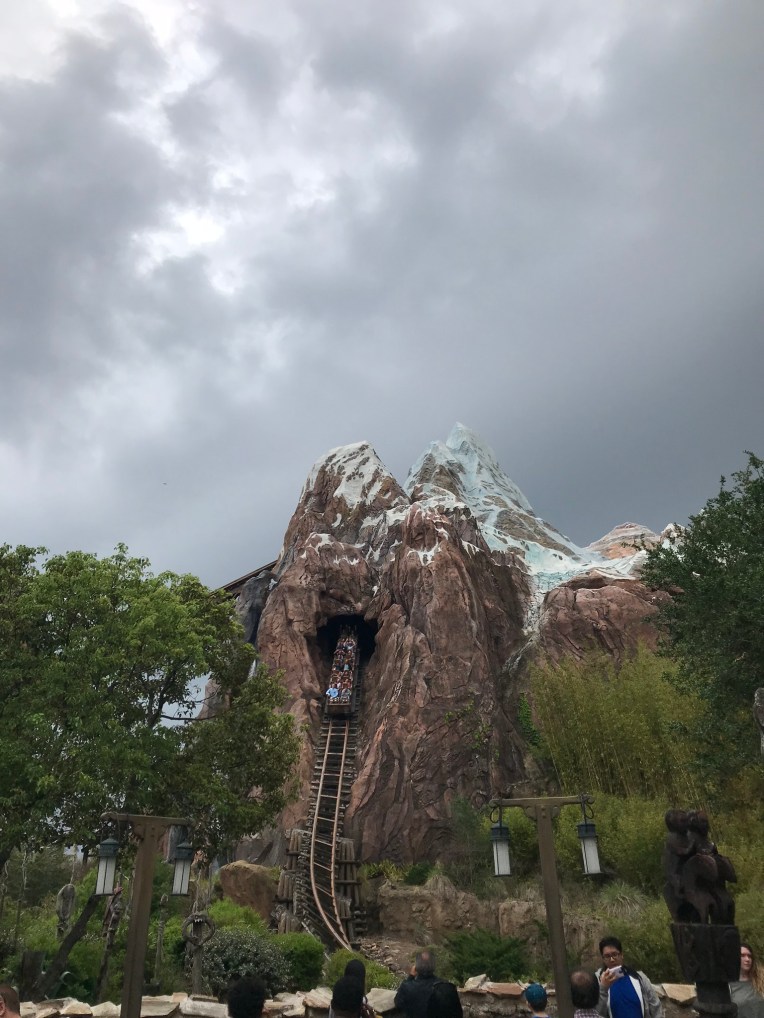
 We had so much fun on our recent trip to Disney World! I highly recommend taking the kids when they are older because it’s a lot more fun going on rides with teenagers than managing diapers and strollers and all of that.