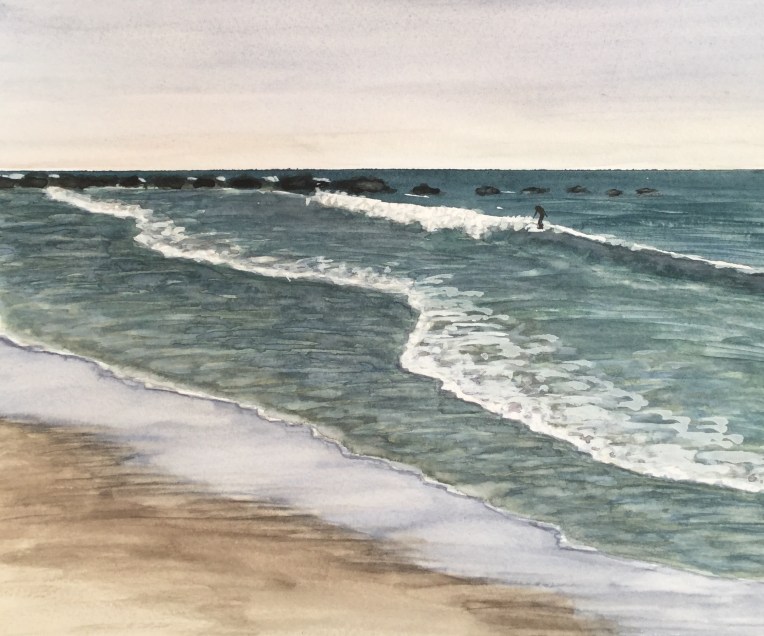
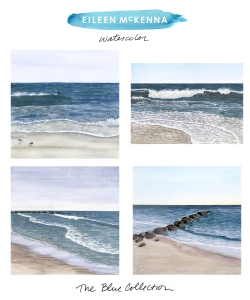
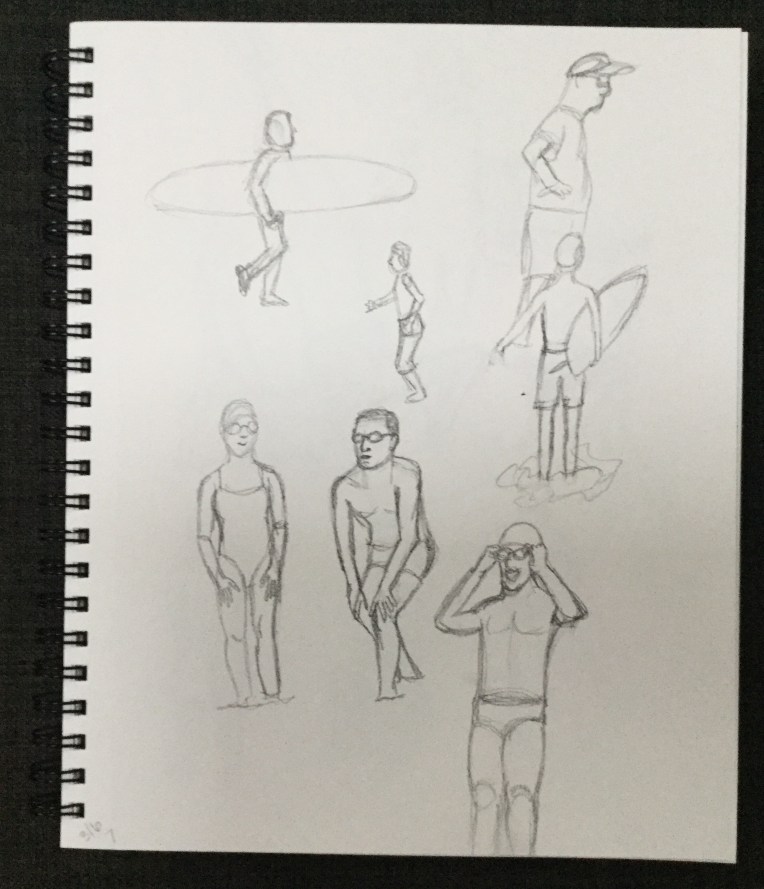
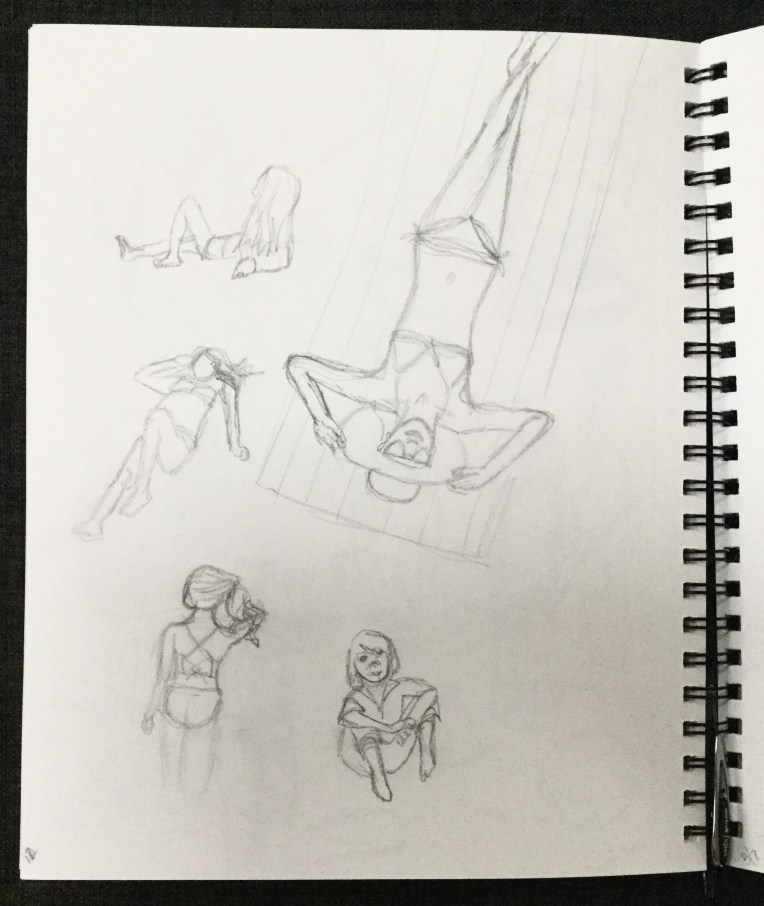
A few years ago I had a bit of an epiphany while painting. I noticed a pattern where on Day One of a project, I was excited and enthusiastic. But on Day Two I was reluctant to work on it, and a bit intimidated. I really had to push myself to continue. Once I got started again, I figured out what I needed to do to finish the painting. It was the lack of a plan – the not knowing where to pick the project up – that intimidated me. The diving in on Day One without a plan didn’t scare me at all. It was fun! Why was this?
On a whim I googled “astrological sign traits” for Aries. I’m not that into astrology, but I couldn’t believe how dead on the description of Aries (on Huffington Post) was.
“Aries motto is “Ready, fire, aim!” It may be backwards for others, but you’d rather figure out what to do while you are doing it. Impulsive actions, however, can bring you your share of trouble. While others are gathering information to make informed decisions, you are already on your way. As such, you could suffer from false starts. In fact, you Aries are so good at starting things that you can be off onto your next project before completing the previous one. As you Aries mature, you learn to slow down your reaction time in order to think about the consequences of your actions.”
Wow! That totally describes me! Whenever I am assembling something and hit a snag, my husband will say, “Did you read the directions?” Of course I didn’t read the directions! Who needs those? (Obviously me, that’s why I’ve hit a snag.)
At the time my solution was to figure out a plan before stepping away from a project. Three years and many paintings later, I still don’t do much planning. I’ve embraced the “figure it out as I go,” at least in regards to my painting and general creativity. I still experience that Day Two reluctance, especially when I’m working on a subject that I’m less confident in, like painting figures. But, I have learned to force myself back into a project. Once I start I’m back in the zone and finishing a painting is so sweet!
Check out your sign’s traits on Huffington Post. Select your sign, and scroll down to “about the sign.” Let me know if anything rings true for you and your creativity.
Sign up for my newsletter – My Creative Collection – a collection of all the things that inspire, in hopes of inspiring you!

Read:


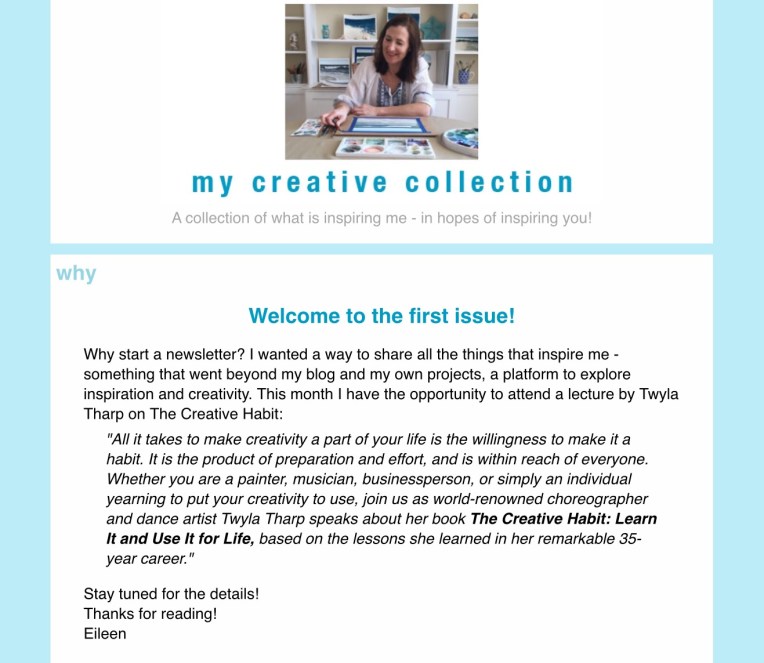 The first issue of my newsletter “My Creative Collection” went out today. Sign up