Illustration

How fun … my art on a tshirt!

Recently someone reached out to me on Instagram and asked if I’d like to submit a piece of art to be put on a tshirt and sold through their site. Since I’ve never gotten around to uploading my designs to one of those other sites (that put your design on all kinds of things), I thought, “Why not?”
I decided to create a custom piece for the tshirt and sent it off to them to see what they thought. Next thing I know it’s up on the site. How funny to see the models wearing my design!
If you are interested – you can purchase a tshirt here. Or maybe you want to submit one of your designs? 🙂
Share this:

Shell doodles
Today I was doodling some shells I found at the beach and one starfish that I bought :)! I was using my son’s gel pen which I love because it’s so smooth. (Unfortunately it’s not waterproof, which I previously found out the hard way.)
I really enjoyed studying the shells and drawing them. I promised a pattern every month, and I think it would be fitting to make a seashell pattern for July. Can’t wait to scan these in and play with color and layout. Stay tuned!

Share this:

Artist’s Setup

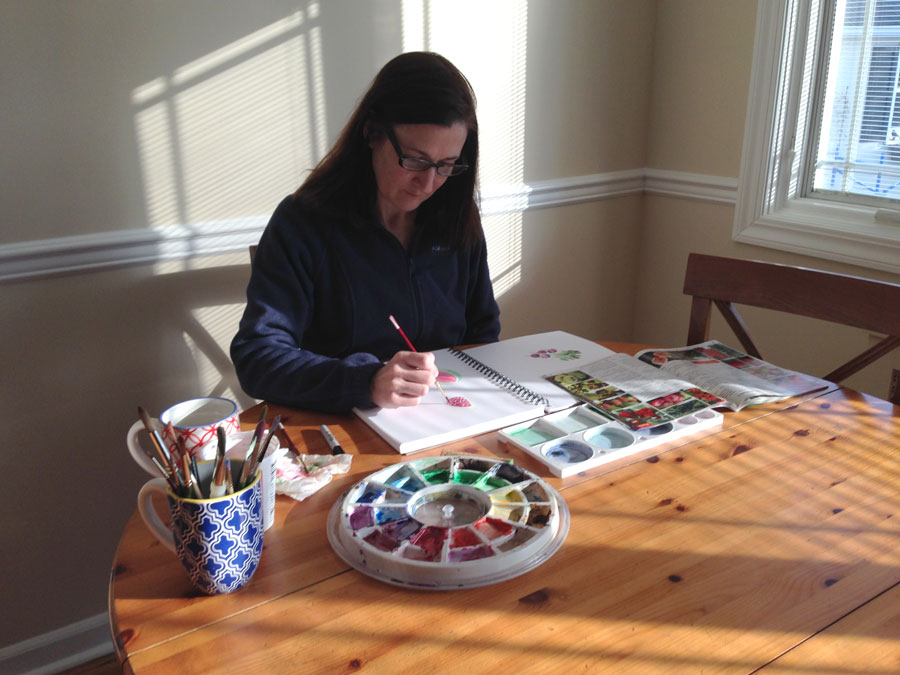
Very quickly into my creative resolution, without really thinking about it, I started setting up my paints and supplies a certain way. A few brushes on a paper towel to the right (I’m right handed), water and cup of brushes above that. Paper or sketchbook in front of me. Above the paper is my watercolor palette. To the left of the palette is the mixing tray. If the table is smaller (like in the illustration) the mixing tray is to the left of the paper. Above the brushes and water is my bin of paint tubes, markers, watercolored pencils, scrap paper, etc. Pretty much anything else I may need. A coffee cup is usually placed near the water, which often leads to mix ups. Fortunately the mix up is I clean the brush in the coffee, not that I drink the dirty water.
Do you have a certain way you set up your painting supplies?

Share this:

Digging deeper within a theme
Sometimes when working within a theme, after you get the obvious stuff out of the way, you can surprise yourself.
I first experienced this when I decided to create and post on Instagram “14 Days of Valentine’s Day” artwork. The first couple of days were easy – hearts! red! Then it started to get a little harder. “What am I going to paint?!” But even though it was harder I found that some of the later pieces were the best ones. (My favorite is the “He loves me…” one.)
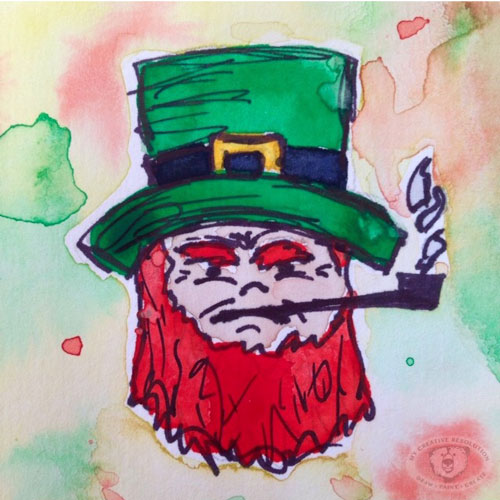
The same thing happened with my “17 Days of St. Patrick’s Day” posts on Instagram. At first it was easy – shamrocks! green! Then it got hard. I started thinking, “17 Days is a long time!!” But again, some of my favorite illustrations were created in those later days. When I had to dig a little deeper into the theme. (My favorite is the grouchy leprechaun.)
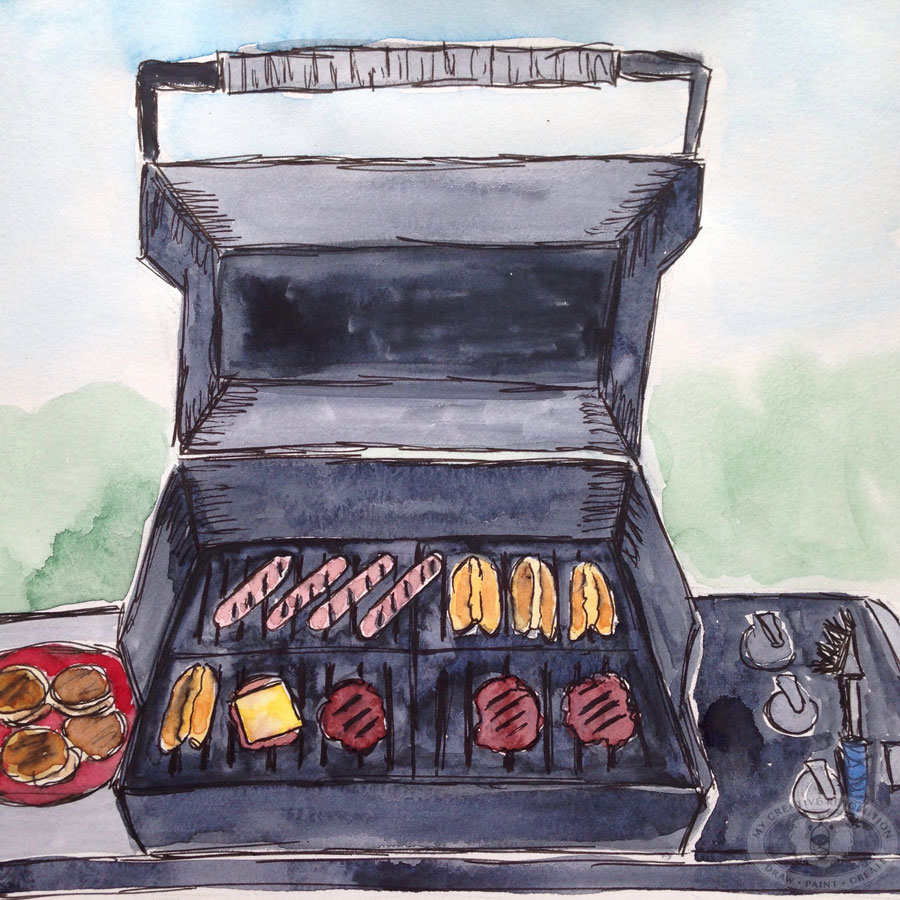
Yesterday I posted my watercolor American flag for the 4th of July. The weather wasn’t great – cloudy and rainy – so I started to think about what else I could draw. Hmmm. “What do people do on the 4th of July?” BBQ! And so another idea was born.
Share this:

For my Dad – a painting of memories

A few weeks ago I was walking through Barnes & Noble when the book “Wherever You Go?” by Pat Zietlow Miller and Eliza Wheeler caught my eye. I love Eliza Wheeler’s illustrations. I loved that she created worlds and scenes. I was really inspired by her work.
I wanted to try to create my own scene and I decided that a homemade card for Father’s Day was the perfect project. As a parent, I can’t help but think back on my own childhood and some treasured outings with my dad. The yearly trip to his office in Manhattan was a highlight for me – the subway, a street hotdog, his office at the telephone company, etc. I also fondly remember our Saturday morning trips to the beach. My mom was working one summer so it was just the two of us. My dad was the one who taught me to body surf.
The interesting (and unintentional) thing about my card is it really represents my dad – the city boy who ended up settling by the beach. The little boy who went to sleep with the subway rattling outside his bedroom window, who now goes to sleep to the sound of waves crashing.
I am hoping to paint more scenes in the future.
My steps:
1. Pencil sketch. 2. Ink 3. Watercolor

Share this:

I’ve hired myself :)
A while back I mentioned that I started a marketing/graphic design blog for my business. What I didn’t mention is that I’ve been creating illustrations for most of the posts! I did share one of the illustrations here, in the post Painting Digitally. That illustration set the tone for the style I’ve used for the rest of the illustrations. I decided it was wise to keep things somewhat consistent and I like the motivation to work digitally. I usually avoid the computer when I’m illustrating, because I spend enough time on it when I’m doing Graphic Design.
Although it takes time, I enjoy creating the illustrations and I think it is good practice if I’m to have a future in editorial illustration. Plus I only charge myself a small amount – ha ha.
Illustrations for Marketing/Graphic Design blog:
Share this:

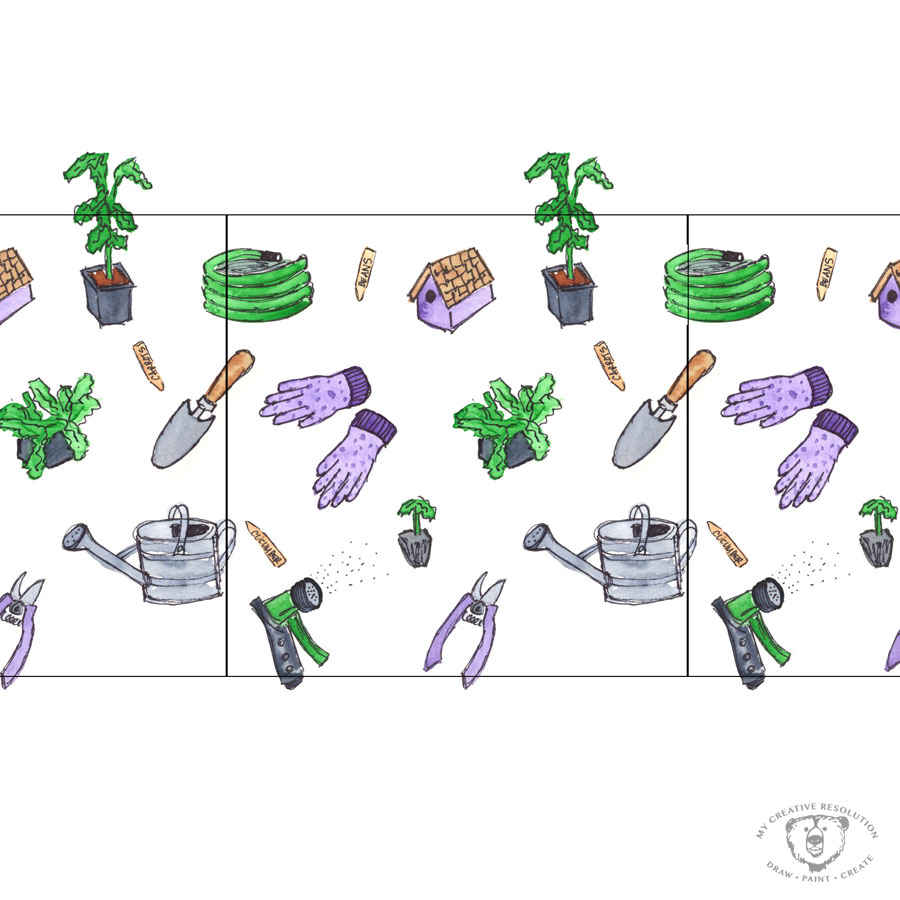
Gardening Pattern

Now that the snow has melted in the backyard, I have gardening on my mind. And painting outside! I can’t wait to have inspiration growing in the garden! My husband likes to call gardening “digging in the dirt.”
This gardening pattern, my March pattern, is the first I’ve painted in watercolor. The other two patterns (art/January and love/February) were painted in Photoshop. I limited the number of colors I used, so the items would be uniform. I scanned the illustrations and arranged them in Photoshop.

After I liked how the elements were arranged, I created a frame and duplicated the entire group several times. First, I checked how the items repeated left and right.
Then I checked how the elements repeated top and bottom. I had to make some adjustements when things overlapped.
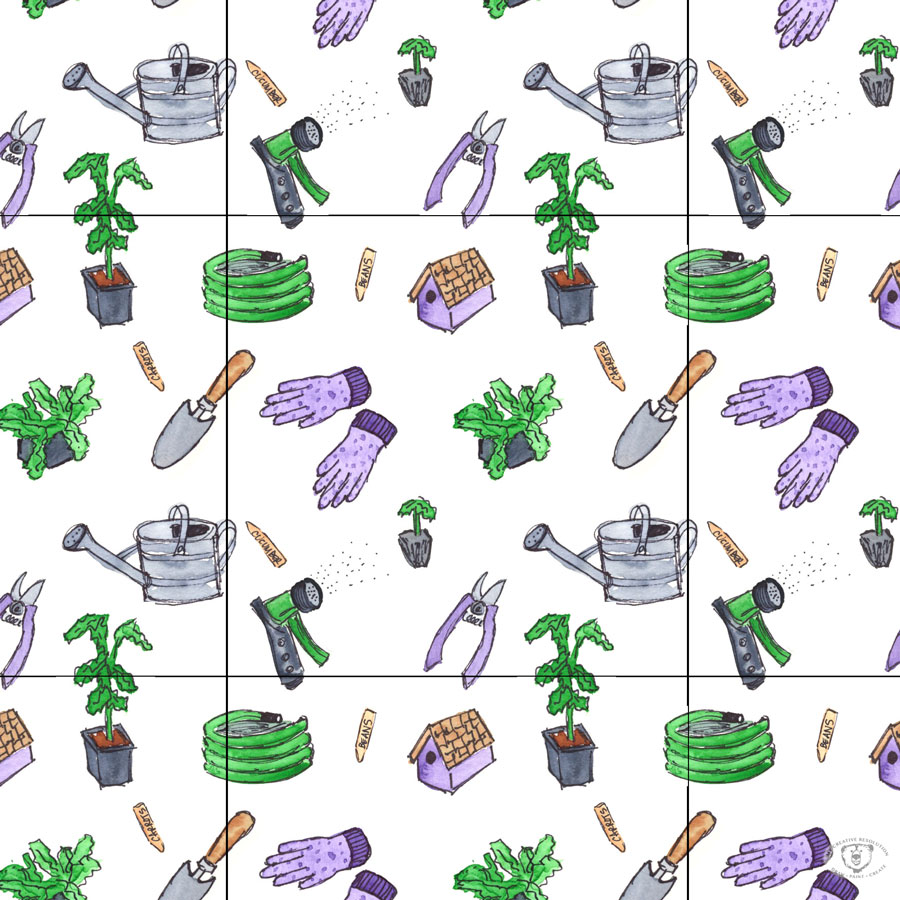
I am happy with how it came out. It’s my favorite pattern so far. It’s amazing to see sketches turned into a pattern and looking so finished. Happy Spring! 🙂
Share this:

Many Versions…

For the last couple of weeks, I’ve been creating illustrations for St. Patrick’s Day and posting to Instagram. For each idea I have, I draw/paint multiple versions to see which one I like the best. It dawned on me, the it isn’t just hand-lettering that takes “Practice, practice, practice.” I have to draw several “takes” before I create an illustration that I like. I also take pictures along the way to see how the illustration will look when it’s finished, and to make sure I like the background and how it fits in the shot.
This way of working is new to me. In the past, I’d sit down to create a painting, and try to make it work. I began working in this way since starting my themed postings (first Valentine’s Day, then St. Patrick’s Day). I doodle, I paint, I plan in pencil. I try again. I wouldn’t say it’s about getting it perfect, it’s more about warming up and trying different things.
I really enjoy following one theme. The first couple of days are easy. After that, there is the period where I’m like, “What am I going to do now?” In both cases, the more creative ideas came to me towards the end of the campaign. I guess it’s the time when I dig a little deeper. All the obvious ideas are out of the way, so I have to think harder.
This Valentine’s Day post was one of my favorites:

This grumpy guy is my favorite St. Patrick’s Day post so far: