Results of my “Assembly Line Painting” experiment. {Please vote for your favorite!}

assemblyfinal
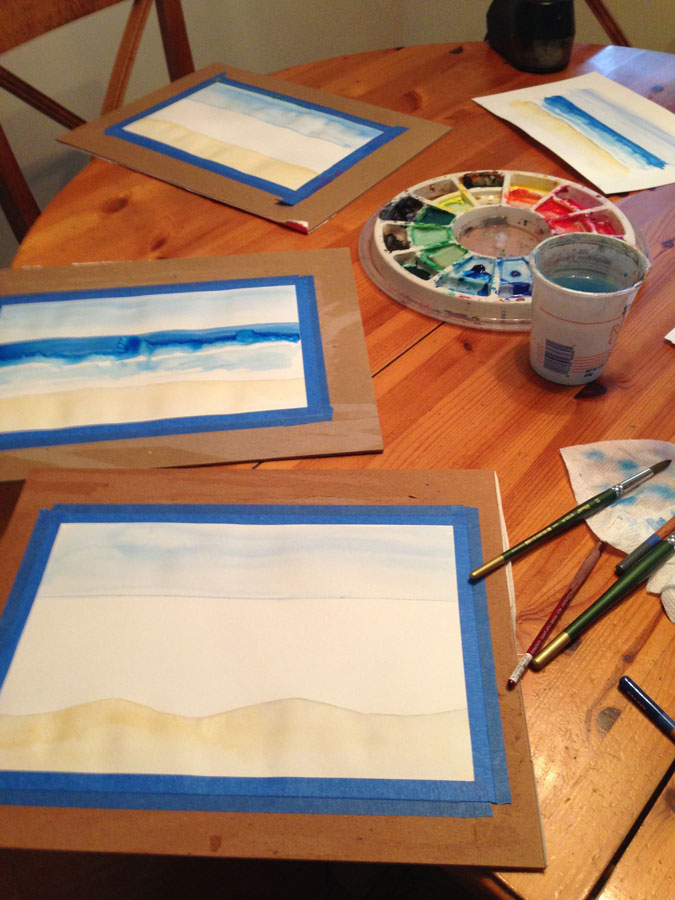
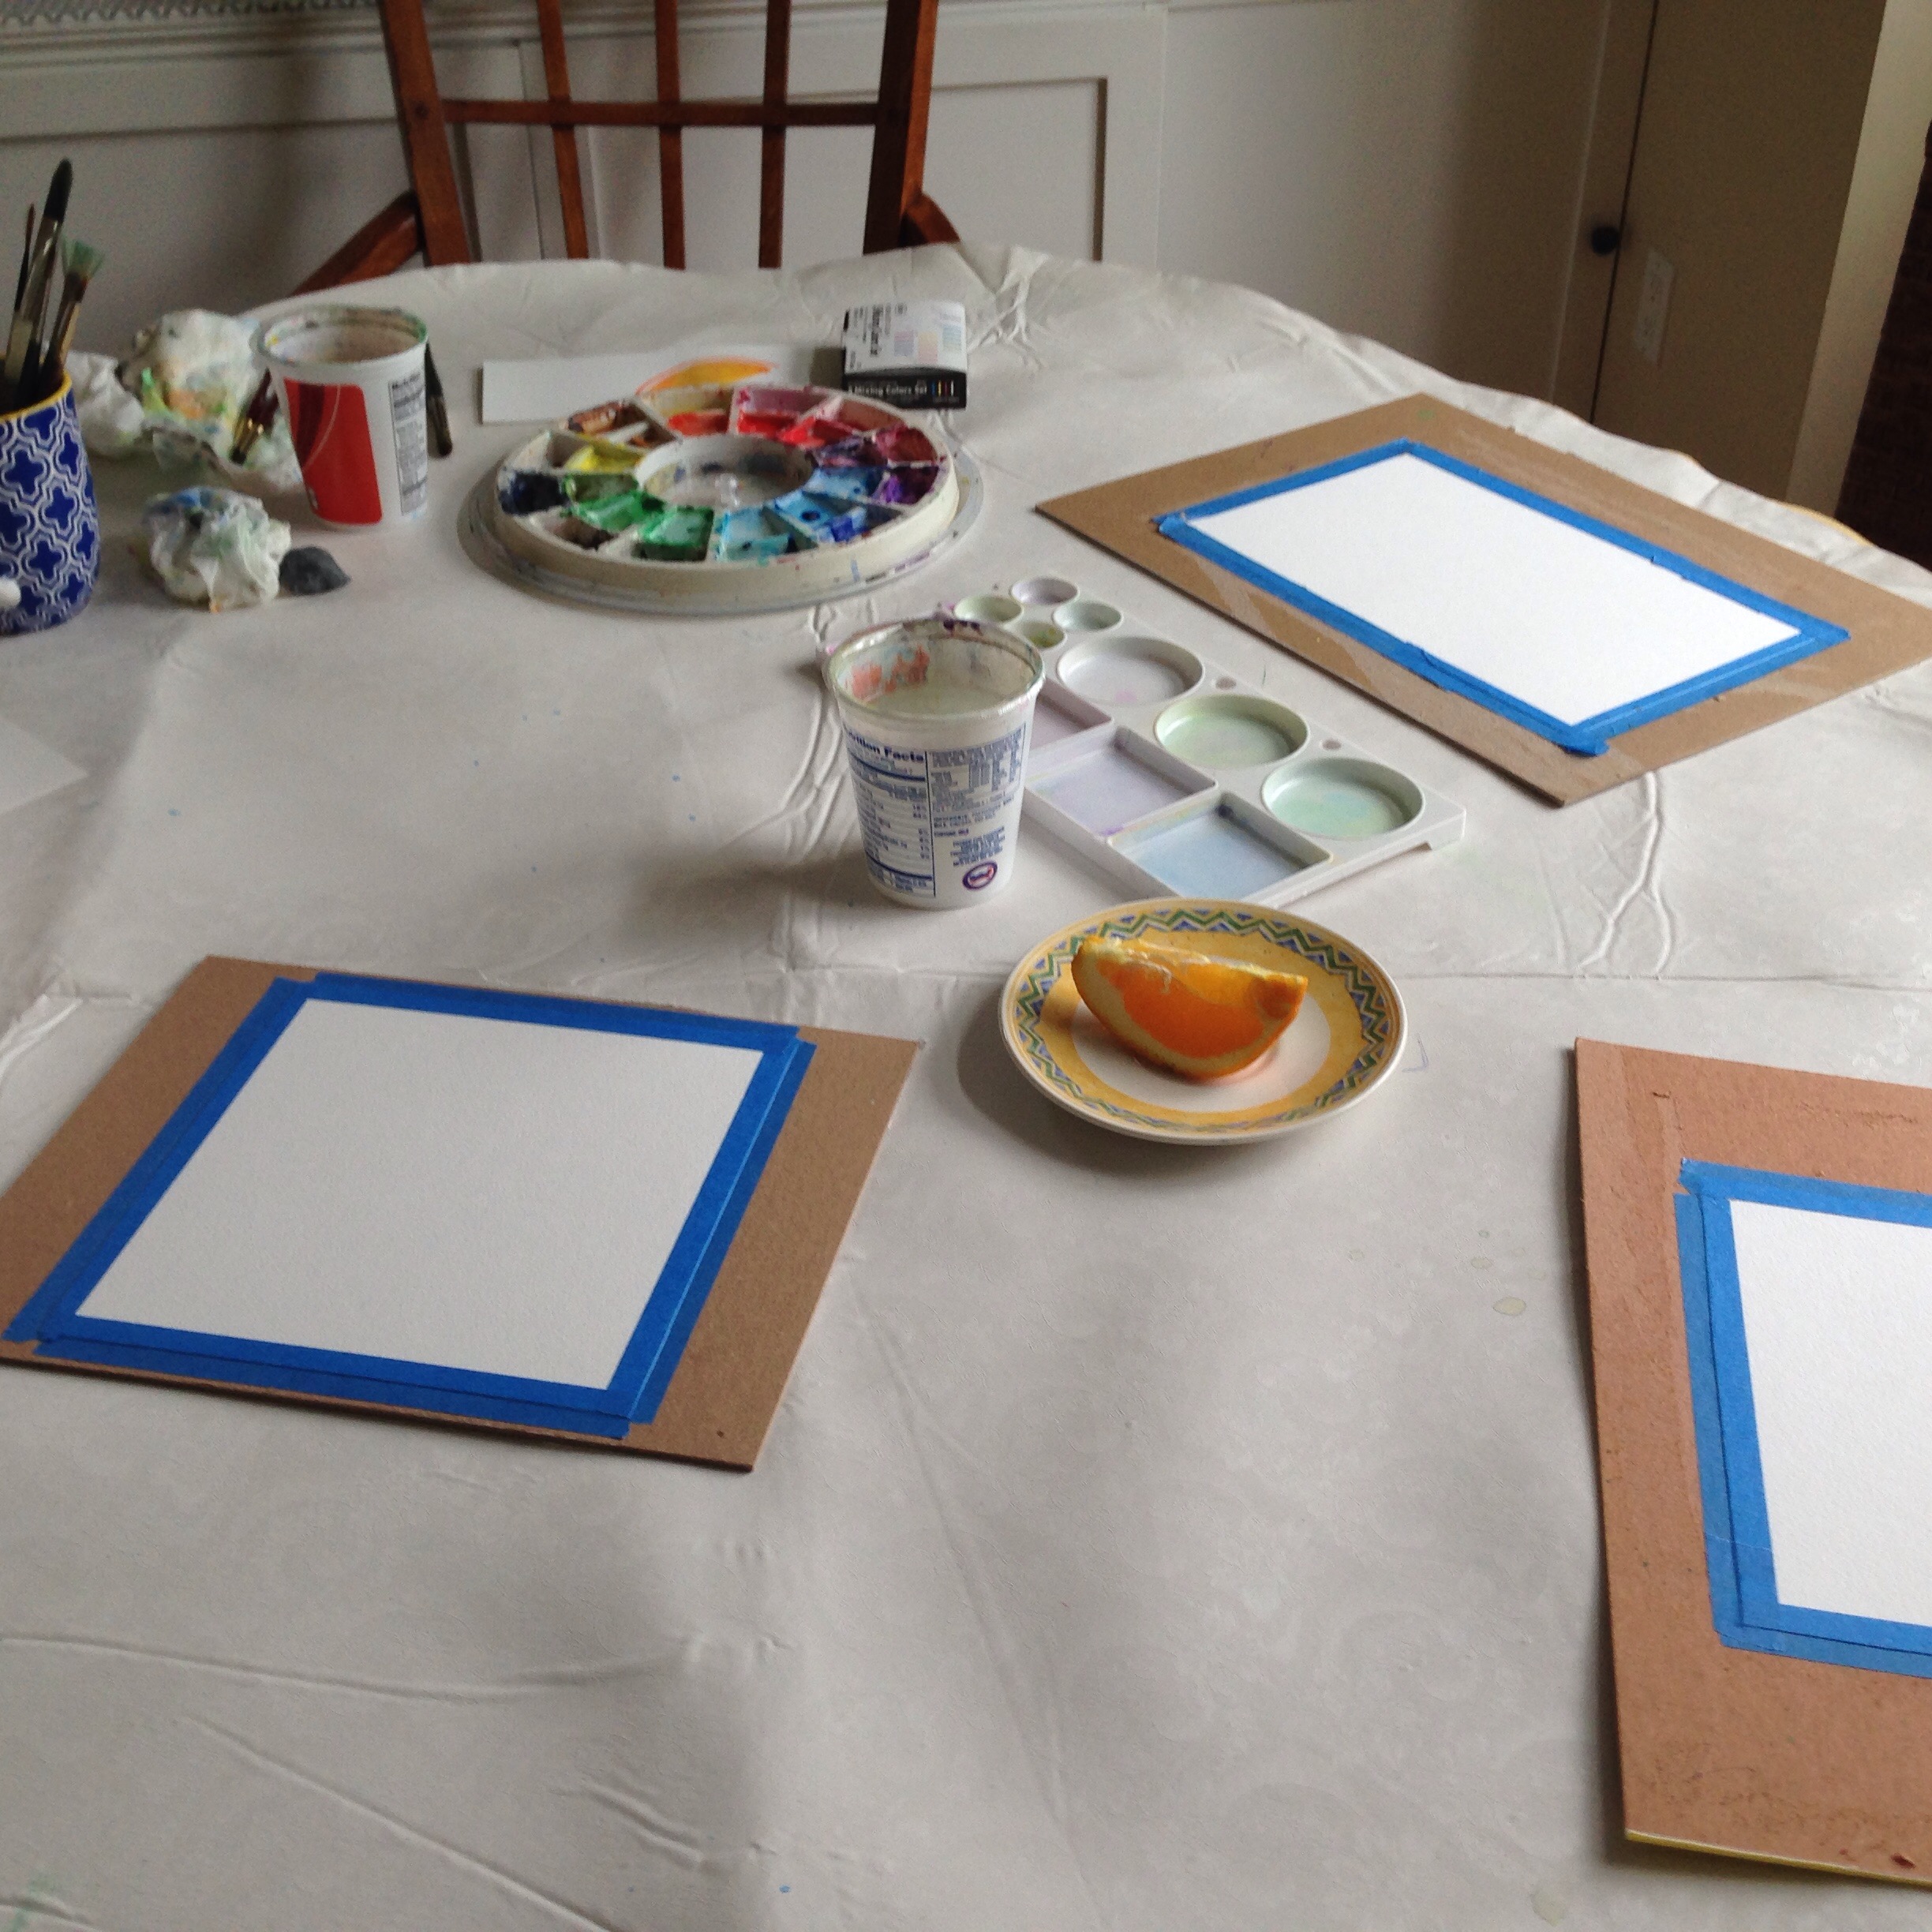
I finished the four paintings that I working on in “assembly line” fashion. Click here to read more about how I approached working on these paintings.

Results: The results of the experiment are best described by this analogy: It’s like raising kids. You raise them in the same way – same environment, same food, activities, etc. but they all require different special attention and they all turn out different. And with each kid, you are a bit wiser (and more tired) so you do things differently each time – but maybe not better.

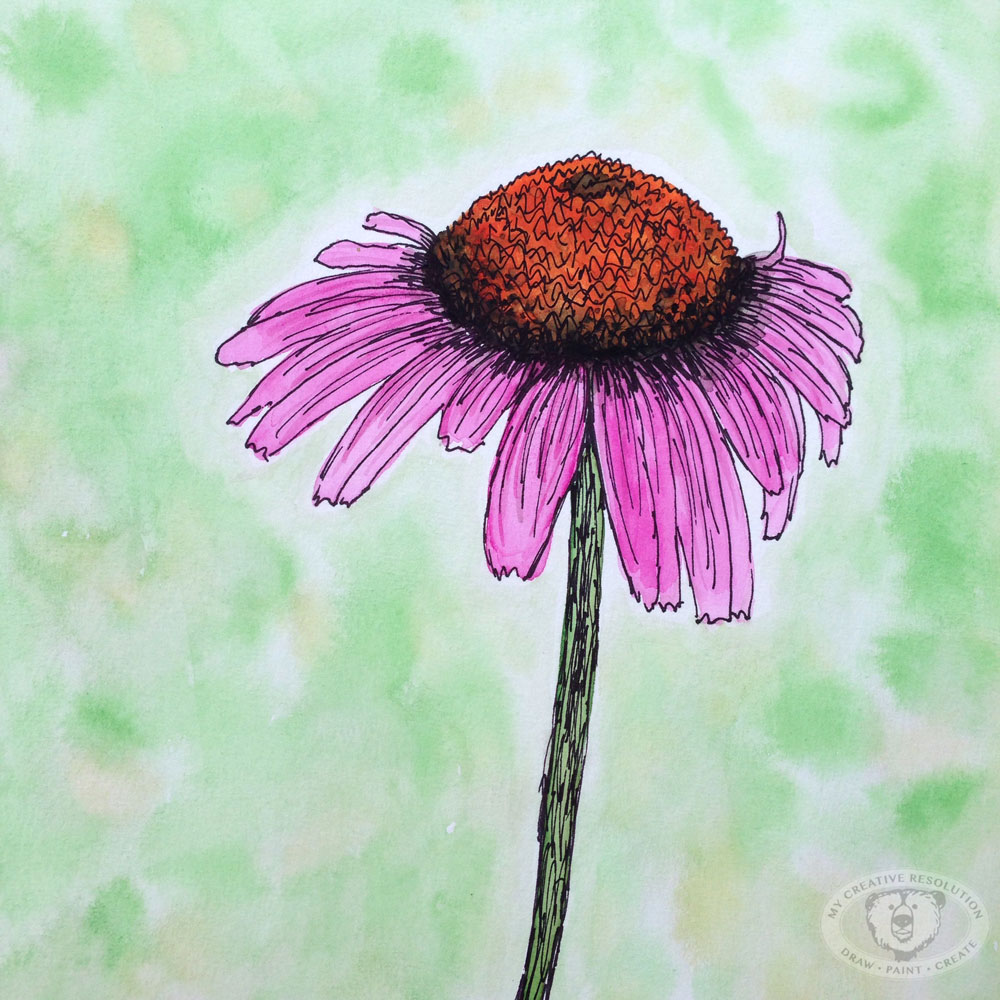
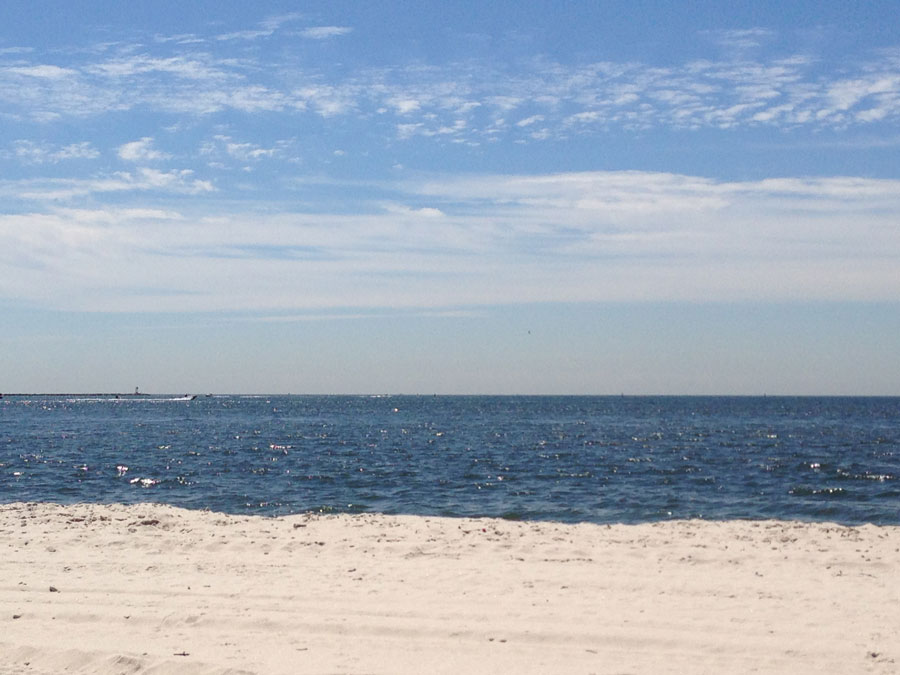
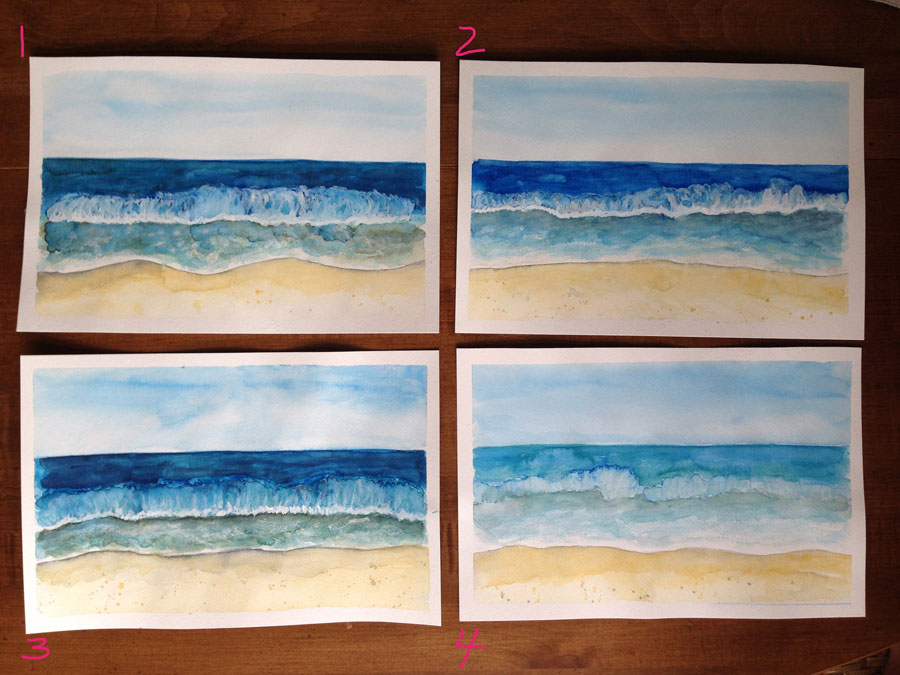
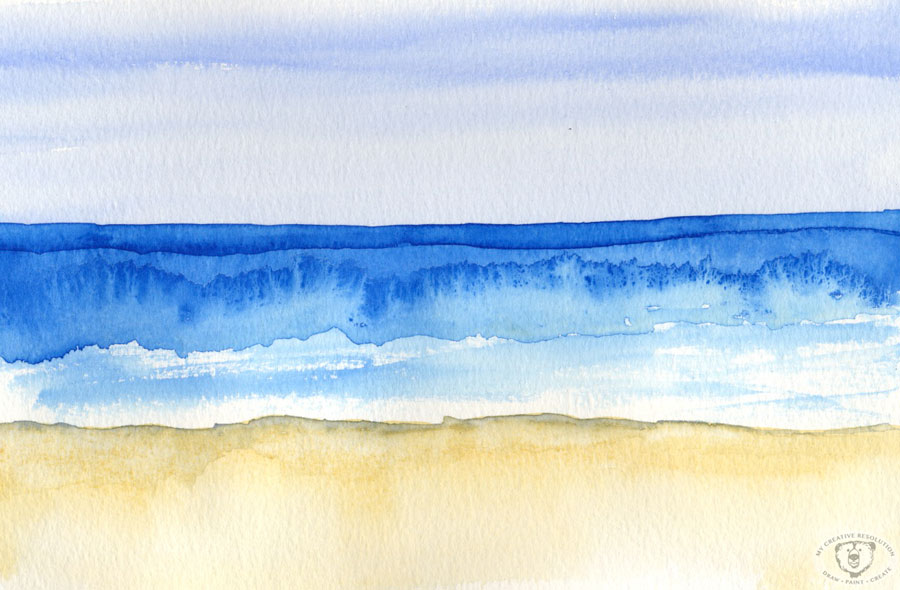
This is the inspiration painting:
bloomwave

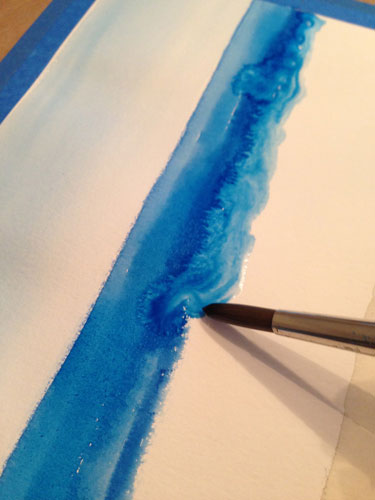
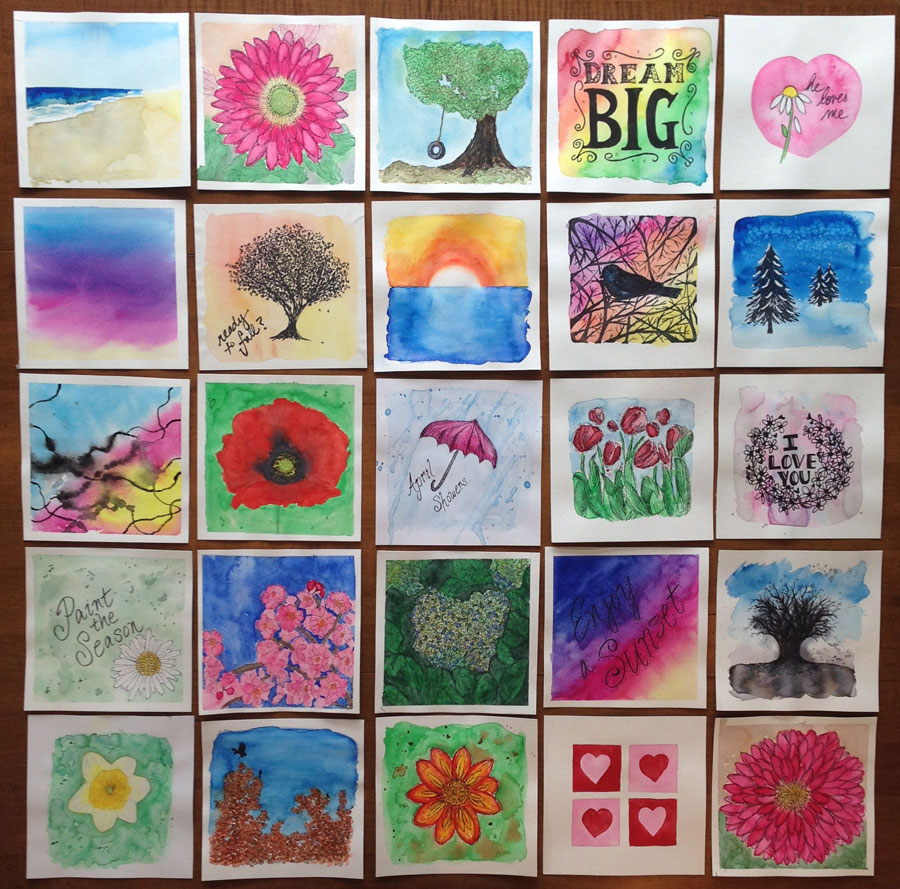
The four painting above are numbered. Some of them were “worked” on more. For # 1-3 I used white gouache. As I worked I wasn’t sure what methods would be most successful – more details? more shadows? more white? more variation in color?

I’d love to hear what you have to say! Leave a comment and answer my poll below.


Conclusion: (Don’t all experiments have a conclusion?) Working this way, really allowed me to explore this type of painting and subject matter in more and more depth. If I had only painted one beach landscape, I wouldn’t have had the chance to try different techniques.

TRY IT! and let me know your results (and thoughts). Link to this post or if you’re on Instagram use #assemblylinepainting. Can’t wait to see! 🙂

Assembly Line Painting {an experiment}

assembly
I recently had some success with a fairly quick beach landscape. The blooms that unintentionally formed and looked like crashing waves was a large part of the success. I was curious if I could recreate this and decided to set up several boards (watercolor paper taped to cardboard) to paint all at once. My plan was to paint specific sections in each painting, one right after the other, using a similar process.

The process:

  1. With blue watercolor pencil, draw horizon line
  2. Paint the sky
  3. With grey watercolor pencil define edge of the water and paint it
  4. Paint deep part of the ocean
  5. Add water at edge of the deep ocean to get sucked into deep part and create blooms (crashing waves)
  6. Add finishing touches


As you know, I’ve set up personal painting parties before, where I get started on several paintings at once. Usually the paintings share a common theme or inspiration. But this is the first time I’ve attempted several versions of the same painting at once. Immediately I noticed that I was learning nuances or experimenting a little on each painting in an attempt to make it better. I knew from the start that they would never be identical, which is something I didn’t want anyway.

This year I’ve seen, several times, that digging deeper in a theme can lead to better results. I think the same is true here. I’m learning by painting the same thing over and over.

At this point each painting needs some special attention and some finishing touches. I’m not sure I can do this step at the same time. We’ll see. 🙂

Hoping for some “bloom” waves:
bloomwaves

Practicing on scrap paper before diving in

finalcone
After the debacle of the sunflower. I decided to practice on a scrap piece of paper before starting a painting of an Echinacea flower. This way I would have a plan on how to paint it.
scrap

The scrap paper coneflower came out pretty good, so I started my painting. I loved the start of this painting. But when I went back to add some details I felt like I messed it up. Why is it that working quick can look great, but sometimes when you work harder at something (more deliberately), you overwork it, and ruin it?
startofthecone

So here I am with a scrap of paper, that several people love, and an unfinished painting. And I am stuck.

I wrote the above 4 weeks ago! Ironically yesterday’s post was “Forcing myself to finish.” This Echinacea flower project is a great example of me not finishing – I felt I had ruined it, didn’t know how to proceed, so I stopped. Two days ago, I pulled it out, added details in ink, and declared it finished.

No matter how a project comes out it feels great to finish!

Forcing myself to finish.

nodiving
One thing I’ve learned about myself as an artist, is that I dive into a project with enthusiasm. I think it’s the Aries in me [read more about that here]. It’s great for starting a project, but for me, a couple of things can get in the way of finishing a project.

  1. I lose enthusiasm.
  2. A new project grabs my attention.
  3. I get worried about ruining a project.
  4. I’m not sure how to proceed because I haven’t planned things out.

When I started my creative resolution I forced myself to finish a bunch of forgotten projects. I also forced myself to finished most of the new projects I started. And I adapted to work within my personality. Most projects I work on, I finish within a few days – before the enthusiasm fades or I get sidetracked (or I get paralyzed worrying about ruining it or I start to overthink the next steps).

Recently I started this pool painting. I forced myself to paint, what I thought of as the hardest part of the painting – the lane lines – before I left for a short trip. I knew that if I could get that step out of the way and left only the pool water and a few minor details, I’d be much more likely to finish this painting when I got back.
nodiving1diving2

Some of the valuable lessons I’ve learned in the last year and half, have less to do with painting and technique, and more to do with how I work. And how to get things finished.

Comparing last year’s work to this year

bloomwave
When I look back on what I was working on last year and compare it to this year – I’m amazed. I feel like I have developed and progressed so much as an artist.

Last year at this time – I was still not using watercolor paper! I just started adding details in ink last August. Now I add ink to many of my paintings. It seems like a lifetime ago.

Projects from last Summer
roseofsharongoggles

This Summer

pretzaldoodles cupcakedoodles shellspattern

As I looked back at old posts I realize something else. I was all over the place trying different things, which was great, but I’ve become much more focused. I still try new things but there seems to be more of an overall continuity. A stamp of “me” on my projects. I’m curious – do you see the difference too?

Putting in the time and work is really worth it. I may not realize it everyday, but when I look back, I can’t believe how far I’ve come.


My 8 inch square paintings

8inchpaintings
What size, shape do you like to work in?
When I finally started using watercolor paper (I know what was I waiting for?) I came across Fluid Watercolor Paper 8″ square pad or “Easy Block” as they call it. I love working with this size and shape!

As you can tell by the image above, I do it often. I don’t know what it is, but I love the square shape and the size is small enough that I don’t feel…intimidated. I tape down the edges and end up with a .5″-1″ border which I love.

After falling in love with my first Fluid pad, I went back to Blick to get more and they didn’t have any!! I figured no big deal, I’ll just cut the paper, but it wasn’t the same. On my next trip to Blick they had it in stock, so I bought a couple. I’m out again so I’m anxious to get back to Blick and get more.

I’m starting to envision having a show, where all my pieces are 8″ x 8″. I can dream right? 🙂


Sketching & Doodling in Summer

beachphoto
Where are the lazy days of Summer? It feels busy. I’m trying hard to squeeze in sketching time, even at the pool. And if I’m at the beach, I’m always taking pictures and thinking about the next painting.

mymornings
More and more, I realize how inspired I am by the seasons. My paintings of flowers have been replaced by beach paintings, pool sketches, and shell patterns. I see other artists online who are working on Christmas cards for the upcoming season. It makes sense – so their products are ready in time, but I don’t think I could do that! I love immersing myself in a season (or theme) and continuing to explore it with each project. I couldn’t put the shells away and start doodling Santas, at least not at this point.
poolsketch

Painting the ocean

Living near the ocean, and loving it as I do, I’ve often tried to paint it. It’s not easy! There are so many shadows in the water even on the calmest days. I’ve created paintings where I’ve tried to paint each little shadow and they have looked stiff. Nothing like water. I’ve found that sometimes the quick paintings of the ocean, where I don’t over work them, end up being the most successful.
In this painting I added a little water below the blue and it pushed into the blue creating blooms that look like a wave. Happy accidents!

2015/07/img_8132.jpg

My solo painting party

I wanted to really get into the creating mode so I set myself up for a solo painting party. I love doing this – starting several paintings at once because the watercolor layers need time to dry. I literally move around the table and work on different paintings and play around. Some of the paintings I finish that day, some hang around for awhile until I pull them out and finish them. I find these solo watercolor “parties” a great time to play around and explore.

2015/07/img_7973.jpg

2015/07/img_7963.jpg