take inspiration from spark to final art project with these 8 steps

1. seek inspiration

The first step is to seek inspiration: Take a walk, flip through a magazine, visit the beach, a park, a museum, go away for a weekend or on a vacation. There are so many ways, big and small, to find inspiration.

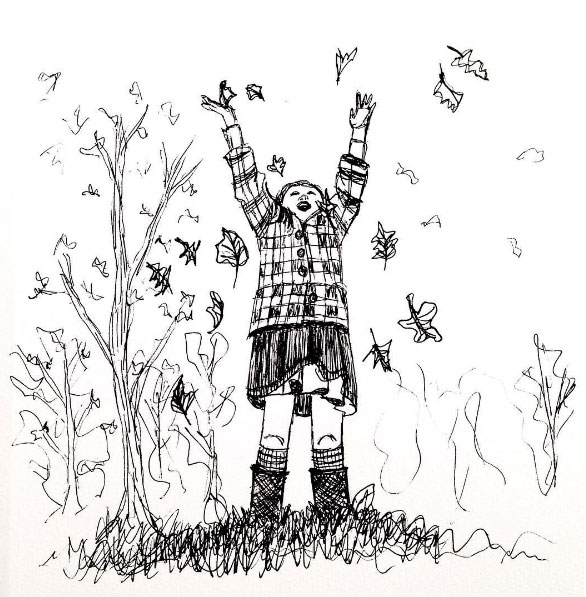
Sometimes just the mindset of looking for inspiration, will helps us see it. Last year, I did a project called “Finding Joy,” where every day I looked for and painted a moment of joy. It was such a positive way to face the day.

2. Document

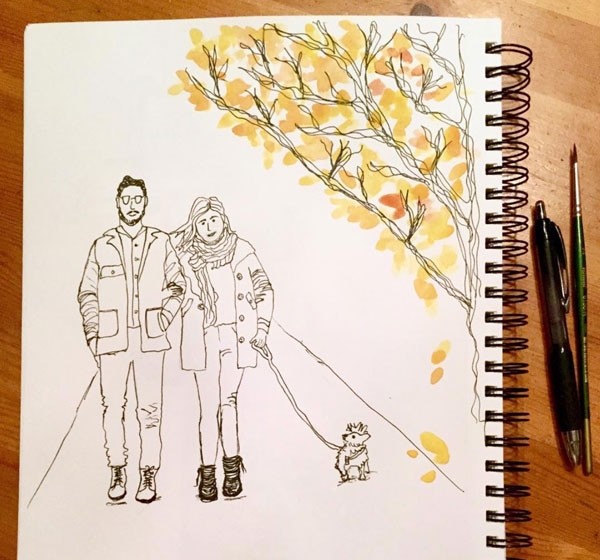
The easiest way to record something inspiring is to take a photo. Fill your phone with all the things that inspire you throughout the day. Some people carry around with a sketchbook and pencil – even a small set of paints, and for capturing special moments.

Here are some of my favorite travel supplies.

3. reflect

Many people seek inspiration, document it and then forget about it. It’s important to look back through your photos and reflect on them. What made that thing inspire you? Was it the way the sun reflected on the water or the way a painter’s brushstrokes looked? Write it down.

I take a lot of photos. It’s great when I’m ready to paint and can’t think of a subject. I scroll through my phone, remembering all the inspiring moments, and pick one to paint.

sign up for weekly inspiration:

Processing…
Success! You're on the list.

4. play

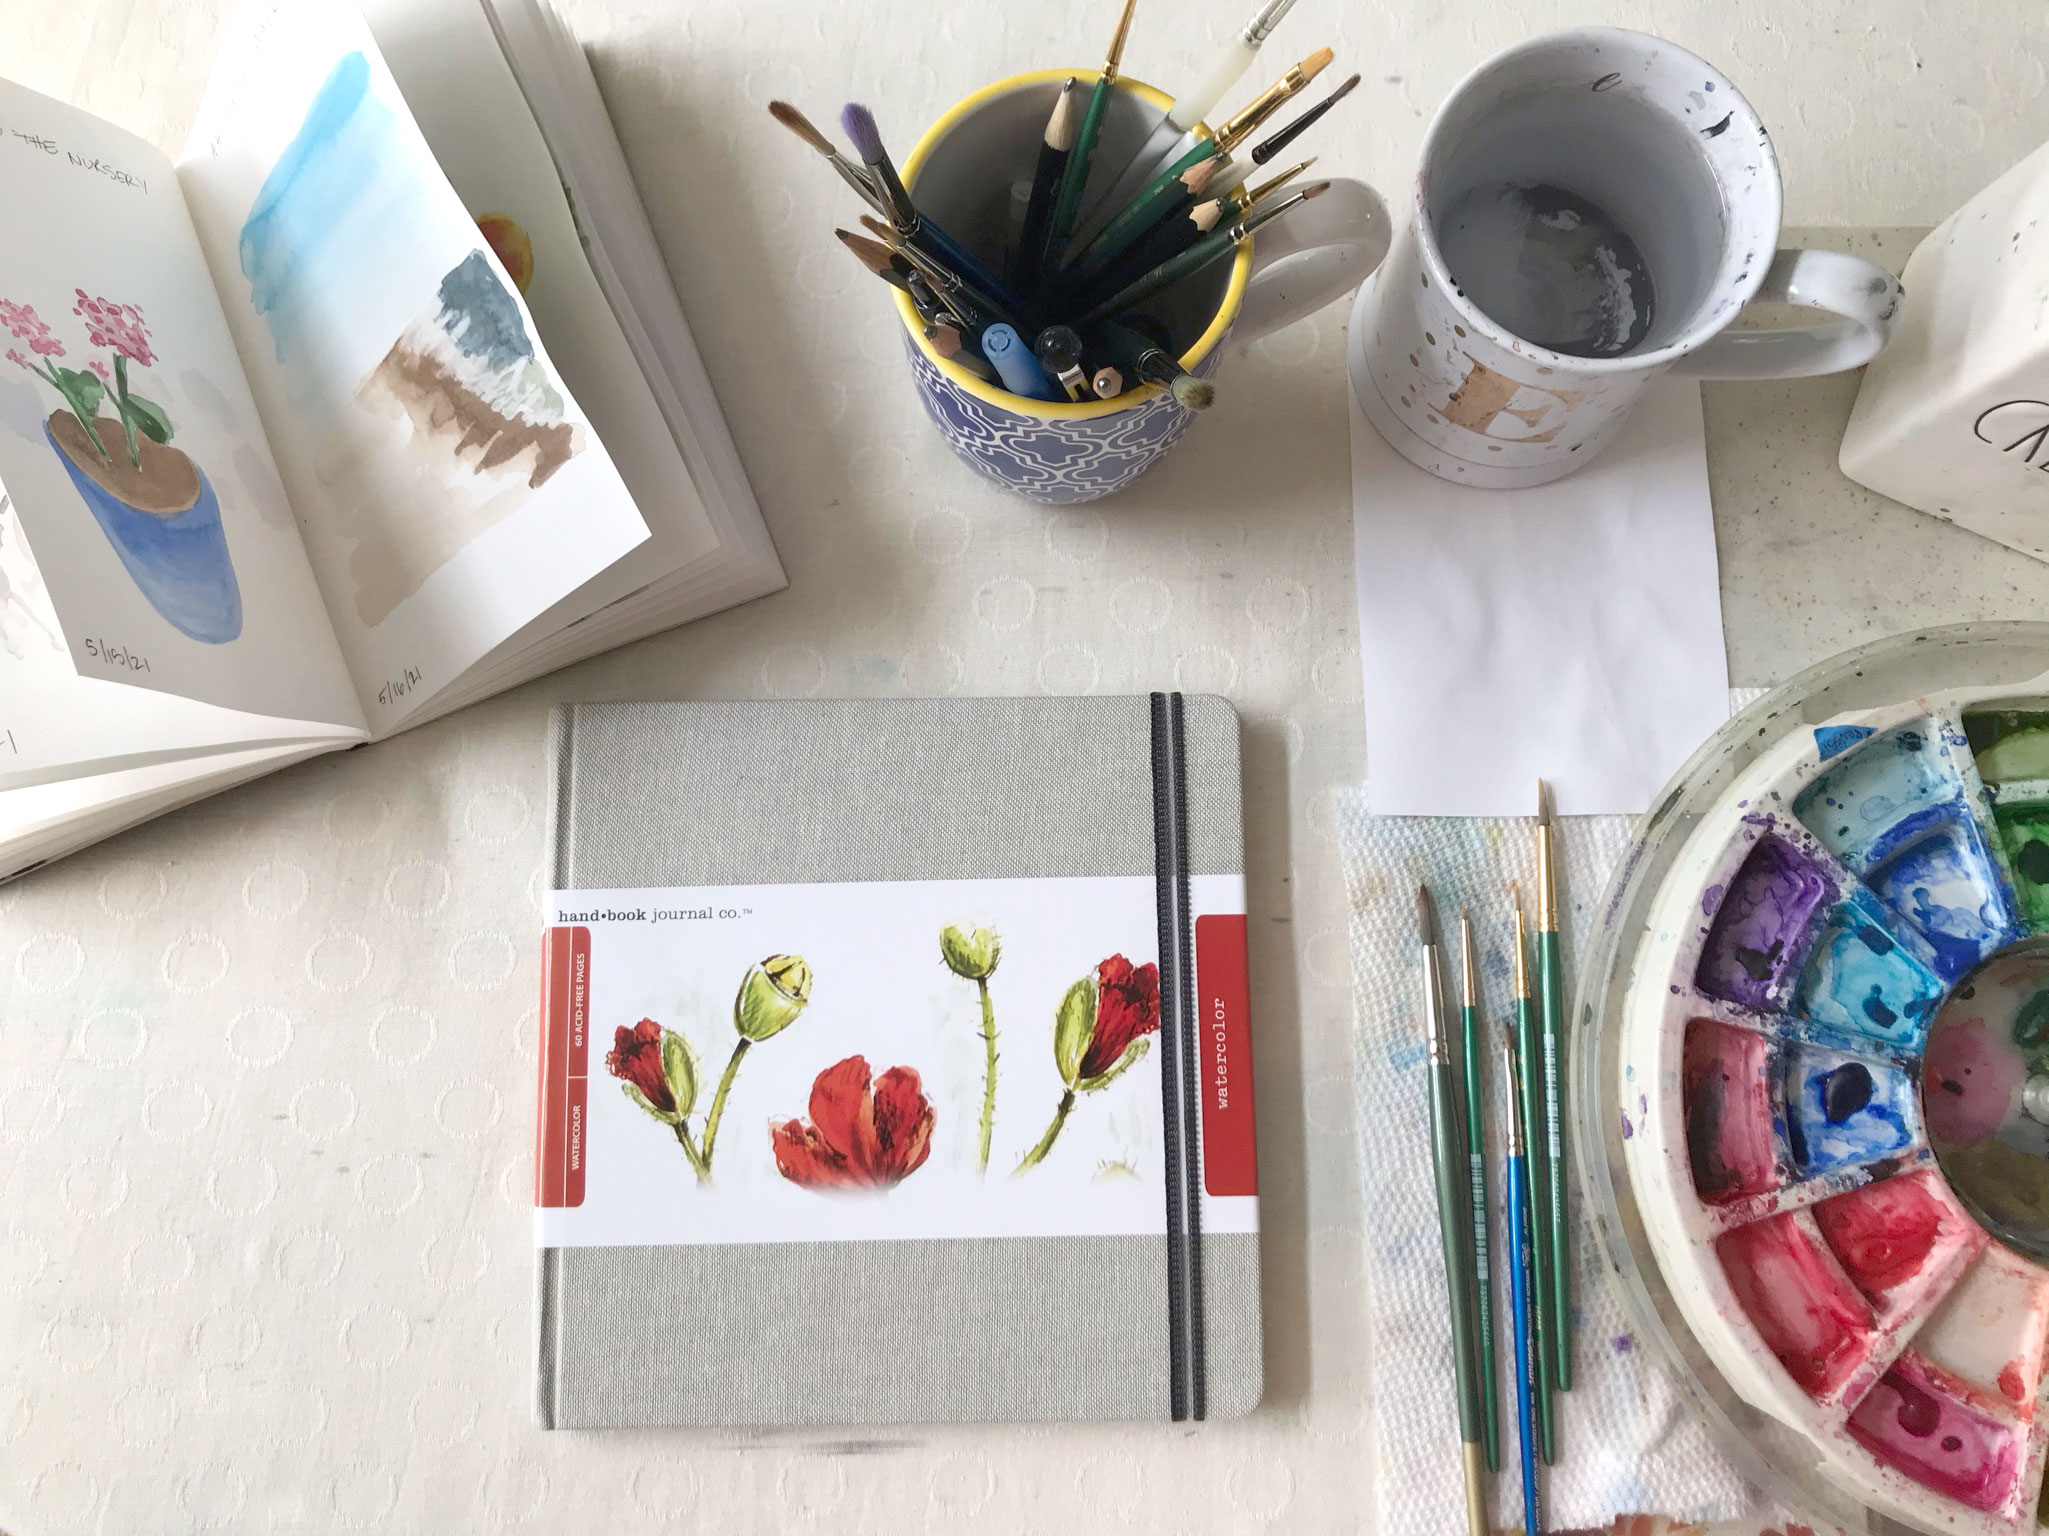
Spend time playing in a sketchbook, exploring ideas that the inspiration generates. This could be using different mediums or doing thumbnail drawings or paintings to explore an idea.

Playing in my sketchbook is an important part of my creative practice. My favorite sketchbook – the Canson Multimedia – can handle a lot of different types of media – watercolor, acrylic, pastel, etc.

5. research

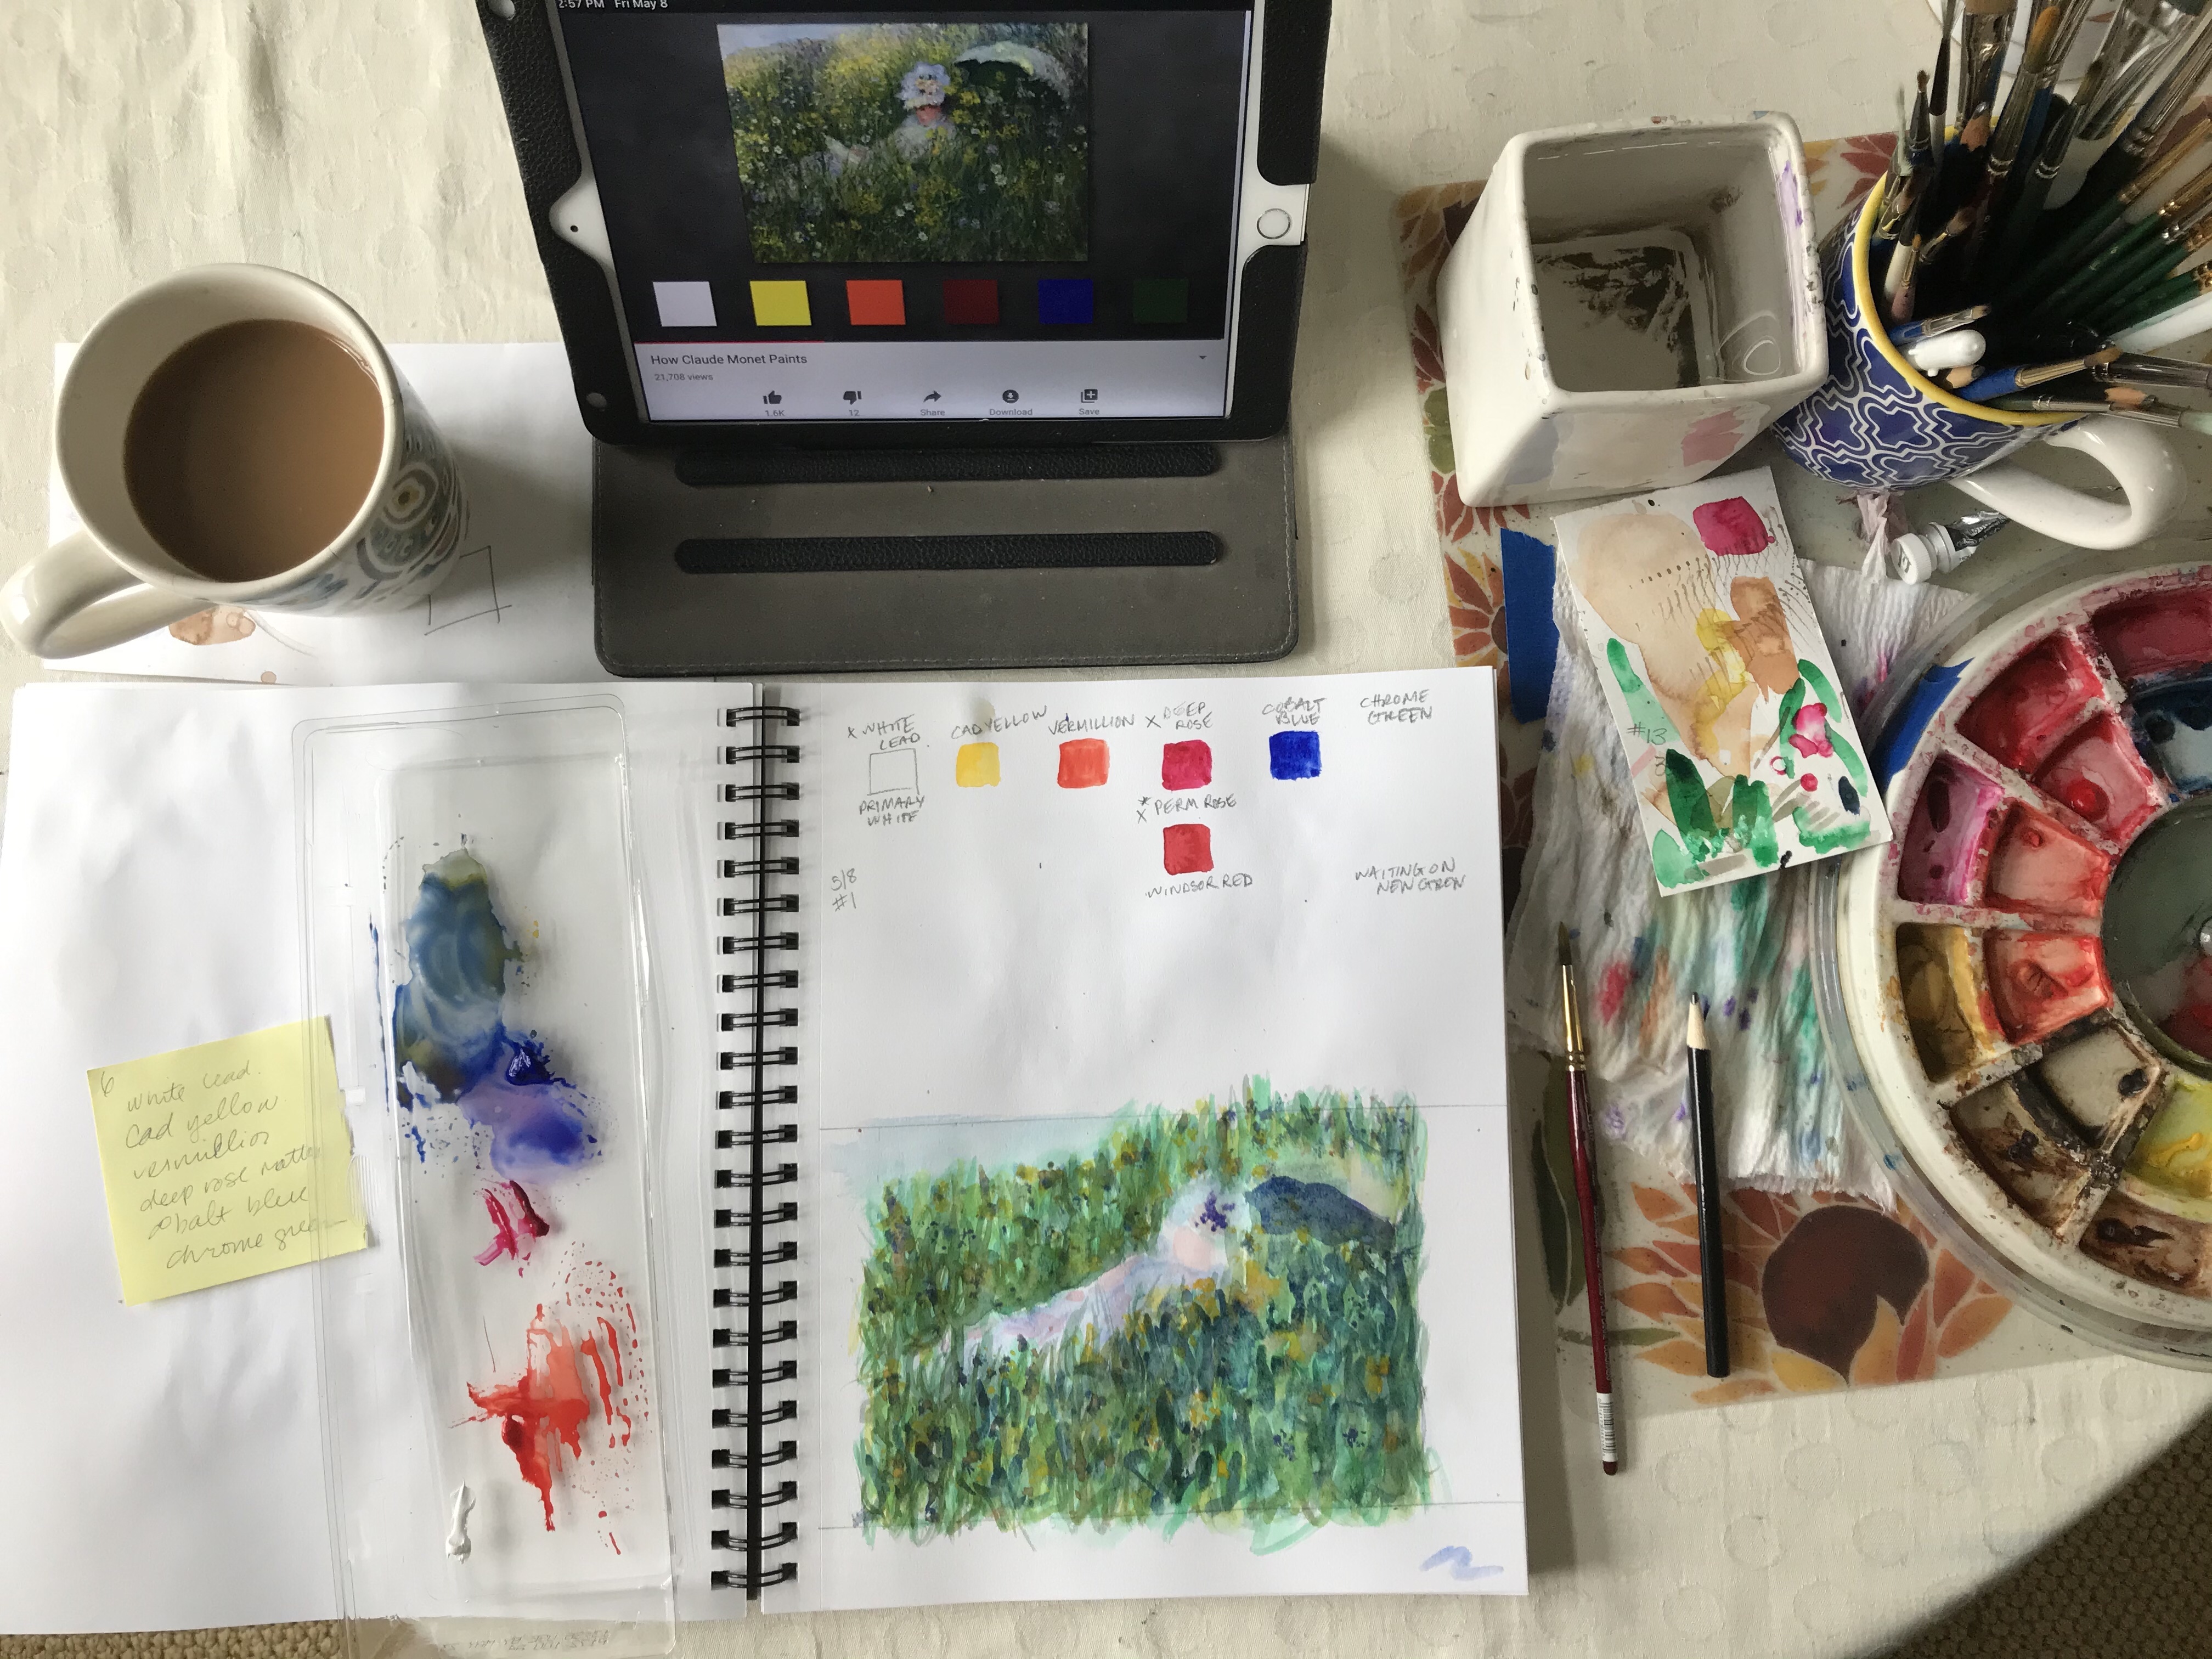
Depending on what the inspiration is, research can go into different directions. If the work of an artist inspires you, you could learn more about the artist and their technique.

I was inspired by a Monet painting of a snowy landscape, called The Magpie – the painting glowed. I did some research and found out the Monet had a “winter palette” of colors he used to paint winter scenes. I emulated his palette, using watercolors and did my own painting of The Magpie. It was so fun and I learned a lot!

6. Plan

Whether you write it down – like I do – or just verbalize it, it’s important to state what your goal is. It holds you accountable to follow through.

After an amazing trip to Paris with my family, I decided to spend time painting Paris. I opened it up for others to join me as I painted and created the course “Let’s Paint Paris.” The program is watercolor lessons that build upon one another, with videos where you watch my process as I paint all things Paris. It was so much fun, and allowed me to be even more inspired by the things that caught my eye in Paris.

7. Prep

Don’t forget to allow time to gather the supplies you’ll need for a project! Not having the right supplies can be a roadblock to following through on an idea. Plus it’s fun to shop!

I leave my watercolor supplies out on my table, so I’m always prepped for a watercolor project. It makes it easier to sit and paint.

8. create

The fun part is carrying out your idea. I’m always super excited to start. But, there was a time I would get very discouraged when I went from excited to frustrated – when a project got hard. I used to quit when I hit this part and ended up with a bunch of unfinished projects.

Eventually I learned that the hard part is part of the process. That realization made it so much easier to deal with and work through. The satisfaction of finishing a project, motivated me to tackle more projects.

I write all about working through the hard part and share many other tips on creativity in my book Creative Exploration: A Six Week Process for Introducing Regular Creativity into your Life.

Explore your creativity at https://eileenmckenna.com/shop/

October is Inktober

Let’s Get Excited for Inktober by Eileen McKenna

When I think of October I think of Fall colors and black ink lines. October is InkTober! For several years I’ve participated in Inktober, a daily challenge to create in ink. In the early years of my participation, I was a purest, only drawing in ink. But it’s hard for me to stay away from my watercolors for a whole month! In more recent years I’ve blended the two – creating fall themed illustrations with ink outlines using my favorite ink pen.

Inktober illustration by Eileen McKenna

There are optional Inktober prompts – which I don’t follow. Prompts are great, but I prefer to paint what inspires me. There are tons of creative challenges online. It doesn’t matter which one you follow or if you follow all the “rules.” The point of these challenges is to inspire and motivate us to create more regularly.

I’m adjusting to my new work schedule and am ready to fit in daily creativity – so Inktober comes at the perfect time for me. What about you? Are you ready for Inktober?!

Learn more:

Learn more about Inktober
find out where I met the creator of Inktober,
and read my Inktober supply checklist:

Don’t miss out:

Processing…
Success! You're on the list.

Watercolor Rules

Orange Sunset by Eileen McKenna

This past week I was teaching watercolor to the kids at the art studio. I’ve noticed that the kids are often impatient. They paint a background color and then they rush to paint the details. Since the background is still wet, the details bleed creating a blob.

I told the kids that painting in watercolor is like getting dressed in the winter. Just like you add layers of clothes to keep warm, paint layer after layer, letting each layer dry before adding another. With each layer add more and more detail. 

When you start a painting, start with a wet, bigger brush, painting the lighter colors. As you progress to the final layers, paint with a drier, thinner brush to allow for the finer details.

Watercolor “Rules”

PAINT LAYERS – LET THE PAINT DRY BETWEEN LAYERS.

PAINT LIGHT TO DARK, BIGGER BRUSH TO SMALLER BRUSH, WET TO DRIER BRUSH.

Following these “rules” helps you to turn beginning blobs into a detailed illustration or painting.

Processing…
Success! You're on the list.

Learn the fundamentals

from beginner brushstrokes to a final seascape painting and four other painting projects in between!

Check out my “Watercolor Exploration Guide” – which walks you through the fundamentals of watercolor with exercises and five painting projects. Discover a love of watercolor!

Beginner Watercolor Exploration Guide

This post contains affiliate links to products/brands I use and recommend. I earn a small commission whenever you buy using these links, at no additional cost to you. Thank you for supporting my blog!

Watercolor Journals

I am having so much fun filling my watercolor journal by painting every day – or almost everyday – no one is perfect right? My pages are of the moments of joy I experience each day. I call my watercolor journal project “Finding Joy” and it’s been a great source of positivity in my life these last two months. And it’s great to paint almost every day.

Thinking of doing your own watercolor journaling? Here are my reviews on several watercolor journals.

Strathmore Mixed Media Art journal

The journal I’ve worked in for the past two months is a Strathmore Mixed Media Art Journal. I loved working in this book!

  • The size: 5.5″ x 8″. I liked the small size of this book
  • The paper: 90 lb. mixed media paper. The paper can withstand some “working” at it – meaning you can apply the paint, lift the paint, add more paint without the paper starting to crumble.
  • The binding: The book doesn’t lay flat but I used binder clips to keep the pages secure while I was painting.
  • Cover: The cover is a bit flimsy and rubbery.
  • Pages: 64 pages. The pages are white which is good as I’m not a fan of off white paper.

Overall I really liked working in this book. If I wasn’t gifted a different journal I probably would have ordered another one of these.

Hand•book journal co. watercolor square

For Mother’s Day my daughter gave me a hand•book journal co. Watercolor Square journal.

  • The size: 8.25″ x 8.25″ square. I always liked working with square paper!
  • The paper: 95 lb. watercolor paper.
  • The binding: The book lays completely flat.
  • Cover: Linen hardcover.
  • Pages: 60 pages. The pages are white which is good as I’m not a fan of off white paper.
  • Extras: A ribbon bookmark and clear pocket on back inside cover.

So far so good! I just started working in this journal. The cover is beautiful, the pages are spacious. The book feels special. Laying flat is a nice bonus.

CANSON Artist Series Montval Watercolor Pad

The Canson Montval Watercolor Pad is my go to travel watercolor book. The paper is nice and thick and I take it every time I go away.

  • The size: 6″ x 9″
  • The paper: 95 lb. watercolor paper
  • The binding: The book is spiral bound and lays completely flat.
  • Cover: Linen hardcover.
  • Pages: 60 pages. The pages are white which is good as I’m not a fan of off white paper.

To me, the spiral binding makes it feel less like a journal and more like a “sketchbook.” The size makes it great for traveling.

moleskine watercolour notebook

I bought this Moleskine Watercolour Notebook to share with a friend. I painted in it and then mailed it to her.

  • The size: 5″ x 8.25″
  • The paper: 135 lb. watercolor paper
  • The binding: The book does not lay flat.
  • Cover: Hardcover
  • Pages: 72 pages.
  • Extras: Expandable inner pocket.

I’m looking forward to getting it back so I can paint in it again!

Join my email list for weekly watercolor tips and tricks and creative inspiration!

Sign up and receive the “Watercolor Basics” free pdf:

Processing…
Success! You're on the list.

looking for a comprehensive introduction to watercolor? This guide is for you!

This Beginner Watercolor Exploration Guide is the perfect introduction to watercolor. Each fundamental is explained and then you practice it with exercises and painting projects.

The 5 tutorials build upon one another as you progress through the guide. You go from beginner brushstrokes to a watercolor seascape!

  • Learn the fundamentals.
  • Practice with exercises & projects.
  • Discover a love of watercolor!

Start your watercolor journey today – visit https://eileenmckenna.com/guide/

Beginner Watercolor Exploration Guide
Available on Amazon or as a pdf download.

This posts contains affiliate links to products/brands I use and recommend. I earn a small commission whenever you buy using these links, at no additional cost to you. Thank you for supporting my blog!

How to Learn Watercolor Painting

Interested in watercolor?

Watercolor is a fun, convenient medium. It’s easy to set up and clean up. If you are just getting started with watercolor you may be wondering…

What supplies do i need to paint in watercolor?

There are several things you need to paint in watercolor – some of which you have around your home! Here is what you’ll need:

  • Watercolor paint (see below for specifics)
  • Watercolor brushes (see below for specifics)
  • Watercolor paper (see below for specifics)
  • Cardboard larger than your paper
  • Painter’s tape to tape down your paper to the cardboard
  • Container of water
  • Paper towel
  • Scrap paper
  • Palette to mix paint with water or mix colors – try the top of a plastic egg carton

You are probably wonder – Ok, but what kind of paint, brushes and paper? I’ve created a FREE downloadable pdf – “Watercolor Basics” – that covers what kind of paint, brushes, and paper you should use.

sign up here to receive the “Watercolor Basics” free pdf:

Processing…
Success! You're on the list.

How should I set up my supplies?

Now that you’ve collected all of your watercolor supplies, you may be wondering how to setup your workspace.

As a right handed person, I set up most of my supplies to the right of my paper or sketchbook. This is so I’m not reaching across my paper to get water or paint – I don’t want to accidentally drip on my paper! I usually place a reference photo (on my ipad) directly in front of my workspace. My mixing palette (top of an egg carton) can be moved around as needed. It’s always best if my coffee isn’t near my water. I’ve dipped my paintbrush in my coffee too many times!

Painting in watercolor with Monet's color palette

how do you paint with watercolor?

A key element to painting in watercolor is water.

  • If you use a dry brush, the paint will go on rough and paper will show through in spots.
  • If your brush is wet the paint will glide onto the page.
  • If the paper is wet the paint will bleed into the water on the page when you touch it with your brush.
  • To lighten watercolor add water, NOT white.

These different ways of painting work in different circumstances. To paint one subject you will likely use all of the above ways of painting in different areas.

what should i paint?

When you are starting out it’s sometimes hard to come up with ideas. You’d like to practice but don’t know what to paint. Choosing a challenging subject can be discouraging.

printable painting tutorials

To help with this and to introduce you to the fundamentals of watercolor, I’ve created printable painting tutorials. Each tutorial walks you through fundamentals as you paint the steps for a specific final painting, like the “WATERCOLOR CONEFLOWER PAINTING LESSON” below.

WATERCOLOR CONEFLOWER PAINTING LESSON

The tutorials might look intimidating – but I promise – I explain each step and provide photos to bring you to a successful final painting!

*tip ~ prep your paper before painting

When paper gets wet it wrinkles and buckles. To avoid this tape your paper to a piece of cardboard using painter’s tape. The tape also creates a nice border to your painting.

For weekly tips, sign up for my newsetter:

Processing…
Success! You're on the list.

looking for a comprehensive introduction to watercolor? This guide is for you!

This Beginner Watercolor Exploration Guide is the perfect introduction to watercolor. Each fundamental is explained and then you practice it with exercises and painting projects.

The 5 tutorials build upon one another as you progress through the guide. You go from beginner brushstrokes to a watercolor seascape!

  • Learn the fundamentals.
  • Practice with exercises & projects.
  • Discover a love of watercolor!

Start your watercolor journey today – visit https://eileenmckenna.com/guide/

Beginner Watercolor Exploration Guide
Available on Amazon or as a pdf download.

This posts contains affiliate links to products/brands I use and recommend. I earn a small commission whenever you buy using these links, at no additional cost to you. Thank you for supporting my blog!

How to Motivate to Finish Creative Projects

Watercolor Sunset Painting by Eileen McKenna

For three months this sunset painting sat unfinished. I couldn’t motivate to pick it up and work on it, until now. What changed?

For one thing, with the holidays behind us and a new fresh year ahead, I recommitted to creativity. My goal is to sit and paint every morning for at least 15 minutes. So far this year, I’ve done just that plus a few days at the end of 2020.

When I sit down to paint I usually have no plan. Sometimes I start by organizing my art supplies. That’s when I uncovered this painting (but immediately set it aside). I often start by playing in my sketchbook. There is no pressure with a sketchbook. I feel free to explore. As I paint, ideas come to me.

It’s so interesting how you can go from no idea…to painting bananas…to “It’s time to finish that sunset.” It just proves how important it is to regularly sit down to paint, to show up every day.

There are days that nothing exciting happens on the page, but that’s part of the creative process too. No matter what the results, time spent being creativity clears my mind.

I encourage you to paint, draw (or whatever) for 15 minutes each day. You never know what it will lead to!

*****

Ready to get started in watercolor? The “Beginner Watercolor Exploration Guide” is for you!

  • Learn the fundamentals.
  • Practice with exercises & projects.
  • Discover a love of watercolor!

Learn more here!

Beginner Watercolor Exploration Guide pdf download | how to guide beginner watercolor

A Creative New Year

Sketchbook

I’m always relieved when the busyness of the holidays is over. After Thanksgiving “the holidays” – a small thing on my to do list – grows with each passing day until it’s the main thing I’m working on. I become consumed with shopping, taking inventory of deliveries, decorating, wrapping, planning, baking, more shopping…

And then it’s over. The week that follows is usually a fairly quiet week of not much more that reading, tv watching, and eating leftover candy. I happily devour the creative magazines that filled my stocking. Magazines like flow and Mollie Makes. I read about other creatives and plan and dream about the New Year.

It was during this time, seven years ago, that I committed to regular creativity and started this blog – My Creative Resolution. Seven years ago! My kids don’t remember a time when a section of the table wasn’t filled with art supplies. They assume I’ve always drawn and painted. 

Starting a blog added a level of accountability that prevented me from putting my creative goals aside. Before the blog, there were several Christmases where I received a new sketchbook, vowed to work in it every day, but ultimately forgot about it. Creativity has brought so much joy to my life, and many unexpected opportunities! It is impossible to plan everything. You have to start your own journey to find out what twists and turns await you!

Not sure where to start?

I’ve created a process for you to follow, that walks you through trying things, while developing a regular practice of creativity. Fifteen minutes a day can be sufficient!

We start with the basics – no fancy supplies needed – and slowly work up to trying other mediums. Your interests are taken into account. After all, your exploratory journey should be based on you!

Ready to get started?
Download the “Creative Exploration” ebook or order a paperback copy on Amazon today. Click here for more information.

Your creative journey awaits!

Creative Exploration | How to be creative How to start an art practice

Start now by clicking here!


Woodland Creatures Birch Forest Watercolor Painting Project

This watercolor painting project is a new spin on a my original birch forest painting tutorial. The woodland creatures – an owl, a fox and a bunny – make this new beginner project fun for all ages!

It’s easier than it looks! The final painting may look complex but the instructions – with photos – walk you through the entire project step by step. It’s a great project for home schooling, for a group, or even painting on your own.

Watercolor techniques used:

  • Masking areas with tape
  • Wet on wet painting
  • Splattering
  • Dry on dry painting
  • Painting layers

Supplies you’ll need:

  • Watercolor paper. I use 9” x 12” Arches 140 lb. cold pressed paper. 
  • Painter’s tape
  • Watercolor paint. Colors: orange, yellow, cobalt blue, black
  • Paint brushes – 3 round (1 thick, 1 medium, 1 thin) and 1 flat.
  • Container of water
  • Paper Towel
  • Palette for mixing paint with water. You can use a plastic lid or the top of a plastic egg carton.

The printable pdf instructions are available in my Etsy shop here.

Let me know if you try it – I’d love to see!

*****

Ready to get started in watercolor? The “Beginner Watercolor Exploration Guide” is for you!

  • Learn the fundamentals.
  • Practice with exercises & projects.
  • Discover a love of watercolor!

Learn more here!

Beginner Watercolor Exploration Guide pdf download | how to guide beginner watercolor

Fun Beginner Winter Art Project Learn Watercolor Kid Art

Paint a Turkey

How to paint a turkey

As I cleared the Halloween stuff off the mantle and setup up the Thanksgiving decorations I realized my selection was lacking. What to do? Grab a small canvas and paint a turkey of course!

Watch my process in the Youtube video below. Please like and subscribe!

Looking to follow along? You can find a list of my paint colors below.

Watch the video here.

View more fun Fall projects here!

Paint colors I used:

  • Tan – mixed from yellow and brown
  • Brown
  • Dark brown – mixed from brown and black
  • Black
  • Deep Red/Maroon – Alizarin Crimson or mix red with a little blue
  • Pink – mixed from white and deep red
  • Light blue – mixed from white, blue, and a little pink
  • White
  • Green – mixed from Phthalo Green and white