Winter Wonderland (watercolor with salt)

winterwonderland
I’m not sure what made me start this Winter scene the day after Halloween. I guess I was thinking about the weather to come! I was inspired by my “ready to fall” painting, which started out as an ink drawing of a tree.

My steps:
I drew a few simple tree shapes. Then I painted the sky and ground around them. On a whim, I salted the sky section to give it that frosted look. (If you’ve never used salt before it is a cool technique. Salt your painting when it is still wet. The salt absorbs some of the paint. Wait until it is completely dry and then brush off the salt.) I was happy with the effect. It reminds me of frost on a window. I added white to the trees and a few splatters of white for snow.
winter1 winter2
salt
salt3 salt4

Watercolor Montauk Daisies – Lifting Color

montaukdaisiesf
I took the reference photo for this painting in our yard. I really worked this painting! I kept going back in and adding color. Good thing I’m using watercolor paper these days!

Finally I remembered to tape my paper to a board (a palette did the trick) to keep the paper smooth and prevent the paint from pooling. I made sure to add paint to the “white” petals, because they aren’t truly white. Then, I added the base color of the background.
md1st md2ndl

When that was mostly dry I painted in some details. BTW in the end, I preferred this painting upside down from the way I painted it. So the painting is flipped from here out.
md3

I added some outlines and details in ink. But felt the empty area needed to be darker. I had to add color several times to get it dark enough. Then, I thought it looked weird. Like the Montauk daisies were floating. Even my nine year old son said, “Maybe you need to add some leaves in there.” I drew some leaves in ink and then lifted the dark color where the leaves were. I added a little bit of green to those new leaves. I like the result and how those leaves are subtle. [See final painting in the first photo.]

If you have never “lifted” watercolor paint before, it is easy. Using a wet brush, you touch the area you want to lift the paint from. Wipe the brush on a paper towel (you’ll see the color come off onto it) and rewet the brush and repeat until you’ve achieved your desired effect. 🙂
md2
 md1

I’m thankful I finished this project!

givethanksfinal
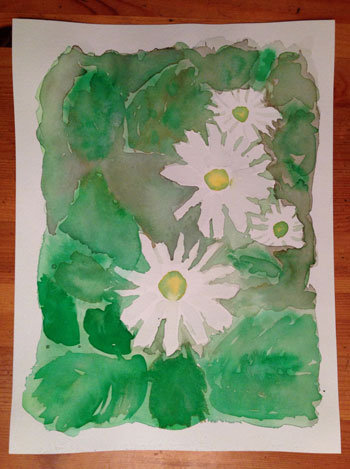
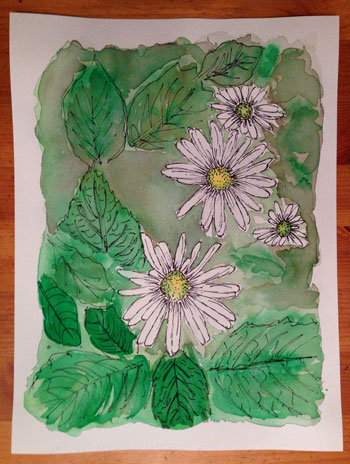
I finally got around to finishing this. I started it back in the summer, when I painted the background for two signs. One sign became my “beach lover” sign, which I finished over a month ago. For this sign, I wasn’t sure what to do with it, what words to paint on it – Fall harvest? With Thanksgiving getting closer and closer, I decided on “give thanks.”

Two years ago Thanksgiving took on a whole new meaning. My siblings, parents, cousins and my aunt were all affected by Superstorm Sandy. They all had major renovations to tackle and some of them couldn’t even live in their homes. Living 20 minutes away, our home was unaffected. So Thanksgiving 2012 was here at our house. We hosted around 40 people. I wasn’t stressed at all. I knew everyone would be happy, just being together in a warm, dry place. There was no need to sweat the small stuff. Although they suffered damage to their homes, everyone was safe and that was definitely reason to give thanks.

Technique:
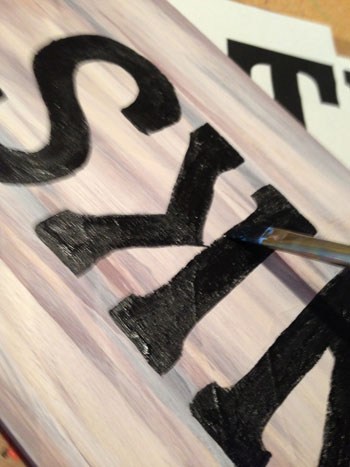
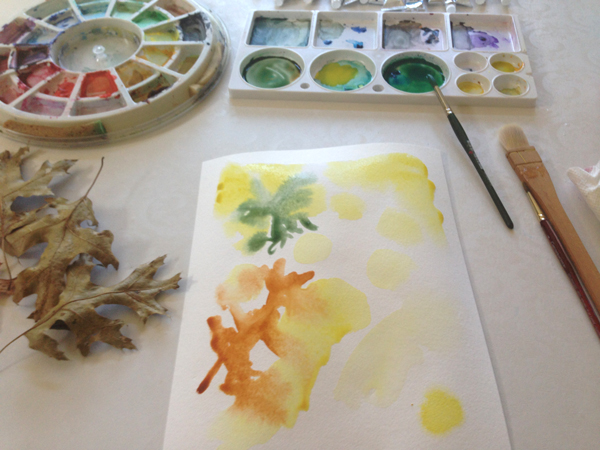
I used the same technique for the lettering as last time. Using the side of the pencil, I quickly colored on the back of my printout. Then, I flipped the printout over and taped it to my sign. With firm pressure, I traced the letters on the printout, using a Nintendo DS stylus pen. I peeled the printout off and, using the light pencil marks and indentation as a guide, I painted the letters. After the letters were dry I added a little white for effect.

thanks1thanks1b    thanks2a thanks2thankspaintthanksalmost

A Crisp Fall Day!

fallleavesfinal
Fall is one of my favorite times of year. I love those sunny, crisp, blue sky days. Unfortunately they lead to damp, grey, cold days! Today is the perfect Fall day. I’m going to enjoy it while it lasts! 🙂

This painting was part of my painting party. I worked very wet, letting the colors bleed together, only hinting at each leaf. I added several layers of paint. After I was done, I added some details with ink.

leaves1leaves2

Table full of projects

table2
Today I set up the table like I was having a painting party – although it was all for me! I set up 4 different seats. I grabbed a couple of different leaves from the yard and some apples. I sat at 3 of the seats, working from a different subject each time. I went back and added paint to the fall leaves painting (left) and the red leaf painting (middle). I’m excited to add ink to the fall leaves painting!

I decided to work this way because:

  • I didn’t have a set subject I wanted to work on.
  • Since you need to let the paint dry before you can add more color and detail, it’s the perfect time to switch seats and projects!
  • I wanted to end up with several watercolors that I could continue to paint or add ink to.

Last week I had a lot of success with my sunflower project, where I started the painting several times. Ironically, I thought the success was what I turned the outtakes into. Not the final sunflower painting! So, I wanted to start a couple of projects and see what I could do with them.

My personal painting party:
table