Last week I had the opportunity to teach kids ranging from 1st grade through high school how to paint the ocean with watercolor. The seascape painting was part of a 12” seashell wall hanging project to be completed over three days. I was excited but nervous.
Even though the kids were somewhat divided up by age – the age range was the biggest challenge. The kids were so sweet and I really enjoyed getting to know them over the course of 3 days. And their paintings (and projects) turned out amazing.
I had the whole project mapped out, which was helpful. Finishing early worked out fine, because I used the extra time to allow them to play and experiment with watercolor. Finding a few fun projects on Pinterest helped. What I would improve on next time would be setting up the project to allow them to work more independently – if possible.
I hope the kids had fun and have a new appreciation for watercolor.
After a busy time, it feels good to be playing around with watercolor again. When I haven’t painted in a while it feels easier to dip my toe in by working in my sketchbook. At first I don’t know what to paint so I just doodle and play around. Usually inspiration strikes. I started painting a series of mini seascapes. I’m practicing for a workshop I’m teaching next week.
The beach has been the backdrop of my life. It’s where I was born and raised, played, worked as a lifeguard…and now enjoy summer days with my family. I spend a lot of time learning and practicing capturing the ocean in watercolor.
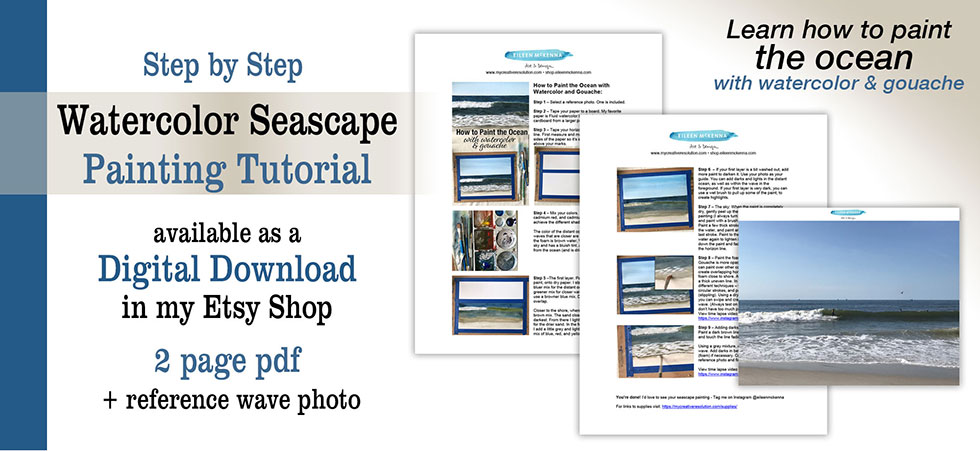
How to Paint the Ocean with Watercolor and Gouache:
1. Use a reference photo. It is very important to paint from a reference photo. All the details you want to capture to make your painting look realistic are in a photo.
2. Tape your paper to a board. Tape your paper down to prevent it from buckling when it gets wet.
3. Tape your horizon line. To ensure a straight horizon line, use a ruler to measure and mark each side of the paper where the horizon line should be. Then tape across your paper above the pencil marks.
4. Mix your colors. I always mix my ocean colors to achieve more natural looking colors. In general from the horizon line to the sand the colors go from blue, to green, to brown.
5. Paint the first layer. Starting at the tape paint the distant ocean all the way to the dry sand, changing colors as you go. Don’t be afraid to overlap the colors.
6. Darken the first layer as needed. Add darks in the ocean for waves, etc. Refer to your reference photo. If the first layer is dark, consider lifting color with a damp brush to create highlights.
7. Paint the sky. Paint a simple fade where the color lightens as it gets closer to the horizon.
8. Paint the foam with white gouache. Gouache is more opaque than watercolor and you can paint over watercolor. I add white over the first layer of ocean colors to create the foam of the waves.
9+. Add details. Study your photo for little details – shadows in the breaking waves, etc. The details are what will make your painting more realistic looking.
Call it done! Every painting is a learning experience and information for the next painting. Call this one done and then try another one. The more you paint a subject, the better you’ll get at it.
I dive deeper into the process of painting seascapes in my video lesson and pdf tutorial. Give one a try!
Whoops! There was an error and we couldn't process your subscription. Please reload the page and try again.
This post contains affiliate links to products/brands I use and recommend. I earn a small commission whenever you buy using these links, at no additional cost to you. Thank you for supporting my blog!
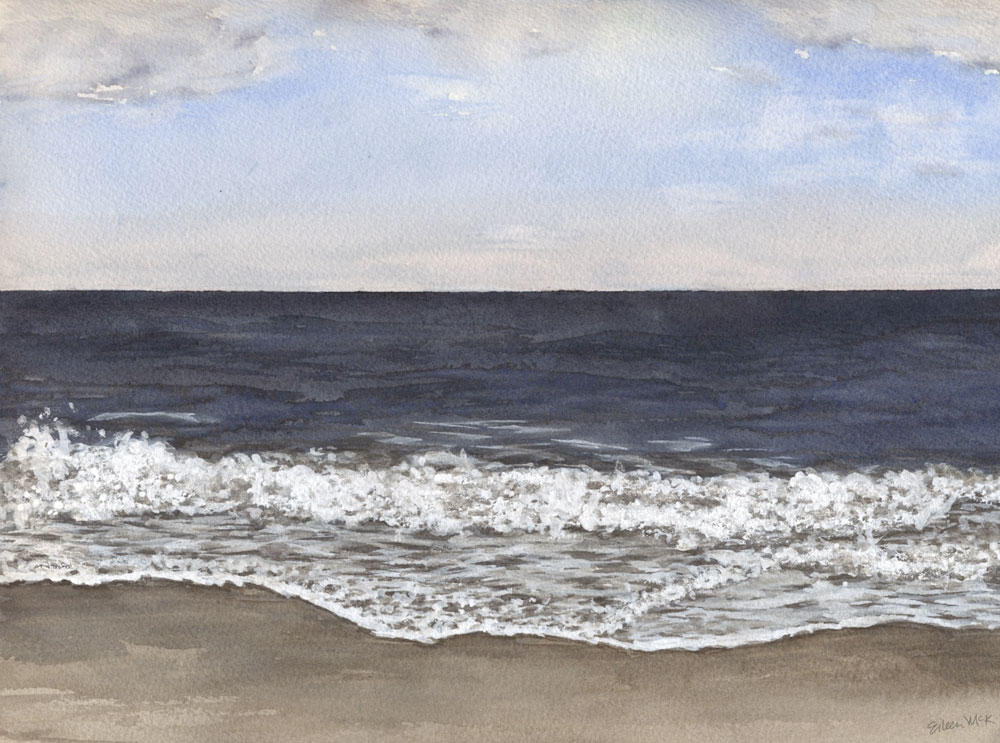
I’m happy with the results of the sky above, which is ironic because I thought this painting was a lost cause. This is what it looked like:
In an effort to capture the saturated blue of the sky (with a hint of purple), I had previously used several colors (including cadmium red and ultramarine) and the above was the result. It was too purple, and too dark. It looked like a cloudy day.
I didn’t give up. I removed a lot of the paint by wetting it and soaking it up with the brush, and also blotting with a paper towel. Then I added cerulean blue on top. It was this layering of the colors that helped achieve the blue I was looking for. I don’t think the cerulean alone would have worked as well.
I also painted clouds and highlights with white gouache. I’ve been using white gouache for the foam of the ocean for a while but only recently have I been using it in my skies. I’m loving the results. Just shows that you gotta push through the ugly stage!
This post contains affiliate links to products/brands I use and recommend. I earn a small commission whenever you buy using these links, at no additional cost to you. Thank you for supporting my blog!
Uppercase Magazine – a favorite creative magazine of mine – recently had a call for submissions of artwork of your favorite packaging. I of course picked one of my favorite childhood candies, DOTS, to paint. (And Yes, I ate all the DOTS.)
One of my goals this year is to get my artwork “out there.” I’m not necessarily searching for places to submit my work, but staying alert for opportunities, in places that I’m a fan of.
So far:
I’ve submitted art to Flow Magazine – another favorite of mine – for their 2019 calendar. I haven’t heard back yet.
I created a repeating pattern for a recent Spoonflower contest. I didn’t make the top ten.
I also submitted to another Uppercase Magazine call. I wasn’t accepted – I didn’t 100% fit the criteria.
I view each submission as a victory, regardless if I’m accepted or not. It is an accomplishment to follow through and submit, and in many cases create new art for the submission. And just like the old lottery slogan, “You’ve got to be in it, to win it.”
This contains affiliate links to products/brands I use and recommend. I earn a small commission whenever you buy using these links, at no additional cost to you. Thank you for supporting my blog!
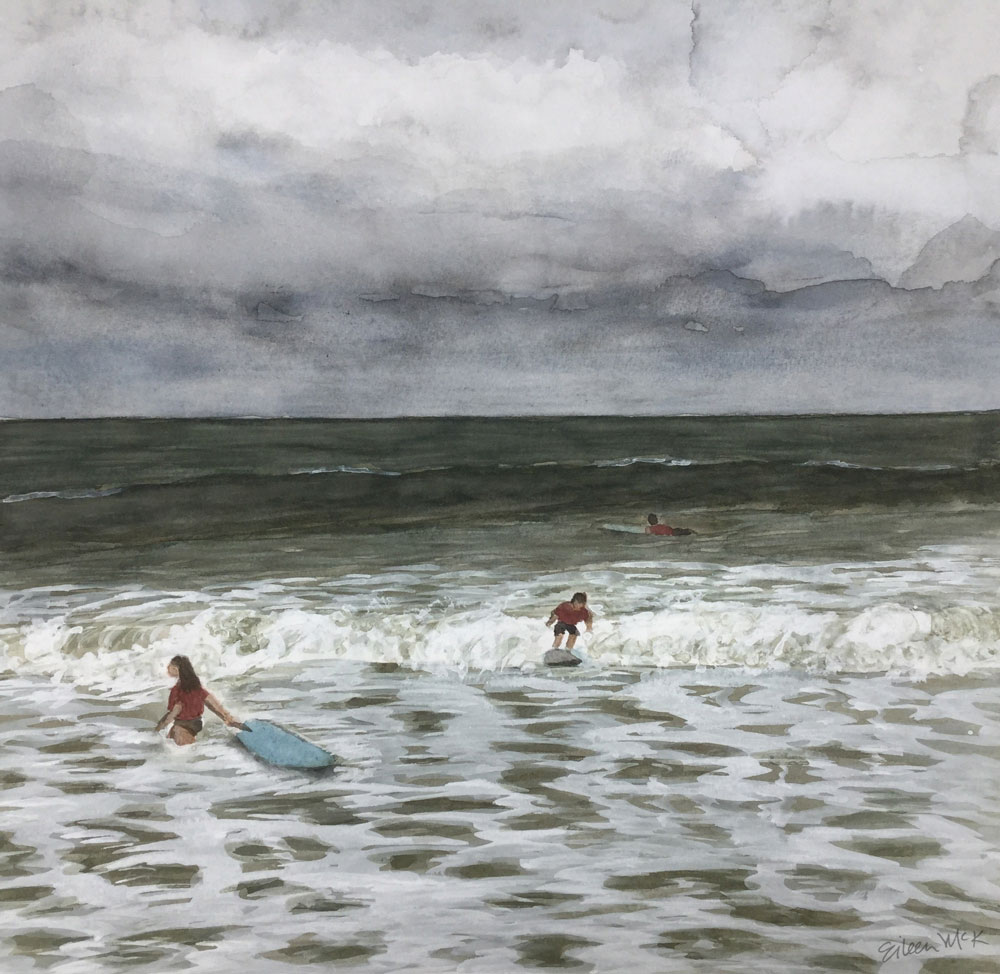
I often start and work on more than one painting at a time. It’s nice to have another painting to grab when you’ve reached the point with a painting where the newest layer needs to dry. Sometimes I work on more than one painting from the same reference photo. I’m not trying to create duplicate paintings. I’m giving myself the opportunity to try different things, to learn, to explore.
The paintings above are from the same photo. In one there is a seagull. The crashing part of the wave is slightly different. Even the color of the sky, the detail of the sand. For me it’s not about which one is better. It’s more about what I learned during the painting process.
See my collection of seascape paintings at shop.eileenmckenna.com. Prints are available on watercolor paper or canvas, in many sizes.
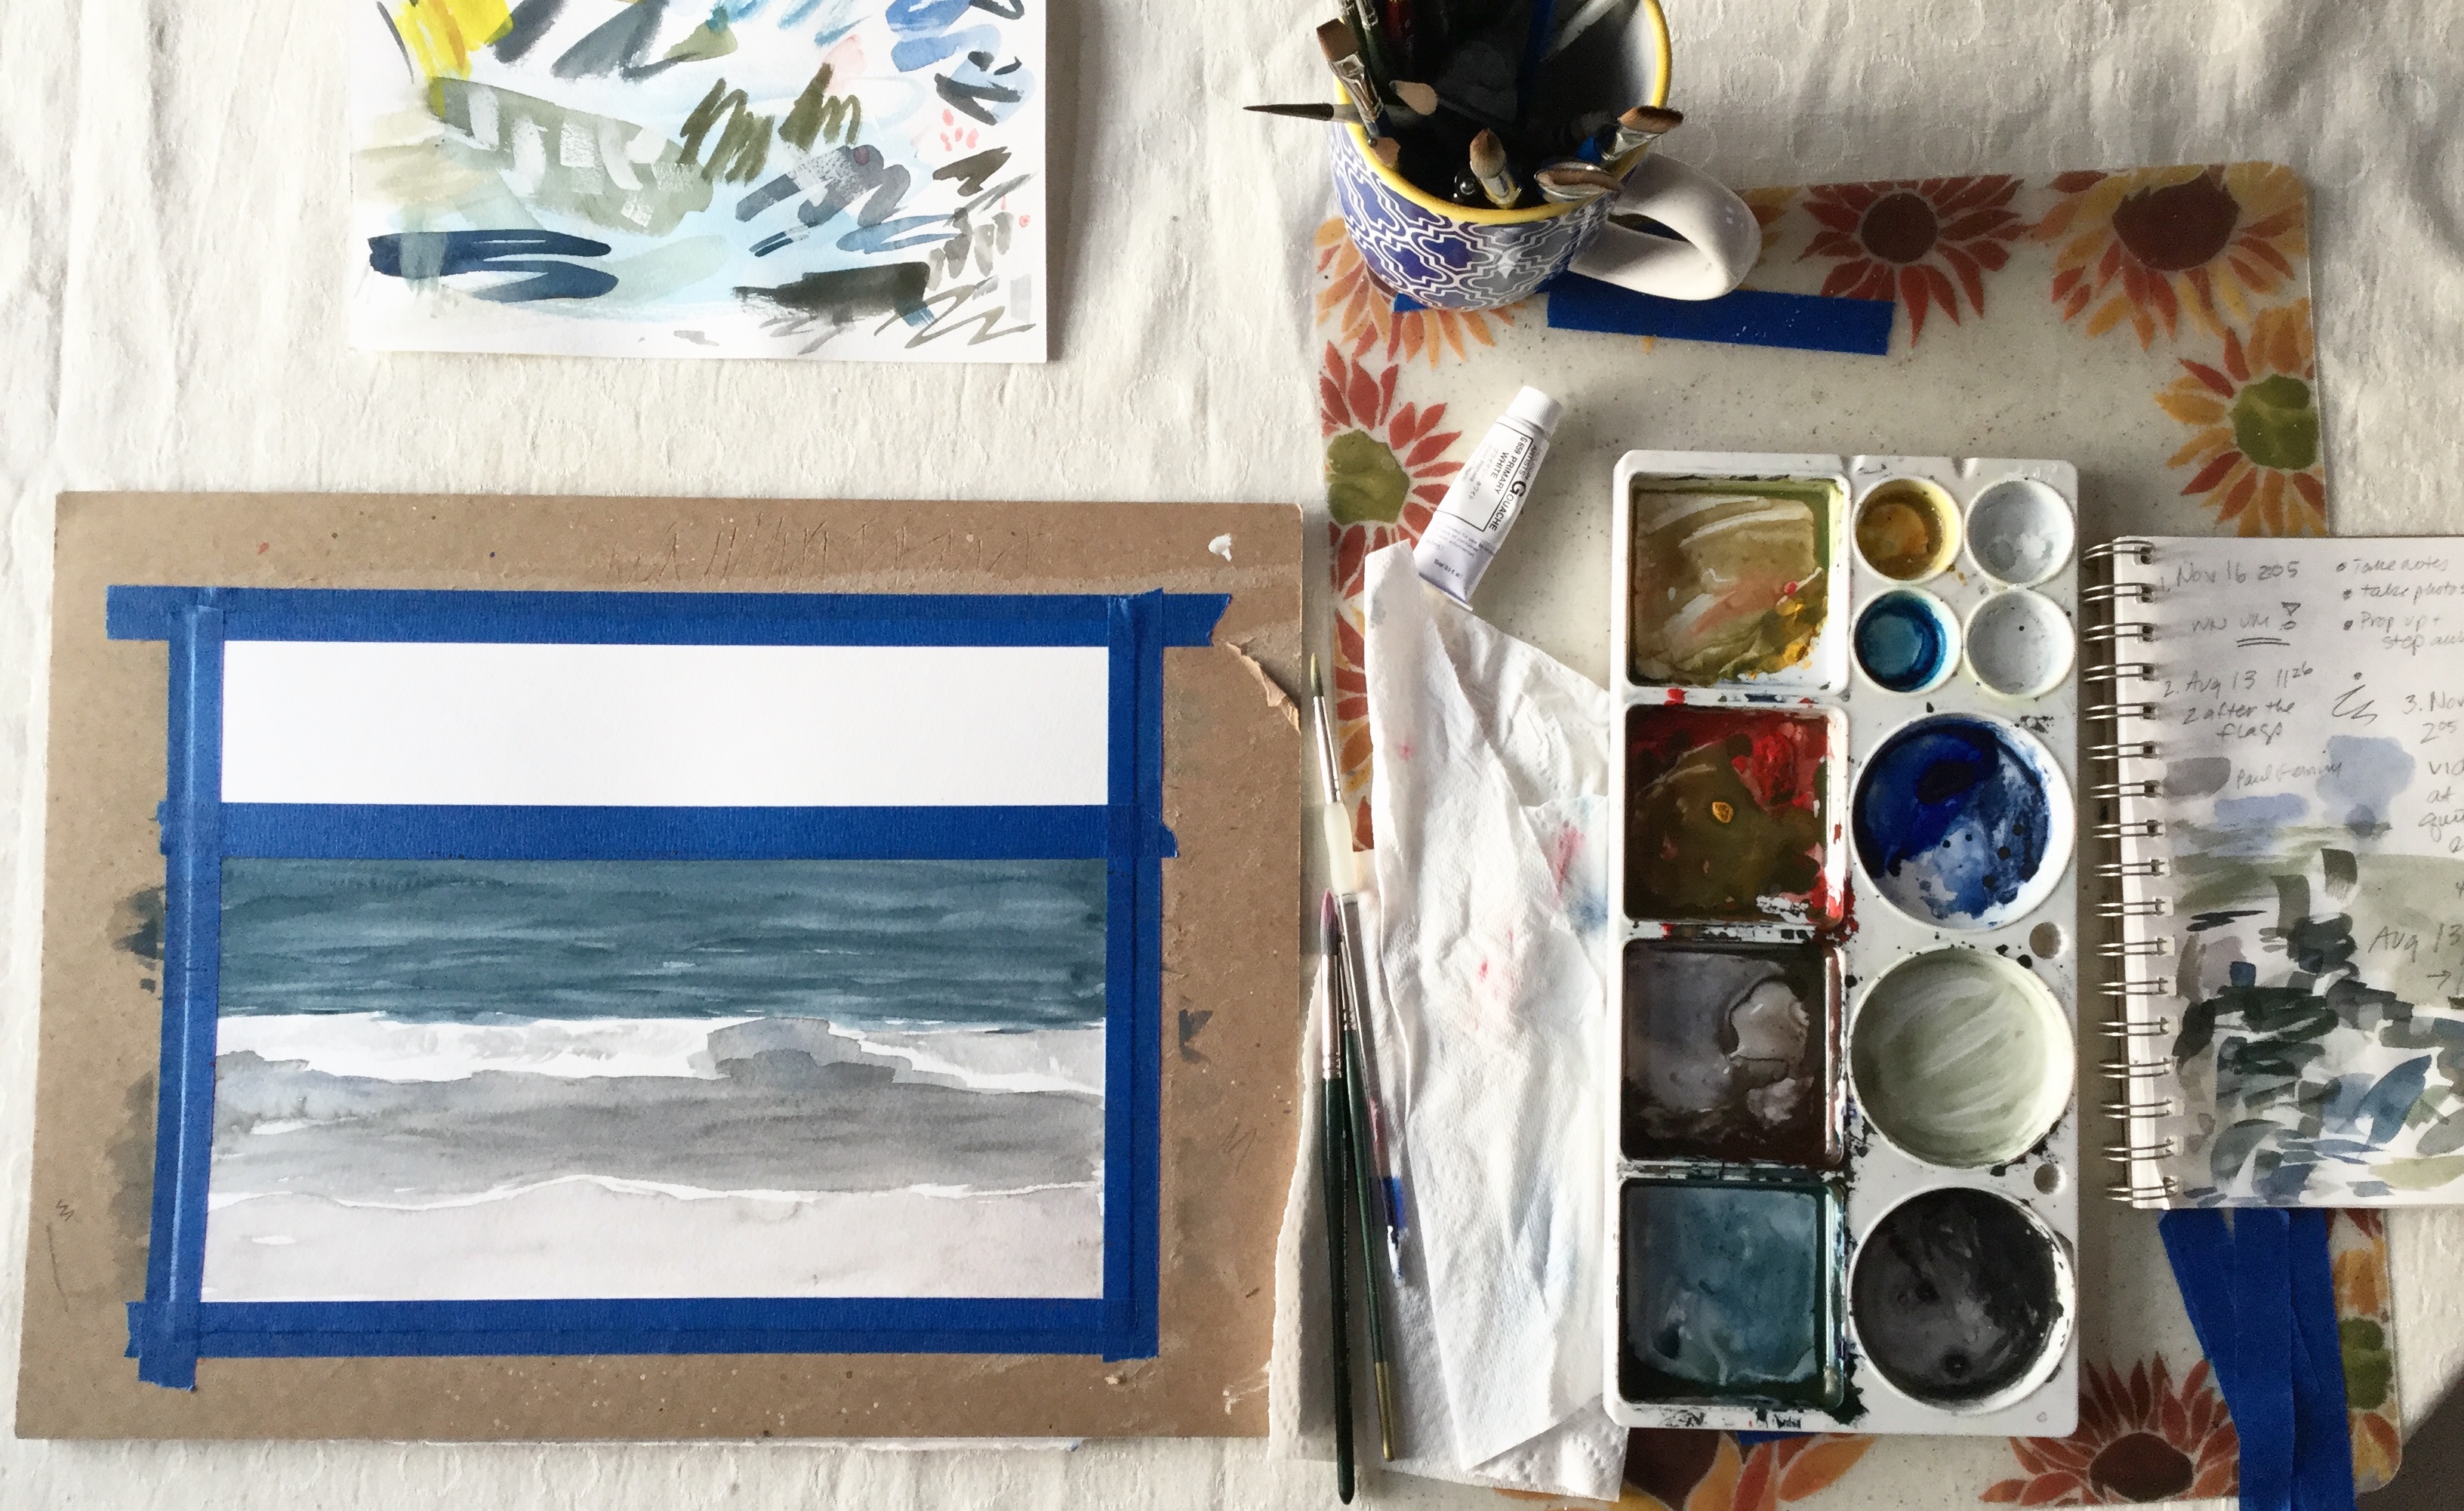
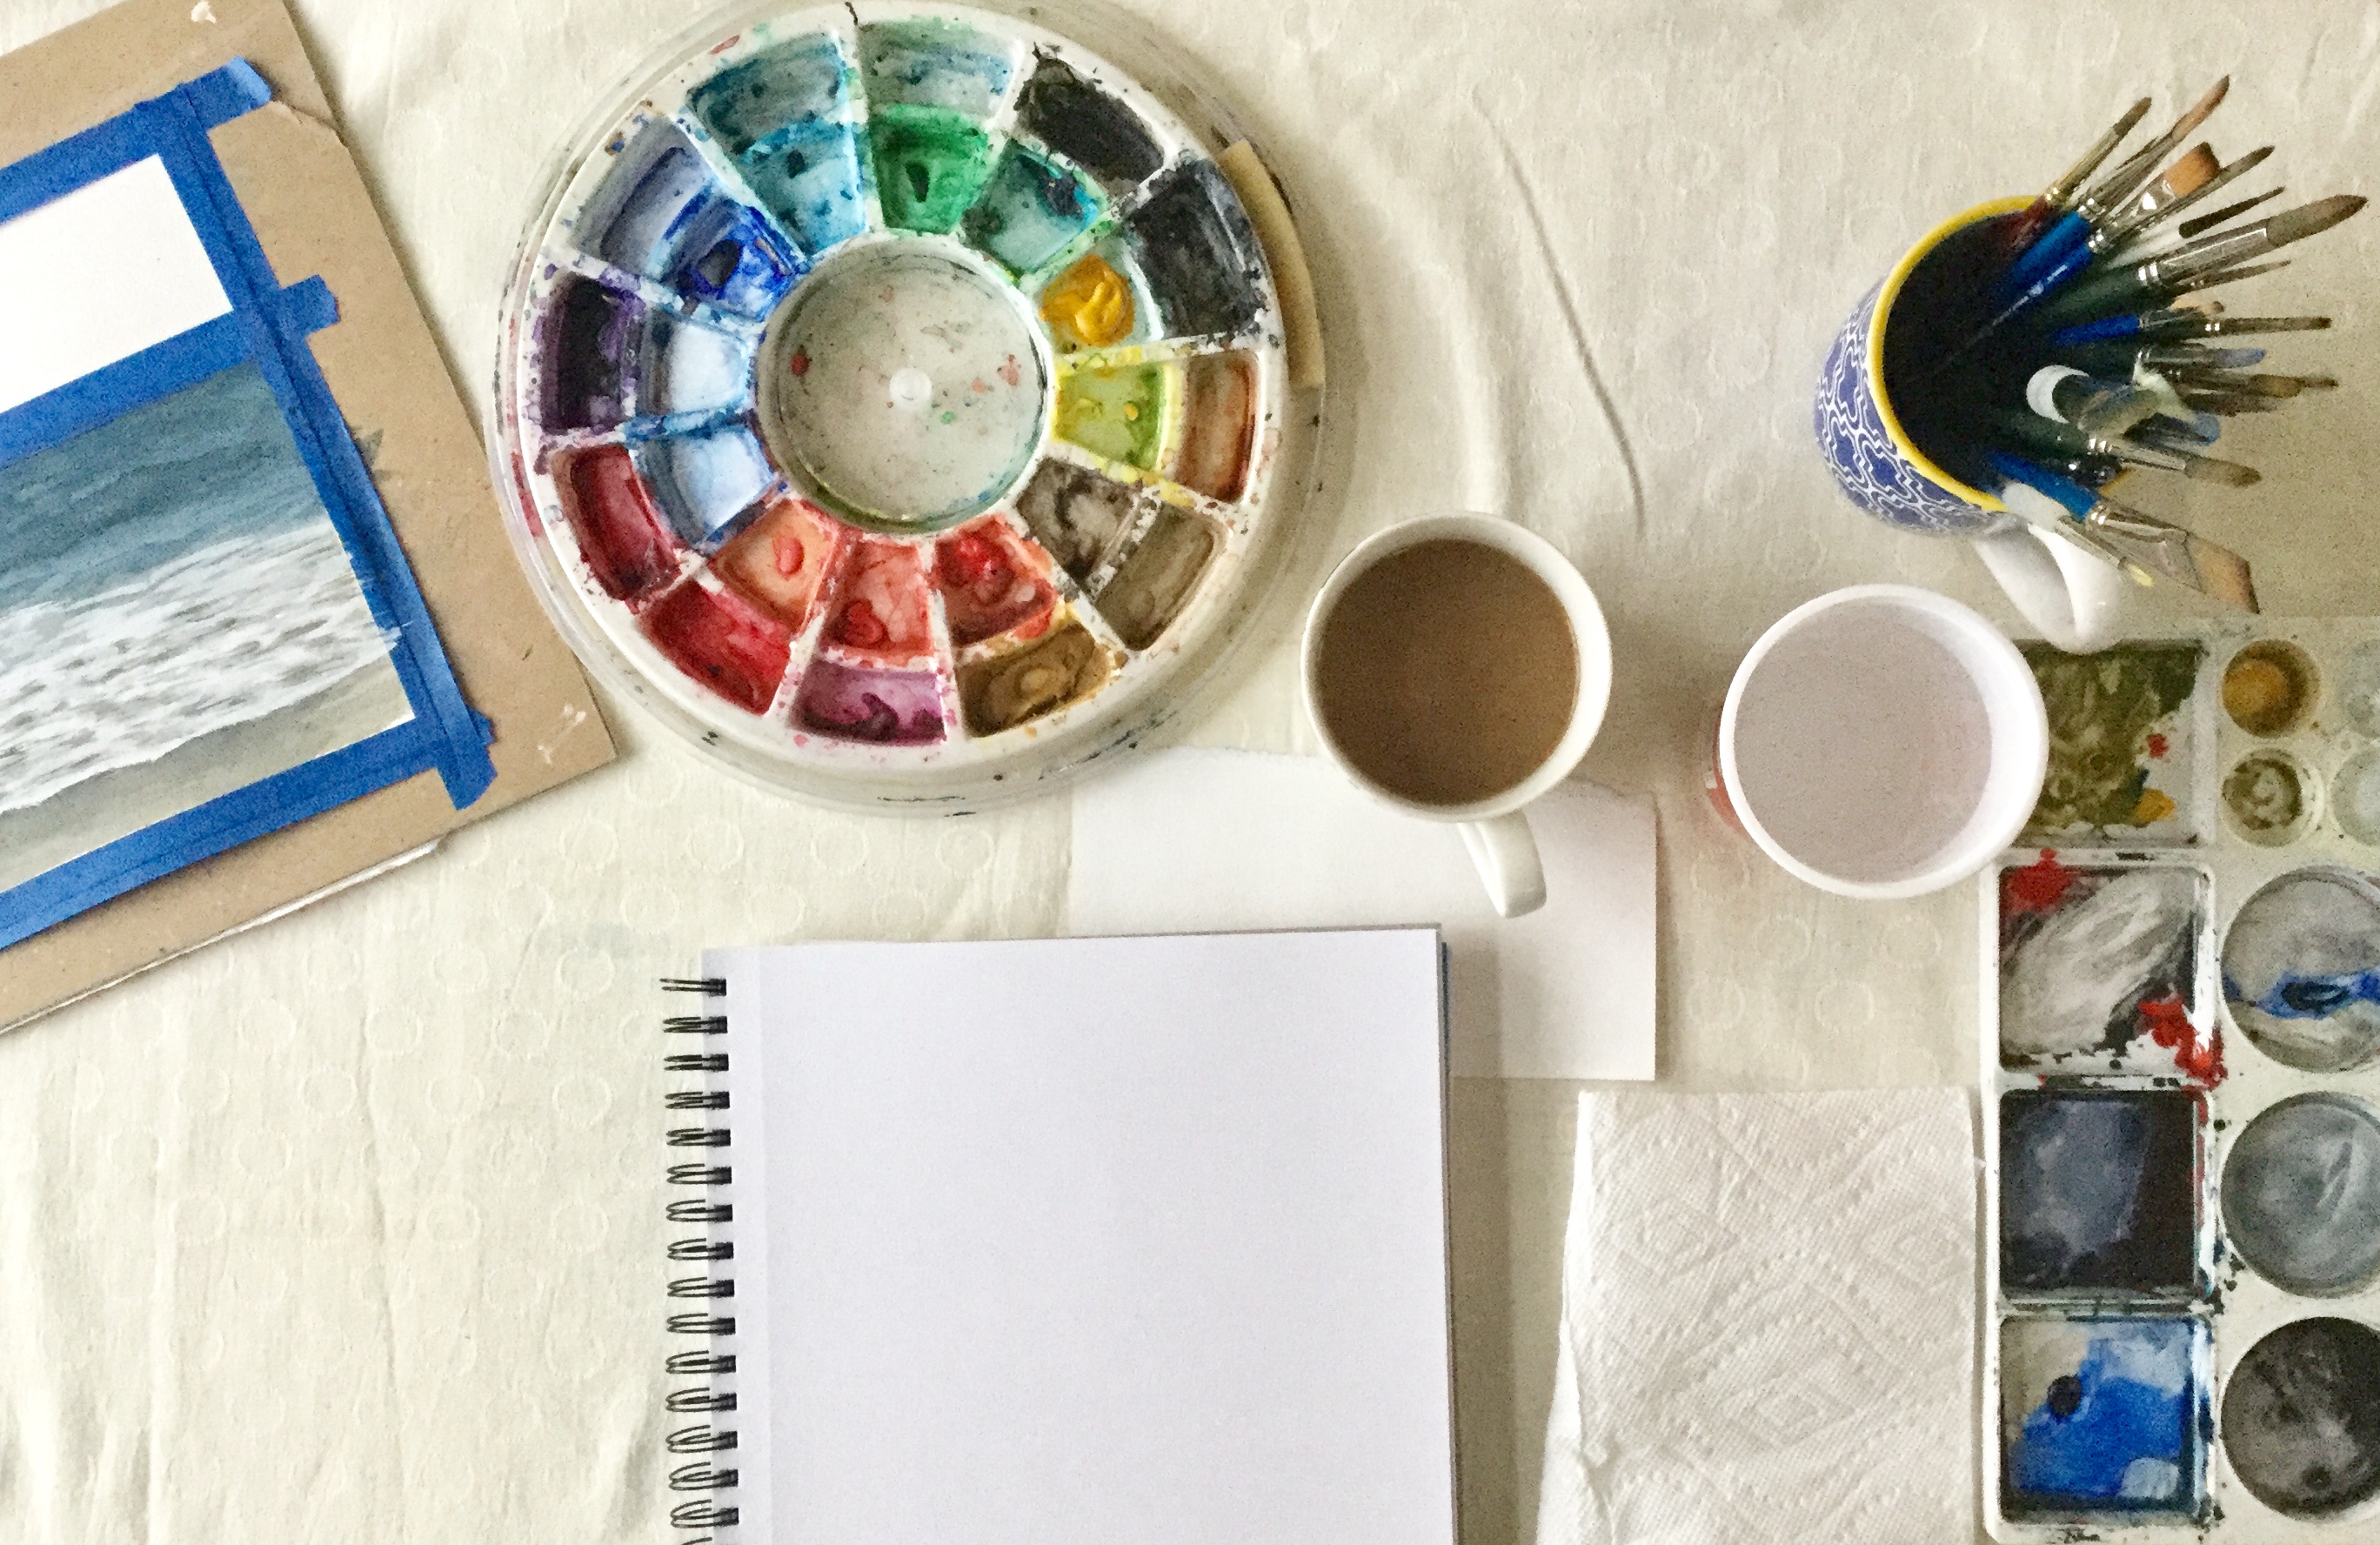
I find it useful to have a small notebook opened next to my palette. This way if I have a thought for a blog post, want to remember which blue I’m using, or whatever, I can just scribble a note to myself. I also write down the date and time of the photo I’m painting from. This way it’s easier to find on my iPad when I sit down again to paint. This saves me a lot of time.
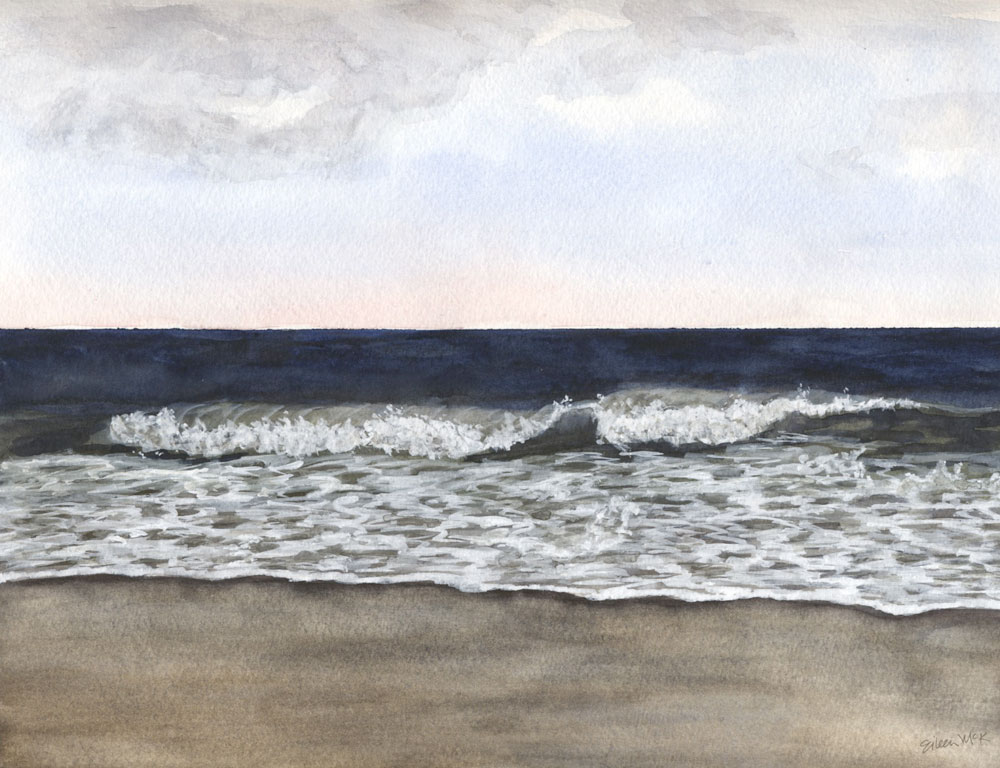
When I first started painting my seascapes, the skies were simple blue gradations, with the lightest blue closest to the horizon. With each seascape painting I started playing a bit more with the sky – trying to achieve the perfect sky blue, adding other colors as a glow on the horizon, adding a bit of texture for clouds.
Then I did two painting with gray cloudy skies, which were a lot of fun.
Surf Camp 1
Surf Camp 2
Now more often than not, I’m adding colors and texture to my skies, like in these recent paintings.
November 1 by Eileen McKenna
November 2 by Eileen McKenna
I’m still striving to find the perfect mix of blue for “sky blue,” especially to capture those bright blue sky, summer days.
I even searched online for “best watercolor blue for the sky” and found a great post on Scratchmade Journal by Tonya, who experimented and discovered, “almost any combination of blues can be used to create a realistic sky in watercolor, but no single blue worked well alone.”
See all my seascape paintings and compare the skies at shop.eileenmckenna.com.Prints of my seascapes are available on watercolor paper or canvas, in many sizes including the new “mini” canvas 11″ x 14.”
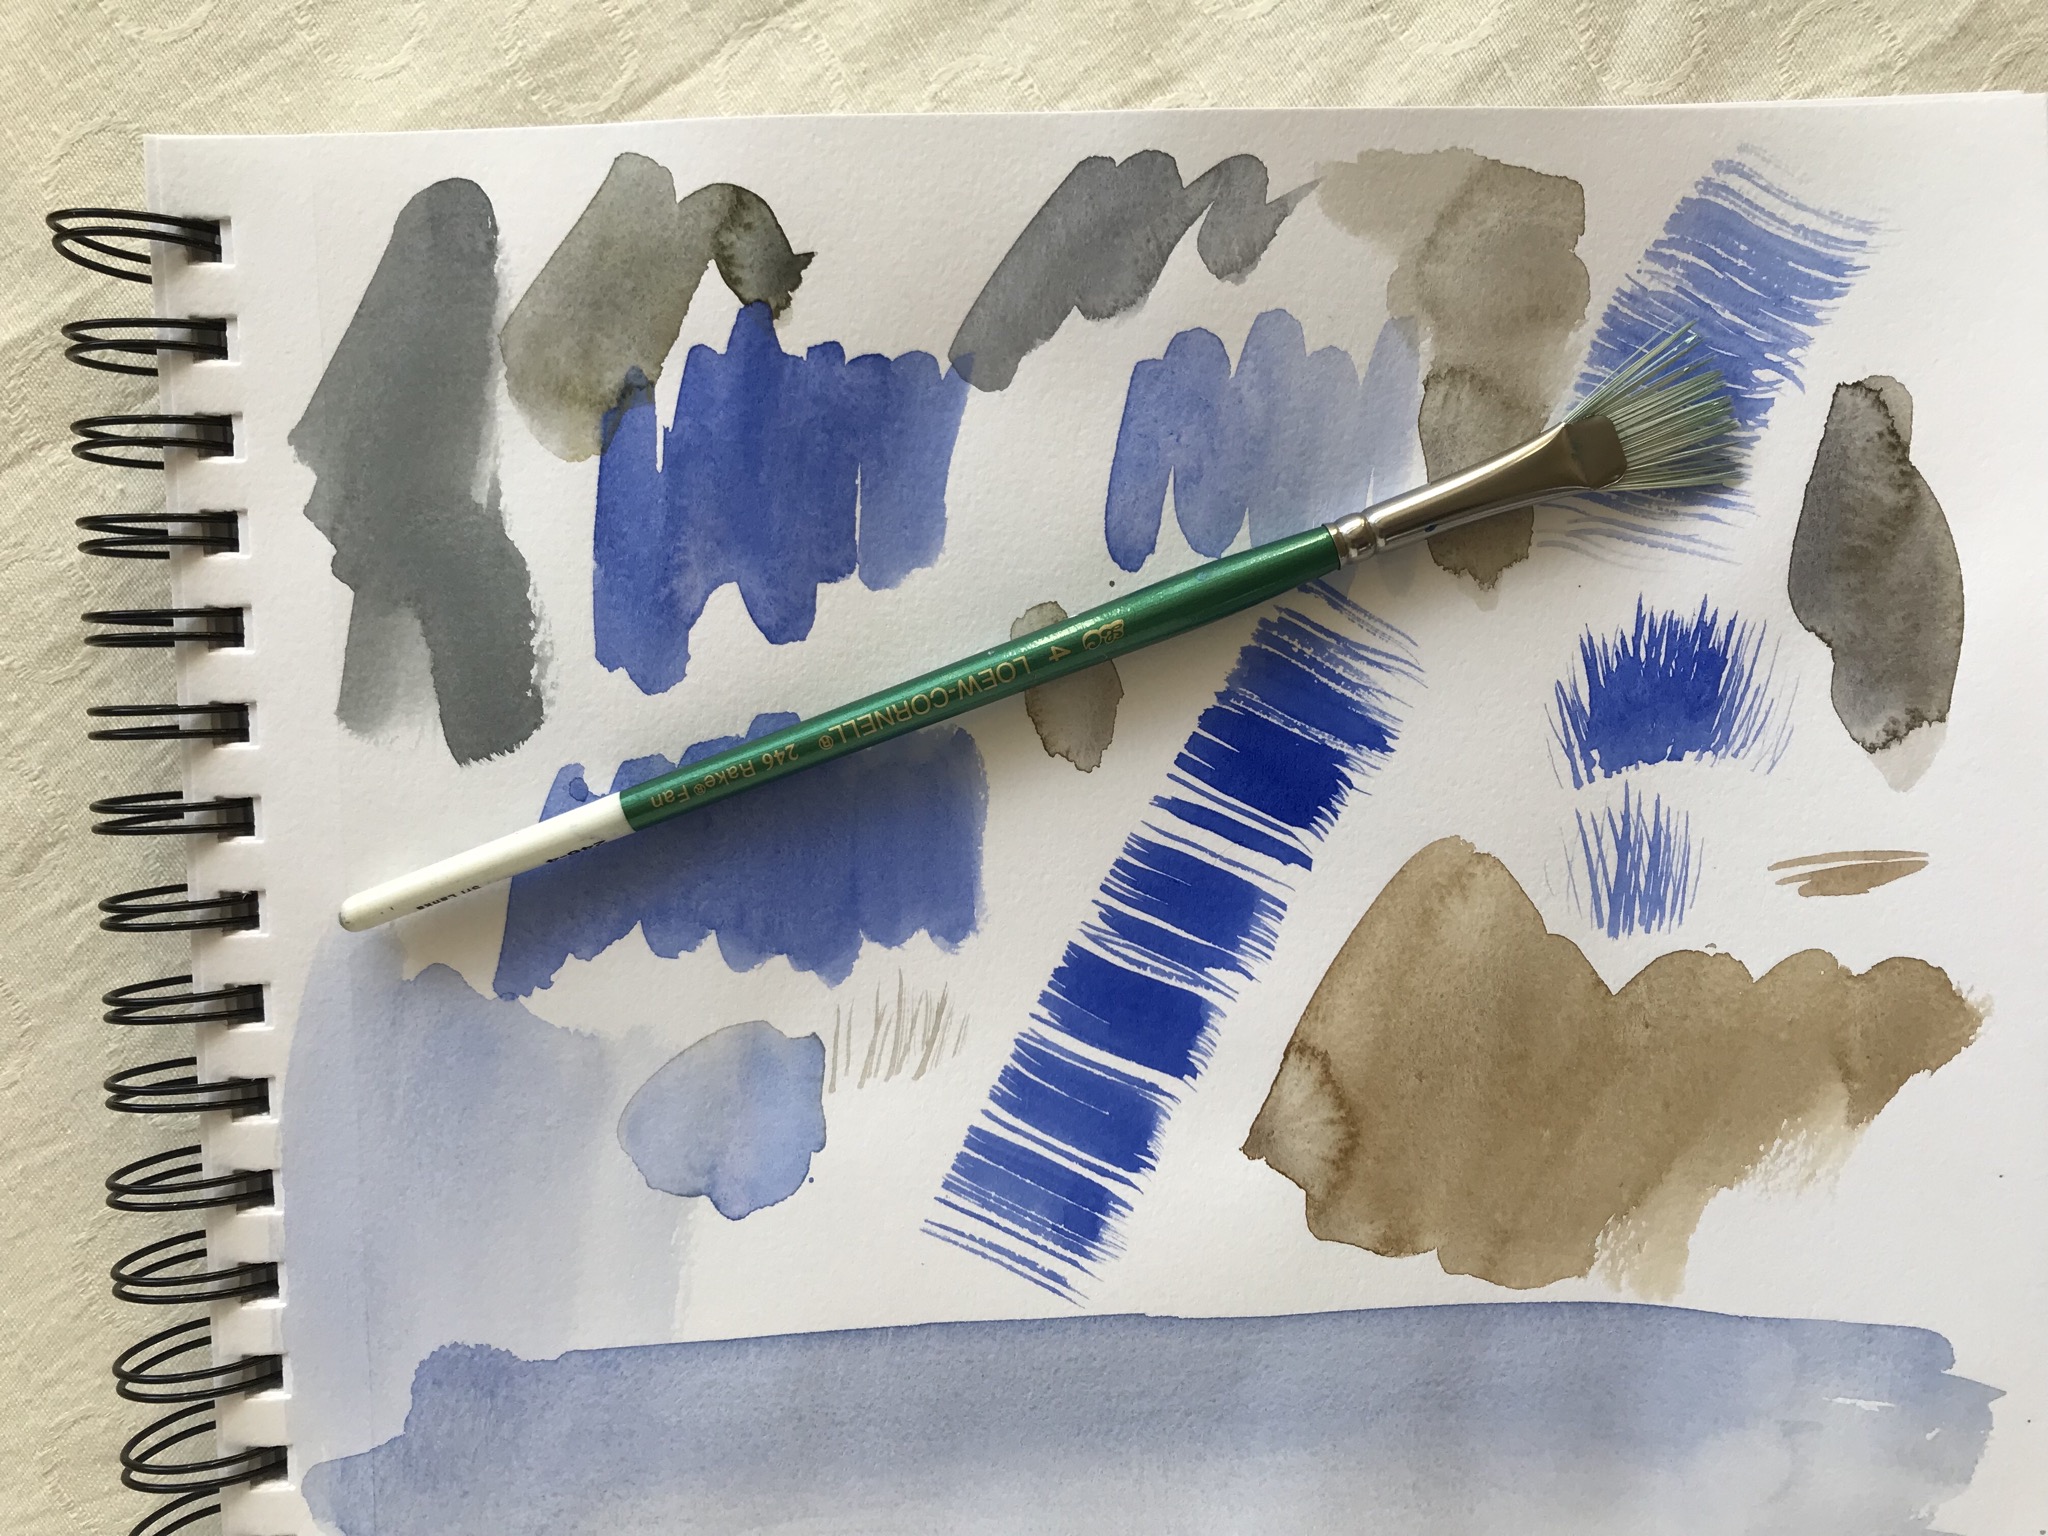
It has been over a week since I last painted – gasp! Work has been busy and I could make other excuses. Things haven’t slowed down, BUT this morning instead of diving right in I thought, “Sometimes we have to make time for the things that are important to us.”
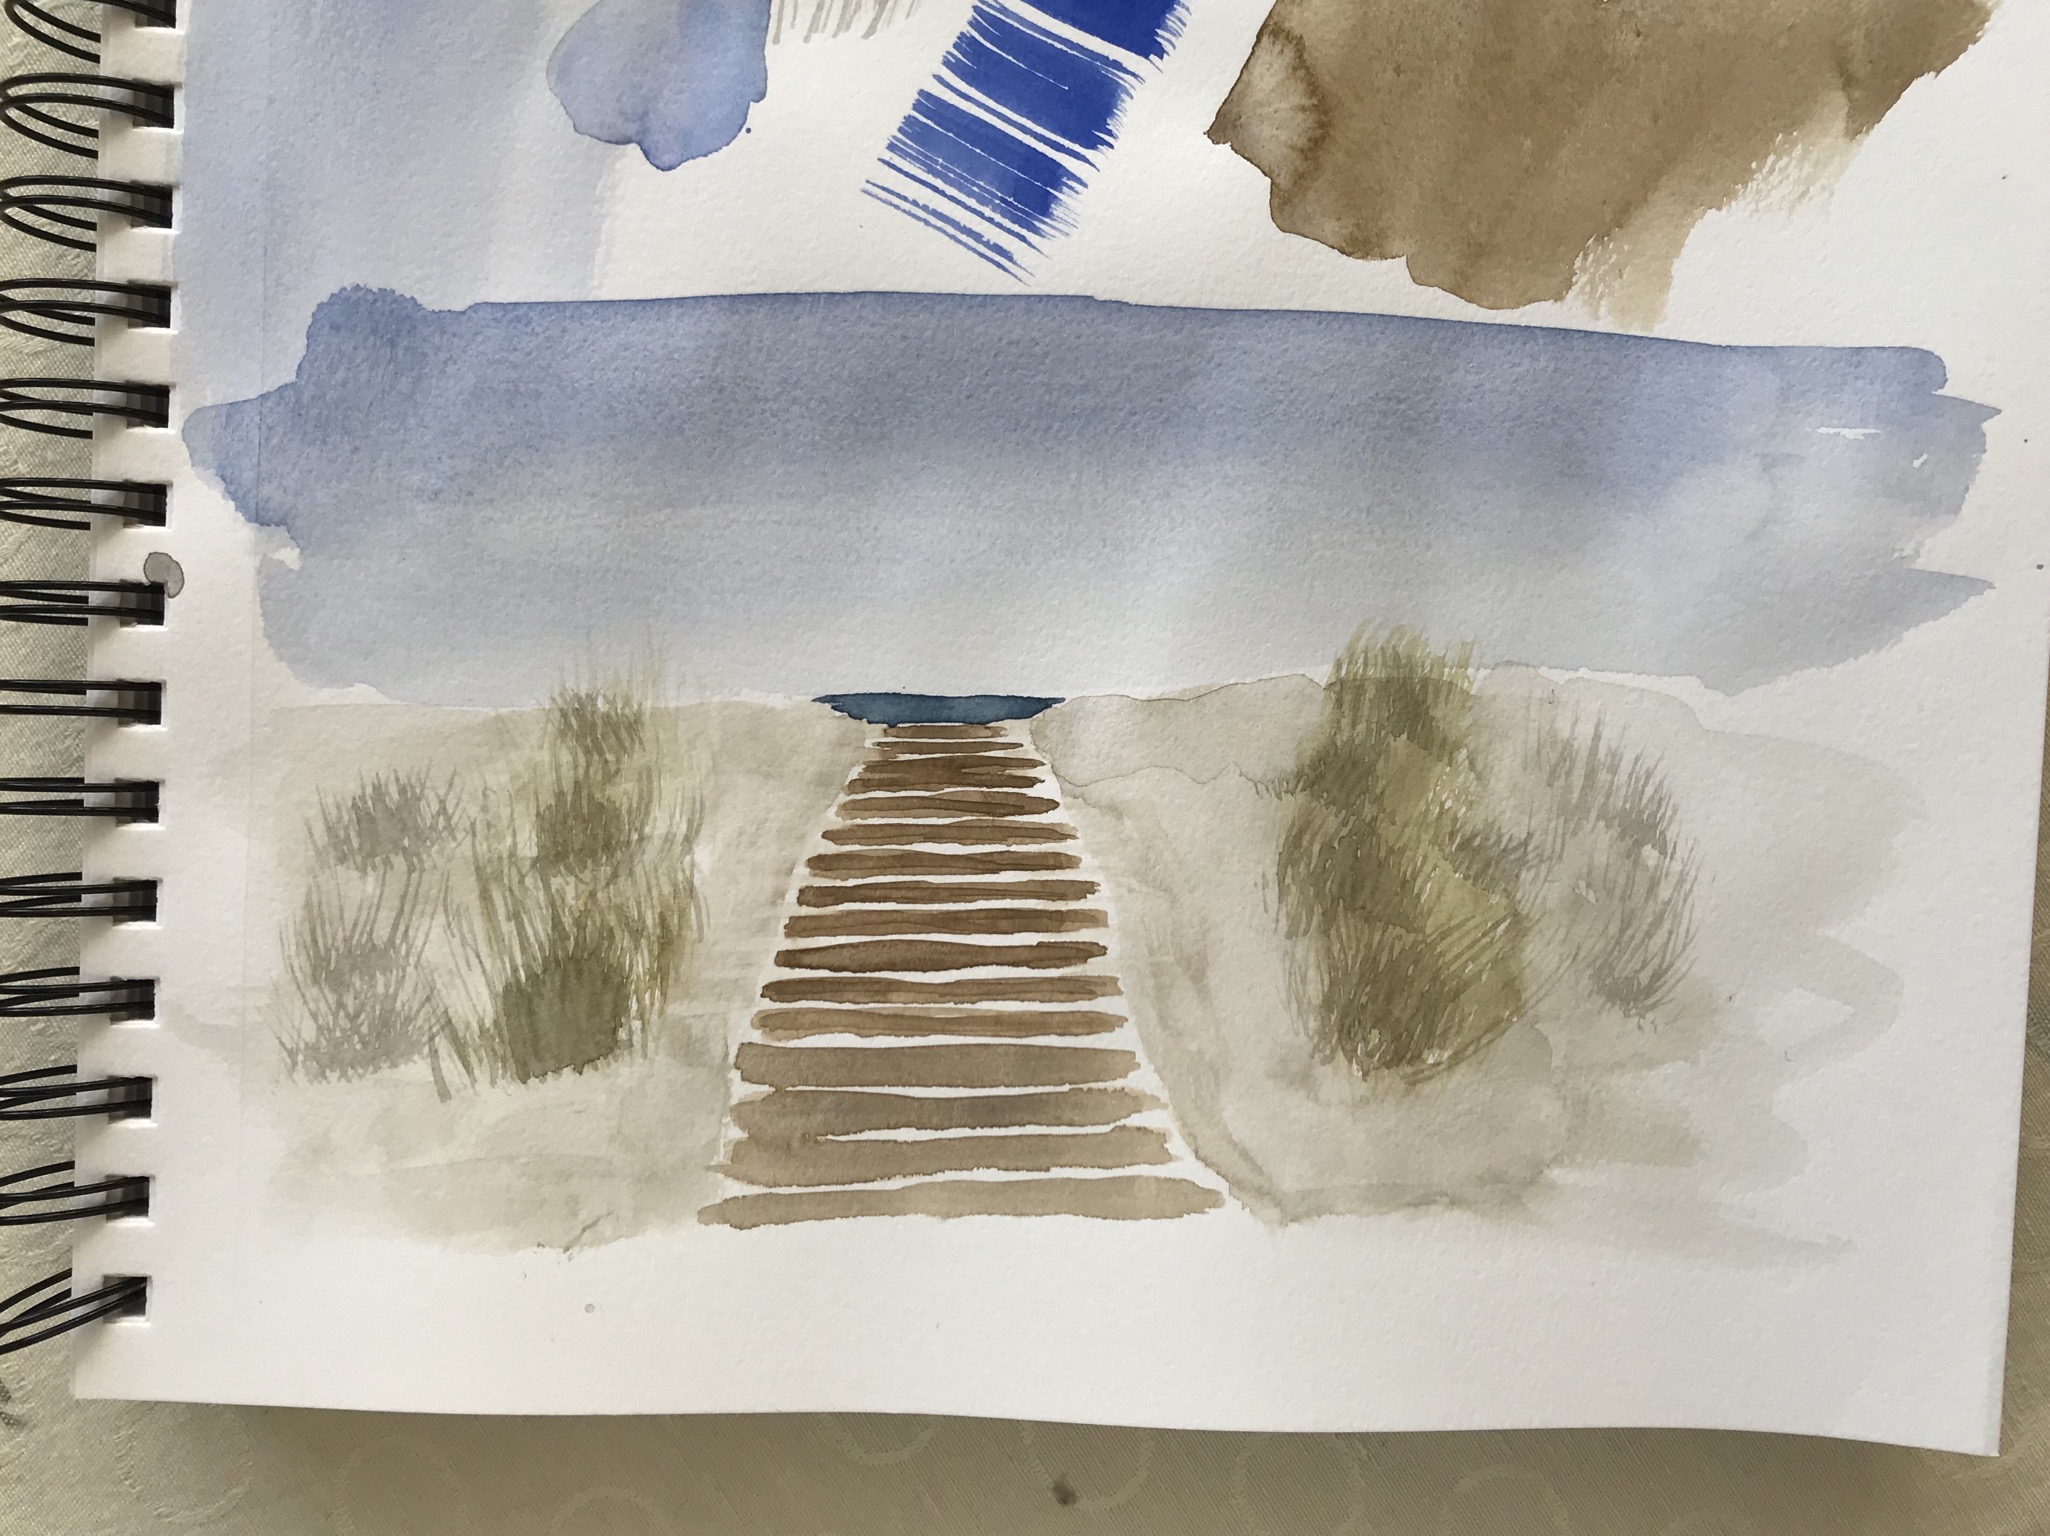
I set up all my stuff – which had been put away to use the dining room table. I turned to a blank page in my sketchbook and grabbed a tray of extra blue paint and started making strokes. I had no thoughts about what I would paint. Then I grabbed a fan brush and started playing with that. The strokes reminded me of beach grass.
Next thing I’m doing a watercolor sketch of the path down to the beach. The jump from no idea to an inspired idea was so quick. So don’t wait for an idea to strike! Sit down, set up, start with some basic lines or brushstrokes. Who knows where it will lead!