What are you going to be for Halloween?

img_0550
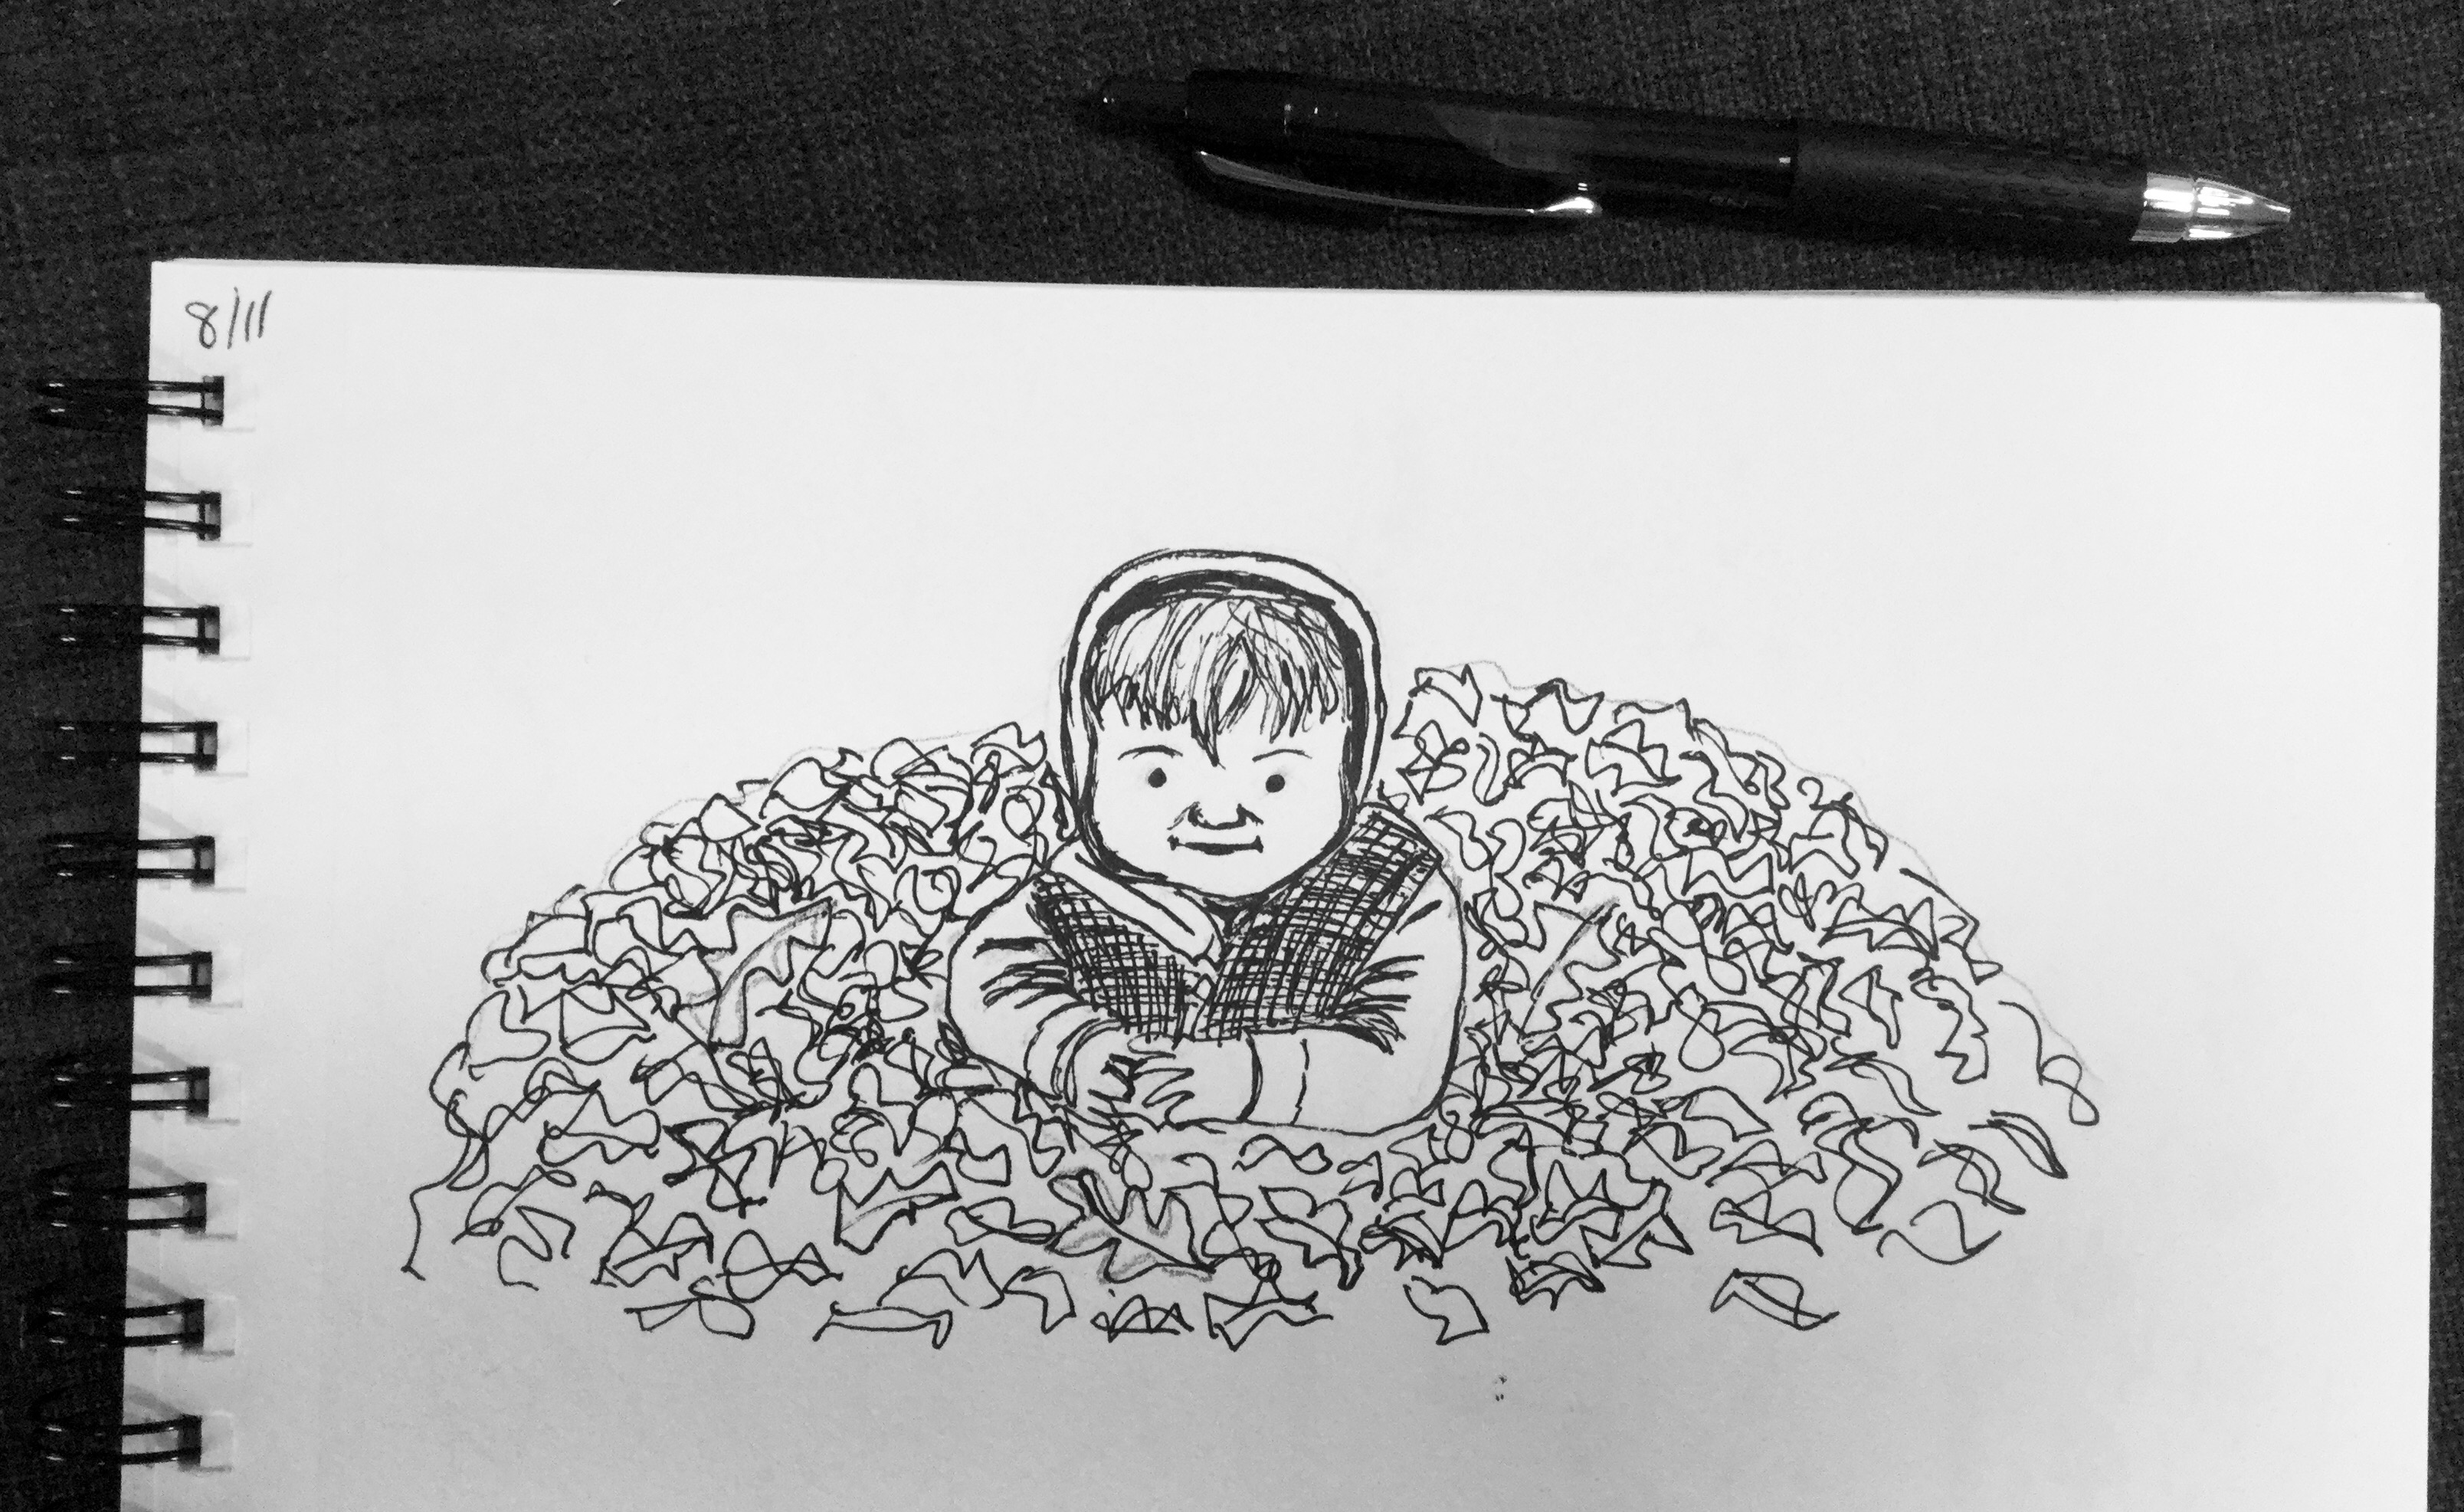
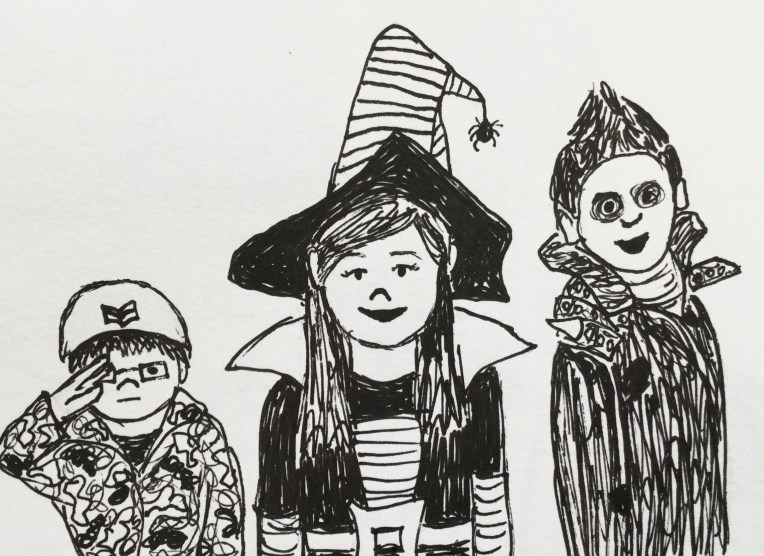
This sketch (for InkTober) was done using as reference a photo of my kids from several Halloweens ago. When I was a kid I loved dressing up. “What are you going to be?” we asked each other.

Looking back I loved the creativity of a handmade costume or hand “pieced” together costume – I didn’t sew. We didn’t have catalogs of costumes arriving at our door like there are now. One year I was a spider. I stuffed black tights and hung them from my waist as my spider legs. A few years ago I saw something similar for sale in a catalog!

I still dress up and piece together a costume from this or that. Last year I was Cruella Deville. The year before that I was Little Red Riding Hood. I still don’t know what I’ll be this year. So…what are you going to be?!

redridinghood

You never really know how a drawing will turn out

img_0478

As you put your pen to the page to make that first mark, you never really know how things will turn out. At least I don’t know. Sure I have a vision in my head, but that doesn’t mean it will turn out that way.

Personally, I don’t really plan much, I get an idea and just dive in and see what happens. If I’m drawing in ink – which I’m doing a lot this month for InkTober – I rarely do a pencil sketch first. Unless the drawing involves a face or body, then I will do some planning in pencil to get things looking “right.”

I was really pressed for time with this “little guy in the leaves.” The inspiration photo was one of my youngest son probably 8 or 9 years ago. I used pencil first to plan things a little – because you can’t erase ink. I was pleasantly surprised with the results in such a short time.

This drawing experience was the opposite of yesterday’s! I was drawing in the car during my older son’s practice. I first focused in on a nearby car. Within a minute or two of drawing the car, it drove off! Without the car there I had a hard time finishing that part. I drew the car in front of me, but my pen started running out, probably because I was drawing upright on the steering wheel. I ended up focusing on drawing the chain link fence. Like I said, you never know what the result will be when you start drawing!

See all my InkTober blog posts:

InkTober inspiration

img_0419

9 days into InkTober and I’m going strong. Some of my sketches I’ve been proud of, some not so much. Some days it takes a while to figure out what to draw. The reference photo above is from Mollie Makes, a creative magazine I love. I find the magazine inspiring even though I don’t sew or crochet or make any of the crafts in it. I think I just like reading about the creative entrepreneurs.

Yesterday I drew our front door. It’s funny the things you end up drawing when you’re doing a drawing a day. If you want to see all my InkTober drawings follow me on Instagram @eileenmckenna. 😀

img_0432

What a difference a challenge makes

img_0405Today I grabbed my sketchbook when my son and I left to visit my mom. I never would have thought to bring it, if I wasn’t trying to draw everyday for InkTober.

By the time we arrived at the beach the sky had cleared and it was beautiful out. We walked barefoot in the sand, put our feet in, collected shells, watched the surfers. What a beautiful, peaceful day.

I took several photos to draw from later and did a sketch before we left. 😀

This slideshow requires JavaScript.

Inktober

halloweenink
I’m participating in InkTober this year. Jake Parker created InkTober in 2009 “as a challenge to improve his inking skills and develop positive drawing habits. It has since grown into a worldwide endeavor with thousands of artists taking on the challenge every year.” Learn more and see the official InkTober prompts here. It starts Saturday, October 1st!

There is something about fall and Halloween that really inspires me – as you can see from last year’s sketchbook above. For me, InkTober is just some extra motivation. I’m back in a creating groove, which makes me really happy. Anyone else participating? 🙂

Comparing last Fall’s work to this Fall

suntree
As I added branches to my latest illustration project, I wondered, “What was I working on last year?” I asked myself the same question at the end of the Summer and the answer was interesting. When I looked back to Summer 2014, I saw the start of my watercolor and ink style. I could pinpoint that first project where I added the ink details, and something clicked. The first couple of projects from Summer 2014 looked one way, and then a change took place.

Now, when I look back to last Fall, I see that I continued to work in that style. I actually don’t see much of a difference between last Fall and this Fall. To me, the projects are almost interchangeable.

Fall 2014
sunflowerouttakes falltree2 newfalltreefallleavesfinal

Fall 2015
boywithleaves1 watercolorinkleaves finalchangefinalrainbowfeather

But I don’t feel stagnant. I still think I’m growing and developing, and I’m happy to have found my style. Especially, after years of wondering how to find your style!

How to create a repeating pattern in Photoshop {Feathers my pattern for September.}

featherspattern1d
Here is my pattern design for September. As you may have seen, I’ve been drawing and painting feathers all month, so it’s seemed appropriate to turn them into a pattern. I pieced this pattern together from my sketchbook (see below). I wanted this pattern to be much tighter than ones I’ve designed so far this year. This tighter pattern, required more playing and arranging in Photoshop becauses once I thought the pattern was “set” and I tried repeating it, things would overlap and I’d have to readjust and try repeating it again.
feathersinink

If you know Photoshop and want to try creating a pattern, I’ve included my steps below.

Creating a pattern in Photoshop:

  1. Scan artwork
  2. In Photoshop: separate each element of your design into different layers
  3. Within your artboard, create the area for your “repeat” using guides. (translation: use guides to create a box within your artboard. You can expand the canvas size before this step.)
  4. Arrange your elements. They can go over the guides.
  5. On a separate layer outline the guides to make a box.
  6. Create a group with the box and element layers – call it “original”
  7. Duplicate the “original” group. Drag to the right so the left edge of the box touches the right guide
  8. Duplicate the group again. Drag to the left so the right edge of the box touches the left guide
  9. Select the three groups and duplicate them. Drag the 3 duplicate layers up, so the bottom of the boxes touch the top guide
  10. Duplicate the three groups again. Drag them down, so the top of the boxes touch the bottom guide
  11. If any adjustments need to be made – delete all but your “original” group, make the adjustments and repeat steps 7-10
  12. When you are happy with your repeating pattern, hide all the layers with the box outline.
  13. Crop to the guides to create your “repeat.”


Below, you can see my boxes. The center box is where I have my guides (which are not visible).
featherspatternboxes

Slight variations on my feather pattern.
No distress in the background. 
featherspattern1

Distress shows yellow.
featherspatterndy

Which one do you like best? 🙂

Copyright 2015 Eileen McKenna. All rights reserved.