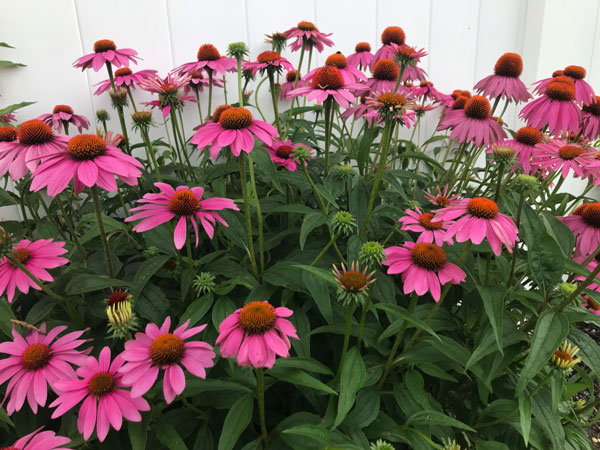
It’s that time of year when the gardens are blooming! They are at their peak, before the August heat starts to take its toll. I love taking lots of pictures to use as reference for future paintings. I’m like a squirrel stocking up for winter. I’m storing creative inspiration on my phone for the winter months.
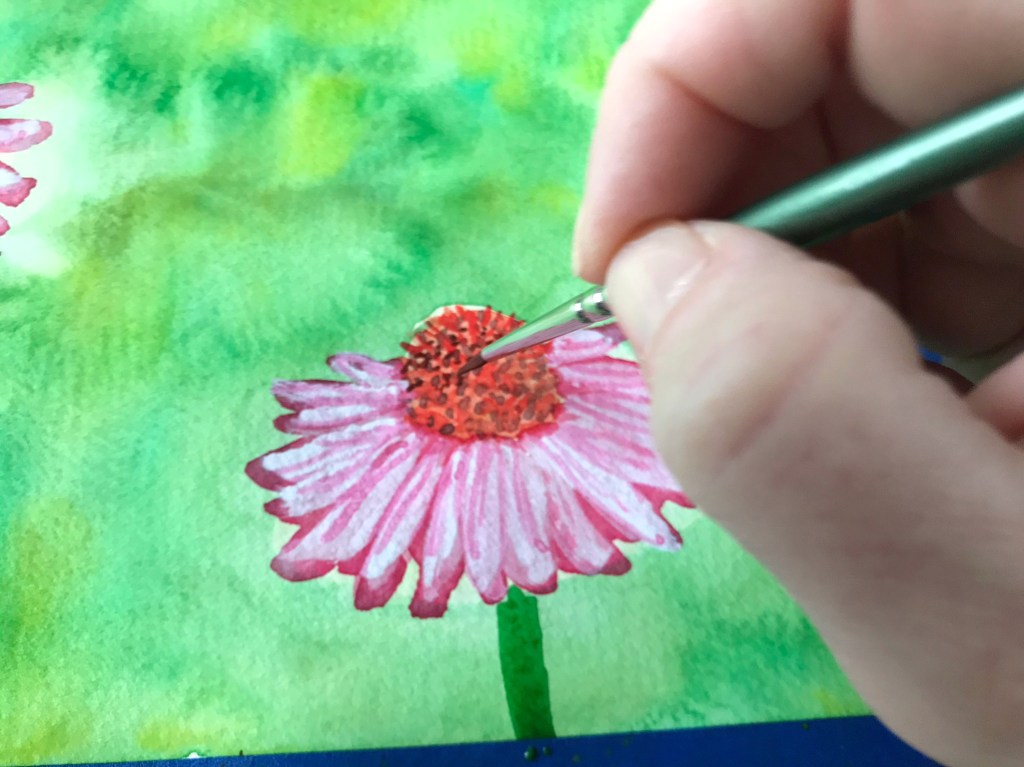
I’m in awe of every hibiscus bloom we get. I’ve made several attempts to paint them. And the coneflowers – Echinacea – are one of my favorites. Last spring I created a new printable tutorial if you’d like to give coneflower painting a try!
I was really feeling the spring vibes the day I climbed up and peeked in the Robin’s nest and saw these three eggs. Of course I painted the nest in my “Finding Joy” journal later that day!
I realized the bird’s nest was the perfect subject to share my watercolor painting process. So, I painted it again and recorded it for you.
Here’s what you’ll need to paint your own nest:
Watercolor or multimedia paper
Watercolor paints. I used brown, black, turquoise, orange, hooker’s green, raw sienna (tan)
Paintbrushes – round in medium to small (thin) sizes
This post contains affiliate links to products/brands I use and recommend. I earn a small commission whenever you buy using these links, at no additional cost to you. Thank you for supporting my blog!
Recently I wrote about how you should take some time to observe a reference photo before painting. I have to constantly remind myself of my own advice because I want to jump in and start painting. I want to get to the fun part!
1. observe your subject
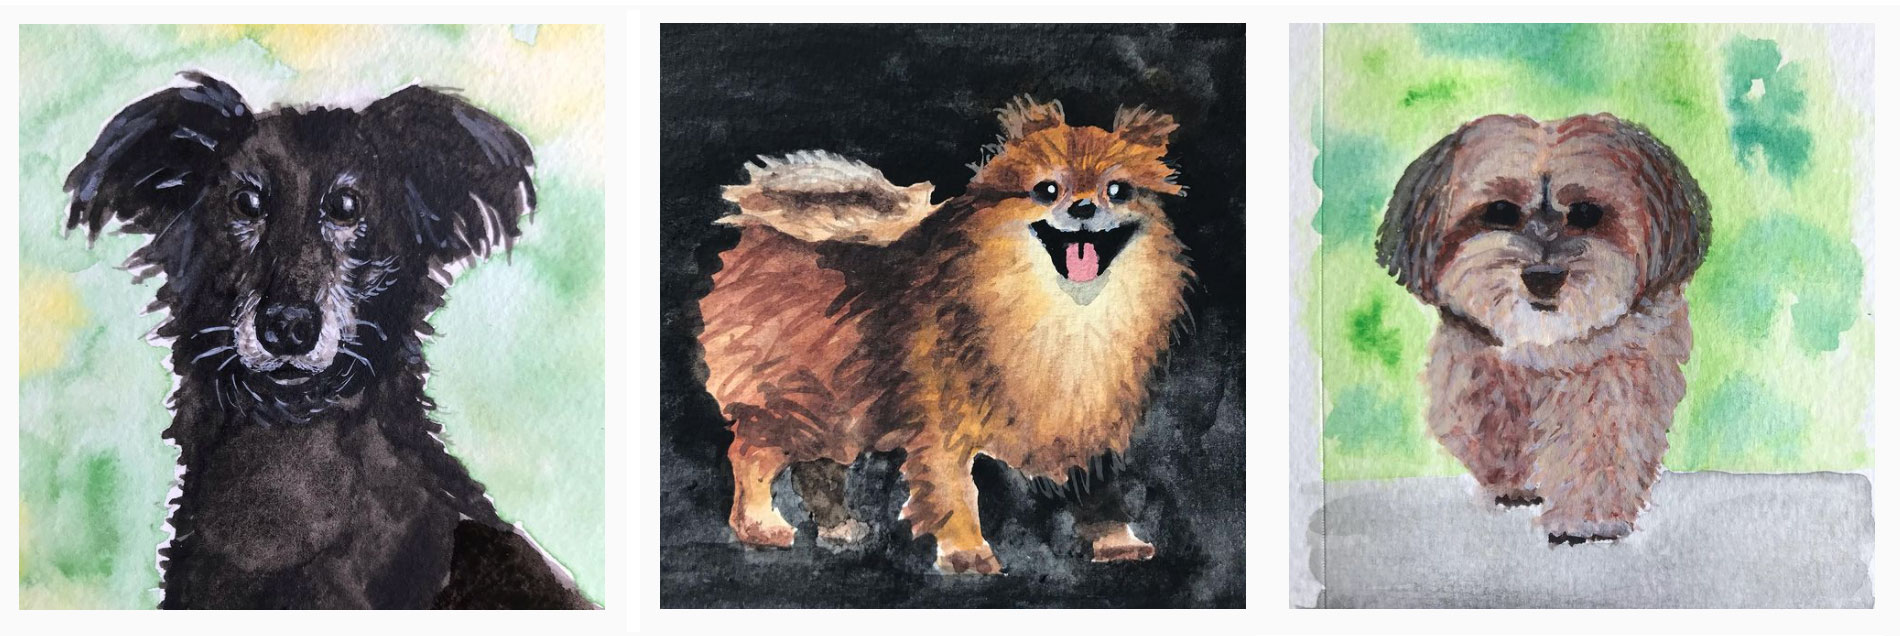
After painting a few dog portraits, the part 2 to this advice occurred to me:
2. Do a “study”
What is a “study”? Essentially a study is a practice painting, drawing, or sketch. You have most likely seen studies done by the Masters before they painted their final masterpieces.
For weekly watercolor tips & Tricks sign up for my newsletter:
Processing…
Success! You're on the list.
Whoops! There was an error and we couldn't process your subscription. Please reload the page and try again.
The masters did studies
Georges Seurat, “A Sunday Afternoon on the Island of La Grande Jatte,” 1884-1886 (Photo: The Art Institute of Chicago Public Domain)
Sketching or painting helps you see the subject more closely. As I painted the dog portraits I noticed more about the dogs as I painted. When I paint or draw my eyes travel back and forth from my painting to the reference photo and back again.
This is something I try to instill in the kids at the art center where I teach:
Everything you need to know about the subject is in the photo. If you want to realistically draw or paint it, keep looking at the photo and your artwork.
Eileen McKenna
Another way of seeing
I find it useful to occasionally flip both the reference photo and my paper to see things differently. Looking at things this way is supposed to trigger the other side of your brain. This theory was written about in the popular book Drawing on the Right Side of the Brain.
I notice that when I look at things upside down it is easier to see the individual elements of something. For example a face upside down allows me to focus on the elements more than the whole face.
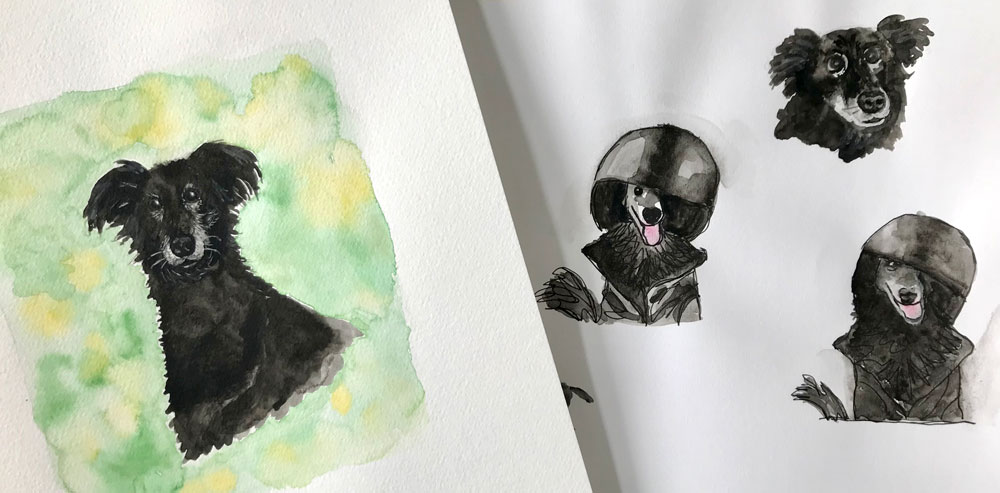
painting Stella
Stella by Eileen McKenna
When I painted Stella, I looked through many photos and selected a few photos to practice with. I wanted to “see” what characteristics were unique to her. As I painted I felt I was getting to know her. These practice paintings helped me get a more realistic final painting.
For weekly watercolor tips & Tricks sign up for my newsletter:
Processing…
Success! You're on the list.
Whoops! There was an error and we couldn't process your subscription. Please reload the page and try again.
This post contains affiliate links to products/brands I use and recommend. I earn a small commission whenever you buy using these links, at no additional cost to you. Thank you for supporting my blog!
Several years ago I dedicated myself to painting seascapes. I painted one after another. I studied my photos as I painted and as time went on I noticed more things about the ocean and waves. These little details are what made my paintings better.
For weekly watercolor tips & Tricks sign up for my newsletter:
Processing…
Success! You're on the list.
Whoops! There was an error and we couldn't process your subscription. Please reload the page and try again.
By nature I am an impatient person. I’ve heard it said that the Aries motto is “Ready, Fire, Aim.” It is certainly true about me. When I’m painting, I rarely draw anything beforehand. I immediately want to get to the fun part of splashing paint onto the page. But I am often reminded that if I took some time to look at and study my reference photo I would get better results.
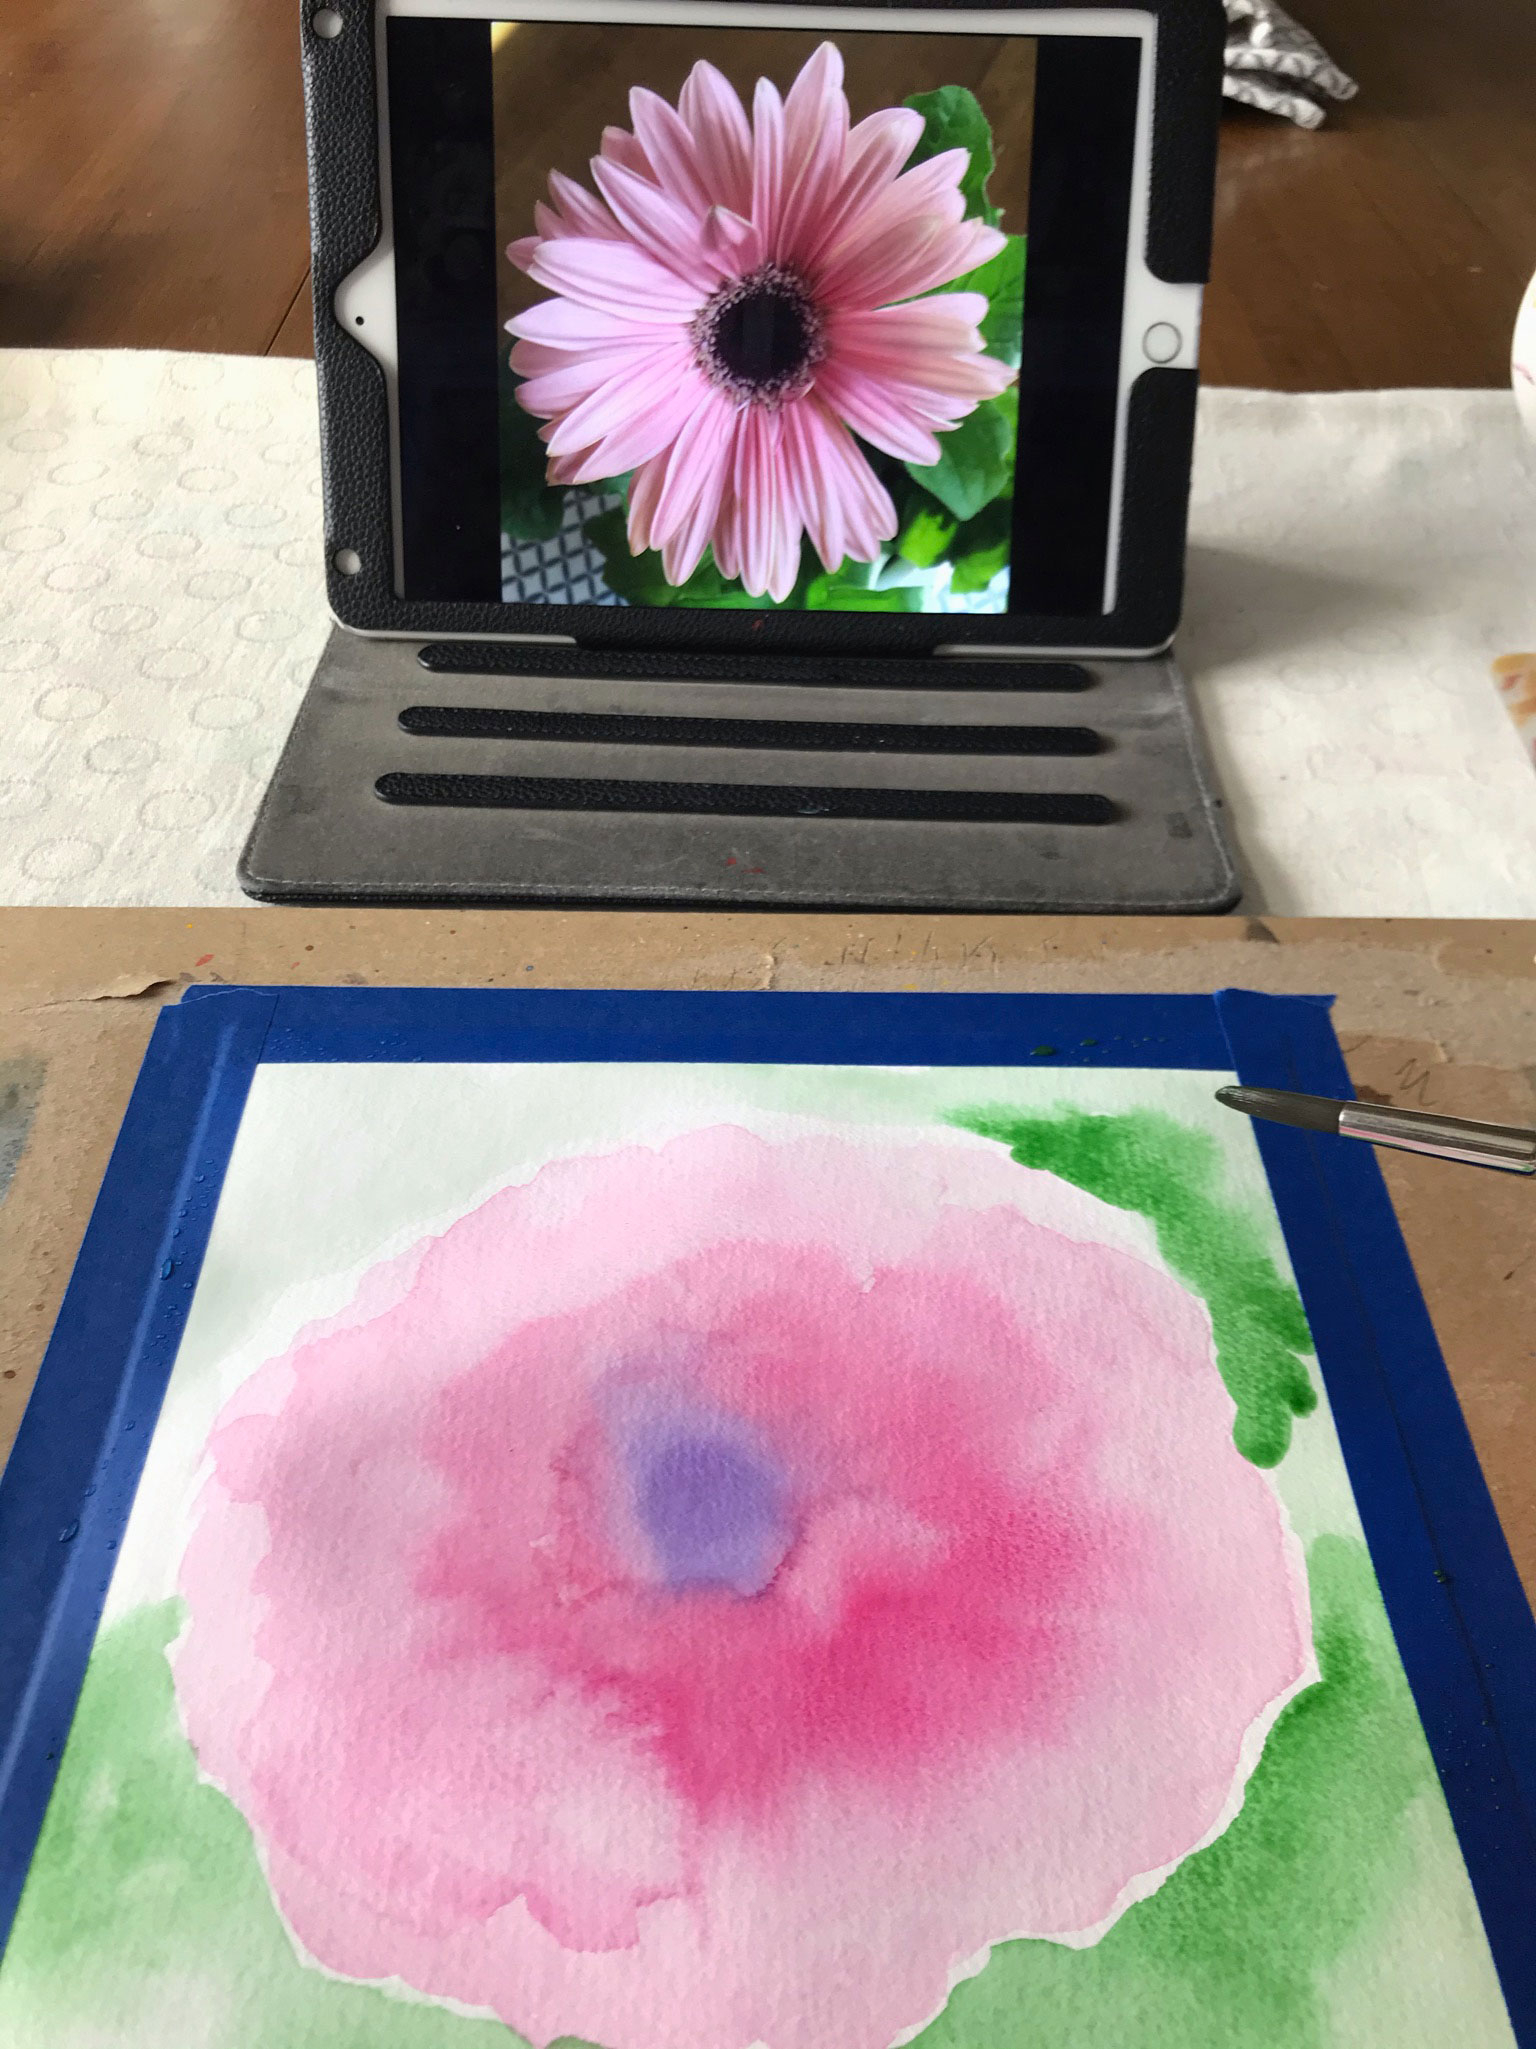
I took a close up of a Gerbera Daisy, so I could see the details. A great start! But I dove in too quickly and ended up struggling. My painting had twice as many petals as it should have and looked off. I’m sharing the lesson I learned with you:
Take time to look at and study your reference before painting.
For weekly watercolor tips & Tricks sign up for my newsletter:
Processing…
Success! You're on the list.
Whoops! There was an error and we couldn't process your subscription. Please reload the page and try again.
This post contains affiliate links to products/brands I use and recommend. I earn a small commission whenever you buy using these links, at no additional cost to you. Thank you for supporting my blog!
This post contains affiliate links to products/brands I use and recommend. I earn a small commission whenever you buy using these links, at no additional cost to you. Thank you for supporting my blog!
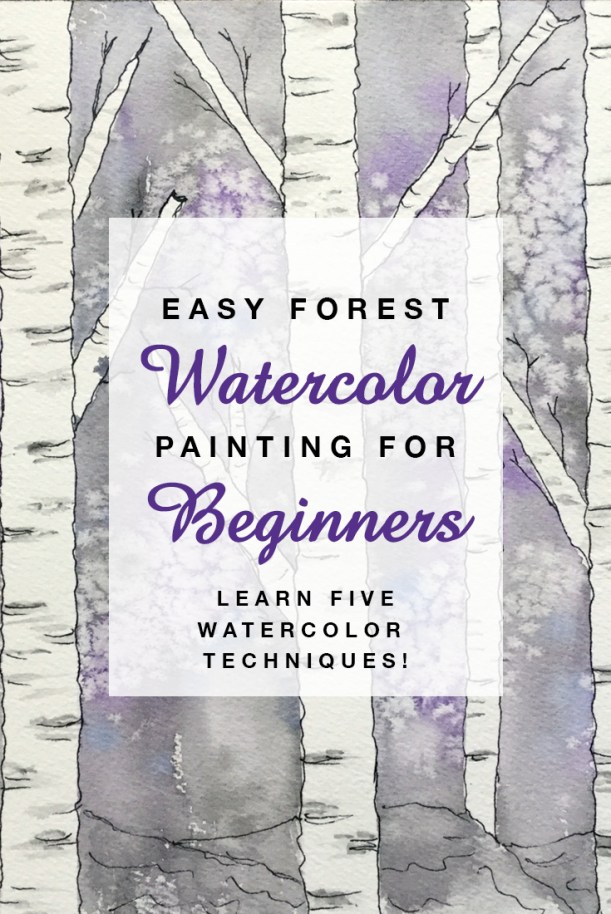
This watercolor painting project is a new spin on a my original birch forest painting tutorial. The woodland creatures – an owl, a fox and a bunny – make this new beginner project fun for all ages!
It’s easier than it looks! The final painting may look complex but the instructions – with photos – walk you through the entire project step by step. It’s a great project for home schooling, for a group, or even painting on your own.
Watercolor techniques used:
Masking areas with tape
Wet on wet painting
Splattering
Dry on dry painting
Painting layers
Supplies you’ll need:
Watercolor paper. I use 9” x 12” Arches 140 lb. cold pressed paper.
Painter’s tape
Watercolor paint. Colors: orange, yellow, cobalt blue, black
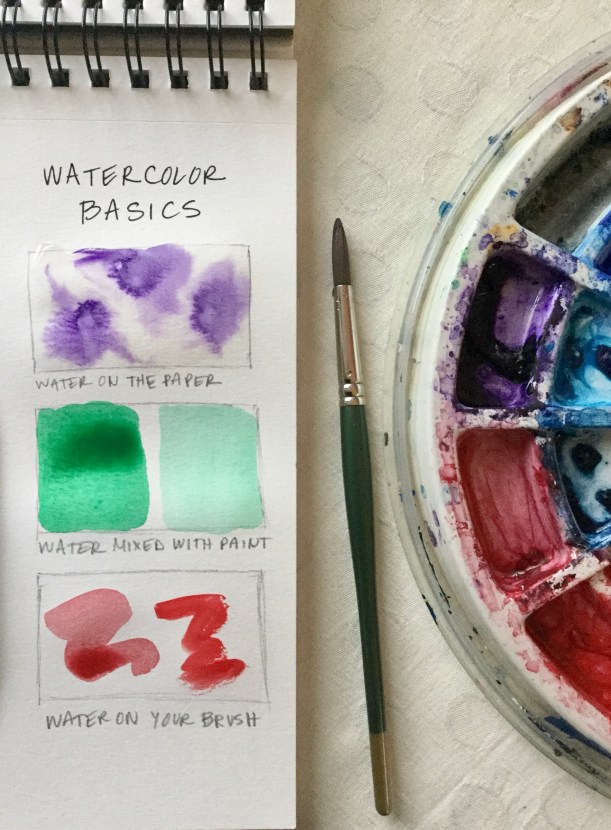
If you are new to watercolor – welcome! Watercolor is one of the most fun mediums. When painting with watercolor, aside from paint, water is the key ingredient. Water on the paper, how much water is mixed with the paint, and how much water is on your brush.
Water on the paper. If your paper is wet, the paint you add will spread quickly and even bleed into areas you didn’t touch with your brush.
Tip: Wetting your paper before adding paint, is a fun technique which leads to interesting backgrounds with colors blending into one another. Avoid too much water that leads to puddles on your paper. When puddles occur soak up the excess water and paint with a dry brush or paper towel.
Water mixed with paint. The more water you mix with your paint, the less saturated the color will be and the more transparent it will be on the paper.
Tip: Always test your brush on scrap paper before touching your painting so you aren’t surprised by the results.
Water on your brush. A brush dripping with water and paint will spread easily even on dry paper. A dry brush will not spread smoothly, but will go on more irregularly – missing some areas of paper.
Tip: To dry your brush blot it on a paper towel and soak up the extra water.
Experiment! Try out the different ways water changes how paint interacts with paper. You may feel you have no control with watercolor, but the more you know and can anticipate how the paint will react to situations, the more control you have.
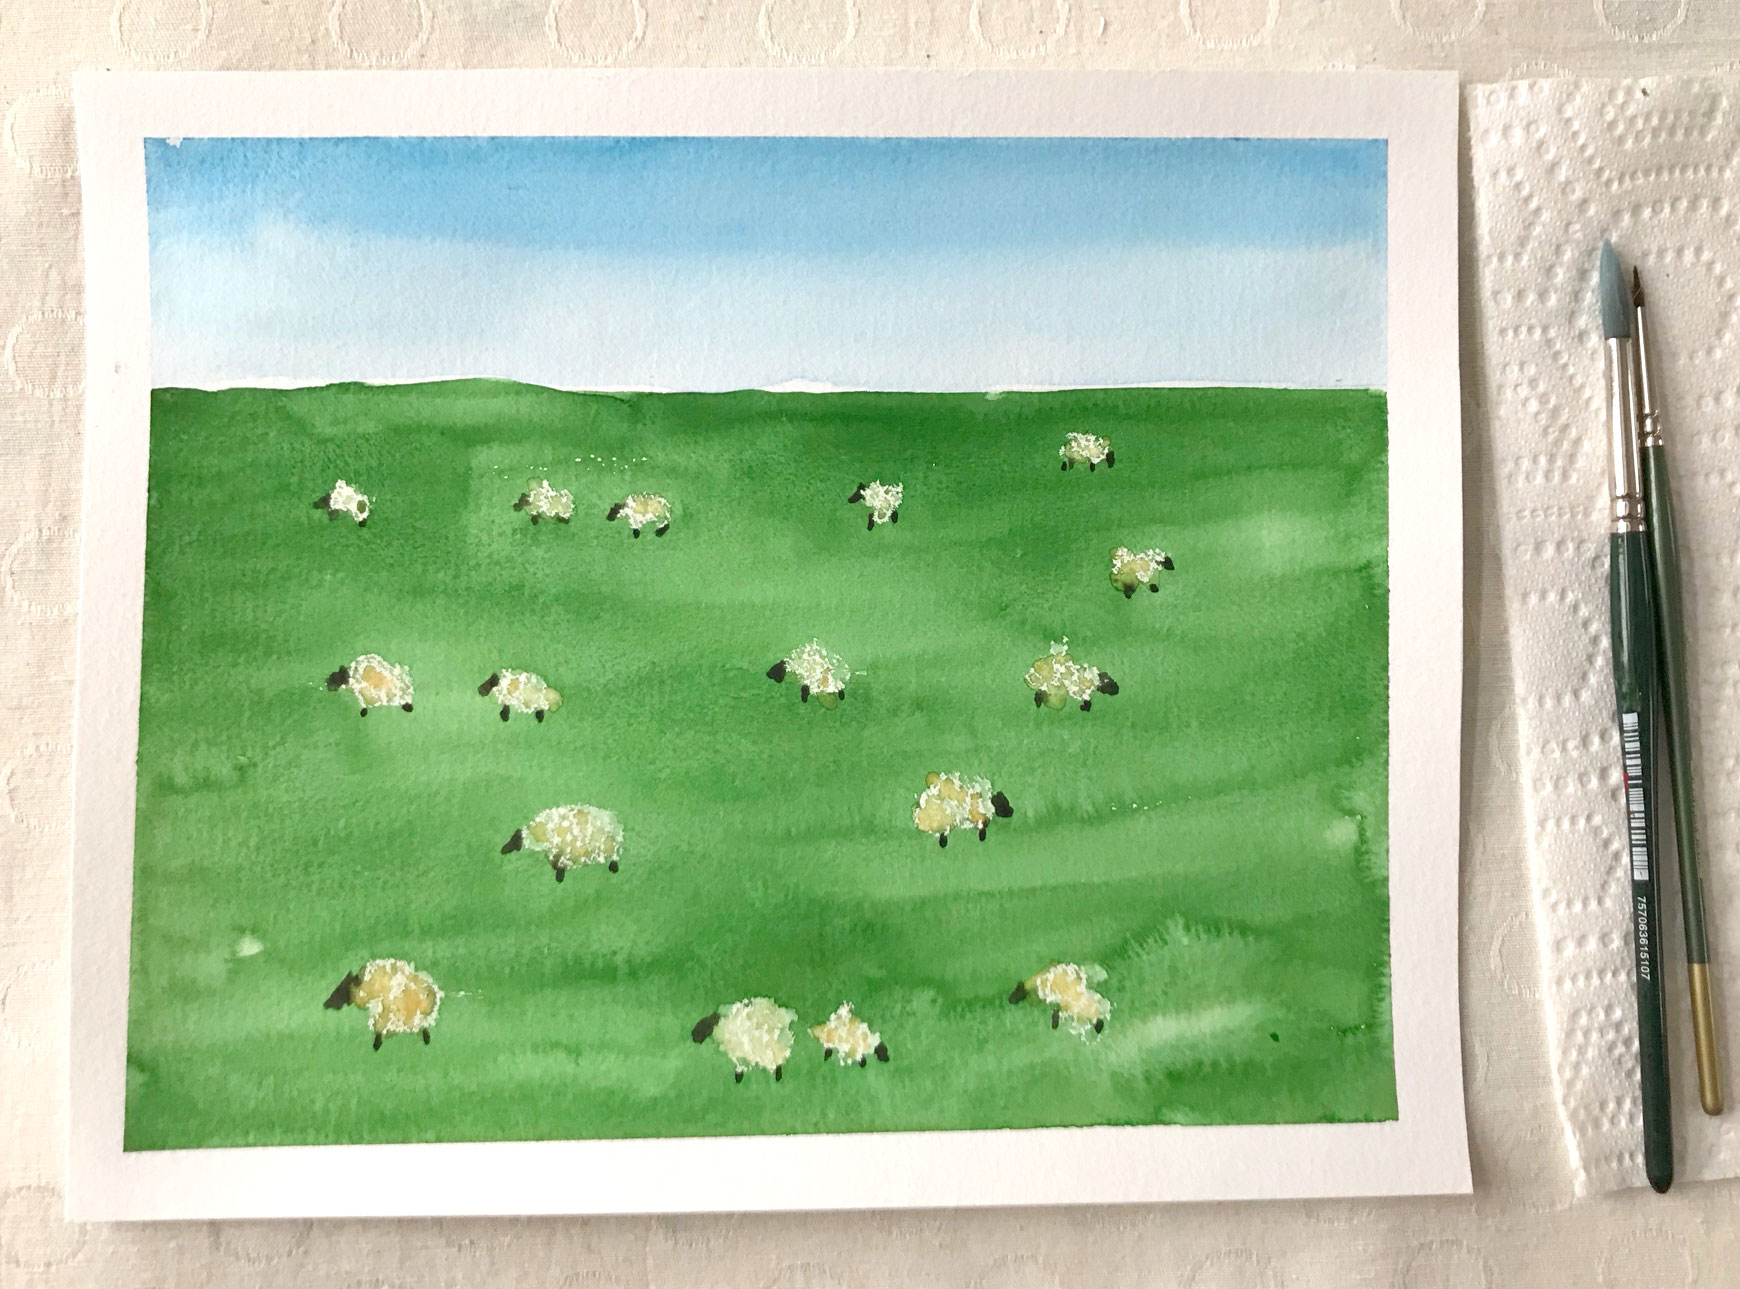
This is the best feeling. It’s creative excitement. I’ve spent a little bit of time organizing my supplies, and now I’m sitting in front of a new creative project – a watercolor painting. I’ve done some prep work – I have my reference photo picked out, I’ve taped down my watercolor paper, I’ve measured and taped the horizon line, and I have a plan – I’m going to start with the figures.
There is so much hope and excitement at the beginning of a project. Sometimes a little nervousness too. I’m working larger than I normally do, and adding figures is fairly new too. I think it’s good to push ourselves, to expand our capabilities.
Later will come some struggle. It’s expected and if it was easy, it would be boring. I used to give up when a project got hard, but I’ve learned to push through – it’s extremely satisfying. I may not overcome the struggles perfectly but there’s always a lesson learned for next time.
New to watercolor? I have a pdf Quick Start Guide that will help get you started. Sign up for my newsletter and get the “What you need to know to get started with watercolor” pdf for FREE! Sign up here.
These fun and easy pdf tutorials, where you learn watercolor and create a beautiful painting at the same time are available for download in my Etsy shop.