Nutcracker Pattern – and it’s available as fabric and gift wrap on Spoonflower!

nutcrackersrepeating
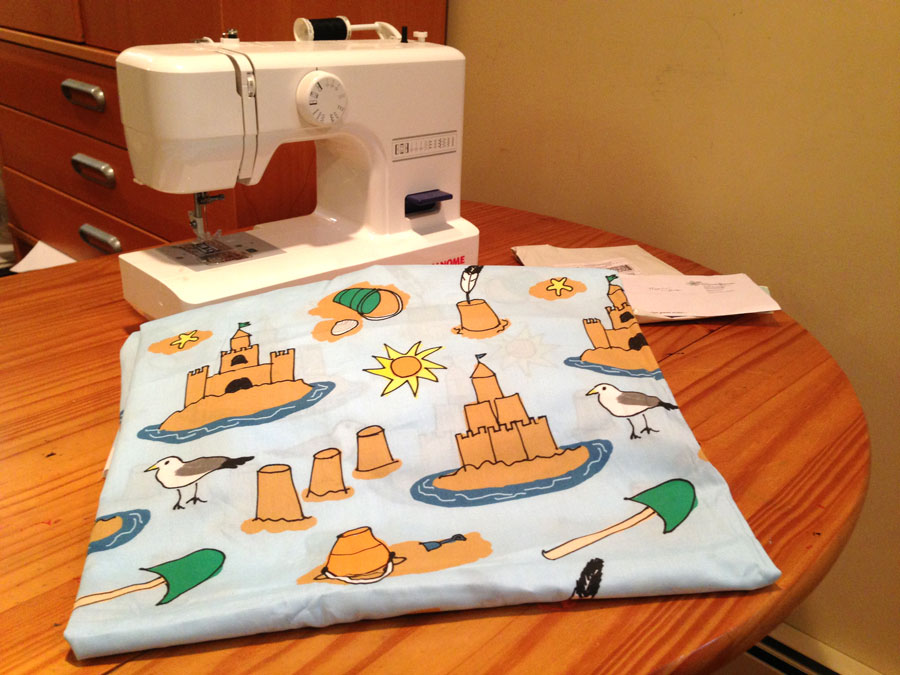
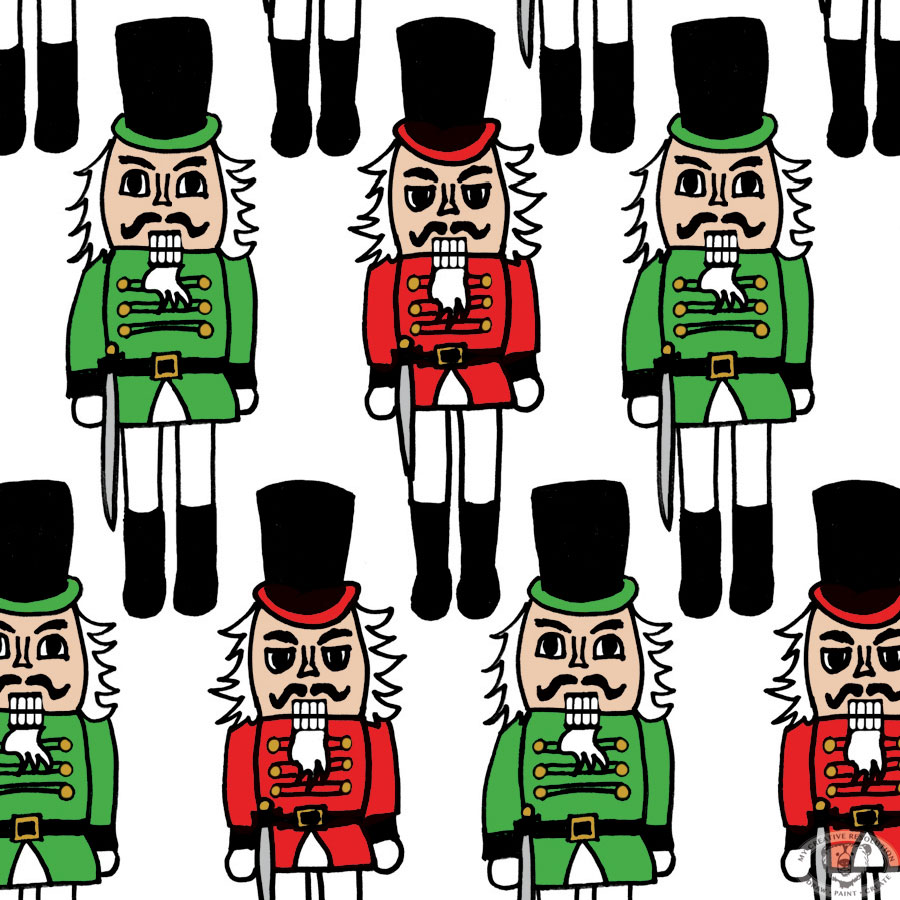
I’m so excited to announce that this Nutcracker pattern is available on Spoonflower and can be ordered as fabric or gift wrap! I just received some Nutcracker fabric and I’m excited to make something with it for the holidays!


You all know how passionate I’ve been about surface design this year! I’ve been wanting to take the next step, and see these patterns in action. And make them available to anyone else who is interested in them. I plan on adding some of the past year’s pattern designs to my Spoonflower shop too. If there is a particular one you are interested in, please let me know (links below).

This Nutcracker pattern is my “November” design. I know it’s jumping ahead of Thanksgiving, but I couldn’t help myself! I’ve already uploaded another holiday design and am waiting to see it printed. I’ll share with you, once I have it in my hands!

My surface designs this year:
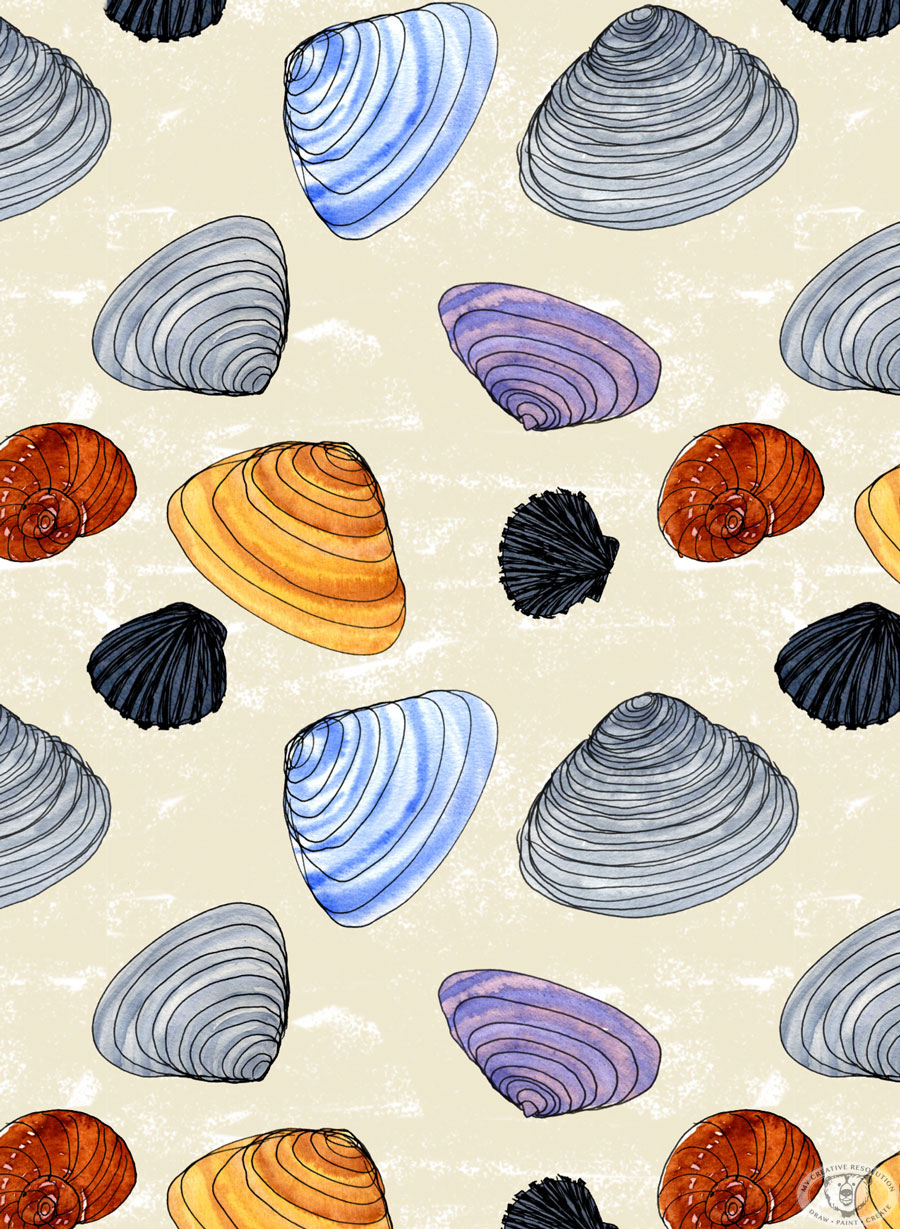
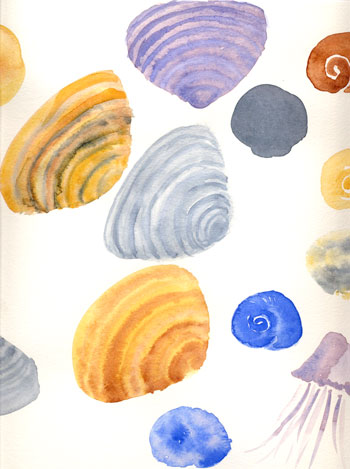
January – August
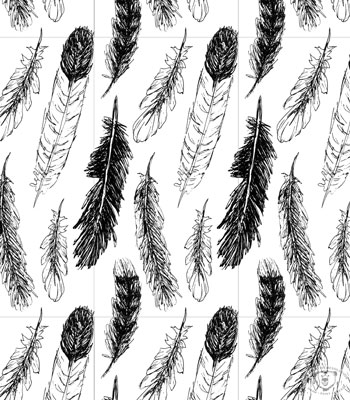
September (includes a tutorial on making a repeating pattern)
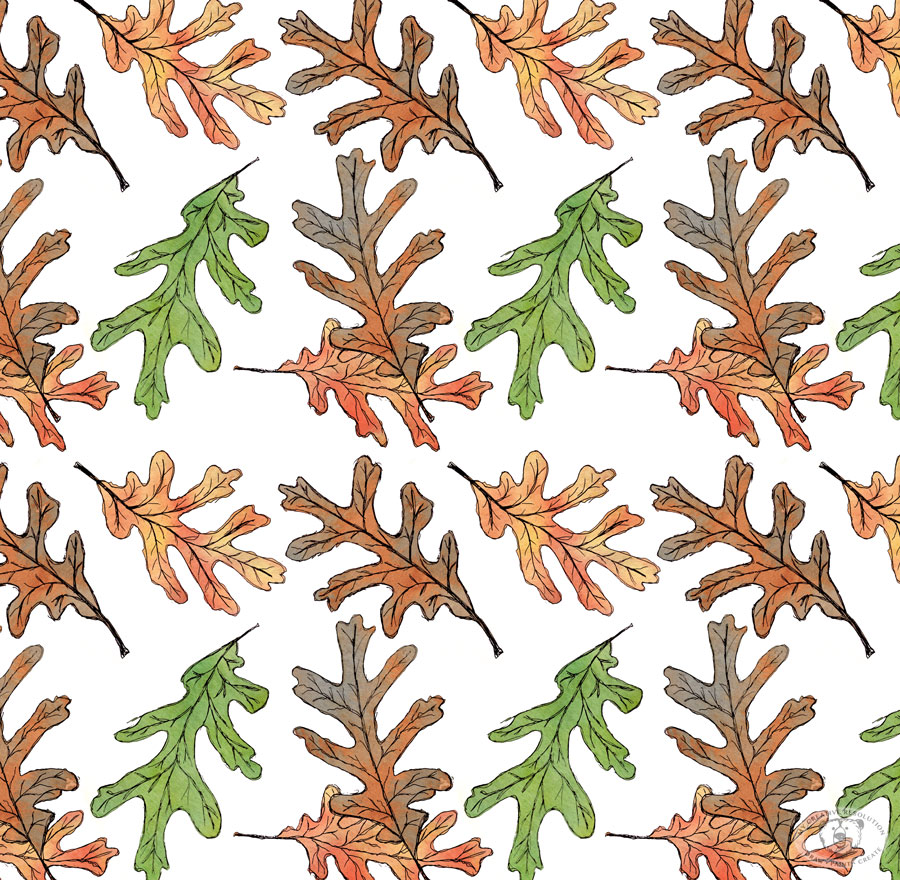
October

Self imposed deadlines {and a leaf pattern}

leavespatterncolor
I remember, way back in elementary school, staring a project early, but never finishing it until the night before it was due. I needed the deadline to motivate me to finish.

All these years later I know the power deadlines have to motivate me. Now, I’m using this to my advantage. If I want to accomplish something I set a deadline. In my work, these soft deadlines are supported by the client waiting for the final product. In my creative life, these “made up” deadlines are supported by you. If I write on the blog, I’m going to do something, I intend to follow through on that promise. Whether anyone remembers or not!

This leaf pattern design is my October surface design. Yes, I’m a couple of days late, but I got caught up in my Halloween creations!

I’ve designed one a month this year! That’s 10 so far! I’m really proud that I set “surface design” as a goal for 2015 and have achieved it. I designed the first one in January. That’s when I committed to “a design a month.’ Setting the monthly deadline has made all the difference in pushing myself and getting it done.

Have you set deadlines for yourself? How did that work out? If you haven’t, are you considering it now? I’d love to hear!

If you’d like to learn how to turn your artwork into a repeating pattern, read this recent post.

How to create a repeating pattern in Photoshop {Feathers my pattern for September.}

featherspattern1d
Here is my pattern design for September. As you may have seen, I’ve been drawing and painting feathers all month, so it’s seemed appropriate to turn them into a pattern. I pieced this pattern together from my sketchbook (see below). I wanted this pattern to be much tighter than ones I’ve designed so far this year. This tighter pattern, required more playing and arranging in Photoshop becauses once I thought the pattern was “set” and I tried repeating it, things would overlap and I’d have to readjust and try repeating it again.
feathersinink

If you know Photoshop and want to try creating a pattern, I’ve included my steps below.

Creating a pattern in Photoshop:

  1. Scan artwork
  2. In Photoshop: separate each element of your design into different layers
  3. Within your artboard, create the area for your “repeat” using guides. (translation: use guides to create a box within your artboard. You can expand the canvas size before this step.)
  4. Arrange your elements. They can go over the guides.
  5. On a separate layer outline the guides to make a box.
  6. Create a group with the box and element layers – call it “original”
  7. Duplicate the “original” group. Drag to the right so the left edge of the box touches the right guide
  8. Duplicate the group again. Drag to the left so the right edge of the box touches the left guide
  9. Select the three groups and duplicate them. Drag the 3 duplicate layers up, so the bottom of the boxes touch the top guide
  10. Duplicate the three groups again. Drag them down, so the top of the boxes touch the bottom guide
  11. If any adjustments need to be made – delete all but your “original” group, make the adjustments and repeat steps 7-10
  12. When you are happy with your repeating pattern, hide all the layers with the box outline.
  13. Crop to the guides to create your “repeat.”


Below, you can see my boxes. The center box is where I have my guides (which are not visible).
featherspatternboxes

Slight variations on my feather pattern.
No distress in the background. 
featherspattern1

Distress shows yellow.
featherspatterndy

Which one do you like best? 🙂

Copyright 2015 Eileen McKenna. All rights reserved.

Pattern of Ice Cream Cones … Mmmm

watercoloricecreamcones
It’s very fitting that my pattern for August is ice cream cones. I’ve gotten into the habit of having ice cream almost every night this Summer!

I created this pattern using the same process as last month’s pattern, Shells. I doodled the ice cream cones in my sketchbook, painted the backgrounds separately and then mashed them together and arranged them in Photoshop.

If you’ve missed them, I’ve been illustrating a pattern a month this year:

July – Shells
June – Echinacea
May – Sandcastles
April – Dahlias
March – Gardening
February – Valentine’s Day
January – Art Supplies

It helps to have the deadline of the end of the month. I wouldn’t be as motivated without it.

I entered the Sandcastle pattern into a Spoonflower contest a few months ago. I’d love to try another contest and upload more of my patterns onto Spoonflower. A goal to work towards before the end of the year. 🙂

A pattern for July – Seashells

shellspattern
I really enjoyed creating this pattern. It brought me back to collecting shells as a kid and marveling at the patterns and colors. Oh wait, I still do that!

This pattern started with doodles in my sketchbook. I drew a lot of shells! I have jarfuls on hand for reference.
shells-2

Then on watercolor paper I painted shells using different colors. I took creative liberties with this step.
shellswatercolor-1

I scanned everything in, and layered the outlines and watercolors together in Photoshop. I also added a textured background. After I had my arrangement set, I repeated it to see how it worked. I had to shift things a bit when the shells overlapped.

I truly felt inspired creating this pattern. It felt very nostalgic for me. And I can’t wait to get back down to the beach to collect more shells.

A Pattern for June – Echinacea


echinaceapattern
Just in time for me to design a pattern for June – our Echinacea bloomed. They are one of my favorite flowers. Today I’ve been painting them like crazy! Yesterday I drew a few of the flowers with a really smooth Pentel gel pen in my super smooth Strathmore pad. Today, I scanned them in and arranged and painted them in Photoshop. Hope you like it! 🙂
strathmorepad

See my past “monthly” patterns here:


Sewing project with my own fabric design

sewingmachine
I’m not much of a sewer, but I’m excited to try and make something with the pattern I designed. Seeing a pattern as a fabric is much different than seeing it on the computer monitor. You start to think about what you can make with it. If I printed this pattern again, I’d make the pattern much smaller, so it could be used as a band of detail on a bag, or something like that. At this size, I’m thinking of making a pillow or even a pillowcase. Any sewers out there? Any ideas?

I’m excited to have the sewing machine set up in my studio. My daughter has to show me how to use it. I’d love it if she would take the reins and start sewing tons of cute things with fabric I design. We’d be a great team. She seems to have other plans for the summer. Ah teenagers! 🙂

BTW – I didn’t win the “Sandcastles” Spoonflower.com contest. I still feel a sense of accomplishment – I finally uploaded a design and ordered fabric with my own pattern. I’ve wanted to do that for years!