Back in 2014 I saw a paper quilt in Country Living magazine. I thought it was such a great idea, especially because I can’t really sew and have always been drawn to quilts. I was inspired to create my own.
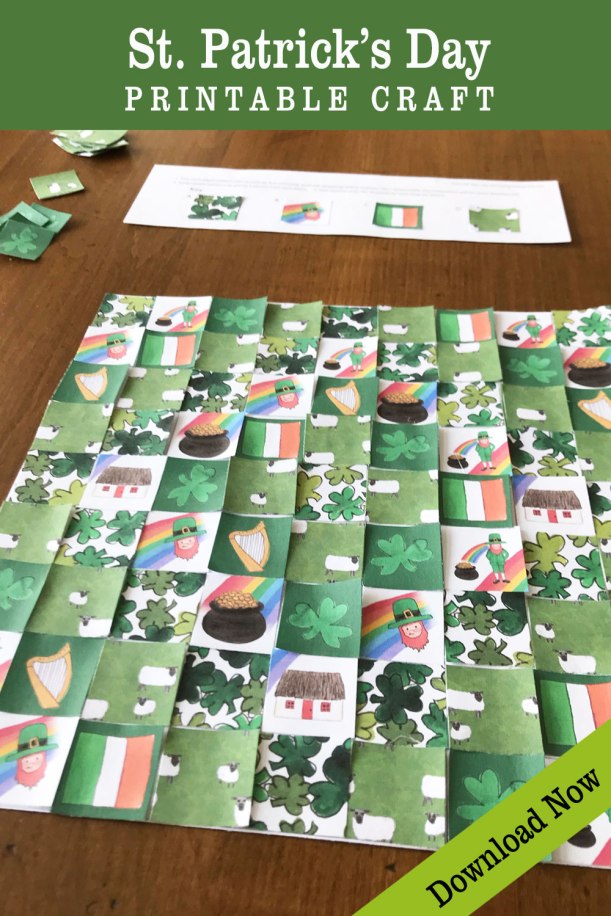
St. Patrick’s Day Paper Quilt
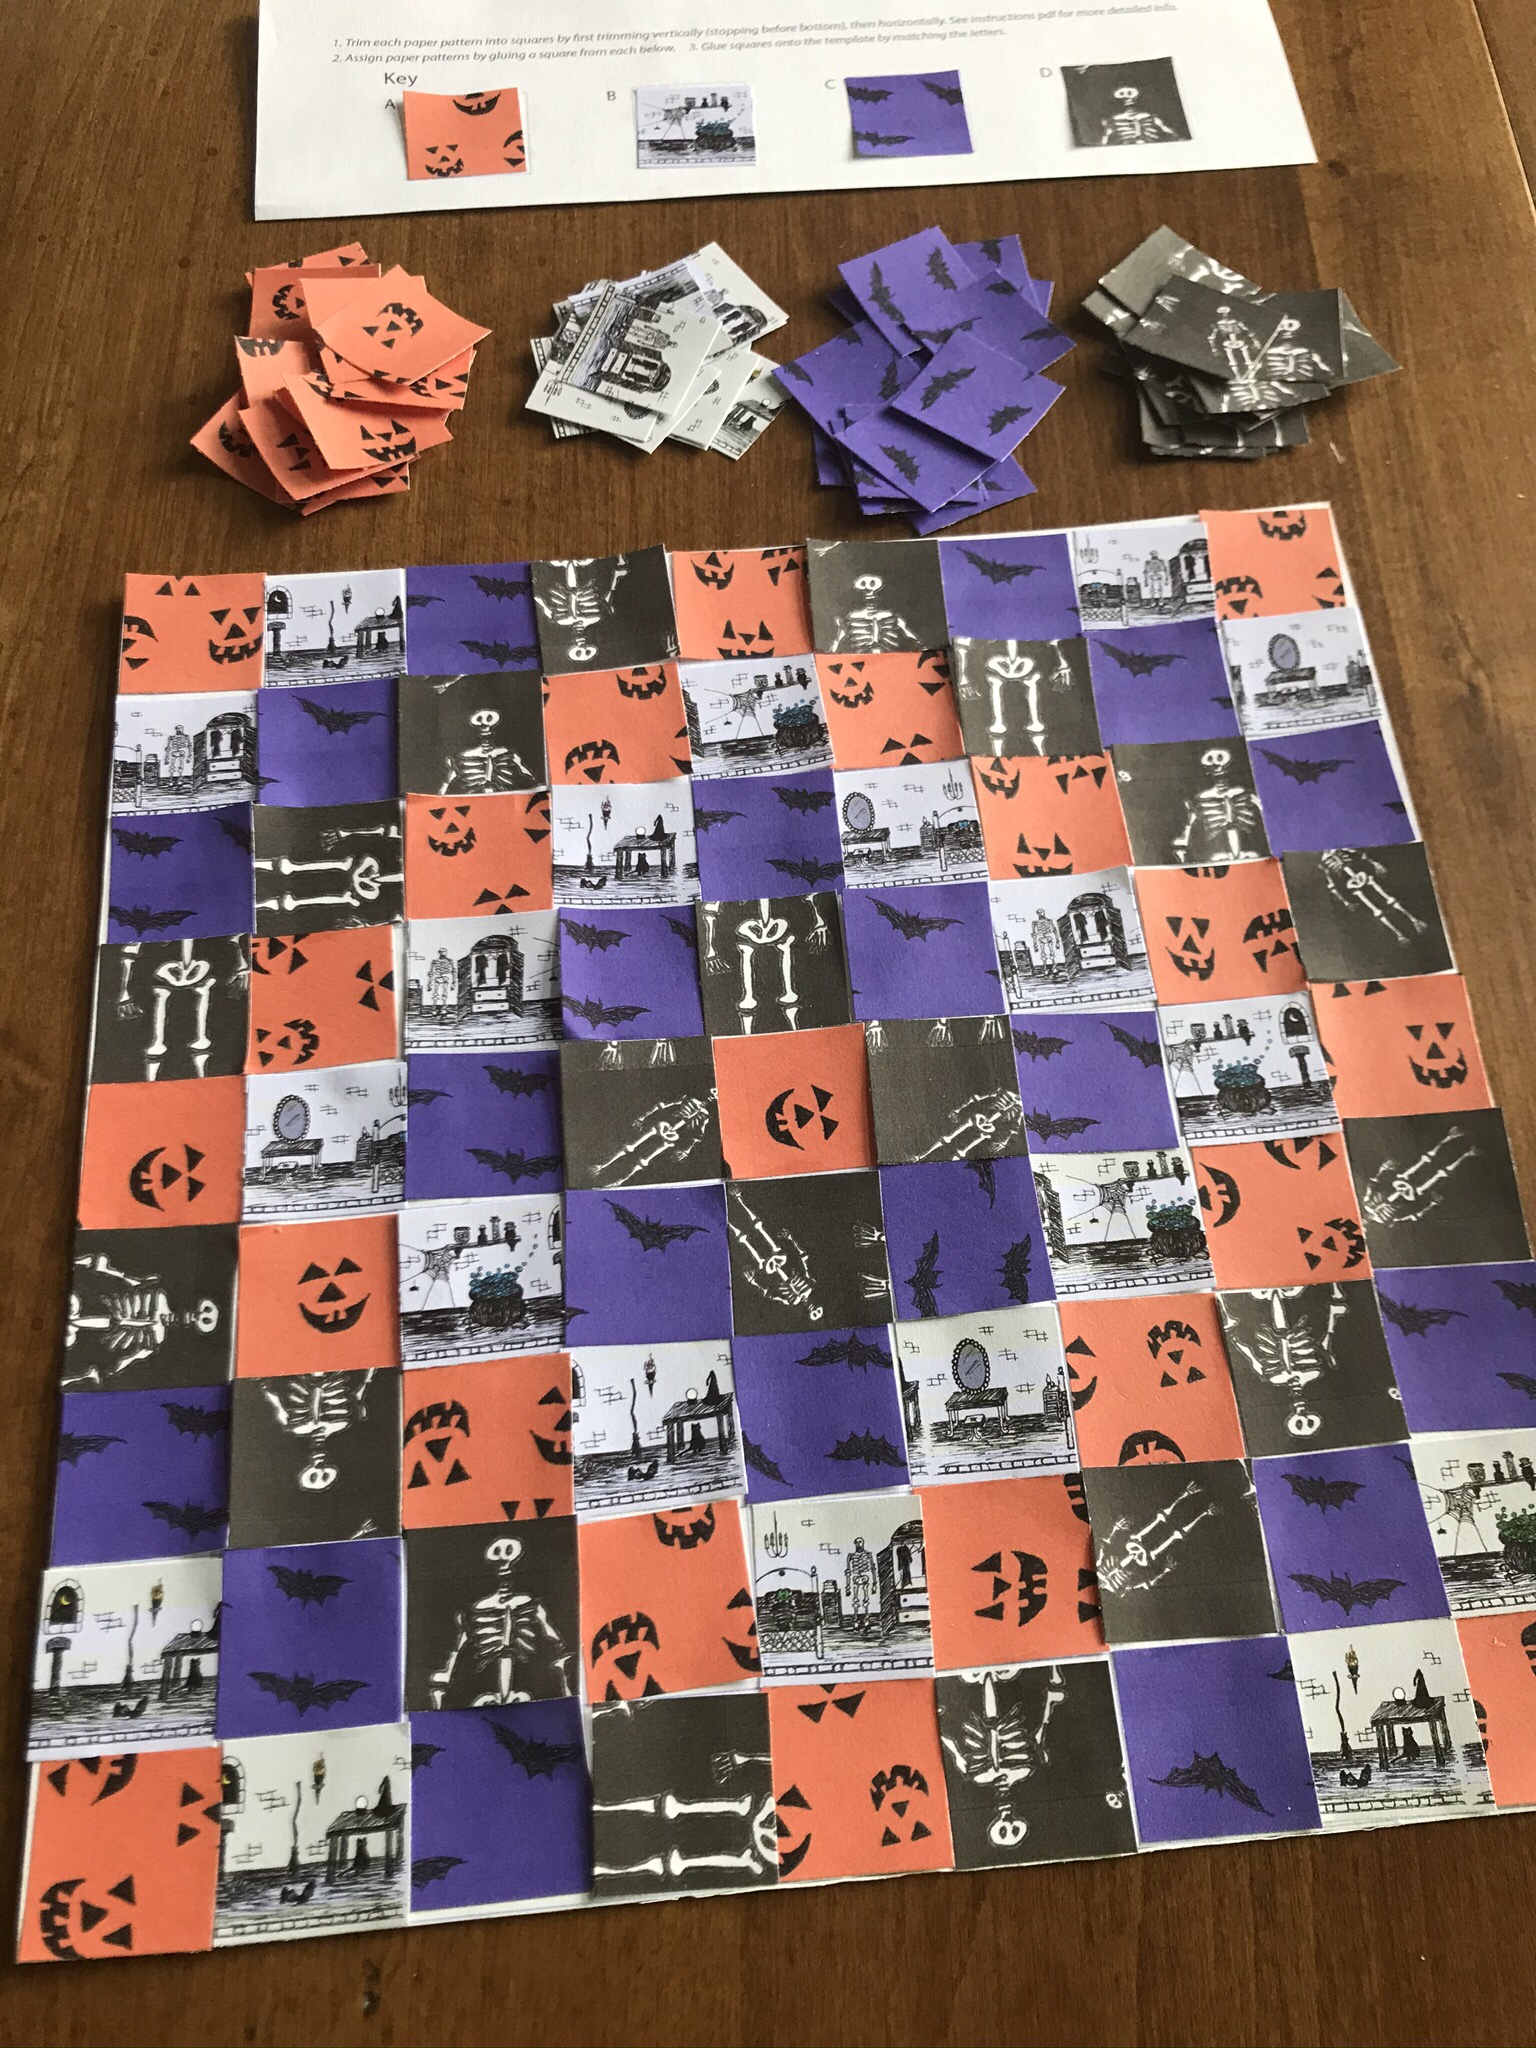
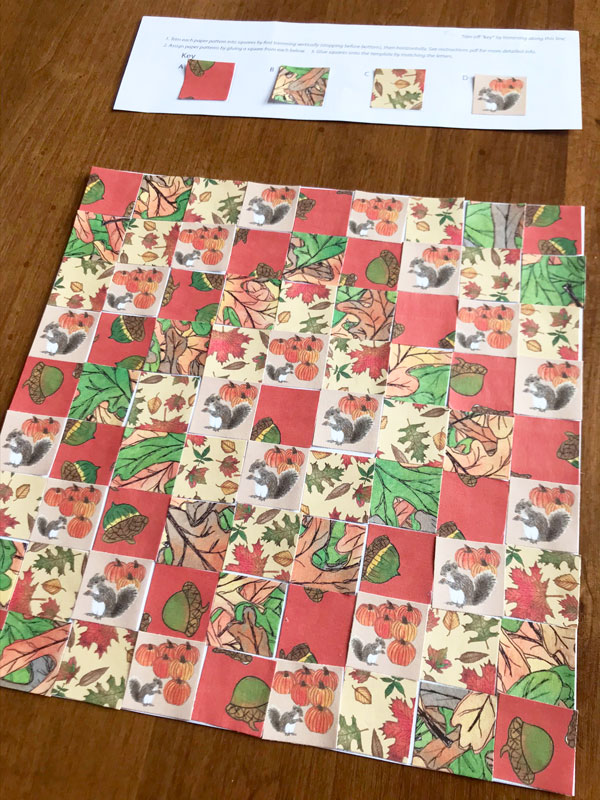
I wanted to create a St. Patrick’s Day themed paper quilt. The weather was horrible, so I avoided a trip to the craft store by using patterned papers I had at home and by designing some of my own.
I created a template so I could achieve a diamond quilt design. Each square on the template was assigned a letter. I also created a key so I knew which paper went with each letter. I thought it was interesting that if I changed which paper was assigned to the letters on the key, I would end up with a different quilt.
I had so much fun creating that first paper quilt. I thought others would enjoy making one too and wouldn’t it be convenient if they could print everything from home – the template, key and four patterned papers? I also thought it would be a great craft for other holidays. So that’s what I did! To date I’ve designed six printable paper quilt making quilts.
St. Patrick’s Day Paper Quilt Making Kit
Valentine’s Day Paper Quilt Making Kit

How to make a paper quilt
- Print the kit – four patterned papers, template and key, and instructions
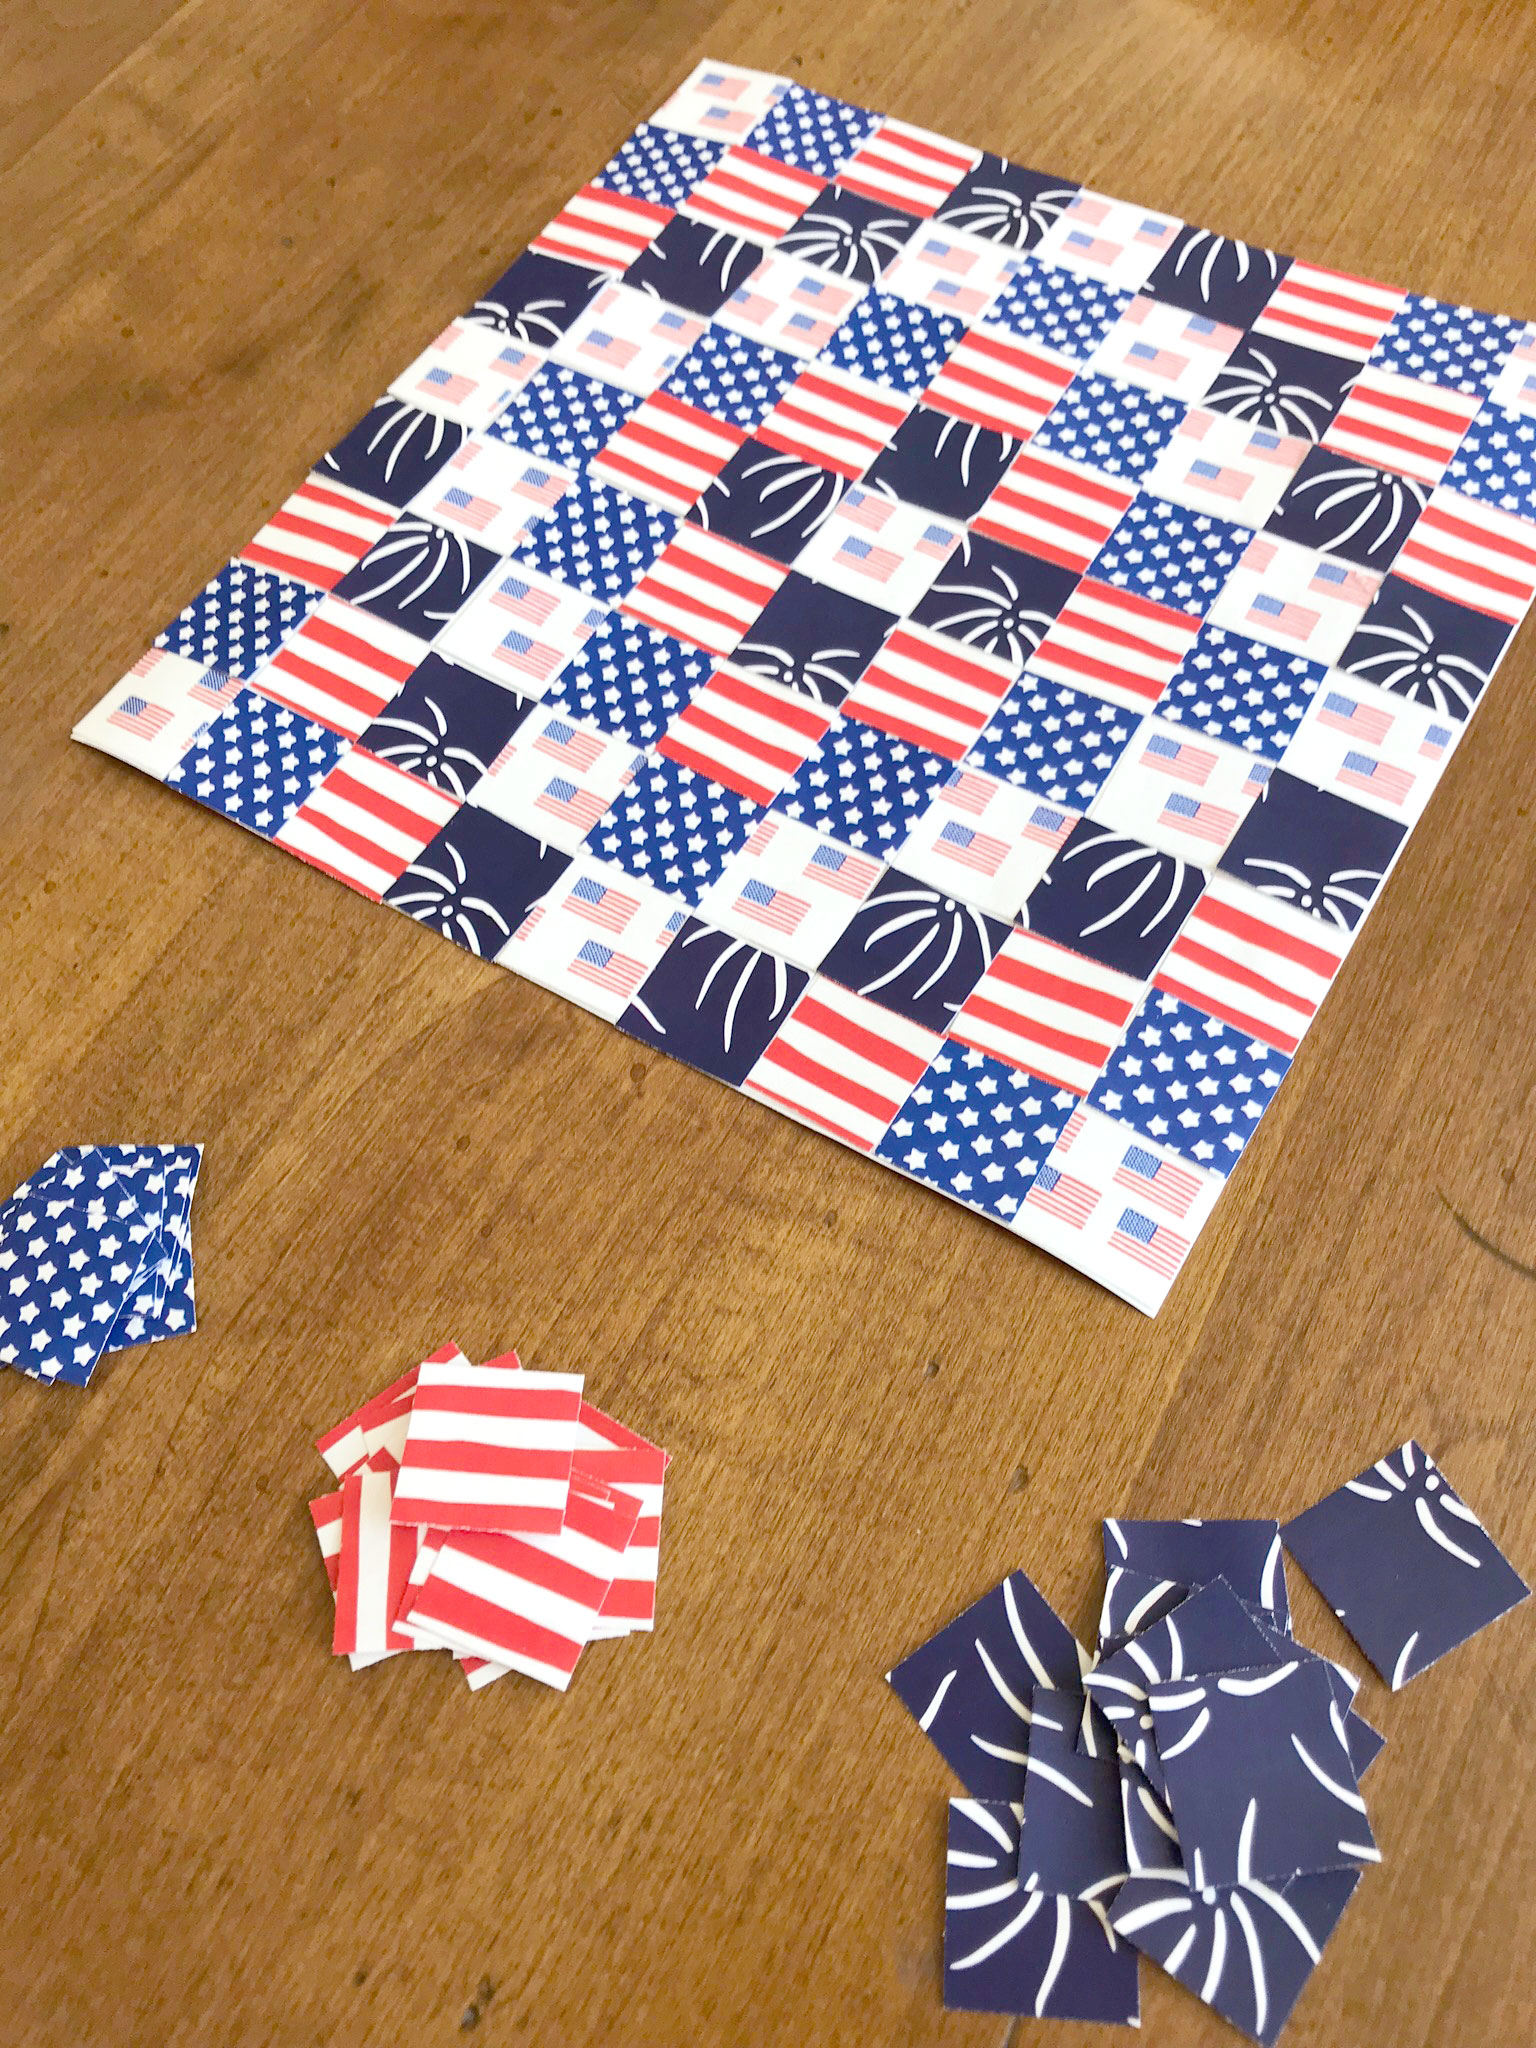
- Cut the four patterned papers into squares using the trim marks and following the instructions
- Cut the key off the template
- Assign the four papers to the key (gluing the squares onto the key)
- Following the letters on the key, glue the squares one patterned paper at a time
- Your done! Make another quilt – Print another set, assign the papers differently, create a different design!
By switching up what papers are assigned to the key – many quilt design variations are possible! Have fun!
Download a Paper Quilt Making Kit
More Paper Quilt Making Kits:

For more Seasonal Art Project Ideas:
More St. Patrick’s Day Art Projects
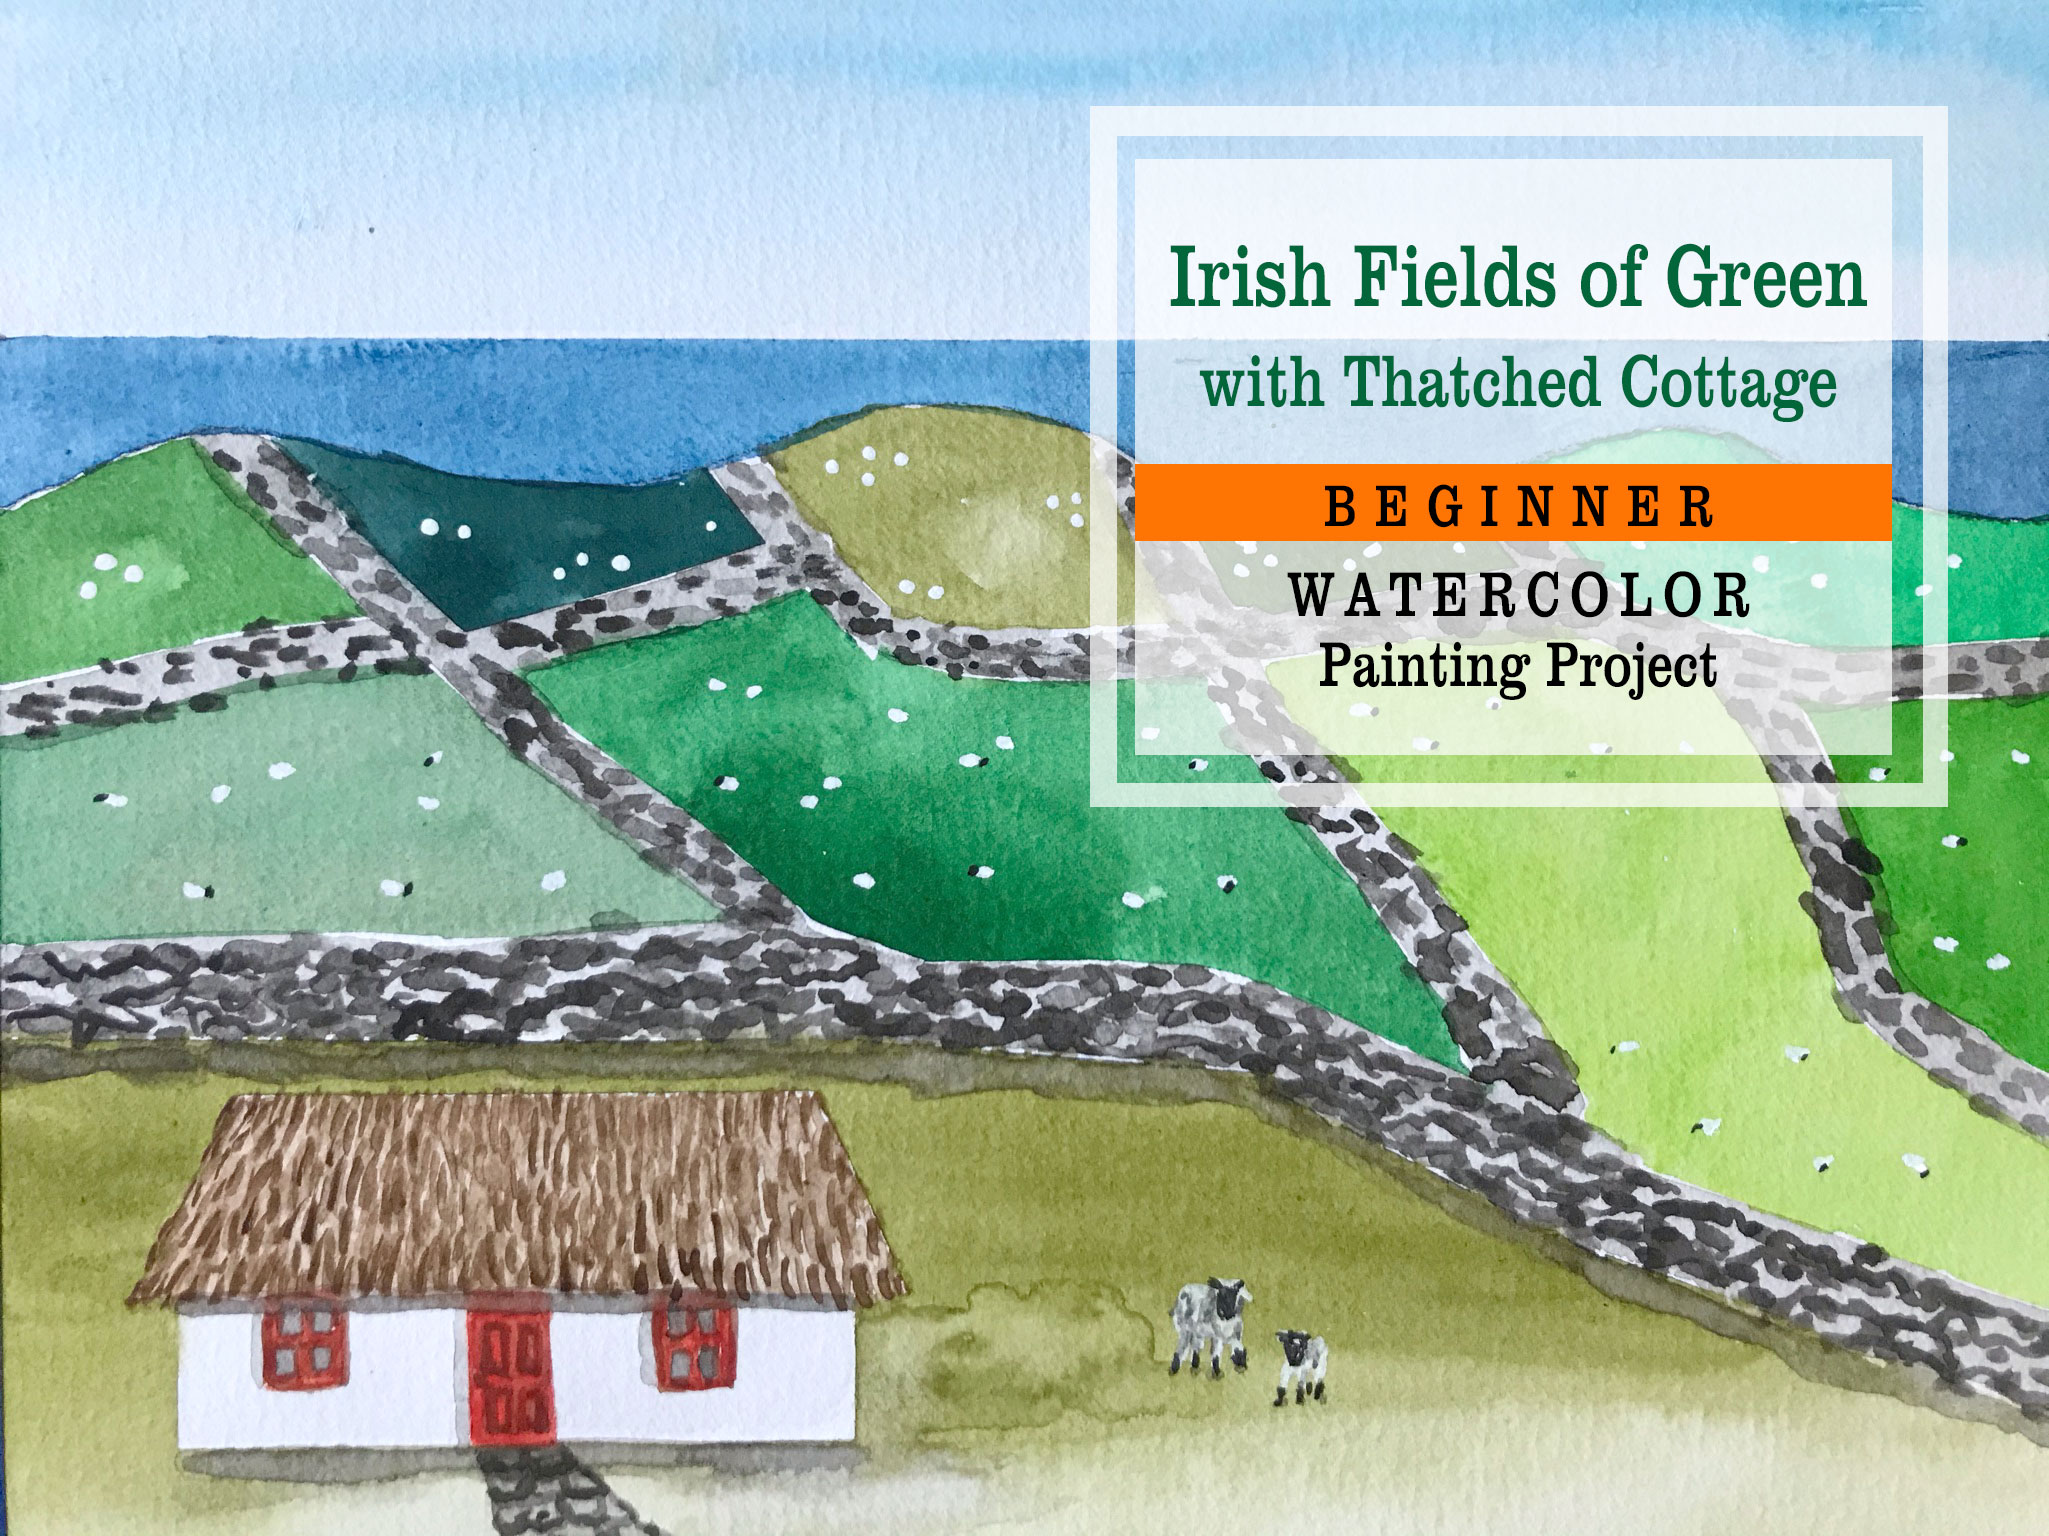
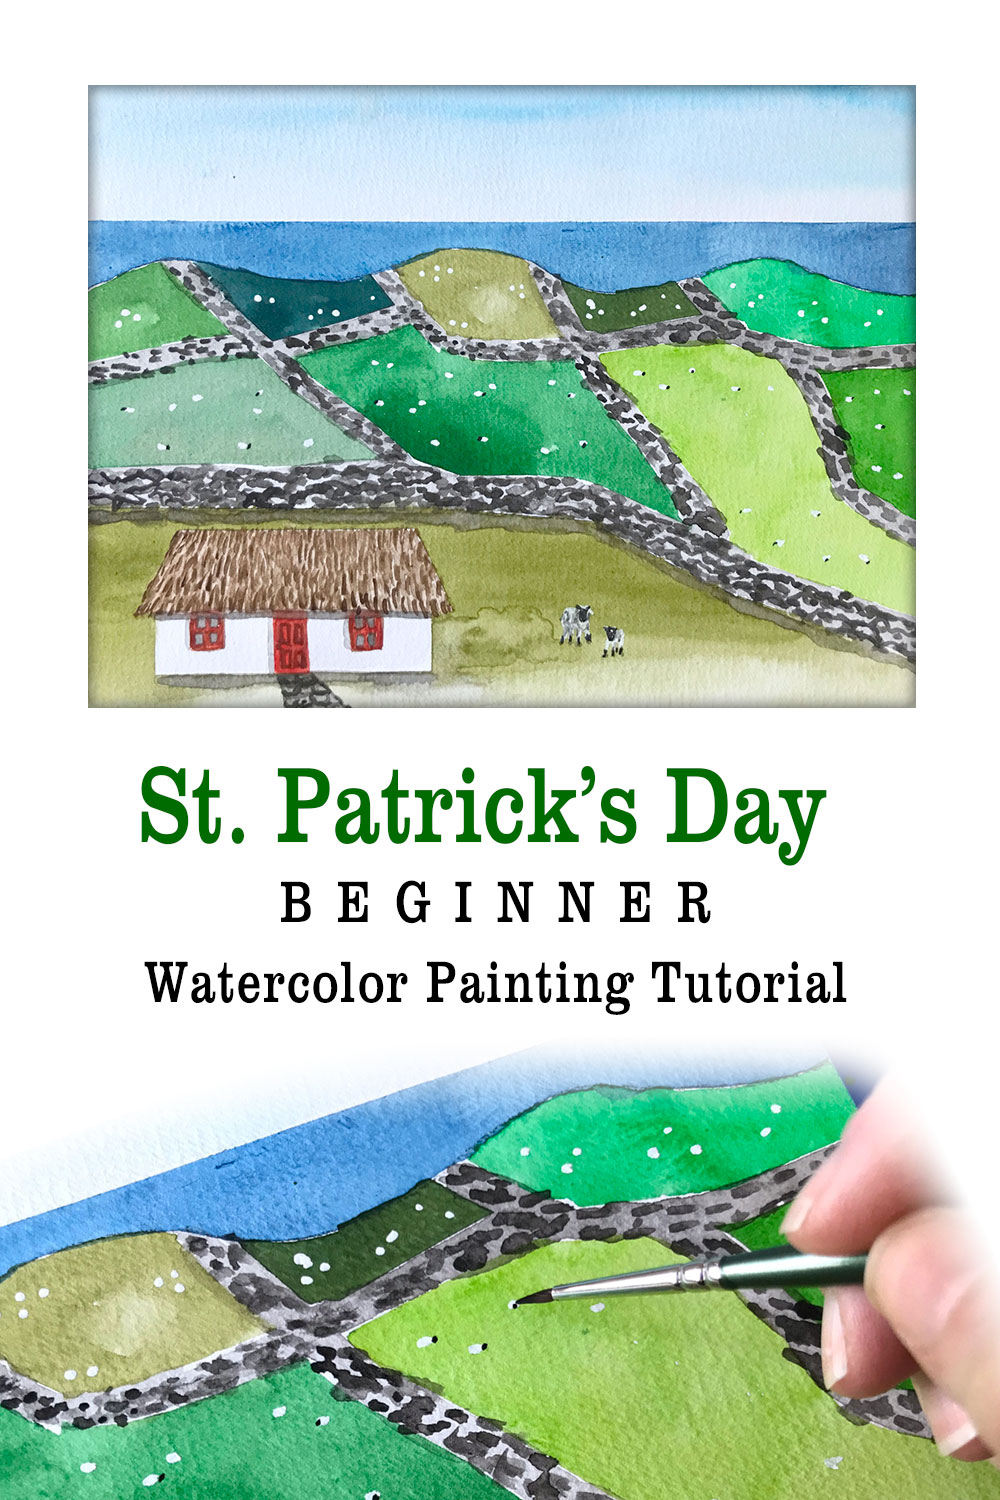
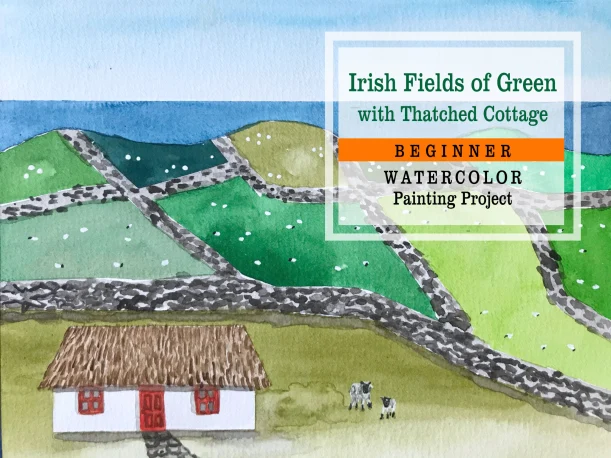
- Irish Fields of Green Beginner Watercolor Painting Tutorial
- How to Draw a Leprechaun Tutorial
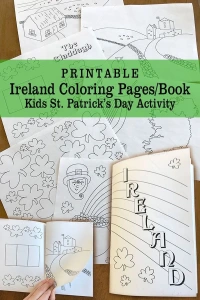
- Ireland Coloring Pages – make your own book!

For more creative St. Patrick’s Day Ideas:
Read Teaching Children about Ireland.