A Watercolor Lesson for Beginners
I was really feeling the spring vibes the day I climbed up and peeked in the Robin’s nest and saw these three eggs. Of course I painted the nest in my “Finding Joy” journal later that day!
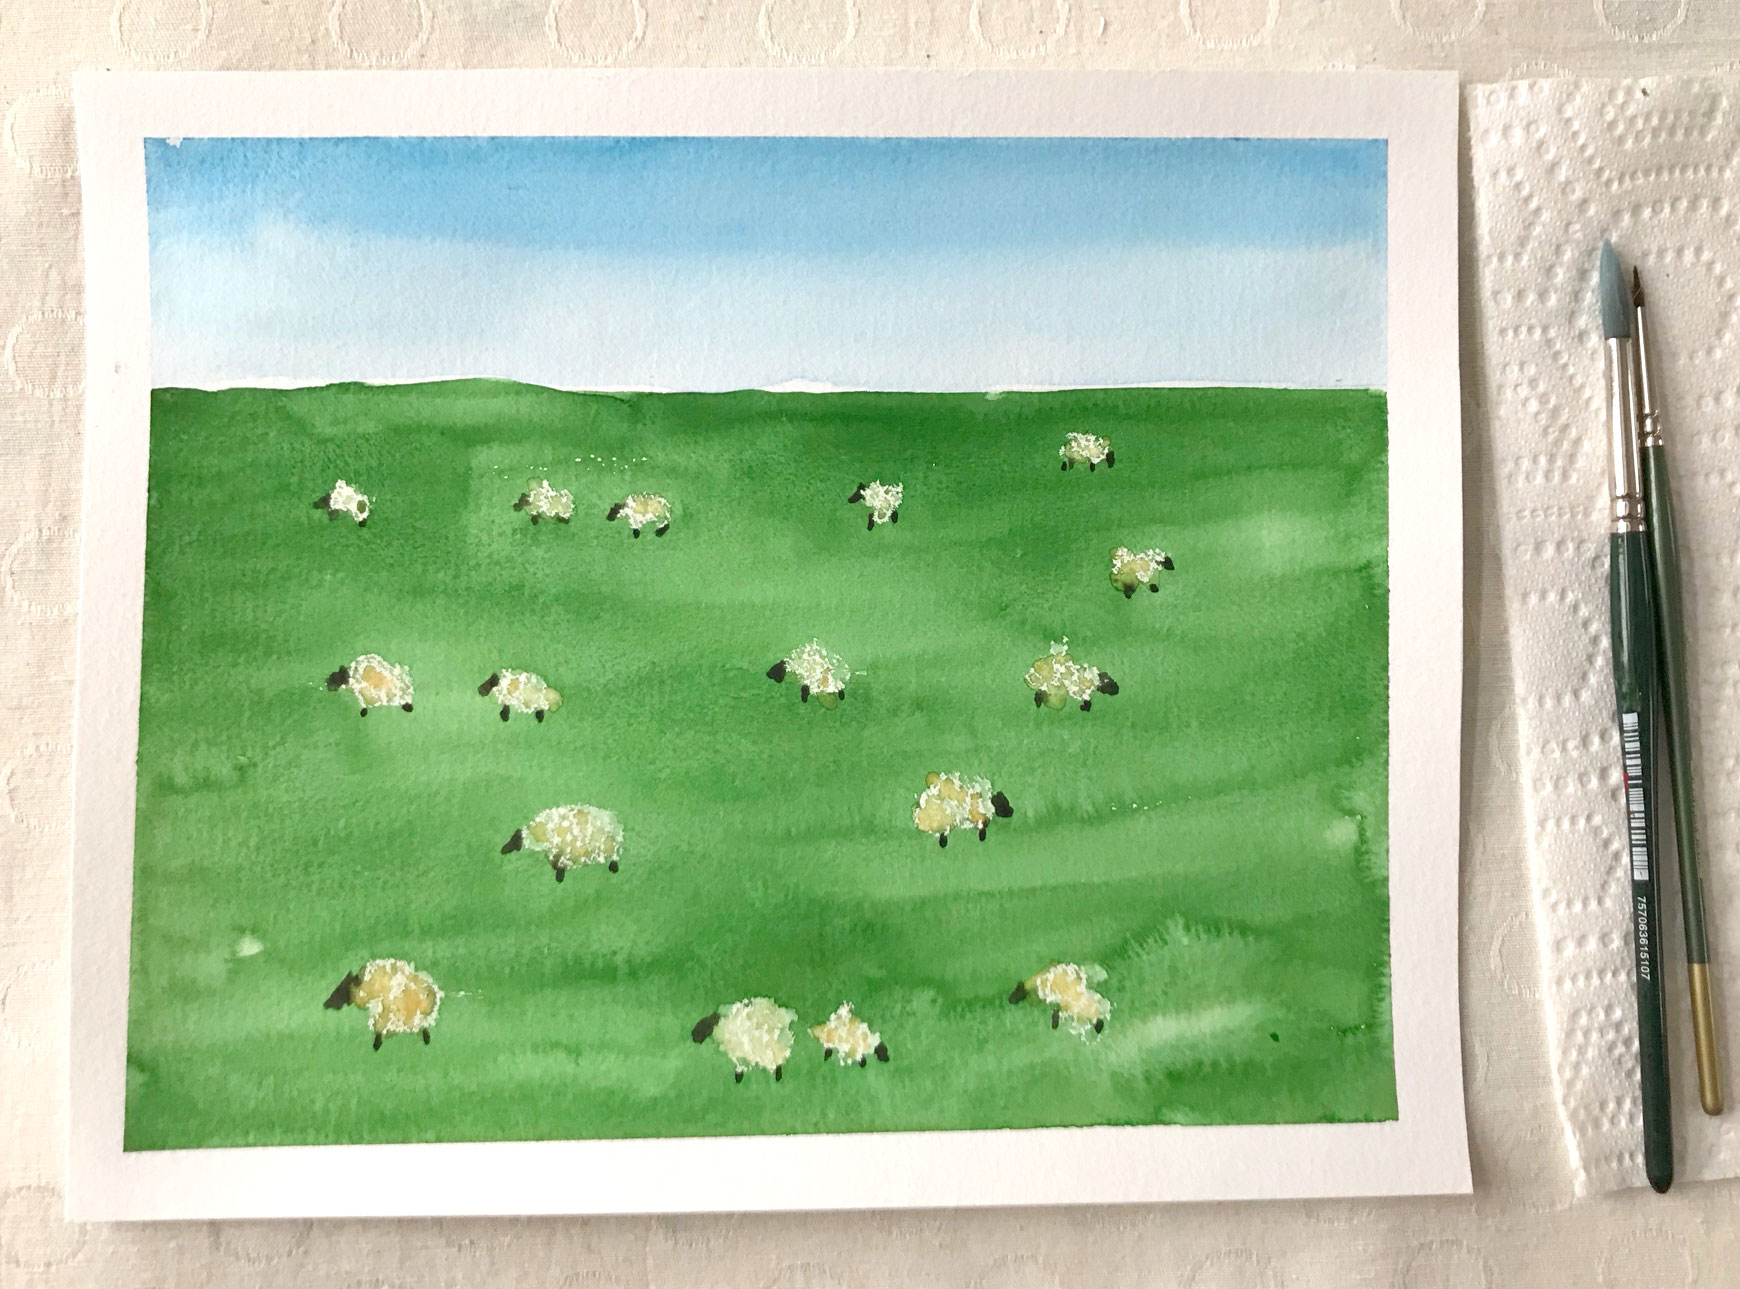
I realized the bird’s nest was the perfect subject to share my watercolor painting process. So, I painted it again and recorded it for you.
Here’s what you’ll need to paint your own nest:
- Watercolor or multimedia paper
- Watercolor paints. I used brown, black, turquoise, orange, hooker’s green, raw sienna (tan)
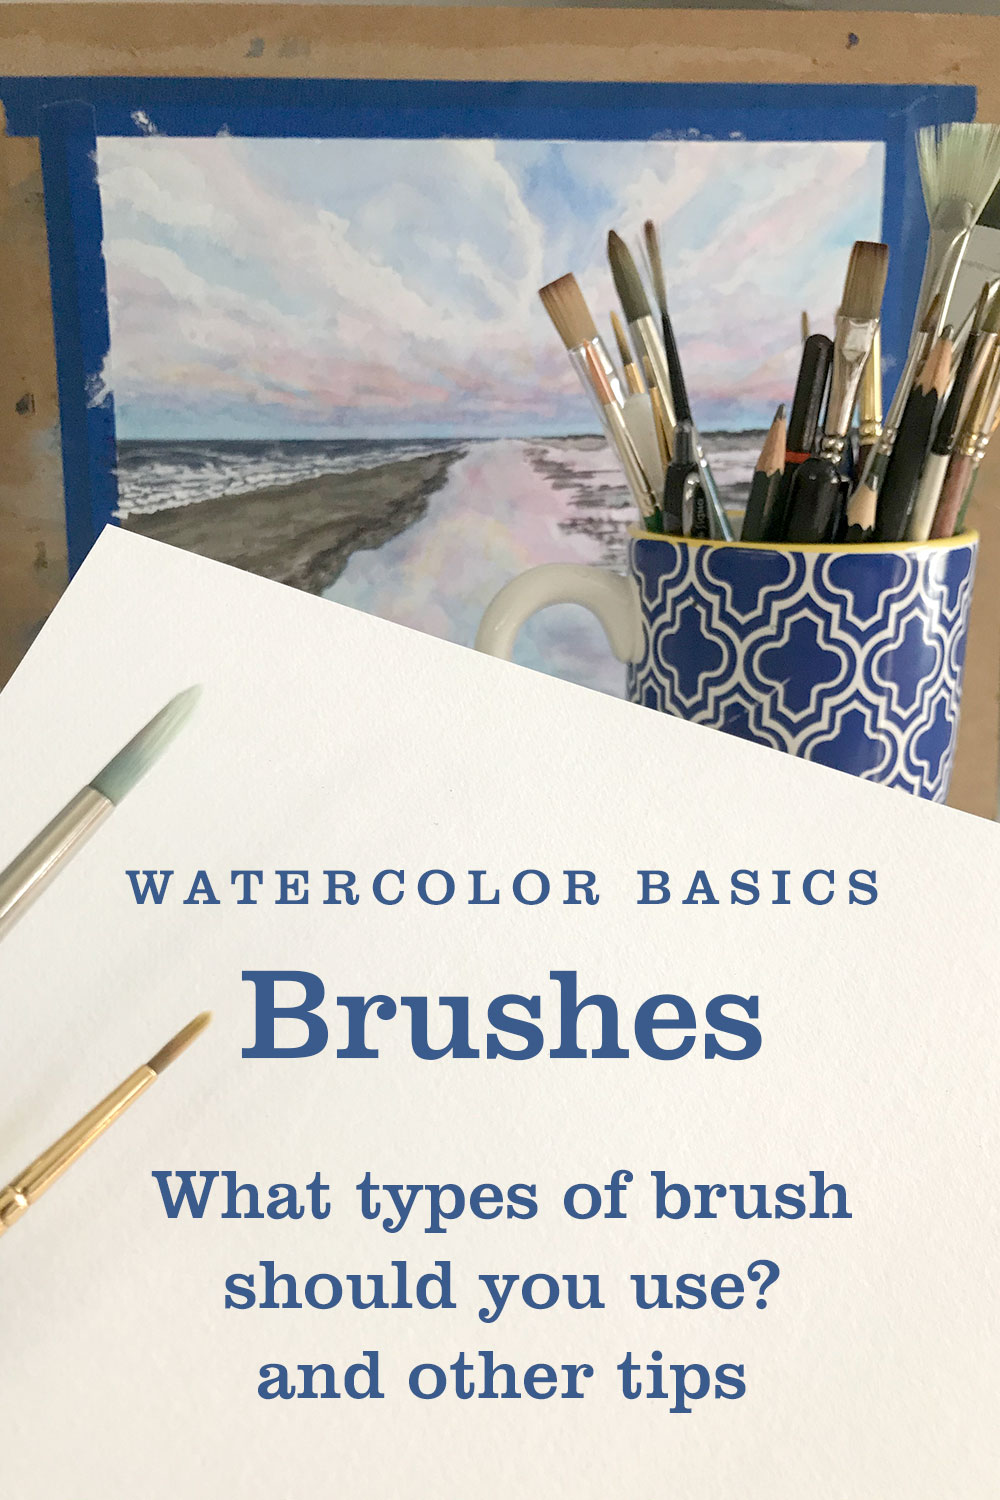
- Paintbrushes – round in medium to small (thin) sizes
- Container of water, paper towel, scrap of paper
Click here if you’d like to see the brands I use.
For weekly watercolor tips sign up for my newsletter:
Watercolor Techniques you’ll learn:
- Painting layers
- Painting wet
- Painting dry
- Lightening colors with water
- Mixing complements to create the perfect shadow color.
I hope you’ll paint along to the video!
Please like the video and subscribe for more painting videos!
Here’s the reference photo I took:

For more beginner watercolor tutorials click here.
I’ve designed several fun tutorials to help you learn watercolor – available in pdf and video form.
Ready to get started in watercolor?
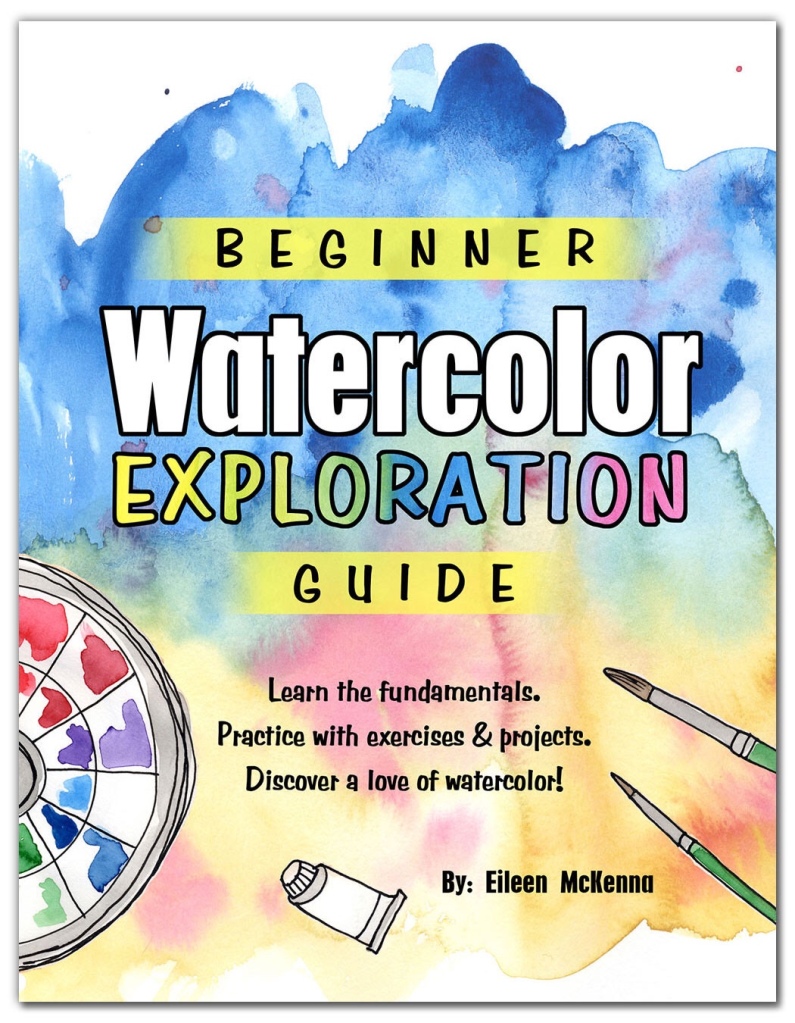
Try my “Beginner Watercolor Exploration Guide” where I walk you through the fundamentals of watercolor with exercises and projects. Learn by doing. Discover a love of watercolor today –> Learn more here!

This post contains affiliate links to products/brands I use and recommend. I earn a small commission whenever you buy using these links, at no additional cost to you. Thank you for supporting my blog!