10 “How to” Posts on Painting, Graphic Design, Creativity and more!

10 "How to" Posts on Painting, Graphic Design, Creativity and more! | acrylic painting watercolor tutorial diy round up post
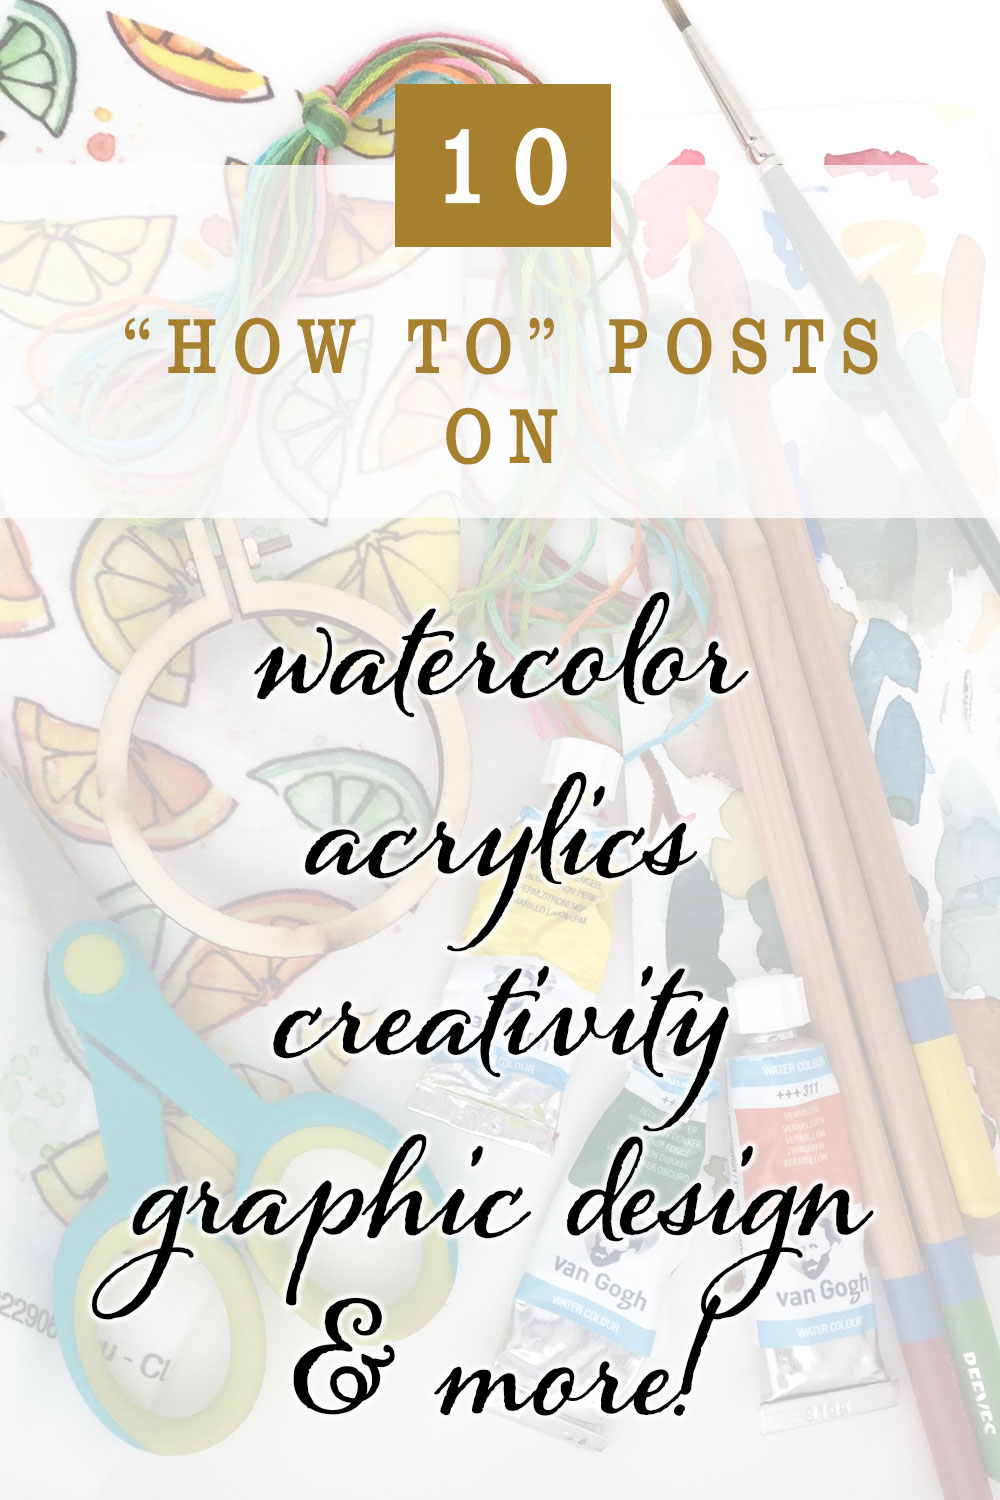
It’s still amazing to me that I made a commitment to be creative, created this blog to hold myself accountable, have continued with it for over five years, and have published over 600 posts! This from someone who previously couldn’t finish a creative project. Here’s a round up of my best “How to” posts.

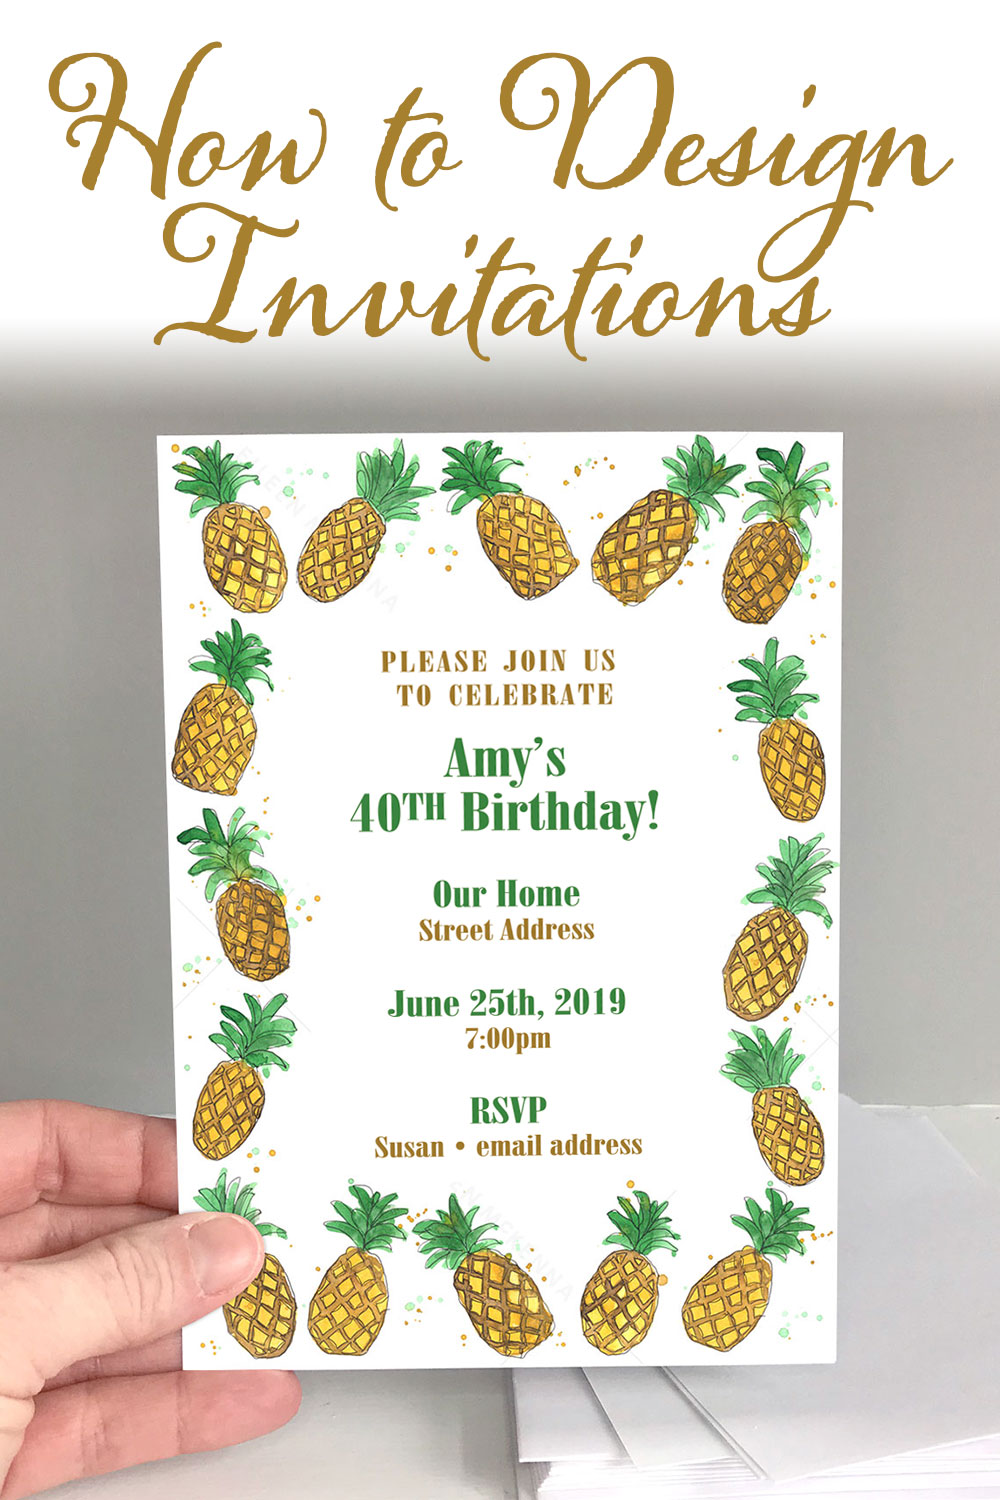
How to Design Invitations. I’ve been a Graphic Designer for over 20 years. I wrote this post to share the process of designing invitations. Designing invites has always been one of my favorite projects. Visit my Etsy shop for invitation borders, backgrounds, and clipart that make the invitation design process easier!

How to Design Invitations | DIY Invites | Invitation Tutorial | Easy Invites

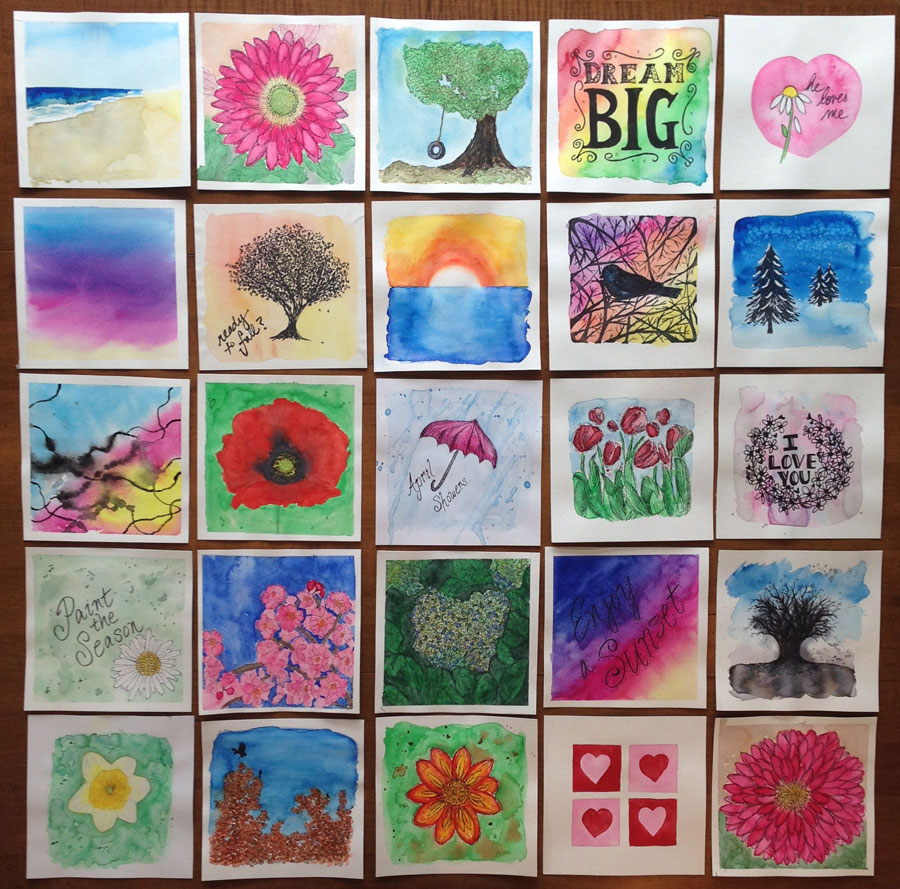
How to Paint the Ocean. For the last few years I have dedicated myself to capturing the ocean in watercolor. This post shares my step by step process and my secret ingredient.
How to paint the ocean in watercolor and gouache | tutorial | step by step instructions | painting tips 

Transitioning from Watercolor to Acrylics was such a challenge and I’m still learning every time I pull out a canvas. In this post I share the top differences between the two, to help others make a more smooth transition.
Going from watercolor to acrylics, painting acrylic seascapes

Easy Forest Watercolor Project – is a great one for watercolor beginners. Create an interesting forest and learn and practice five watercolor techniques along the way. It’s actually one of my most popular posts and I’ve heard such nice things from the people who have tried it. There was even a group at a library that tried it.
Easy Forest Watercolor Painting for Beginners | Learn watercolor techniques! #winter #forest #watercolor #beginners

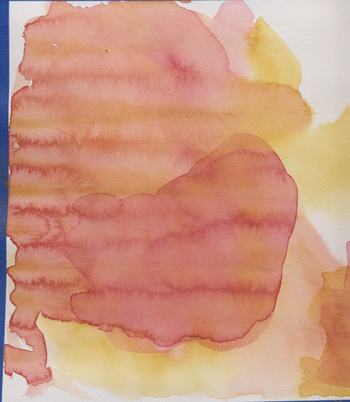
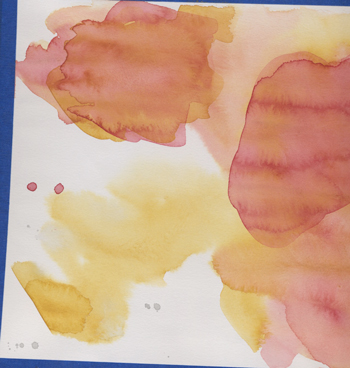
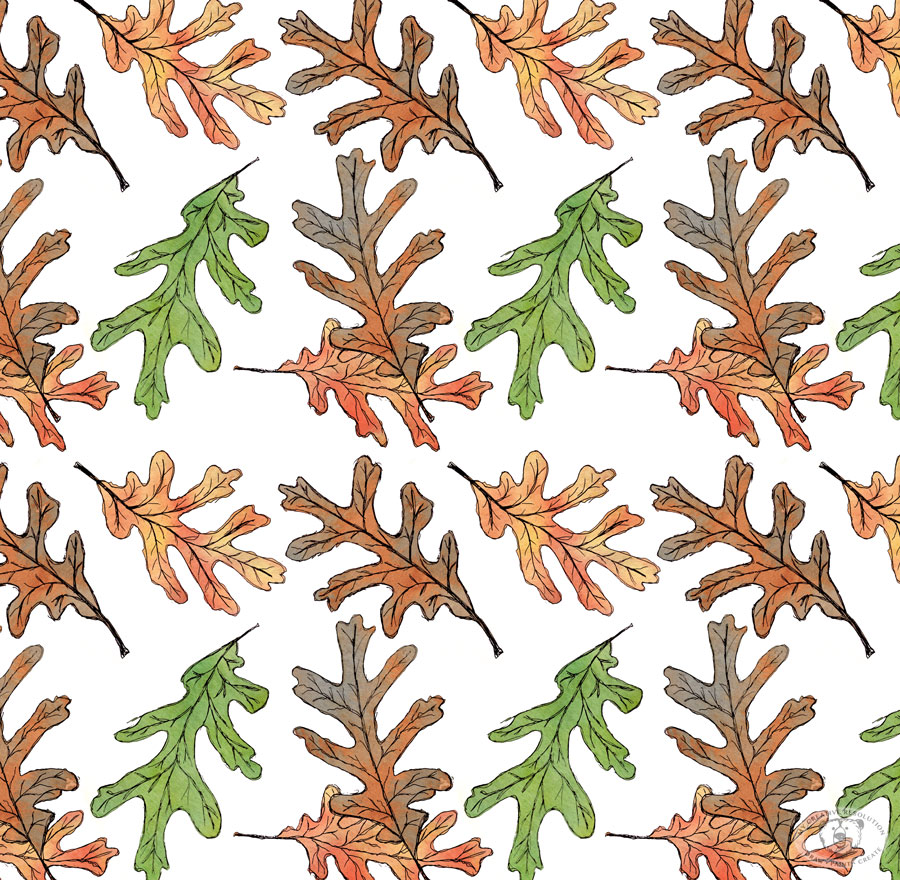
Creating Repeating Patterns. Early on in my blogging days I began noticing the art of Surface Design. This post explains how to turn your art into a repeating pattern.
How to create a repeating pattern in Photoshop. For fabric prints, gift wrap, wallpaper and more.

Creativity is for everyone. For me being creative is less about the final product and more about the joy I get from being creative. I wish I realized sooner that talent doesn’t mean much. It’s just a starting point. If you have the desire to be creative and work at it regularly, your skills will improve.
Want to be creative? Start here! creative inspiration | how to be creative

Winter Birch Tree Painting. I wanted to add wintery art to my living room so I created these birch tree paintings in acrylic and shared my process in this post.
Easy Acrylic Birch Tree Painting #beginner #painting

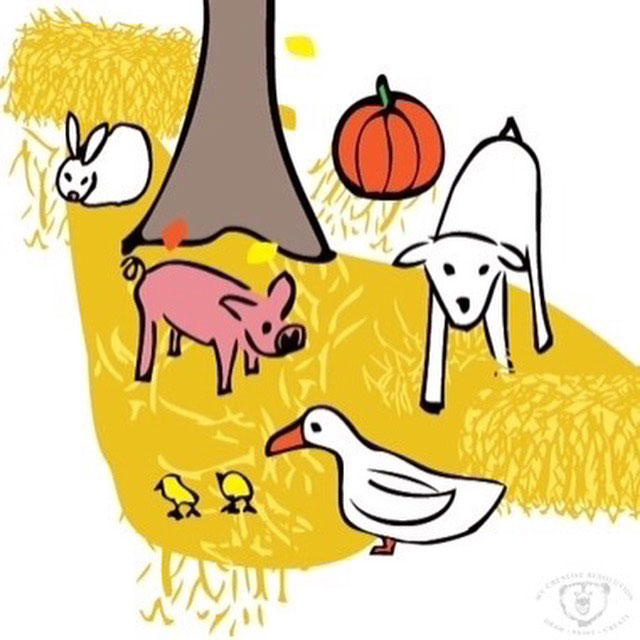
Developing your own Illustration Style. When my kids were small I desperately wanted to illustrate a children’s book. But, not only were my skills not there, but I didn’t have a style. I scoured the internet looking for ways to develop my own style. In this post I share what I learned.
6 Tips on Developing your own Illustration Style 

Ways to Find Inspiration. It’s very rare that I don’t have ideas. For me time is more of a struggle, as well as following through on ideas. This post shares ways to find inspiration.
10 Ways to come up with ideas for your creative projects

Logo Design Process. I shared a peek into my life as a graphic designer in this post about designing logo.
Logo Design Process

Want a dose of creative inspiration? Sign up for my newsletter -“My Creative Collection.” A collection of all the things that inspire me, in the hopes of inspiring you! Sign up here!
My Creative Collection

How to Design an Invitation

How to Design Invitations | DIY Invites | Invitation Tutorial | Easy Invites
Designing an invite – especially for your own event – is so fun! Here are some easy steps to guide you through it.

1. Determine the style and aesthetic of your event. Your invite should be a reflection of the actual event. You don’t want a formal, elegant invite for a backyard BBQ. Is your event:

  • Formal and elegant
  • Whimsical and fun
  • Geared to kids
  • Sporty
  • Feminine
  • Other

2. Select the form of your invite:

  • Single card
  • Folded
  • Layered paper
  • Unique shape
  • Other  

Invitation forms | How to Design an Invitation by Eileen McKenna

3. Select a type of invite:

  1. Border art with text in the middle
  2. Small icon with text below
  3. Large art or image with text below or to one side
  4. ”All Art” with text in open areas
  5. Image in background behind the text
  6. Text as the art

Types of Invitations | How to Design an Invite by Eileen McKenna

4. Select a size. Keep in mind standard envelope sizes and postage rates. I believe square envelopes are more expensive to mail. Standard sizes:

  • A7 – 5” x 7”
  • A6 – 4.5” x 6.25”
  • A2 – 4.25” x 5.5” (1/4 of letter size paper)
  • Other

5. Select artwork that suits your theme. Digital download invitation borders and clipart are available in my Etsy shop – Click here to visit. Or use a photo of the guest of honor. Or both.

6. Collect all the key information of the event – The who, what, where, when, why, RSVP, and anything else you need to convey. Write it on scrap paper or print it out for the next step.

7. Layout. On your scrap paper divide the information into different levels of info and label it. The most important info is what the event is – Level 1. Level 2 is the date and place and Level 3 are the time and address. Use the same style to format anything within the same level. The style of the text is made up of font, text size, and color. Select colors from your chosen artwork. Use no more than two fonts that complement each other. While professional layout programs are great, Word and some free or inexpensive programs can do the job too. 
Levels of information in an invitation | How to design invitations

8. Paper. Select a thicker card stock than basic computer paper. Select specialty paper(s) or colored paper if it suits your event’s style and works with your chosen invite form and type.

9. Optional – Add embellishments. Keep in mind some embellishments will increase the cost of postage.

  • Ribbon
  • Sequins or rhinestones
  • Other

Whether you print at home or send you file to be printed at a copy shop, following these steps will help you achieve the perfect invites for your event! Click here to visit my Etsy Shop for downloadable invitation borders and clipart for your invitation designs.
How to Design Invitations using downloadable art Eileen McKenna

Want a dose of creative inspiration? Sign up for my newsletter “My Creative Collection” where I feature artists and makers, and link to inspiring art, design, and craft, inspiring places, interesting books, movies, and more. It’s a collection of all the things inspiring me delivered to your inbox every two weeks. Click here to sign up.
How to Design an Invitation | Create your own DIY Invites by Eileen McKenna

A Crab Pattern

crabrepeat

crabset
Another pattern design for you. I forgot all about pattern design last month until the 29th. But, once I remembered, I went straight to my crab sketch. One of you commented that you knew I’d turn it into something. Well with your encouragement I have. 🙂
crabsketches

I painted the backgrounds separately in watercolor. And put everything together in Photoshop. With the spring weather here, summer can’t be far behind!

crabback-1 crabback sand

Learn more about how I create patterns here.


A Valentine’s Day Card and a past career

valentineEMcKennasmw
When my daughter was born fifteen years ago, I left my Art Director job to stay home. I did a little freelance work, but focused on starting a custom invitation and announcement business. Since I didn’t draw and paint the way I do now, the business was part work and part creative outlet. For a while I really enjoyed it, and created some beautiful things. I produced everything myself – trimming and folding, and often added hand details – bows, buttons, layered paper, etc.

This slideshow requires JavaScript.

At this point in the industry there were some websites out there, but nothing like the explosion that was to come. I did this on the side, while taking care of my three little kids, from 2000-2007/8. Over time I realized I was spending a lot of time – because it was custom work – designing, finding paper, etc. And I didn’t necessarily get paid for all of it – there was only so much I could charge (that people were willing to spend). It no longer felt like a creative outlet. And by this point, I was taking drawing and painting classes.

The way to make money was to offer a few designs to pick from – and then just fill the orders. But as a designer, what was the fun in that? At the same time, that I was losing interest in the business, the economy shifted. People were not willing to spend money on invitations. Also, the internet was exploding with cute, affordable designs. I toyed with the idea of opening my own online shop. In the end I didn’t, because there was so much competition, and I was burned out.

I started working part-time in an office (email marketing). I found it a nice break from the three little kids at home, and it was much much easier to separate work and home. I spent several years working, outside the house, as a Graphic Designer, dabbling in freelance work from home, and the occasional invitation. I now work exclusively for myself, directly for clients, offering Graphic Design (print/web), and Marketing (social media/email).

What is so amazing, is all that has happened since 2007. Randomly, on Twitter I found Thortful. Thortful is an app, that allows you to upload a card design – make it available to others and/or print it for yourself. They are new, and are just cards. (They are based in the U.K., so I’m wondering what shipping to the U.S. will be.)

Of course there are so many other sites that allow you to upload your designs and purchase and/or sell them on stuff. The one I’ve know the longest is cafepress.com. In the last few years, I’ve learned of society6.com, zazzle.com, redbubble.com, spoonflower.com. Many of these sites have their own twist. I’d love to know, do you have a recommendation?

I’m not sure as a designer, which gives you the best chance of actually making money – again there seems to be a lot of competition. I wonder if there are people out there who make a chunk of their living off these type of sites. It is nice, that you don’t have to handle the production. That you can outsource it without producing large quantities (that you don’t need/might not sell.) You can focus on being a designer. What an amazing world we live in. And what’s coming next?! 

Bananas for Monkeys

monkeypatternrepeat
When I was little I wanted a pet monkey so badly. I told my mom, “Don’t worry, I’ll keep it in the closet when we go out.” As if that was the least of her worries. I doubt monkeys were on the approved pet list in my NYC suburb.

The latest Spoonflower design challenge is “Year of the Monkey.” A couple of weeks back, I played around in my sketchbook, but nothing great emerged. But, I couldn’t get the contest out of my mind. So, with just a couple of days left until the deadline, I started sketching again. See my sketches here and what I’m learning about surface design.

It feels great to follow through and enter the contest. Before I started “My Creative Resolution” in 2014, I was notorious for having an idea and not following through, especially if my first draft wasn’t successful.

If you’d like to check out the other “Year of the Monkey” submissions, or vote for someone you know’s design (wink wink) click here. 🙂

Learning the keys to successful surface design

valentine2015repeatsm
At the end of last year, I had just started ordering my pattern designs in wrapping paper and fabric. It’s totally different, to not only see the pattern printed, but then work with the gift wrap and fabric. As I wrapped presents in my designs and other designs, I became aware of things that I never noticed before. Most importantly that a lot of the designs have some elements that are upside down and some right side up. This way, there is no correct side.

Over the summer, when I ordered fabric in my sandcastles design, I experimented with making it into a pillow. I realized how important the size of the repeat is. If it is too big, and you try to make a small pillow (or wrap a small present), then most of the design gets cut off.

These are things you don’t notice when you are creating on the computer. As I continue to pursue surface design this year, my goal is to not only design patterns, but have them printed as gift wrap or fabric, and (most importantly) create something with them – to be the end user. I think it’s the best way for me to learn how to make successful designs.

Earlier this week I tweaked last year’s Valentine’s Day design and ordered a swatch (see above). Specifically, I changed how the pattern repeated. I’m am excitedly waiting it’s arrival! I am also working on a second Valentine’s Day themed pattern, that has more of a watercolor feel.

Original Repeat:
valentine'sdaypattern

To see the 12 patterns I designed in 2016, click here.

Self imposed deadlines {and a leaf pattern}

leavespatterncolor
I remember, way back in elementary school, staring a project early, but never finishing it until the night before it was due. I needed the deadline to motivate me to finish.

All these years later I know the power deadlines have to motivate me. Now, I’m using this to my advantage. If I want to accomplish something I set a deadline. In my work, these soft deadlines are supported by the client waiting for the final product. In my creative life, these “made up” deadlines are supported by you. If I write on the blog, I’m going to do something, I intend to follow through on that promise. Whether anyone remembers or not!

This leaf pattern design is my October surface design. Yes, I’m a couple of days late, but I got caught up in my Halloween creations!

I’ve designed one a month this year! That’s 10 so far! I’m really proud that I set “surface design” as a goal for 2015 and have achieved it. I designed the first one in January. That’s when I committed to “a design a month.’ Setting the monthly deadline has made all the difference in pushing myself and getting it done.

Have you set deadlines for yourself? How did that work out? If you haven’t, are you considering it now? I’d love to hear!

If you’d like to learn how to turn your artwork into a repeating pattern, read this recent post.

Adding illustration to a logo design project

pettingzoosketches
As many of you know, I am a graphic designer. In the early days (ugh over 20 years ago) I felt insecure about designing logos. I wasn’t confident in my illustration skills. At that time I worked on a lot of text heavy stuff – newsletters, fund reports etc.. Ten years later, I started designing a lot of logos. Not because I was a better illustrator, but because the demand was there. And I got better at working around my limitations. Back then, I would often use clip art as a starting point and edit it to make it work within my logo design.

One of my favorite logos from 10 years ago:
image_14

For these two book covers designed 10 years ago, I purchased clipart then revised it to fit the concept:
image_6 image_7

Over the last 9 years, I’ve been working on developing my fine art skills (and my style). You all know what a passion it is of mine! So, a recent logo design was a bit of a “culmination” of all that hard work. The concept was for a very detailed, and heavily illustrated logo. Many of the elements in the logo, I hand drew, scanned in, and digitized and edited as necessary. Some of the more “architectural,” or square elements, were drawn on the computer.

Here is a sneak peek at a part of the logo (see the sketches above):
pettingzoo

I’m really excited about this project! I can’t wait to show you the final logo… 🙂

If you are interested in seeing more of my design work please visit my website: www.eileenmckenna.com


My 8 inch square paintings

8inchpaintings
What size, shape do you like to work in?
When I finally started using watercolor paper (I know what was I waiting for?) I came across Fluid Watercolor Paper 8″ square pad or “Easy Block” as they call it. I love working with this size and shape!

As you can tell by the image above, I do it often. I don’t know what it is, but I love the square shape and the size is small enough that I don’t feel…intimidated. I tape down the edges and end up with a .5″-1″ border which I love.

After falling in love with my first Fluid pad, I went back to Blick to get more and they didn’t have any!! I figured no big deal, I’ll just cut the paper, but it wasn’t the same. On my next trip to Blick they had it in stock, so I bought a couple. I’m out again so I’m anxious to get back to Blick and get more.

I’m starting to envision having a show, where all my pieces are 8″ x 8″. I can dream right? 🙂